What the Keychron V8 Max Alice Layout Includes
The Keychron V8 Max Alice Layout is a QMK-compatible mechanical keyboard in a compact Alice layout. The product record confirms two versions: fully assembled and barebone. Your setup steps depend entirely on which version you choose.
The fully assembled version comes with an ABS plastic housing, the keyboard PCB, screw-in stabilizers, a PC plate, Double-shot OSA PBT keycaps (including both Mac and Windows keycap sets), and Gateron Jupiter switches. The barebone version includes the housing, PCB, stabilizers, and plate, but does not include keycaps or switches.
If you order the barebone version, you will need to supply your own switches and keycaps before the keyboard is usable. The product record does not specify which switch types or keycap profiles are compatible, so you should verify fit with the manufacturer if you plan a custom build.
Version Components at a Glance
-
Keychron V8 Max (Alice Layout) QMK Custom Mechanical Keyboard: The fully assembled version includes: ABS plastic housing, keyboard PCB, screw-in stabilizers, PC plate, Double-shot OSA PBT keycaps (Mac & Windows keycaps), and Gateron Jupiter switches. If you want a ready-to-type keyboard out of the box, choose the fully assembled version. It includes everything except a USB cable and your computer.
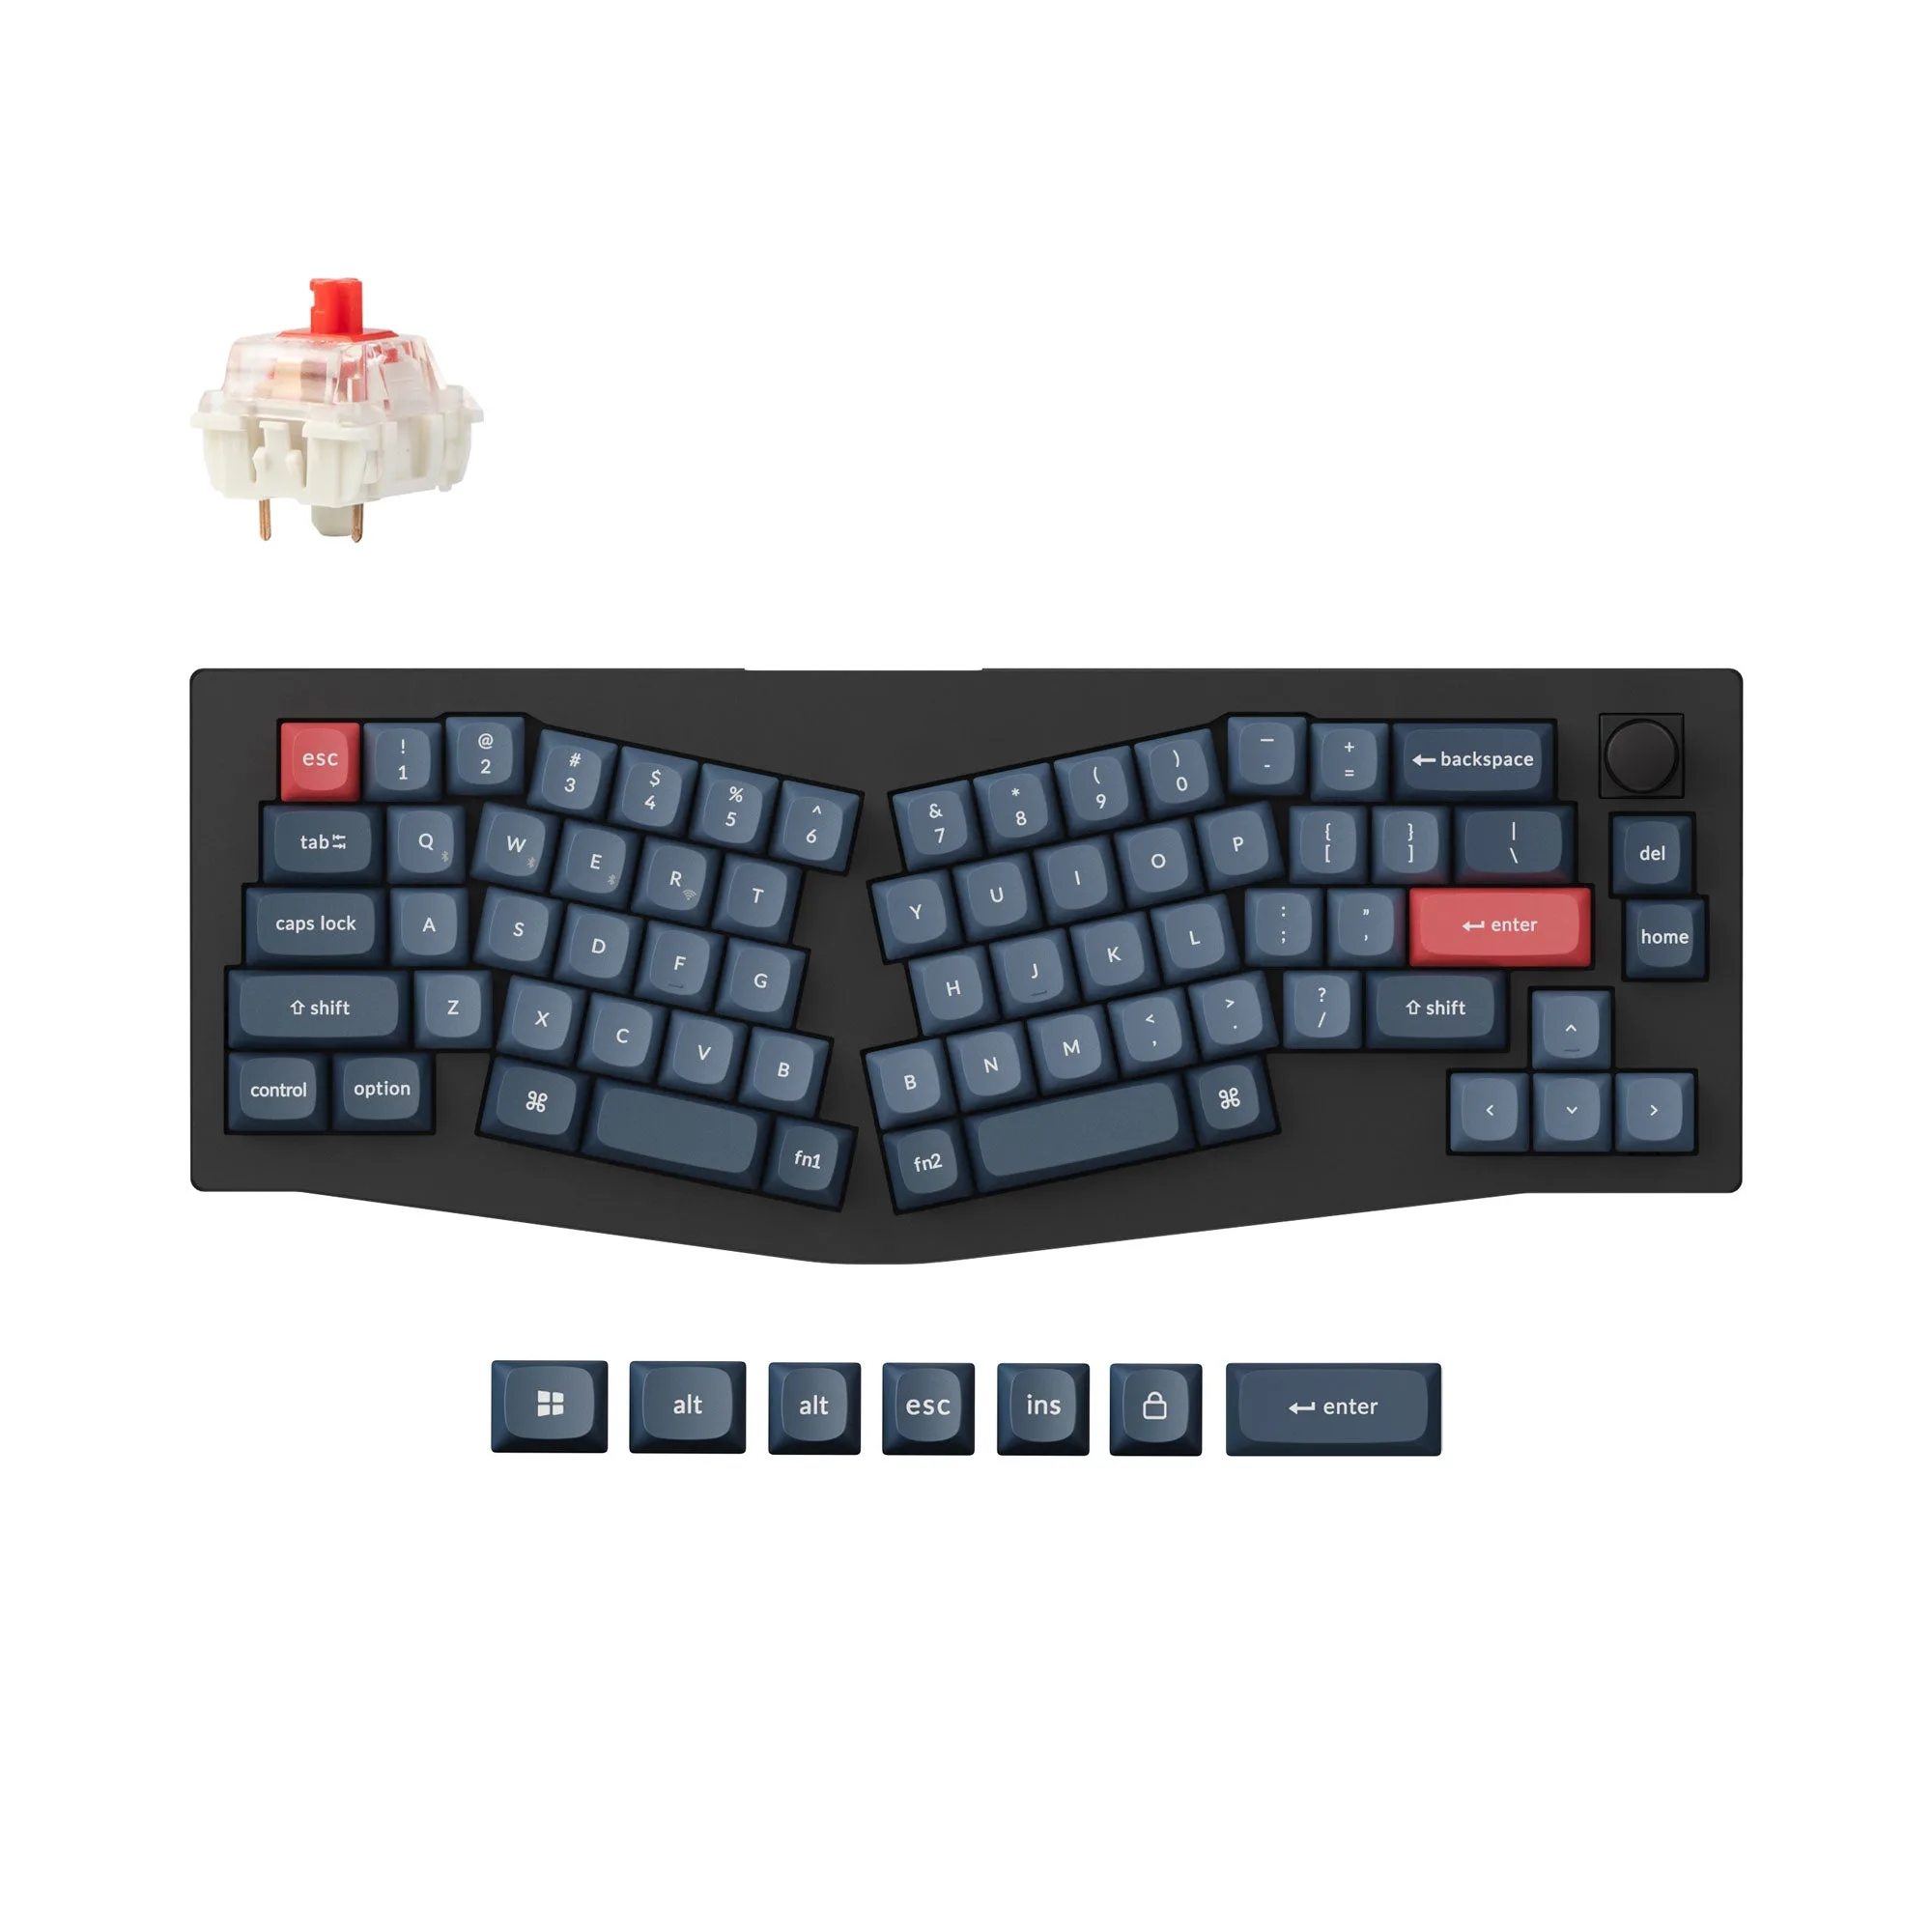
Keychron V8 Max (Alice Layout) QMK Custom Mechanical Keyboard
-
Keychron V8 Max (Alice Layout) QMK Custom Mechanical Keyboard: The barebone version does not include keycaps and switches. Choose the barebone version only if you already have compatible switches and keycaps and want to build a custom setup. Plan for additional cost and time to source those parts.
Choosing Your Version
The main decision is between the fully assembled and barebone versions. If you are new to custom mechanical keyboards or just want a reliable daily driver, the fully assembled version saves you the hassle of sourcing and installing switches and keycaps. The included Gateron Jupiter switches and Double-shot OSA PBT keycaps are a solid starting point.
If you are an enthusiast who prefers specific switch feel or keycap profiles, the barebone version gives you the freedom to choose your own components. Just be aware that the product record does not list compatibility details, so you will need to confirm that your chosen switches and keycaps fit the PCB and plate.
Setup Steps for the Fully Assembled Version
- Unpack and inspect: Check that all components are present: keyboard housing with PCB, stabilizers, PC plate, keycaps, and switches. The product record does not list a USB cable, so you may need to supply your own.
- Connect to your computer: Use a USB cable to connect the keyboard to your computer. The product record does not specify the cable type, so a standard USB-A to USB-C or USB-C to USB-C cable is likely, but verify with the manufacturer if needed.
- Install QMK or VIA firmware: The keyboard is QMK-compatible and can also be configured with VIA firmware. Visit the QMK or VIA website for the latest firmware and flashing tools. The product record does not include setup instructions, so follow the firmware project's own guides for your operating system.
- Customize key mapping and layers: Once firmware is installed, use QMK Configurator or VIA's web configurator to remap keys, set up layers, and adjust backlighting if supported. The product record does not confirm backlight features, so treat this as an optional step.
Setup Steps for the Barebone Version
- Source compatible switches and keycaps: The barebone version does not include switches or keycaps. You will need to purchase them separately. The product record does not specify compatible switch or keycap types, so check with the manufacturer or community forums for confirmed fit.
- Install switches into the PCB: Insert your chosen switches into the PCB. The product record does not include installation instructions, so follow standard mechanical keyboard assembly practices or the switch manufacturer's guidance.
- Install keycaps: Press your keycaps onto the switches. Ensure they are fully seated to avoid loose caps during typing.
- Connect and flash firmware: Same as the fully assembled version: connect via USB, install QMK or VIA firmware, and customize your key mapping.
What the Catalog Doesn't Cover
The product record for the Keychron V8 Max Alice Layout does not include detailed assembly instructions, compatibility lists for third-party switches or keycaps, USB cable specifications, backlighting confirmation, or operating system compatibility details. For any of these, you will need to consult the manufacturer's documentation or the QMK/VIA community.
The catalog also does not specify the exact dimensions of the Alice layout, so if you need to confirm key spacing or overall size, check with the seller before ordering.