Why Kika suits a bridal half lash look
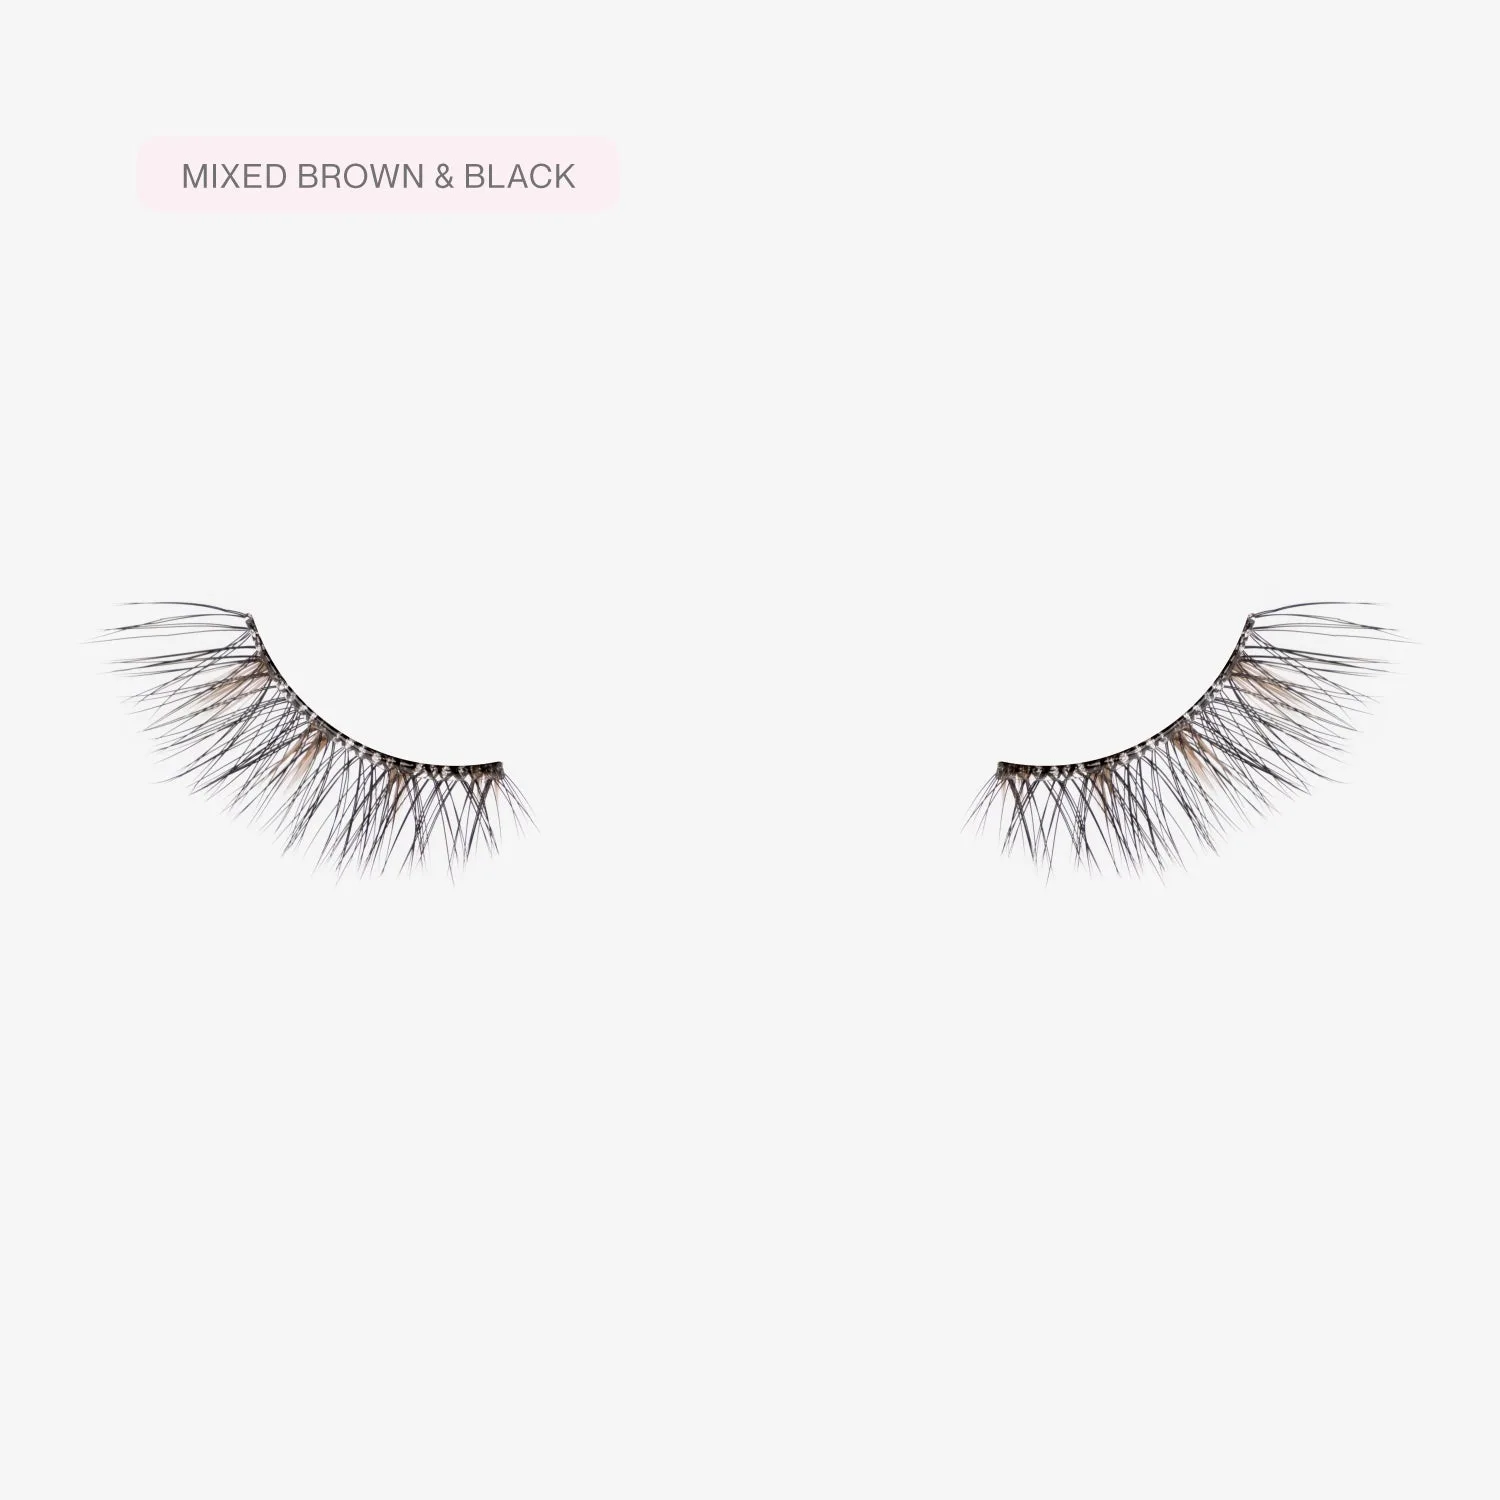
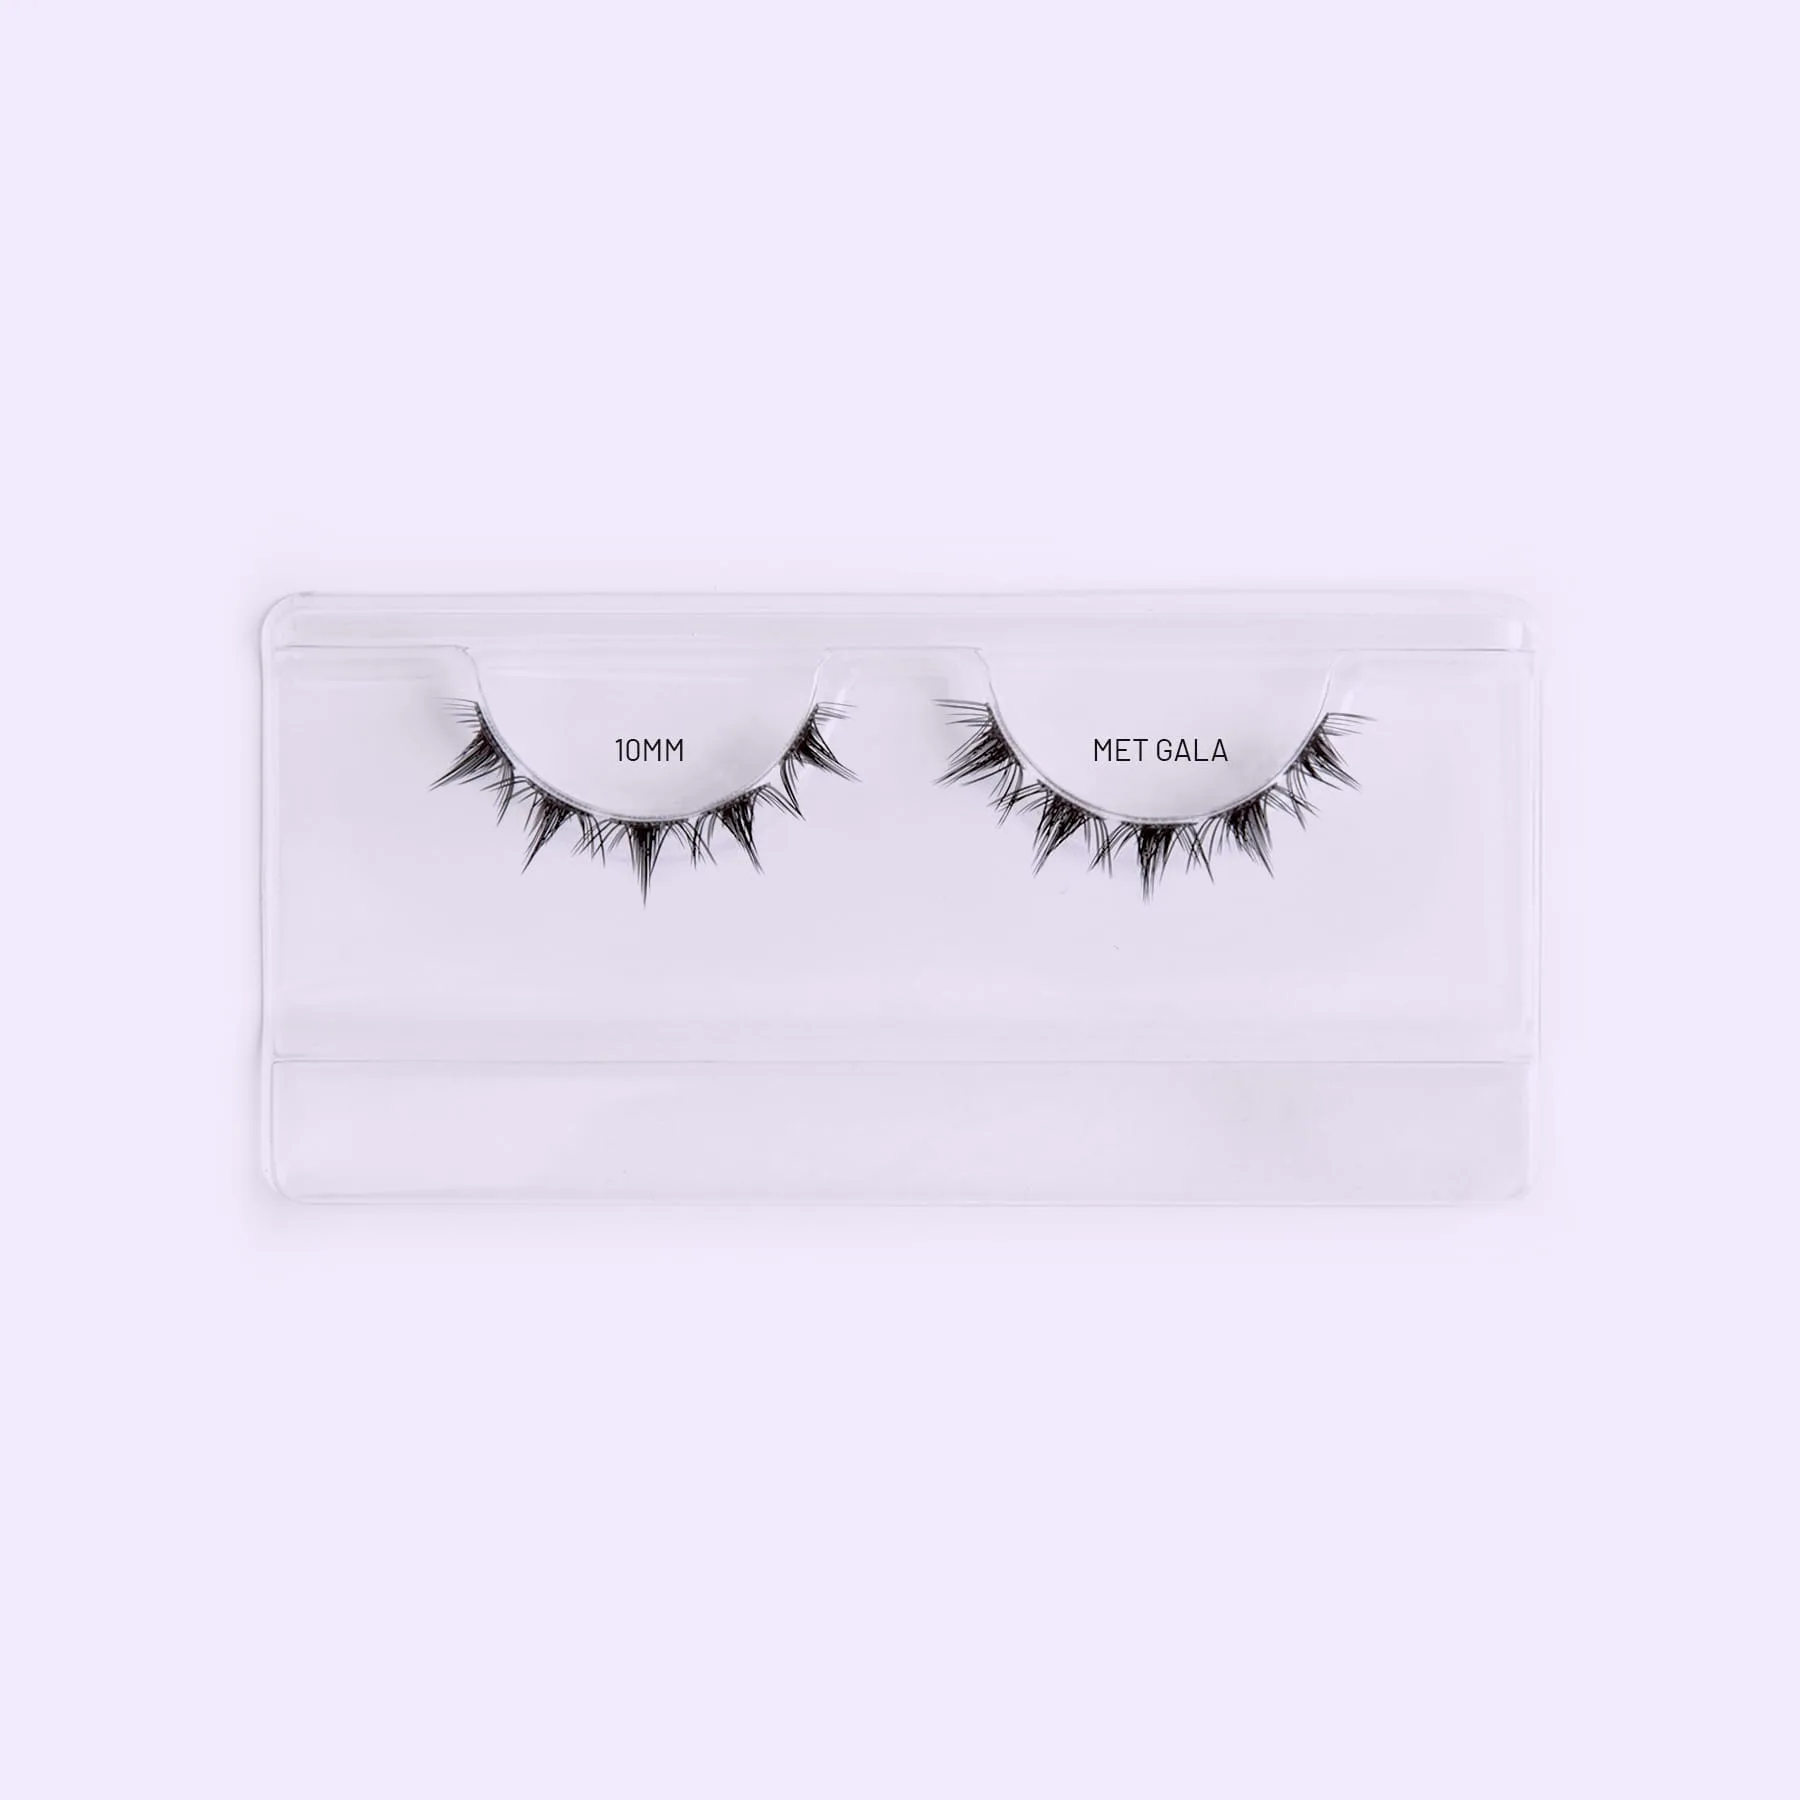
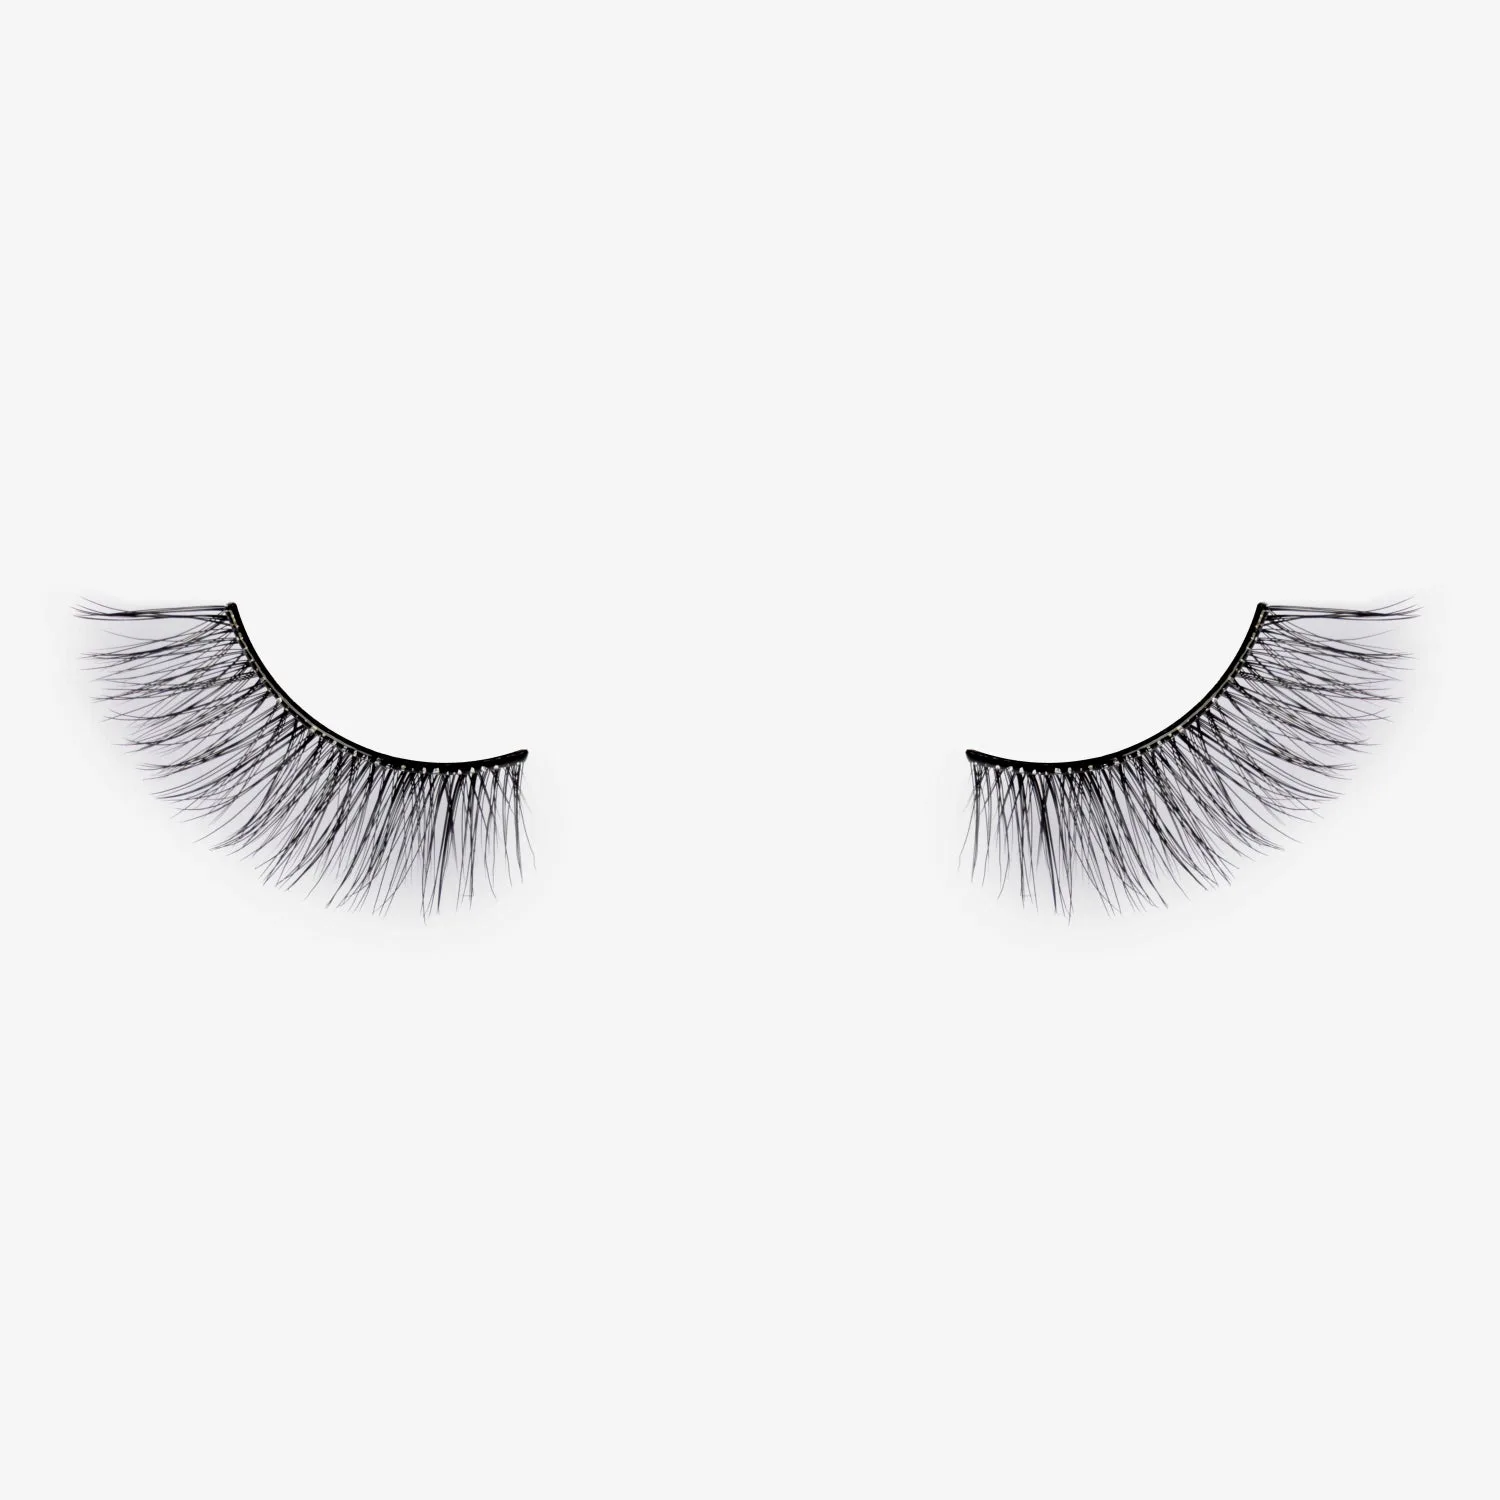
Kika Pre-Glued Half Lashes are designed for instant application and seamless wear, making them a practical choice for brides who want a polished look without a steep learning curve. The alternating fibres and structured wing add an instant lift, perfect for a cat eye effect, while the super light-weight fibres stay undetected on the eye. Because they are pre-glued, there is no adhesive needed, no drying time, and no mess—just press on and go.
For wedding day lashes, the key is a secure hold that lasts through the ceremony and celebration. Kika lashes are applied underneath your natural lash line, leaving a 2mm gap between the lash band and your waterline. This under-lash placement creates an undetectable band, so your bridal half lashes look natural in photos and in person.
Kika Pre-Glued Half Lashes: key facts for brides
-
Kika Pre-Glued Half Lashes: Pre-glued lash band removes the need for glue entirely. Simplifies wedding morning prep and reduces the risk of adhesive mishaps.
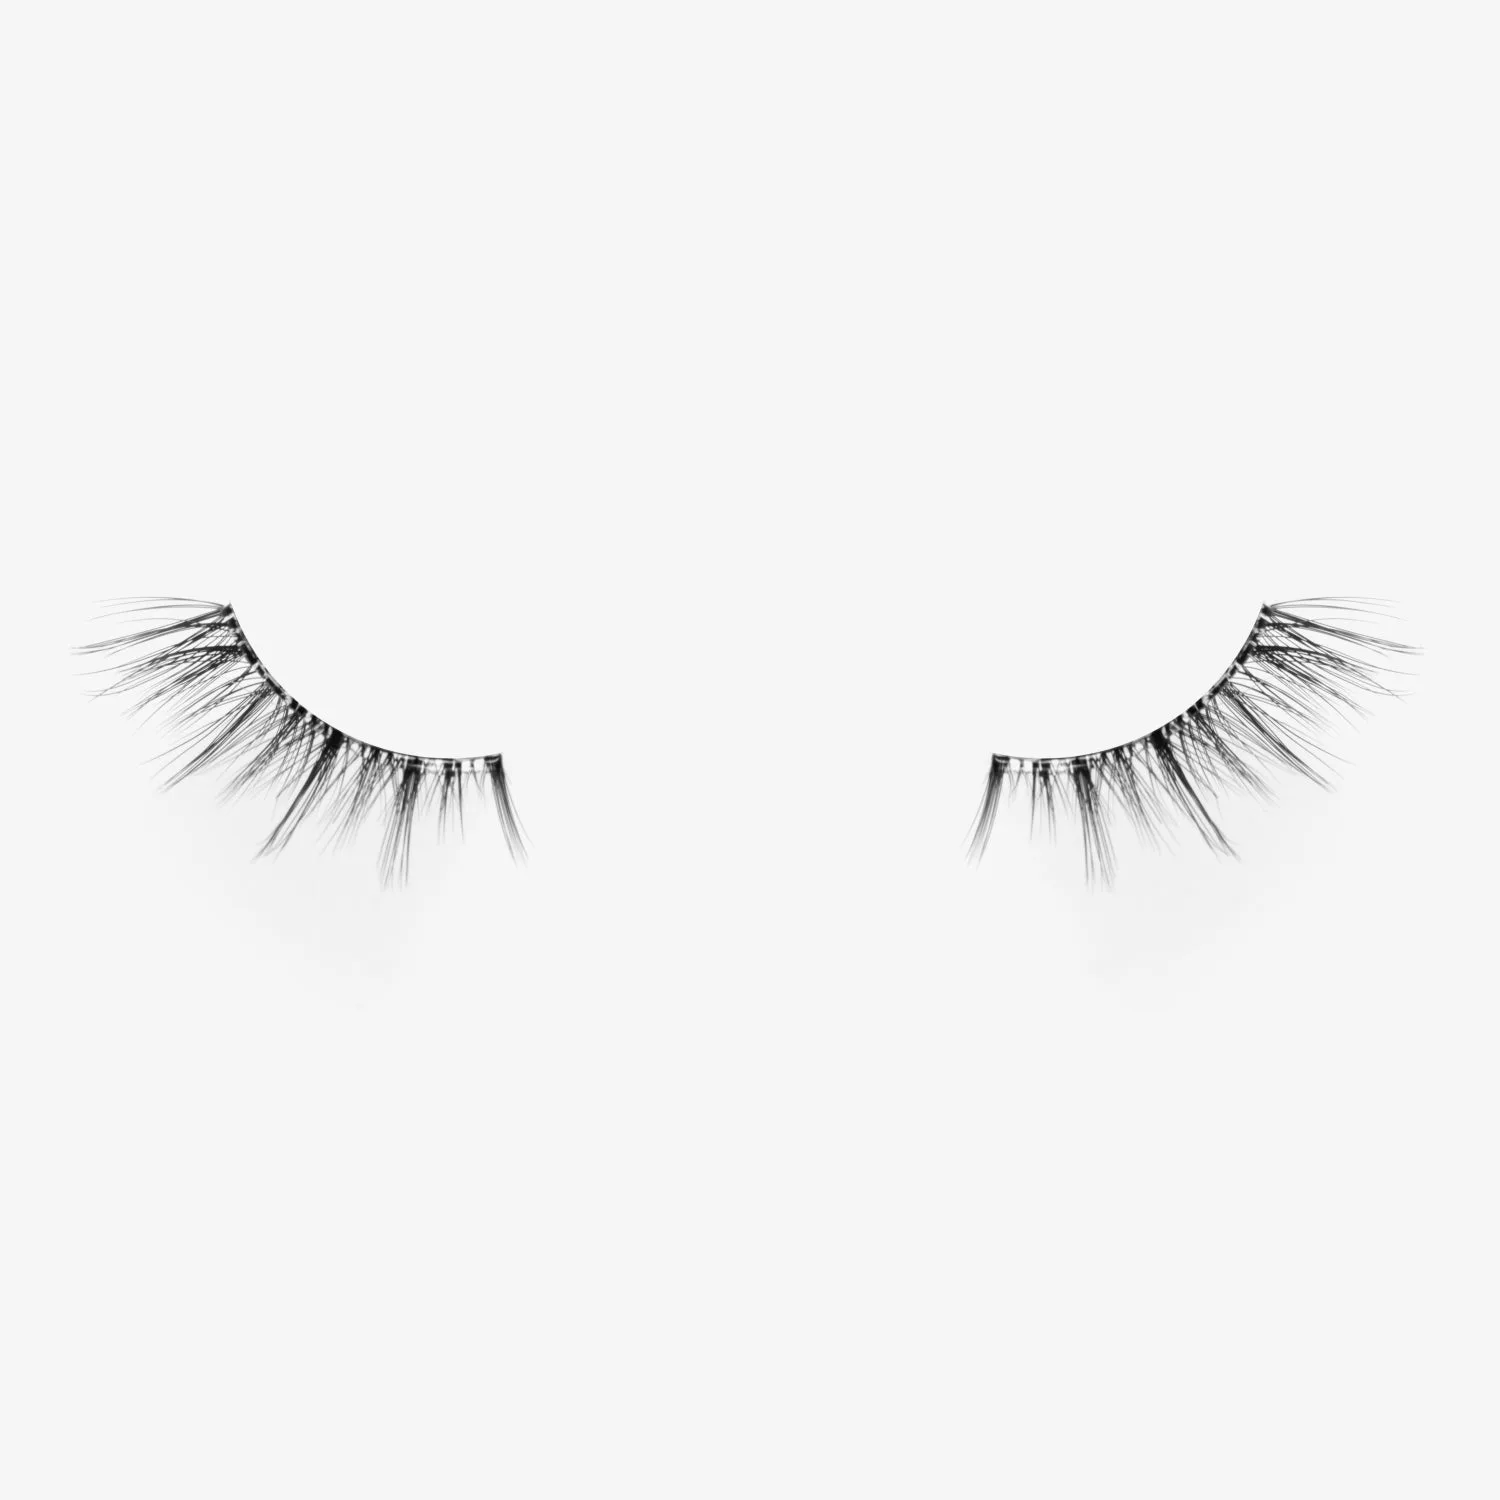
Kika Pre-Glued Half Lashes
-
Kika Pre-Glued Half Lashes: Up to 5+ days of comfortable wear with zero fuss. Covers the wedding day and beyond, useful for brides who want low-maintenance lashes for the honeymoon or post-wedding brunch.
-
Kika Pre-Glued Half Lashes: Water & sweat resistant after 24 hours setting time. Important for emotional moments and dancing—but you must allow the full 24 hours for the adhesive to set before exposure to water or sweat.
-
Kika Pre-Glued Half Lashes: The pre-glued base is latex free. A consideration for brides with latex sensitivities, though a patch test is still recommended.
Bridal application: step-by-step for Kika half lashes
Follow these supplied steps for a secure, seamless application. Remember to patch test before use and to curl your natural lashes first for a better blend.
- Prepare your natural lashes: Ensure your natural lashes are clean, oil-free and free from mascara before applying your lashes. Curl your natural lashes before applying for a seamless blend.
- Loosen the lash from the tray: Using your fingers or a lash applicator, loosen and peel the lash from the tray. Be mindful not to touch the adhesive band when removing the lash from the tray.
- Position the lash: For the most seamless application, let the centre of the adhesive band connect with the centre of your lash line and then connect the outer corners. Apply the lash underneath your natural lash line, leaving a 2mm gap between the lash band and your waterline.
- Clamp for a secure hold: Use a lash applicator to clamp securely along your lash line to fuse the adhesive and your lashes together. Ensure you are clamping thoroughly to ensure lashes are locked securely into place for a longer lasting hold. You can re-clamp your lashes anytime to secure into place for longer.
- Allow 24 hours setting time: The lashes become water & sweat resistant after 24 hours setting time. Plan your application at least a day before the wedding if you want full resistance on the day.
Timing your bridal lash application
Because Kika lashes require 24 hours to reach full water and sweat resistance, consider applying them the day before your wedding. This gives the adhesive time to set fully, so you can enjoy the celebration without worrying about moisture. If you apply on the morning of the wedding, the lashes will still be secure, but they may not be fully water-resistant until the next day. Plan accordingly based on your schedule and activities.
The lashes are designed to last up to 5+ days, so they can comfortably take you through the wedding day, the evening reception, and even the honeymoon or day-after brunch. To keep lashes locked in for up to 5 days, avoid using oil-based products as this will break down the adhesive.
Removal and reuse after the wedding
When you are ready to remove your Kika lashes, use the 1-Step Press Remove & Nourish remover wand. Gently brush the remover wand coated with product along your lashes, focusing on the areas where the glue band connects with your natural lashes. Wait for 30 seconds for the remover to dissolve the adhesive for a seamless, smooth removal. Use a cotton pad to gently slide the half lashes away from your lashes, using a downward motion. Brush through your lashes again using the remover wand and remove any final residue with a cotton pad.
After removal, allow the lashes to dry, and you can reuse these with Strip Lash adhesive. To clean the lashes thoroughly, use the Lash Cleansing Kit. With proper care, your Kika half lashes can be worn again for future special occasions.
Checkpoints for a comfortable, secure bridal wear
Use these checkpoints to ensure your lashes stay put and feel comfortable throughout the day.
- Patch test first: We recommend carrying out a patch test prior to using this product, especially if you have sensitive skin or allergies.
- Keep the 2mm gap: Apply the lash underneath your natural lash line, leaving a 2mm gap between the lash band and your waterline to avoid irritation.
- Clamp thoroughly: Ensure you are clamping thoroughly to ensure lashes are locked securely into place for a longer lasting hold.
- Avoid oil-based products: To keep lashes locked in for up to 5 days, avoid using oil-based products as this will break down the adhesive.
- Re-clamp if needed: You can re-clamp your lashes anytime to secure into place for longer.