Quick Answer
To use butter paddles, chill them in ice water before pressing and shaping your homemade butter. Work quickly with firm, even pressure, and return the butter to cold water if it starts to soften. This technique gives you a smooth, professional block without melting the butter.
Making butter at home is surprisingly simple, but shaping it into a neat, professional block takes a little practice. Wooden butter paddles are the traditional tool for this job, and they help you work the butter without warming it with your hands. With the right technique, you can turn fresh churned cream into a beautifully shaped pat that looks great on the table.
Whether you are new to butter making or just want to improve your finish, this guide walks you through the entire process. You will learn how to prepare the paddles, press and shape the butter, and avoid the most common mistakes that lead to sticky, uneven results.
Why Use Butter Paddles?
Butter paddles are flat, wooden tools with a ribbed or smooth surface. Their main job is to shape and finish butter after churning. The wood absorbs a little moisture and stays cool, which helps keep the butter firm while you work. Using paddles also keeps your hands off the butter, so it does not melt from body heat.
If you are using a Kilner® Butter Churner to make your butter, the paddles are the natural next step. The churner gives you fresh butter in minutes, and the paddles help you turn that soft mass into a neat block ready for serving or storing.
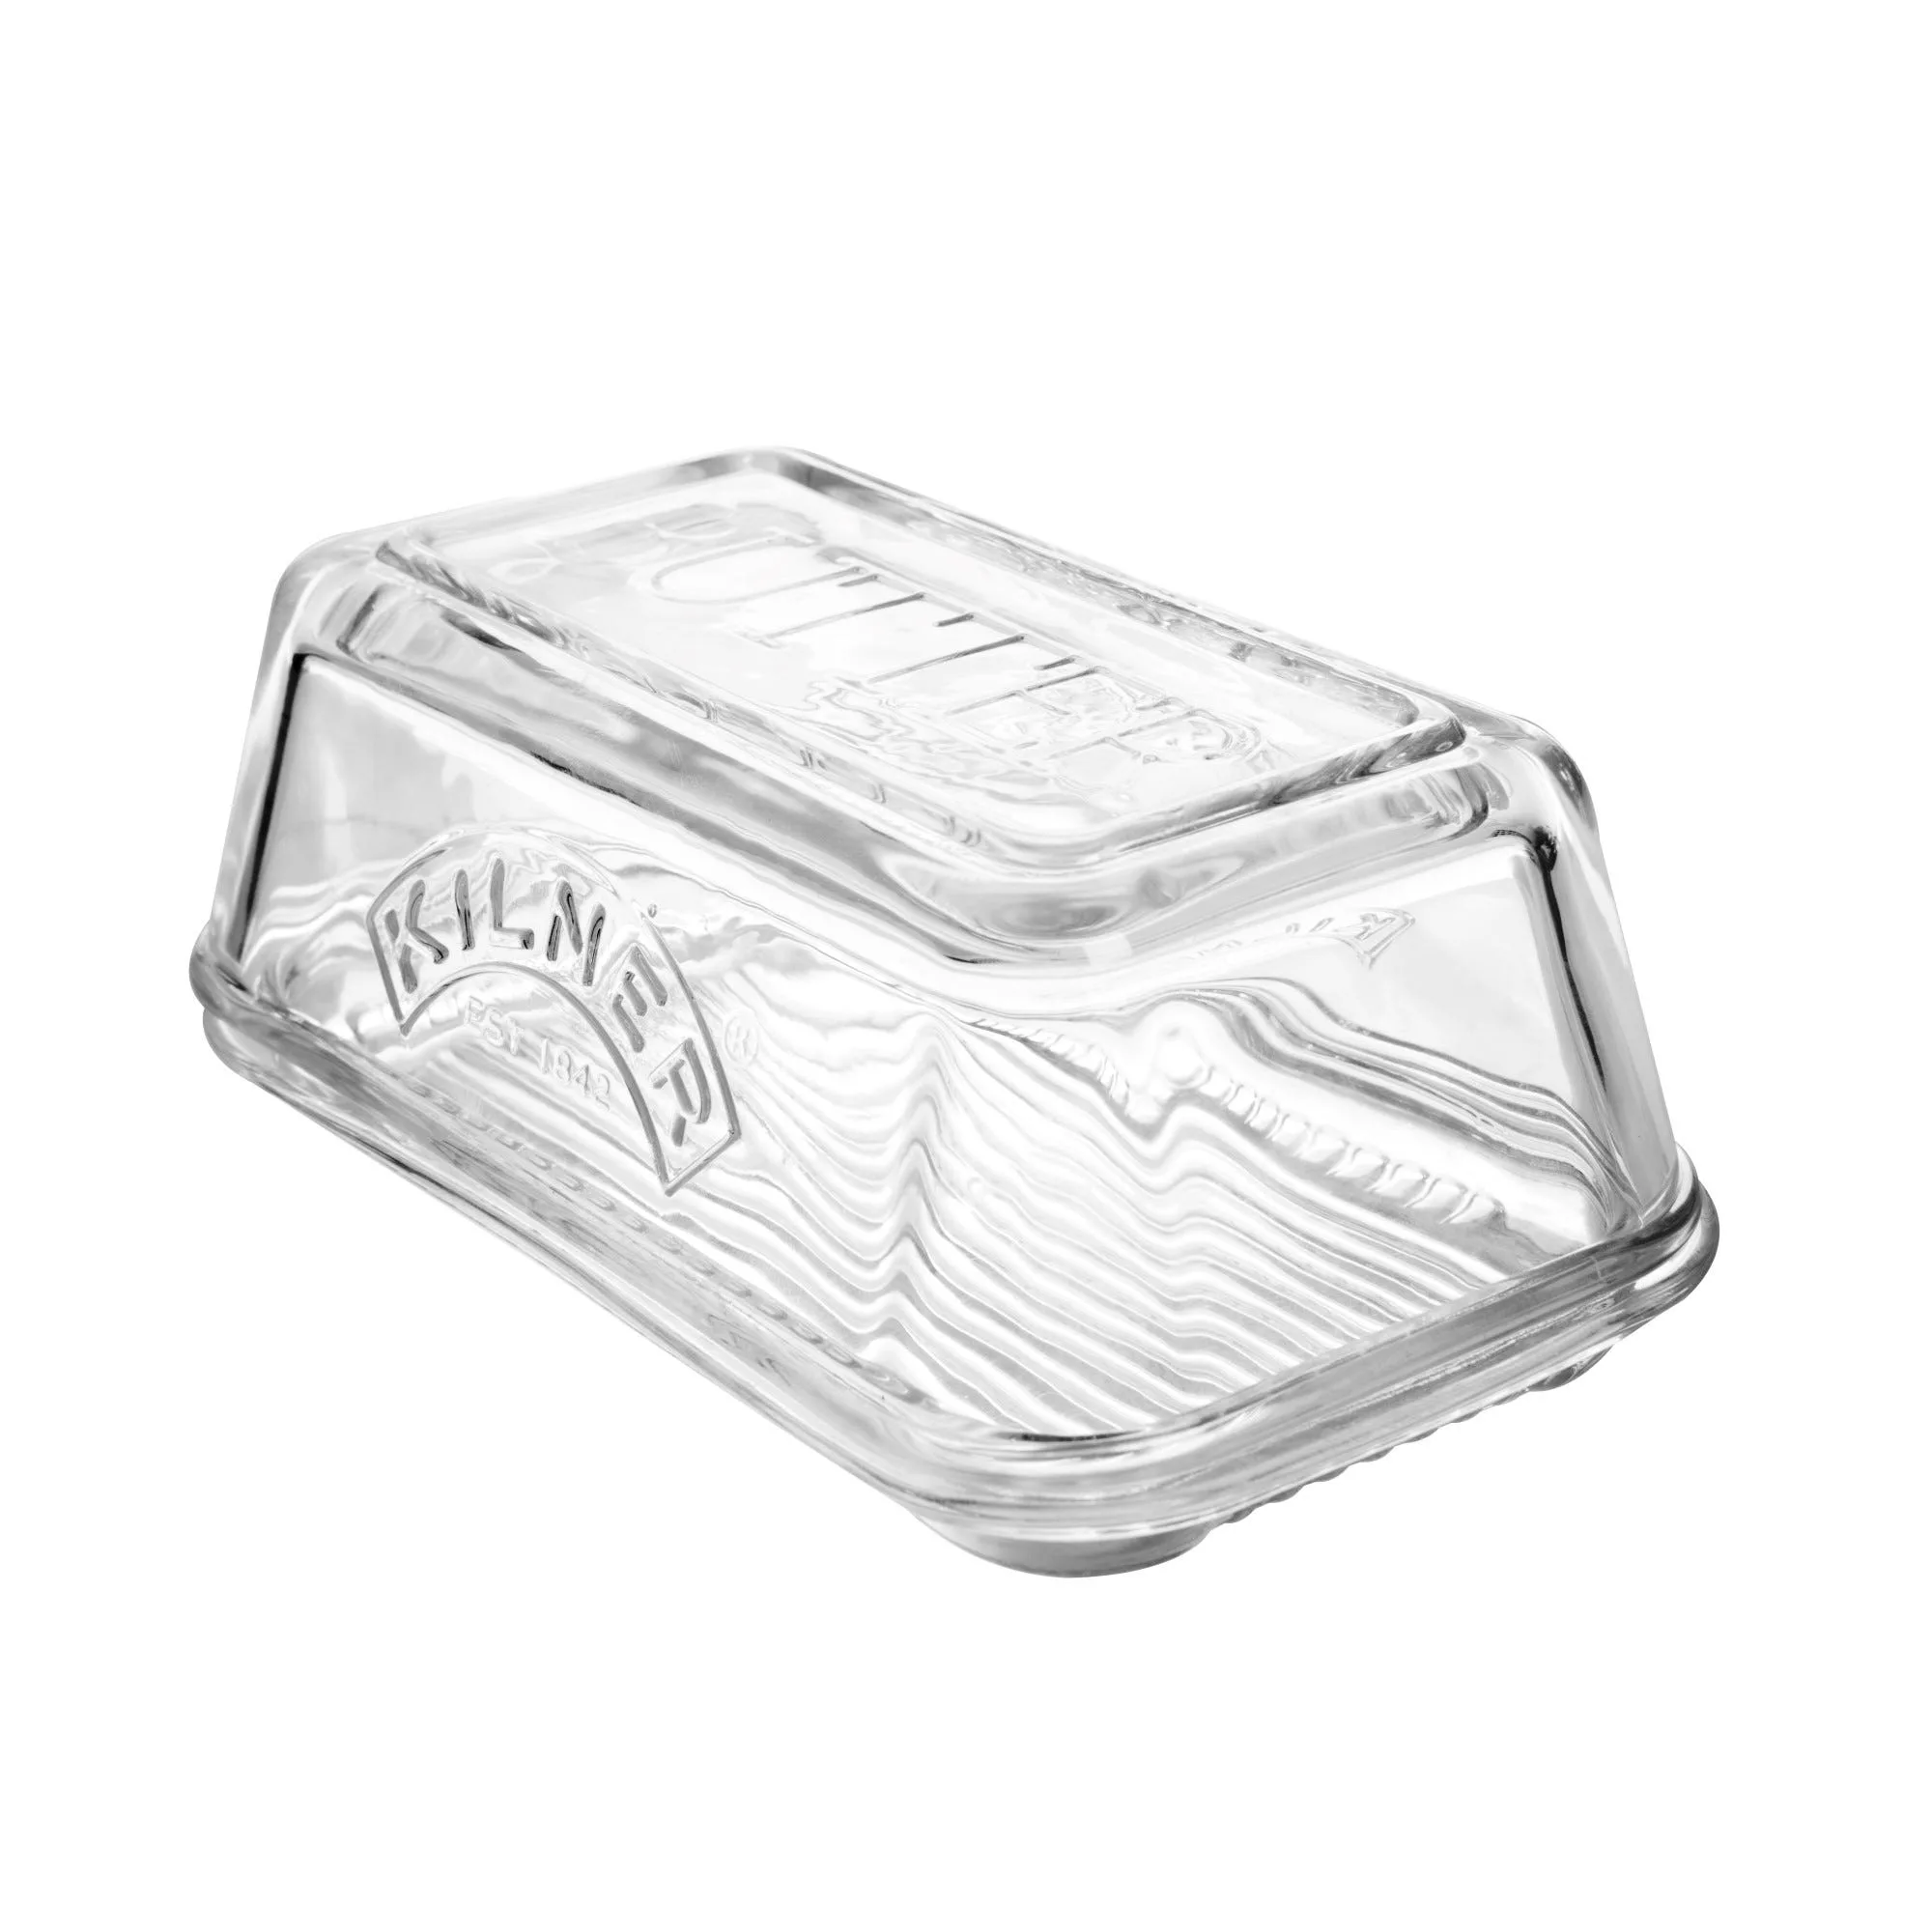
Kilner® Butter Churner
- Chill the paddles in ice water for at least 15 minutes before use.
- Work on a cool surface, like a marble board or a chilled plate.
How to Shape Butter Without Melting
The key to shaping butter without melting is to keep everything cold. Start by placing your butter paddles in a bowl of ice water. While they chill, transfer your freshly churned butter into a bowl of cold water to firm up. This also helps remove any leftover buttermilk, which can make the butter spoil faster.
Once the butter is firm, remove the paddles from the water and shake off the excess. Place the butter on one paddle and gently press the other paddle on top. Use a rocking motion to press and shape the butter into a smooth block. Work quickly and return the butter to cold water if it starts to soften.
- Do not press too hard—let the paddles do the work.
- If the butter sticks, dip the paddles in cold water again.
Common Mistakes and How to Avoid Them
One common mistake is using warm paddles. If the wood is not chilled, the butter will stick and melt. Always soak the paddles in ice water for at least 15 minutes before you start. Another mistake is overworking the butter. Too much pressing can make it greasy and dense. Aim for a few firm, even strokes rather than continuous kneading.
Finally, do not skip the cold water bath after churning. This step firms the butter and removes excess buttermilk, which affects both texture and shelf life. If your butter starts to soften mid-shaping, stop and place it back in the cold water for a few minutes before continuing.
- Keep a bowl of ice water nearby to re-chill paddles and butter as needed.
Step-by-Step Butter Paddle Technique
- Chill the paddles: Submerge your butter paddles in a bowl of ice water for at least 15 minutes. This keeps the wood cold and prevents the butter from sticking. Checkpoint: The paddles should feel icy to the touch before you begin.
- Firm the butter: After churning, place the butter in a bowl of cold water to firm up and rinse away any remaining buttermilk. Change the water if it becomes cloudy. Checkpoint: The butter should be firm but still pliable, not rock hard.
- Press and shape: Remove the paddles from the water and shake off excess. Place the butter on one paddle, then press the other paddle on top. Use a gentle rocking motion to shape the butter into a smooth block. Checkpoint: Work quickly—if the butter softens, return it to cold water for a few minutes.
- Finish and store: Once shaped, transfer the butter to a clean dish or wrap it in parchment. Store in the refrigerator or freeze for later use. Verdict: With practice, you will get a smooth, professional-looking block every time.
Tools That Help
- Kilner® Butter Churner: Simply place whipping cream into the butter churner and turn the handle. This makes the churning step effortless, so you can focus on shaping and finishing your butter with the paddles.
- Kilner Thermometer and Lid Lifter for Jam Jars: This unique set combination of the Kilner® Thermometer and Lid Lifter are essential tools for preserving and pickling, with accurate measurements. While not directly for butter, a thermometer helps you monitor cream temperature during churning, ensuring the best butter texture.
Using butter paddles is a simple skill that elevates your homemade butter from a rustic blob to a beautifully shaped block. With the right preparation and a little patience, you will master the technique in no time. Pair it with a reliable churner, and you will enjoy fresh, delicious butter whenever you want.