Quick answer
Fit your Kimber IWB holster by confirming the holster is made for your specific Kimber model, then set cant to roughly 15–20 degrees for appendix or 15–25 degrees for strong-side hip, and carry where the grip stays tight to your body. Test with an unloaded pistol, adjust one variable at a time, and verify retention before live carry.
Confirm the holster matches your Kimber model
Kimber builds 1911-pattern pistols in several frame sizes, and an IWB holster cut for a full-size Government model will not retain a shorter barrel correctly. Before adjusting anything, check the holster is listed for your exact model and barrel length. If the holster is marked only for a general 1911, test fit with an unloaded pistol: the slide should seat fully with no side-to-side play and no gap at the muzzle.
- Unloaded pistol only for all fit checks.
- If the slide does not seat fully, stop and confirm the holster is cut for your model.
- A holster that fits one Kimber size may not fit another.
Set cant before you adjust ride height
Cant is the angle of the holster relative to your belt, and it changes how your wrist and elbow align during the draw. A 15–20 degree forward cant works well for appendix carry; 15–25 degrees suits strong-side hip carry. Adjust cant first because it shifts where the grip sits against your body, then fine-tune ride height. Change one setting at a time and re-check concealment after each move.
- Loosen only the cant adjustment screws, not the retention screws.
- Re-tighten firmly but do not crush the holster body.
- If the grip digs into your side, reduce cant slightly.
Choose a carry position and verify concealment
Appendix (roughly 12:30–1:30) hides the grip well under an untucked shirt but can press on the thigh when seated. Strong-side hip (3:00–4:00) is easier to reach while seated and works with a forward cant. Wear the holster with an untucked shirt and check in a mirror from the front, side, and back. The grip should not print through the fabric; if it does, adjust cant or move the holster slightly.
- Appendix: test sitting, standing, and bending.
- Strong-side hip: check the grip does not push out when you lean.
- If the muzzle or grip prints, change position before changing holster.
Check retention and draw with an unloaded pistol
Retention should hold the pistol upside down with a light shake but release with a firm, straight pull. If the holster has adjustable retention, turn the screw a quarter-turn at a time. Draw slowly and re-holster with the pistol unloaded until the motion is smooth. A holster that grabs too hard slows your draw; one that releases too easily is a safety risk.
- Unloaded pistol for all retention and draw practice.
- Quarter-turn adjustments only; test after each change.
- Re-holster carefully and confirm the pistol is fully seated.
Match your belt and cover garment to the holster
A flimsy belt lets the holster shift, which ruins both concealment and draw consistency. Use a stiff gun belt sized to your waist and thread it through the holster loops so the holster sits flat against your body. Your cover garment should be long enough to stay down when you reach overhead. If the holster still moves, the belt is usually the cause, not the holster.
- Stiff belt first; holster adjustments second.
- Check the holster does not slide along the belt during a draw.
- Untucked shirt should cover the grip without being baggy.
Step-by-step Kimber IWB setup
- Verify model fit: Insert an unloaded Kimber into the holster and confirm the slide seats fully with no side-to-side play. Check the holster is marked for your specific model and barrel length. If the pistol does not seat fully, stop and confirm the holster is cut for your model.
- Adjust cant: Loosen the cant screws and set 15–20 degrees for appendix or 15–25 degrees for strong-side hip. Re-tighten firmly and re-check concealment in a mirror. Change cant before ride height; one adjustment at a time.
- Set carry position: Try appendix (12:30–1:30) and strong-side hip (3:00–4:00) with an untucked shirt. Sit, stand, and bend to see where the grip presses or prints. Pick the position that hides the grip without restricting movement.
- Test retention: With the pistol unloaded, hold the holster upside down and shake lightly. The pistol should stay put but release with a firm, straight pull. Adjust retention screws a quarter-turn at a time until it holds securely.
- Confirm belt and cover garment: Use a stiff gun belt and thread it through the holster loops so the holster sits flat. Check your shirt stays down when you reach overhead. If the holster shifts, upgrade the belt before changing the holster.
Products that fit this setup
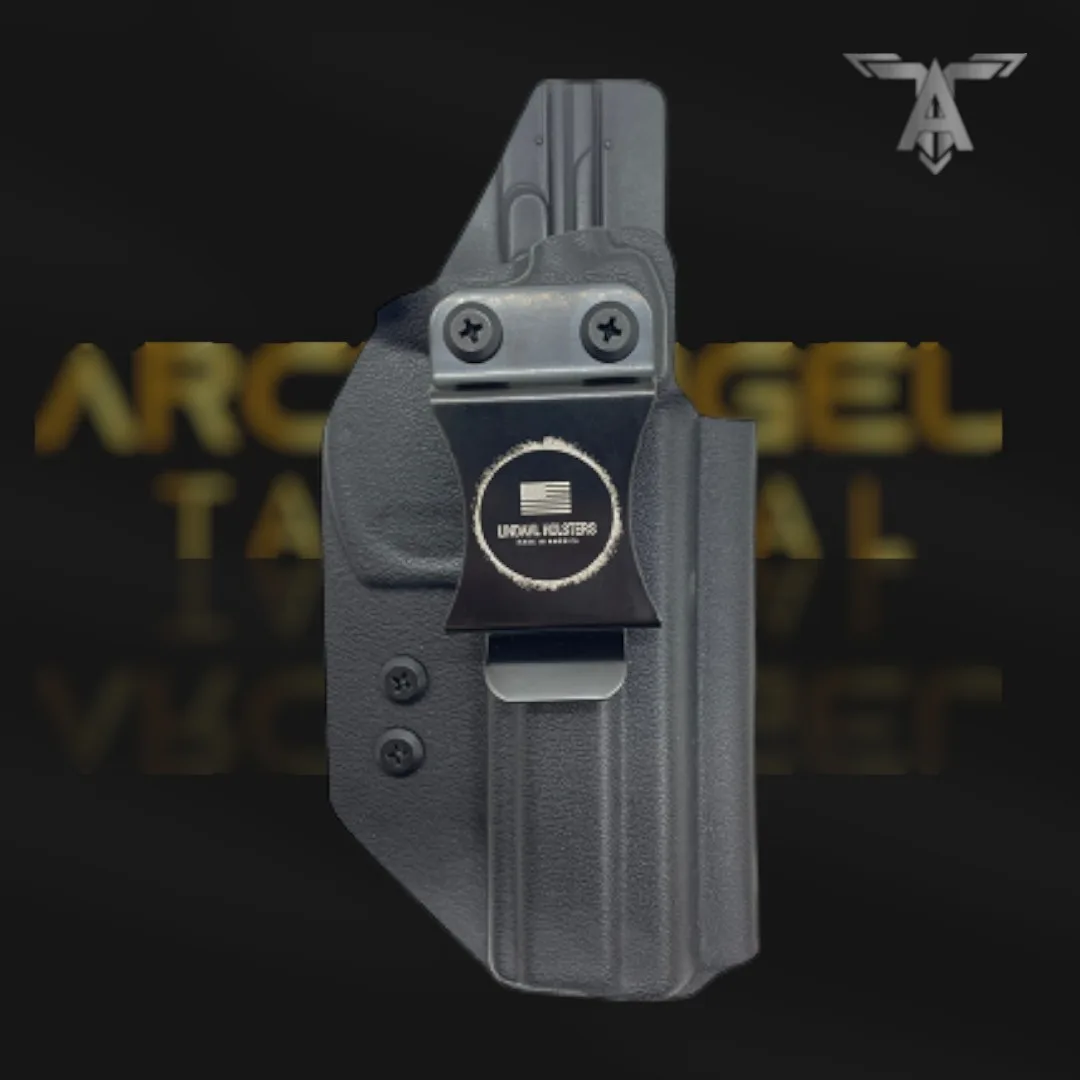
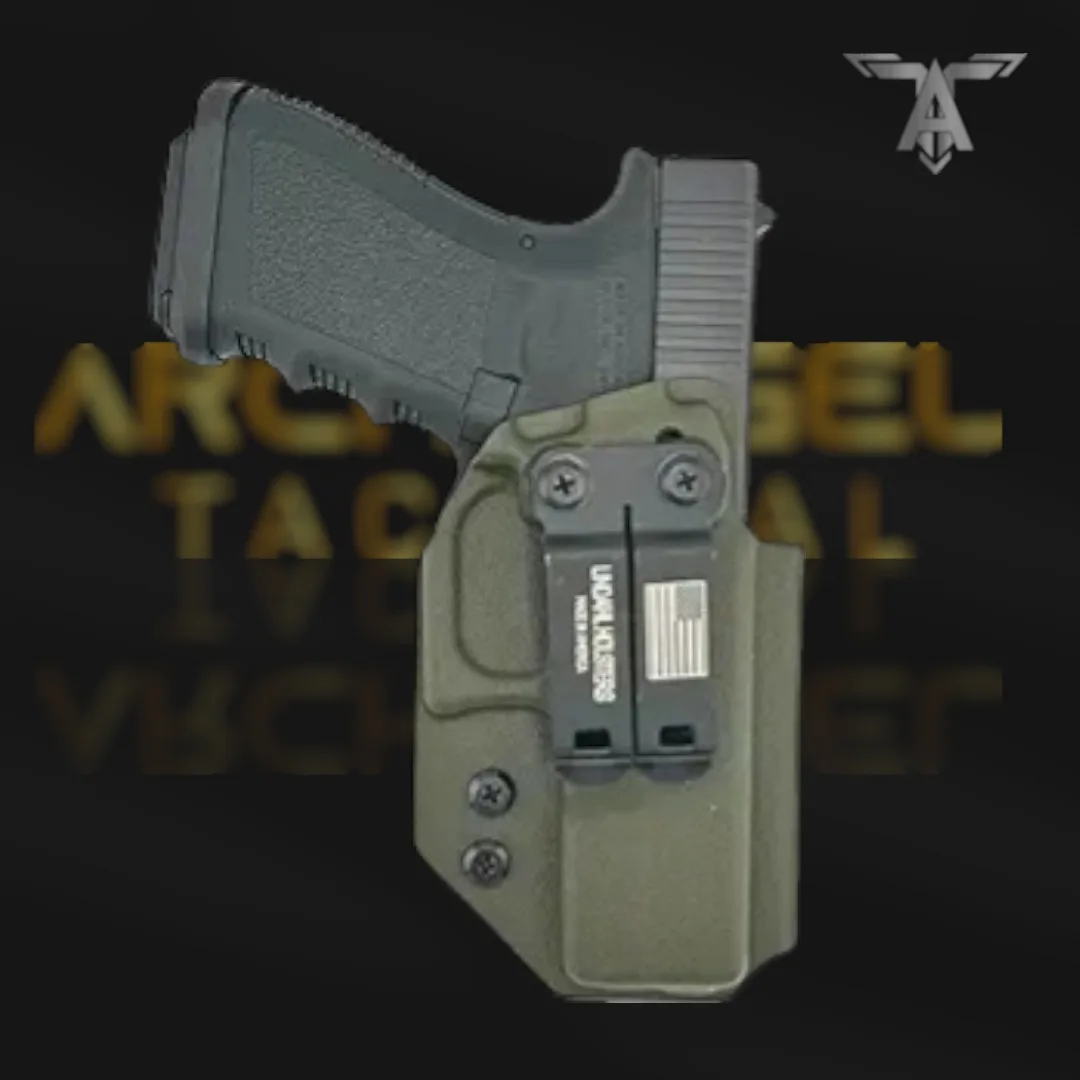
- Kimber Inside-the-Waistband (IWB) Holster — American Made - Archangel Tactical Gear: Kimber Inside-the-Waistband (IWB) Holster — American Made is built for law enforcement professionals, duty use, and dedicated concealed carriers, designed for discreet inside-the-waistband carry under an untucked shirt. It is purpose-built for the Kimber platform, so you are not forcing a generic 1911 holster to fit your pistol.
- H&K Inside-the-Waistband (IWB) Holster — American Made - Archangel Tactical Gear: H&K Inside-the-Waistband (IWB) Holster — American Made is engineered for law enforcement professionals, duty use, and serious concealed carriers, with dependable retention and fast, consistent access. If you also carry an H&K pistol, this holster follows the same retention and access design approach as the Kimber model.