Why Ultra Max 400 gives you room in low light
Kodak Ultra Max 400 is an ISO 400 color negative film, which puts it in the medium-speed range. That speed is the reason it works for everyday low-light situations where a slower film would leave you with too little exposure. The catalog also notes a broad exposure latitude, meaning the film can still produce usable shots even when your exposure is a bit off. In low light, that latitude is your main safety net: you can prioritize getting the shot rather than chasing a perfect meter reading.
The film is also described with vivid color saturation, nice grain, and good sharpness and edge detail. In low light, expect the grain to be more visible than in bright sun, especially in flat or underexposed areas. Treat that as part of the look rather than a defect, and expose with enough light to keep color from going muddy.
What the film record confirms
-
Kodak Ultra Max 400 - 35mm Color Film: ISO 400 color negative film with broad exposure latitude ISO 400 gives you a usable starting point indoors and at night, while latitude means small exposure errors are less likely to ruin a frame.
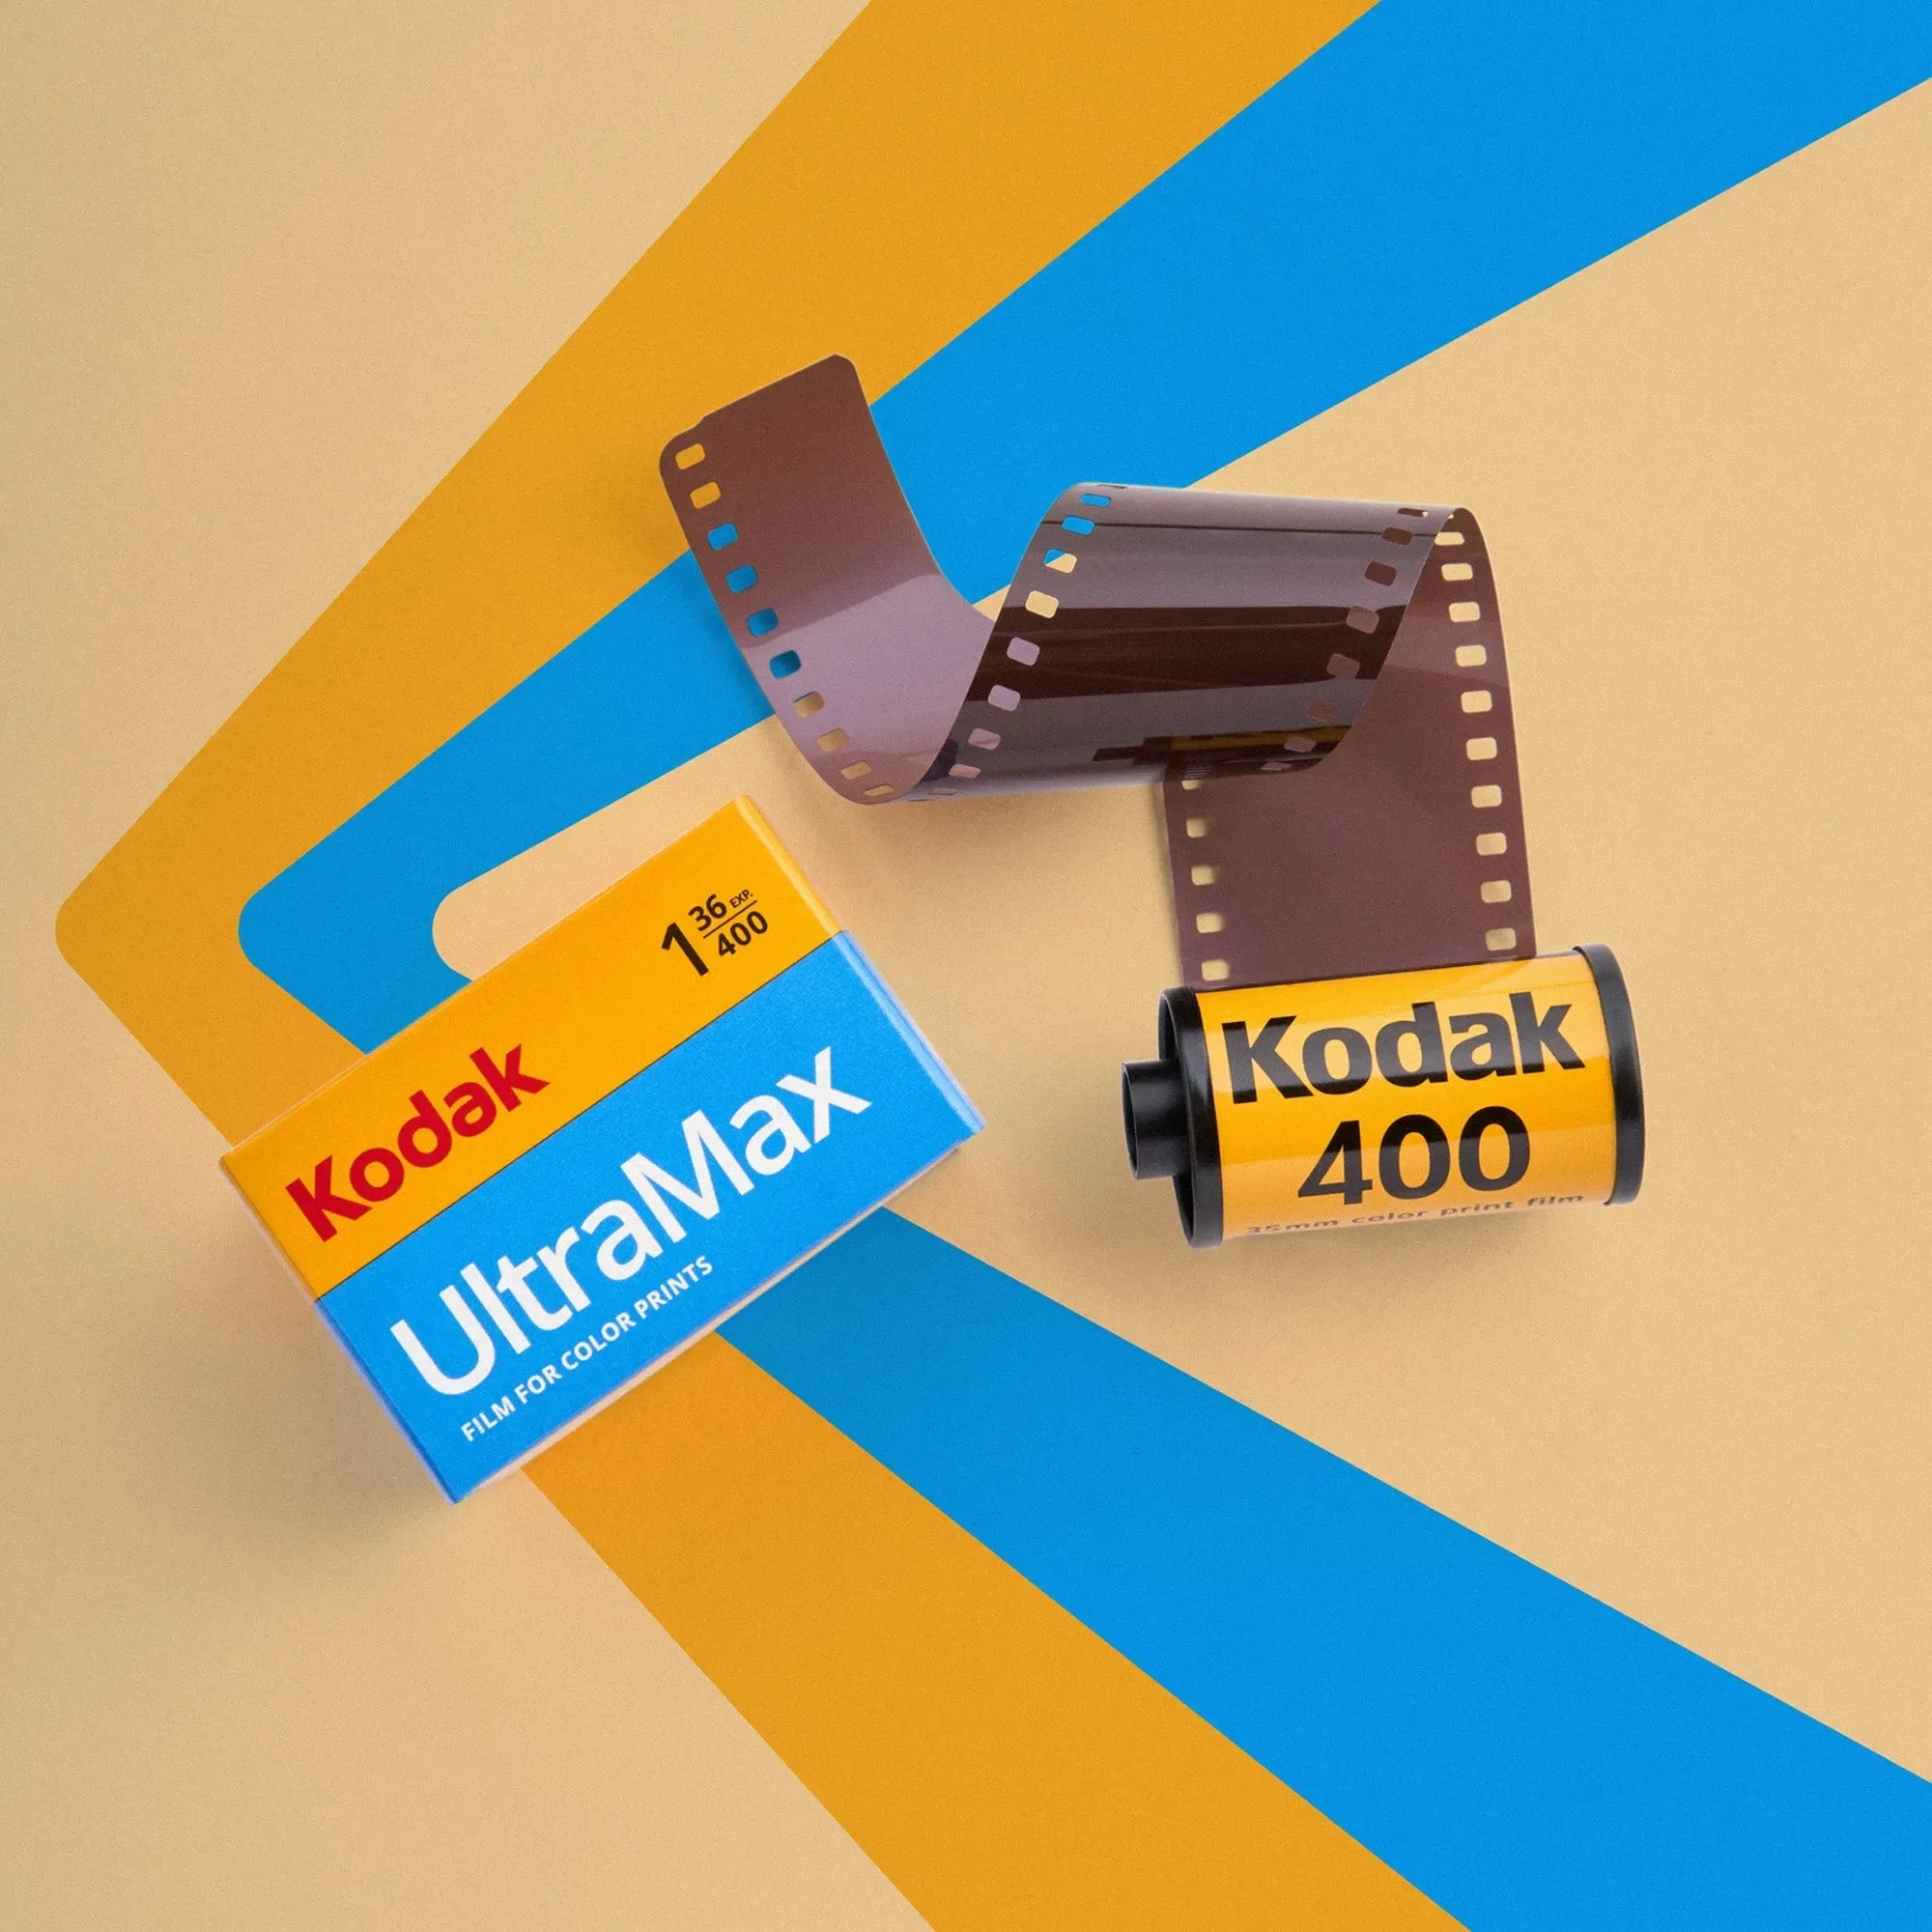
Kodak Ultra Max 400 - 35mm Color Film
-
Kodak Ultra Max 400 - 35mm Color Film: Vivid color saturation with nice grain and good sharpness and edge detail These are the qualities you are trying to protect in low light; underexposure tends to work against color saturation and edge detail.
-
Kodak Ultra Max 400 - 35mm Color Film: Available in single roll, 3 rolls, and 5 rolls Low-light shooting often means more test frames, so a multi-roll pack lets you practice the same scene at different exposures without running out.
A low-light exposure routine for Ultra Max 400
Use these steps as a repeatable way to work with the film's latitude, not as a promise of a perfect frame every time. The catalog does not supply camera-specific settings, so adjust to your own camera and meter.
- Set your camera to ISO 400: The film is rated at ISO 400. Start there so your meter and any automatic exposure system are working from the film's actual speed.
- Meter for the subject, not the darkest corner: In low light, a bright window or lamp can pull your meter away from the subject. Take a reading that includes your subject's face or main area, then let the film's latitude cover small errors.
- Choose a shutter speed you can hold: The catalog does not list a minimum shutter speed, and that depends on your lens and how steady you are. If your meter pushes you below a speed you can handhold, that is your signal to add light or use support.
- Bracket when the scene is tricky: Because the film has broad latitude, a frame at your meter reading plus one slightly brighter and one slightly darker gives you options. This is where a 3-roll pack is useful for learning a location.
- Keep the scene's bright areas in check: Color negative film handles overexposure well, but blown highlights still lose detail. If a lamp or window is much brighter than your subject, compose so it is not the main thing you are metering for.
When to add flash instead of pushing the film
The catalog does not describe push-processing instructions or a recommended push exposure for Ultra Max 400. Rather than guess at a development change, use flash or a steady support when the scene is too dark for a handholdable exposure at ISO 400.
- Use flash for people indoors: A direct flash freezes motion and puts light on faces, which helps color stay vivid. It also makes foreground and background brightness very different, so expect a darker background in large rooms.
- Use flash as fill, not just as the main light: If there is already some ambient light, flash can lift shadows without erasing the room's character. The film's latitude gives you some room if the flash exposure is slightly off.
- Skip flash when the look depends on ambient light: Neon signs, candles, and streetlights are part of the color story. If you want those colors to dominate, use a steady support and expose for the scene instead of lighting it.
- Test one roll before a important shoot: Flash power, distance, and your camera's sync behavior are not confirmed by the supplied film record. A single test roll shows how your setup behaves before you commit a 5-pack to one look.
Color tips that matter more at night
Vivid color saturation is one of the film's listed strengths, but low light is where color can drift. Underexposed areas tend to lose saturation and show more grain, so the simplest color tip is to avoid underexposing your subject. When in doubt, lean slightly brighter rather than darker, since the film's broad latitude is designed to tolerate that.
Mixed lighting is the other big factor. Tungsten indoor bulbs, fluorescent tubes, and LED streetlights all render color differently on color negative film. The catalog does not supply color-correction guidance, so the practical approach is to shoot a test frame under each type of light you plan to use, then judge the results from your own scans or prints. Keep a note of which frame was which so you can compare.
Choosing a pack size for low-light practice
- Single roll: Good for trying one indoor or night location before buying more. You get 36 exposures to test exposure and flash.
- 3 rolls: A practical middle ground for bracketing the same scene and comparing flash versus ambient light across a few outings.
- 5 rolls: Best if you already know you like the film's grain and color and want to shoot a low-light project without restocking.
What to expect, and what to verify yourself
Ultra Max 400 is a medium-speed film with a forgiving exposure latitude, so it is a reasonable choice for indoor and evening shooting when you accept more grain and plan around the available light. The supplied record does not include development times, push-processing recommendations, or camera-specific flash settings. Check those with your lab and your camera manual rather than treating this guide as a substitute.
The most reliable way to get better low-light color is to shoot a test roll, compare a metered frame with a slightly brighter one, and note which lighting conditions gave you the color you want. From there, the film's ISO 400 speed and latitude do the rest.