Quick Answer
Lash extension bonds are specially formulated adhesives that create a secure yet gentle hold between your natural lashes and lash clusters. Unlike traditional lash glue, bonds are designed for at-home application, offering a flexible, low-fume formula that works with a separate sealant. For most DIY users, a bond-and-sealant system is safer and easier to control than standard glue.
If you've started exploring DIY lash extensions, you've likely come across the term 'lash bond' and wondered how it differs from the glue you might have used with strip lashes. Lash bonds are a game-changer for at-home lash application because they're formulated to be gentler on your natural lashes while still providing a strong hold that lasts for days.
In this guide, we'll break down exactly how lash extension bonds work, what ingredients to look for, and how to choose between a bond and traditional lash glue. We'll also answer common questions about application, removal, and safety, so you can confidently pick the right product for your lash routine.
What Is a Lash Extension Bond?
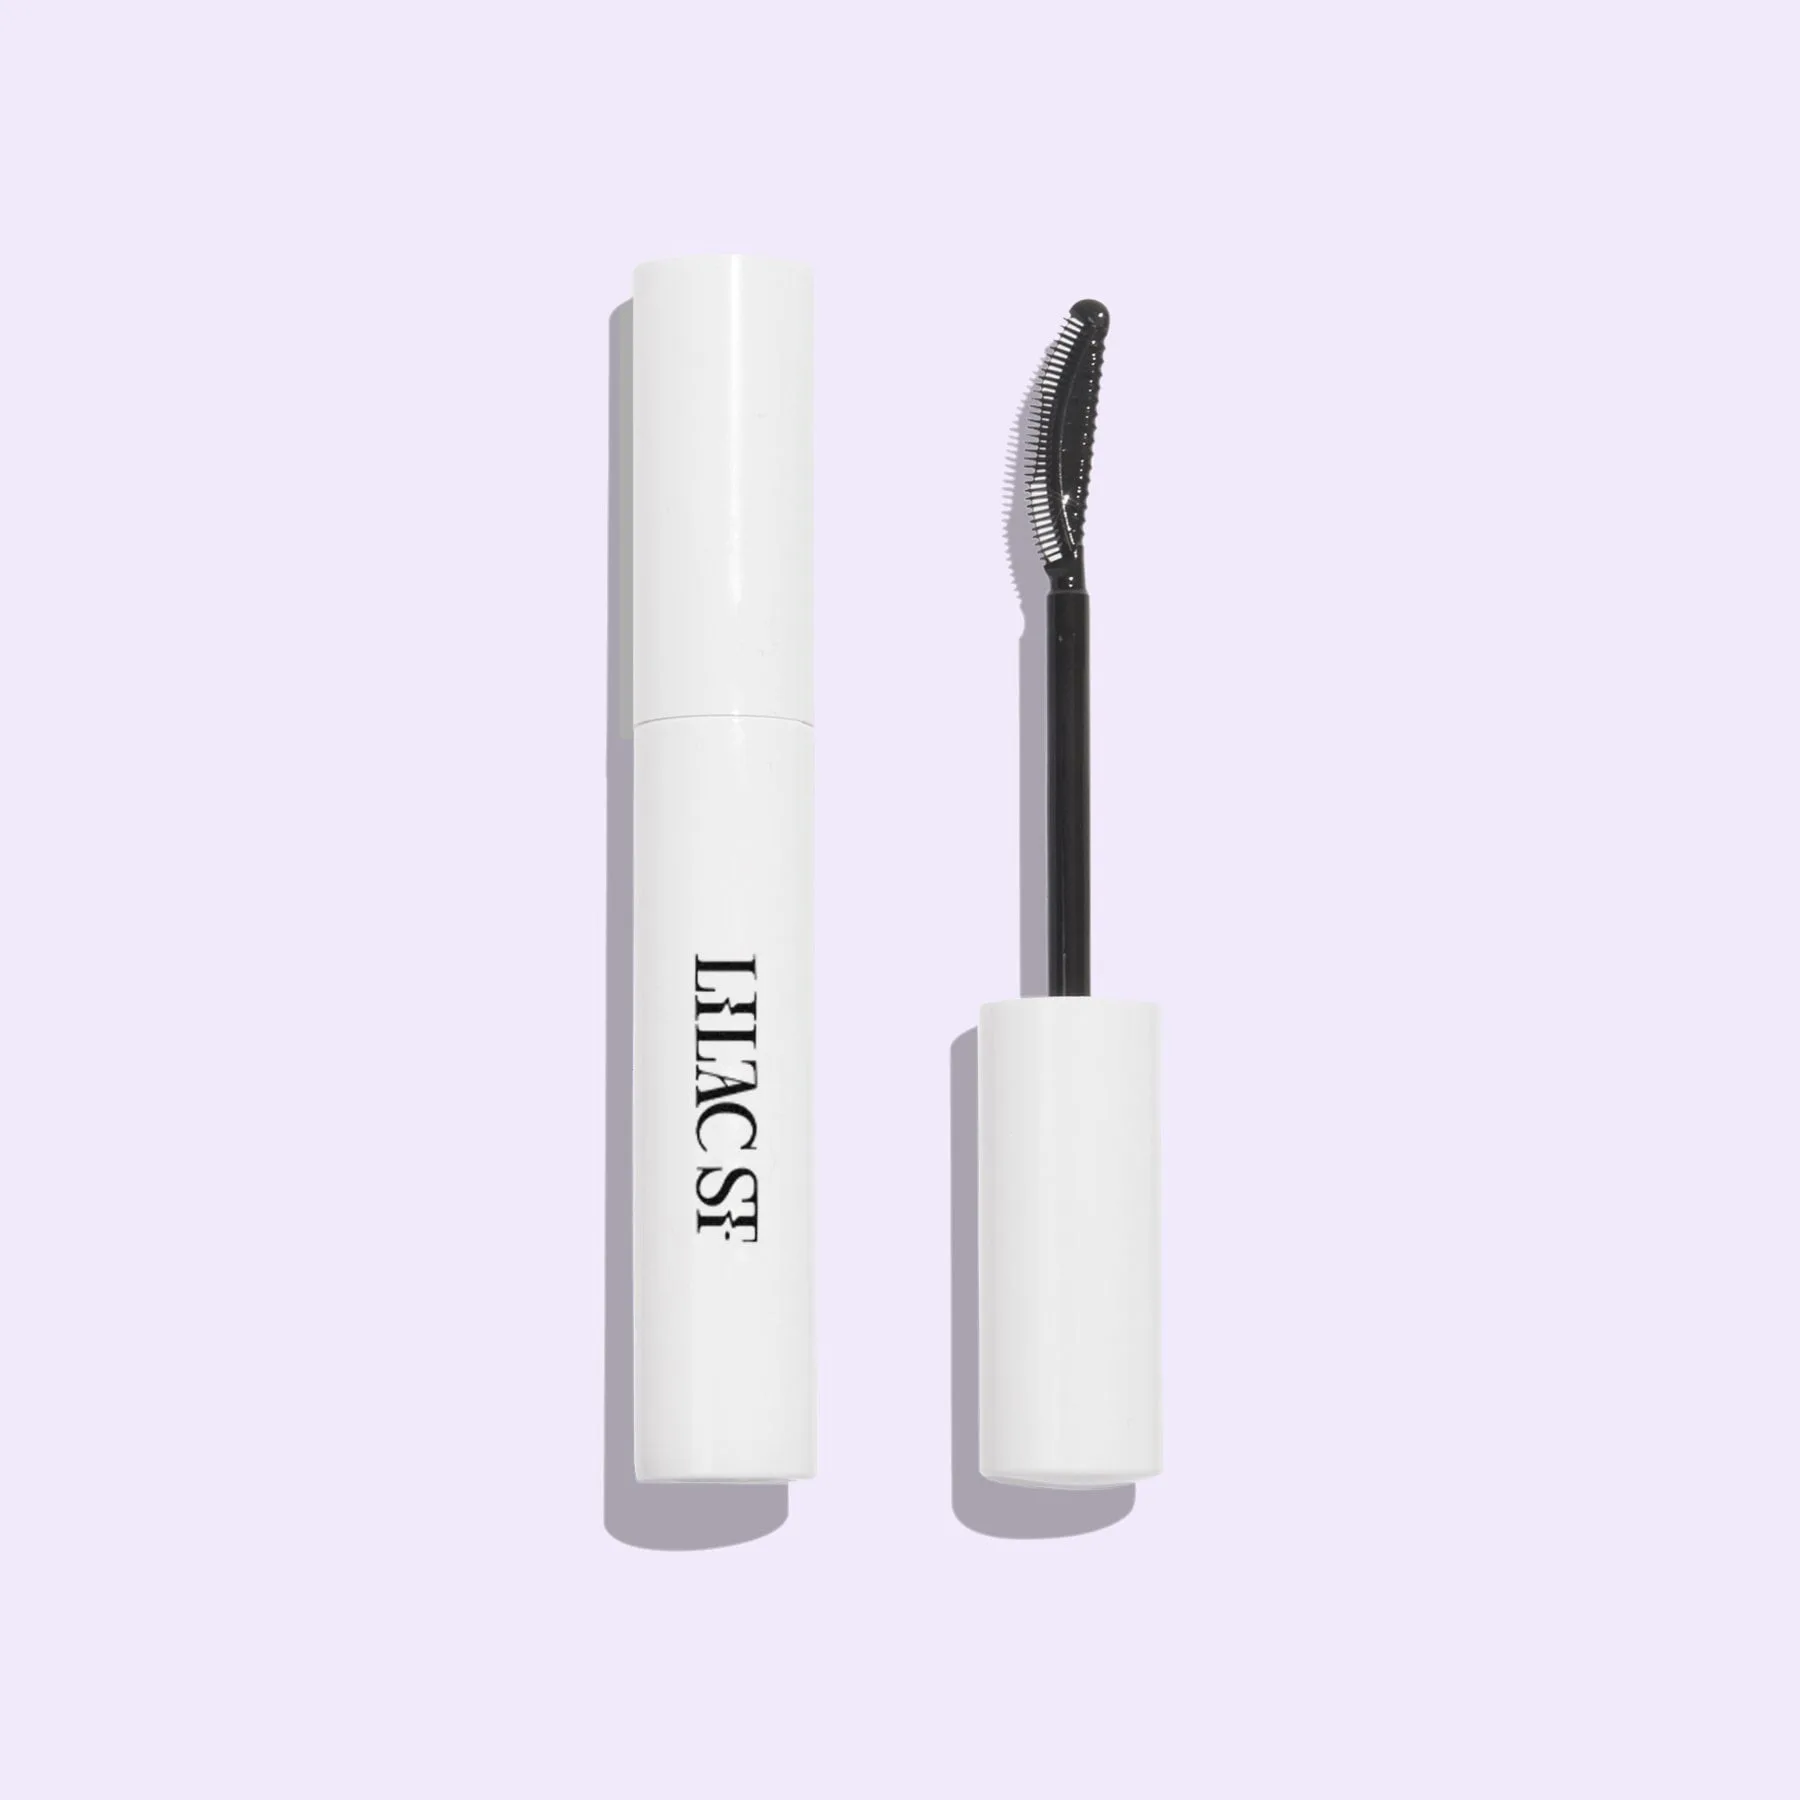
A lash extension bond is a type of adhesive specifically designed for attaching individual lash clusters or extensions to your natural lashes. Unlike traditional lash glue, which is often used for strip lashes and can be harsh or brittle, bonds are formulated to be more flexible and less damaging. They typically come in a tube with a precision applicator, allowing you to apply a thin, controlled line of adhesive to the lash cluster before pressing it onto your natural lash.
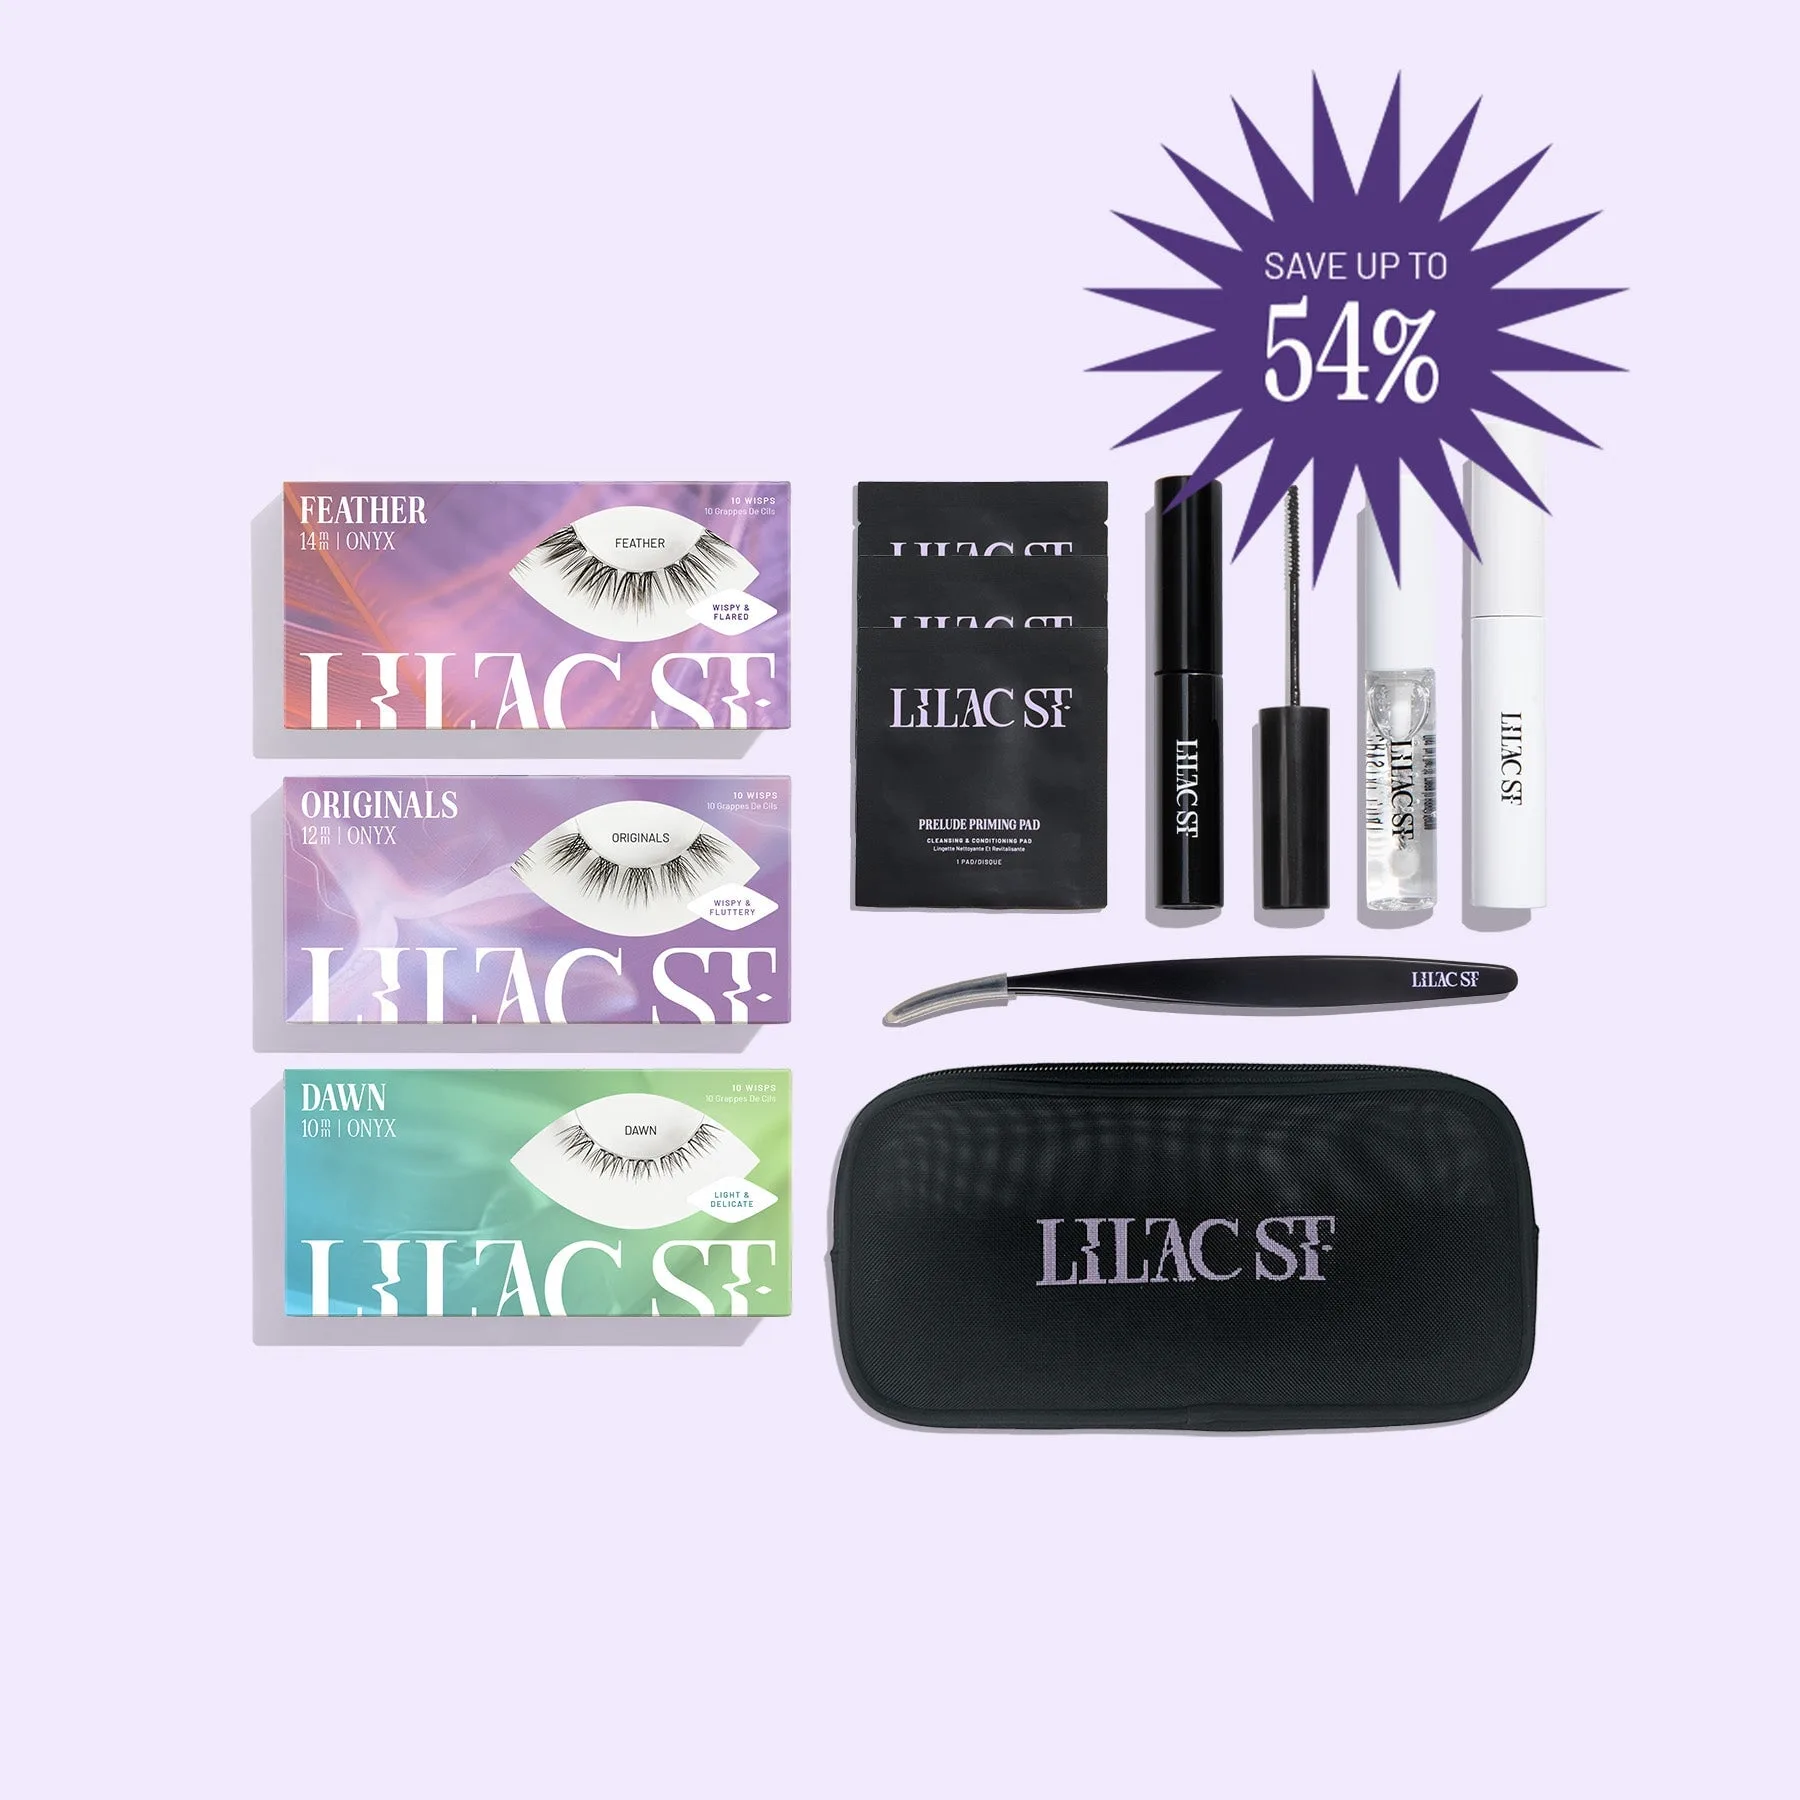
Bonds are usually part of a two-step system: you apply the bond to the lash cluster, then apply a sealant or activator over the bond to cure it. This two-step process helps the bond set faster and creates a stronger, longer-lasting hold. Many at-home lash kits, like the https://lilacstop.com/products/deluxe-starter-kit-set-natural-350756https://lilacstop.com/products/deluxe-starter-kit-set-350889Deluxe Starter Kit Set - Natural, include both a bond and a sealant to simplify the process.
- Bonds are gentler on natural lashes than traditional glue
- They often require a sealant or activator to cure
- Designed for precise application with a thin applicator tip
How Do Lash Bonds Work?
Lash bonds work through a chemical reaction that occurs when the bond comes into contact with the sealant or when exposed to air. The bond contains cyanoacrylate or similar adhesive compounds that polymerize and harden, creating a strong bond between the natural lash and the extension. However, unlike super glue, lash bonds are formulated to remain somewhat flexible, reducing the risk of breakage and discomfort.
The application process is straightforward: you apply a small amount of bond to the base of the lash cluster, wait a few seconds for it to become tacky, then press the cluster onto your natural lash, close to the lash line but not on the skin. After all clusters are placed, you apply the sealant to activate the bond and lock in the hold. This method allows for a longer wear time—typically 3 to 5 days—compared to traditional strip lash glue, which is meant for single-day wear.
- The bond becomes tacky before you press it onto your natural lash
- Sealant activates the bond for a stronger hold
- Bonds are designed for multi-day wear, not single-day use
Lash Bond vs. Glue: What's the Difference?
The main difference between lash bond and traditional lash glue lies in their formulation and intended use. Lash glue is typically a stronger, more rigid adhesive that sets quickly and is designed for one-time use, such as with strip lashes. It can be harsh on natural lashes and may cause irritation if applied too close to the skin. In contrast, lash bonds are formulated to be more flexible and gentle, making them ideal for at-home application where precision and safety are key.
Another key difference is the application method. Lash glue often comes in a tube with a brush or wand, which can be messy and difficult to control. Lash bonds, on the other hand, often feature a precision tip or applicator that allows for a thin, even line of adhesive. This reduces the risk of over-application and makes it easier to place clusters accurately. Additionally, bonds are designed to be used with a sealant, which helps to cure the bond and extend the wear time.
- Lash glue is stronger but less flexible, suitable for single-day wear
- Lash bonds are gentler and more flexible, designed for multi-day wear
- Bonds often require a sealant for optimal results
What Ingredients Should You Look For?
When choosing a lash bond, it's important to consider the ingredients. Most lash bonds contain cyanoacrylate, a fast-acting adhesive that provides a strong hold. Some bonds also include conditioning agents like vitamin E or aloe vera to nourish your natural lashes. Others may be latex-free or formaldehyde-free, which is beneficial for those with sensitive eyes or allergies.
It's also worth checking the viscosity of the bond. A thinner bond will spread more easily and dry faster, while a thicker bond may be more forgiving during application. If you have sensitive eyes, look for a bond that is specifically labeled as gentle or hypoallergenic. Always do a patch test before applying to your eyes to ensure you don't have an adverse reaction.
- Look for bonds that are latex-free and formaldehyde-free if you have sensitivities
- Consider bonds with conditioning ingredients like vitamin E
- Patch test any new bond before full application
How to Apply Lash Bond Correctly
Applying lash bond correctly is crucial for a comfortable and long-lasting result. Start by ensuring your natural lashes are clean and free of any makeup or oils. Use a lash brush or spoolie to comb through your lashes, separating them. Then, take a lash cluster and apply a thin layer of bond to the base of the cluster, using the applicator tip. Wait 10-15 seconds for the bond to become tacky.
Next, press the cluster onto your natural lash, starting from the outer corner and working your way in. Hold it in place for a few seconds to allow the bond to set. Repeat this process for each cluster, spacing them evenly. Once all clusters are placed, apply the sealant over the bonded areas to activate the bond and ensure a strong hold. Allow the sealant to dry completely before touching your lashes.
- Apply bond to the cluster, not directly to your natural lashes
- Wait for the bond to become tacky before pressing
- Always finish with a sealant to lock in the hold
Frequently Asked Questions About Lash Bonds
How long do lash bonds last?
With proper application and aftercare, lash bonds can last anywhere from 3 to 5 days. The longevity depends on your natural lash growth cycle, the quality of the bond, and how well you avoid oil-based products near your eyes. To maximize wear, avoid oil-based makeup removers and keep your lashes dry for the first 24 hours.
Can I use lash bond with any lash cluster?
Yes, lash bonds are generally compatible with all types of lash clusters, whether they are synthetic, silk, or mink. However, it's important to ensure that the bond is applied to the base of the cluster, not the hairs themselves, to avoid clumping. Always check the manufacturer's instructions for specific compatibility notes.
Is lash bond safe for sensitive eyes?
Many lash bonds are formulated to be gentle and are safe for sensitive eyes, but it's crucial to check the ingredients for potential allergens. Look for bonds that are latex-free and formaldehyde-free. If you have a history of eye irritation, perform a patch test on your arm before applying to your eyes. If you experience any discomfort, remove the lashes immediately and consult an eye care professional.
How do I remove lash clusters bonded with lash bond?
To remove lash clusters, apply a dedicated lash remover, such as the Bond Breaker Lash Remover, to the bonded area. Wait a few minutes for the bond to dissolve, then gently slide the cluster off. Never pull or tug, as this can damage your natural lashes. Using a proper remover ensures painless removal and keeps your natural lashes healthy.
Product Facts: Bonds and Accessories
- Bond Breaker Lash Remover: Remove your lash clusters quickly and gently. This portable lash remover contains a gentle formula that breaks down the bond without pulling or tugging. Using a dedicated remover like this ensures you don't damage your natural lashes when taking off your extensions, making it a must-have for any DIY lash routine.
- Applicator Tips (Legacy): Keep your DIY lash extension toolkit ready with these Applicator Tips from Lilac St. Designed as a practical accessory for at-home lash application, these tips help you handle and place lashes with more control. Precision is key when applying bonds, and these tips give you the control needed to place lash clusters accurately without waste or mess.
Choosing the right lash bond is essential for achieving beautiful, long-lasting DIY lash extensions without damaging your natural lashes. By understanding how bonds work and what to look for, you can make an informed decision that suits your needs. For a complete at-home lash experience, consider starting with the Deluxe Starter Kit Set - Natural, which includes everything you need to get started. Happy lashing!