Quick answer
Start with Learn to Draw Under the Sea and work through one habitat section at a time, copying each sequential step before adding the creature to the two-page landscape at the end of that section.
Why the habitat-by-habitat approach works
The book groups drawing lessons by ocean habitat—reef, open ocean, the deep, and a selection of aquatic mammals—rather than mixing creatures randomly. That structure lets a beginner focus on one set of shapes and proportions before moving to a very different environment.
Each section closes with a two-page underwater landscape meant to be populated with the creatures you just practiced. Use that spread as a low-pressure review: it shows whether you can recall the steps without tracing every line.
A note on materials and expectations
The catalog does not specify a recommended pencil grade, paper weight, or eraser type, so treat those as personal choices. A standard graphite pencil and a separate eraser let you test light construction lines before committing to darker outlines.
Because the book is 32 pages of detailed drawing instruction, it is a compact introduction rather than an exhaustive reference. Expect to repeat a step several times on scrap paper if a shape feels unfamiliar—repetition is part of the method, not a sign you are using the book incorrectly.
How to work through the book, step by step
- Choose one habitat section and read the whole sequence first: Open to the reef, open ocean, or deep section and look through every step for one creature before you pick up a pencil. Common mistake: starting to draw the moment you see the first step, then discovering later steps change the proportions. Checkpoint: you should be able to describe the final shape in your own words before drawing.
- Sketch the construction lines lightly: Copy each sequential step with a light touch so early guide marks are easy to adjust. Common mistake: pressing hard on the first oval or triangle, which leaves grooves and makes later corrections visible.
- Compare your drawing to the step before moving on: After each step, hold your page beside the book and check the angle and size of the new lines. Common mistake: rushing ahead and only noticing a misplaced fin or tail after the outline is finished. Checkpoint: fix one proportion at a time rather than erasing the whole drawing.
- Add the habitat features from the same section: Draw the coral, rocks, or other features shown alongside the creature so the scene has context. Common mistake: treating habitat details as decoration and drawing them at the same scale as the main animal.
- Populate the two-page landscape at the end of the section: Use the closing underwater landscape to place several creatures you have practiced, varying their size and position. Common mistake: crowding every creature at the same depth, which flattens the scene. Checkpoint: overlap one creature slightly behind another to create depth.
- Repeat the section on a fresh page without copying: Redraw one creature from memory, then reopen the book to compare. Common mistake: skipping this review and assuming the first copy means the steps are learned.
Product facts
-
Learn to Draw Under the Sea: Artist Linda Bleck designed the book as an educational introduction to drawing sea creatures and habitat features in sequential steps. The step-by-step sequence gives beginners a clear order to follow instead of asking them to invent a drawing from scratch.
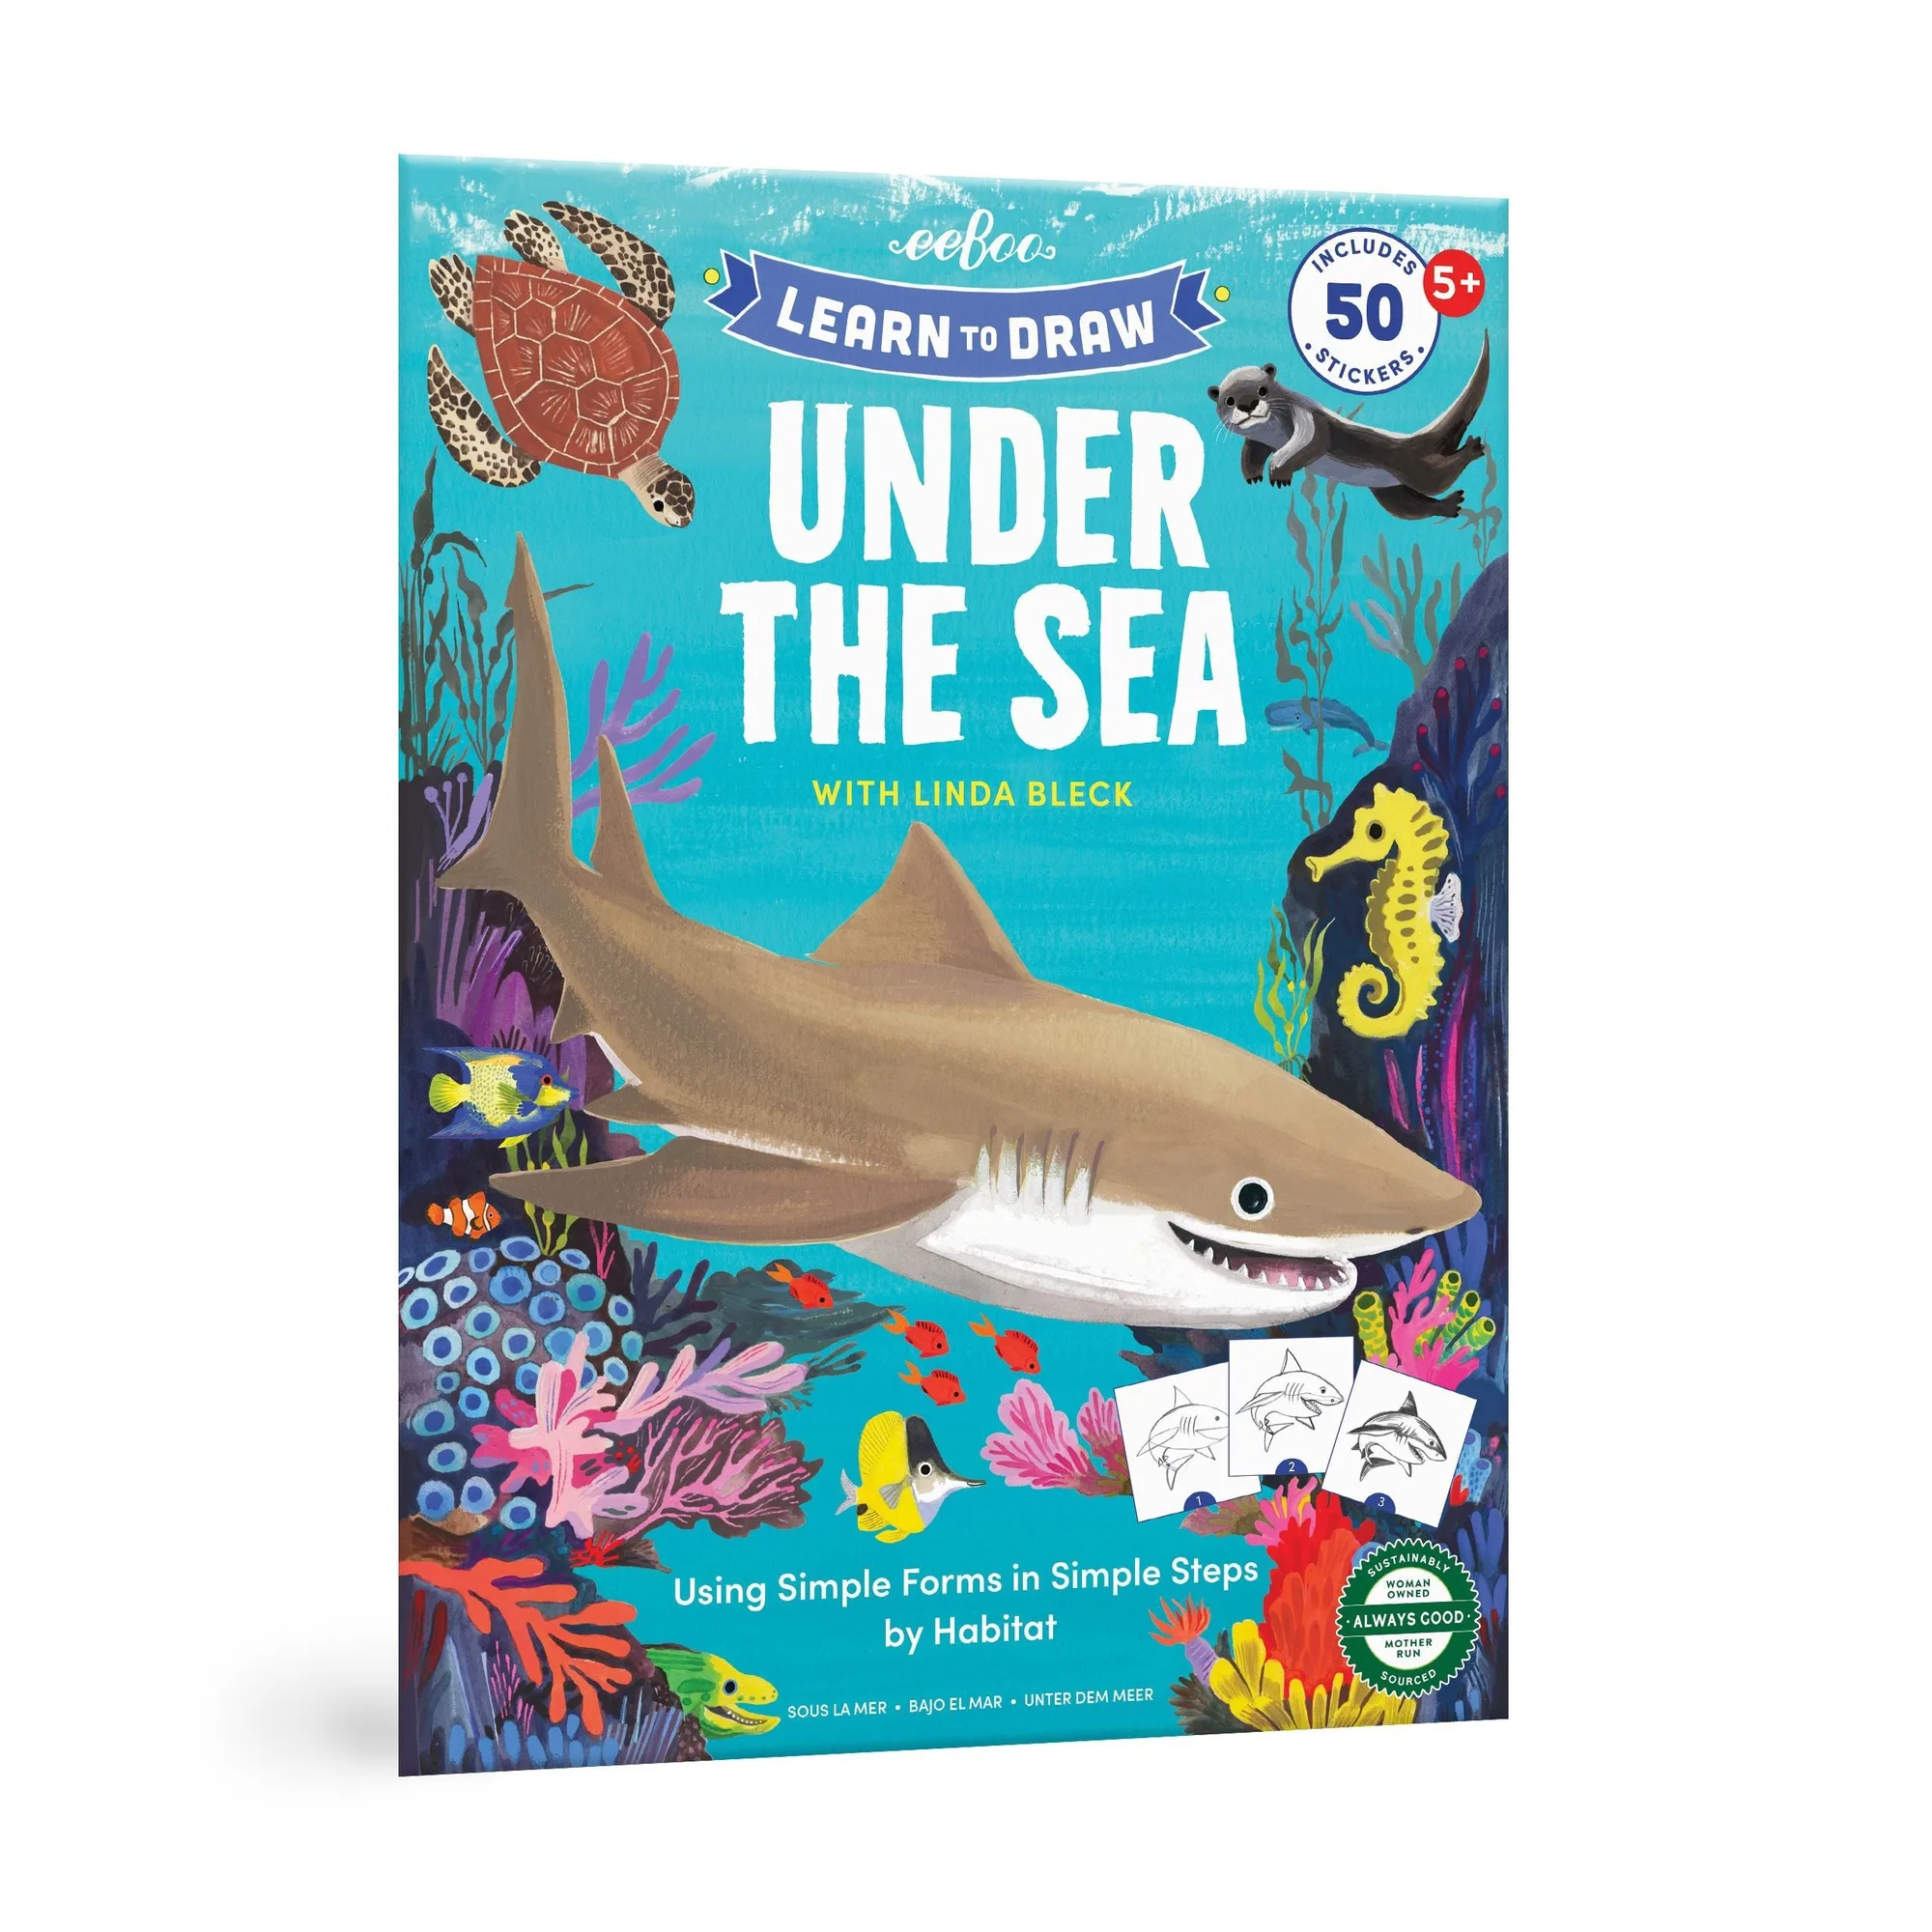
Learn to Draw Under the Sea