Quick answer
The Leather Card Holder Kit gives you pre-cut vegetable-tanned leather, brass rivets, and clear instructions — you just need a hammer, a metal dot anvil, and a hard surface to finish it in under an hour.
What's in the box and what's not
Each Leather Card Holder Kit includes two pieces of vegetable-tanned leather (front and back), two brass rivets, and a step-by-step instruction sheet. The leather is pre-cut and pre-punched, so you don't need a craft knife or hole punch. You will need to supply a metal dot anvil, a hammer, and a hard, stable surface. These tools are not included because the kit is designed for makers who already own basic hardware-setting tools or want to buy them separately.
Standard vs. Seconds: the trade-off
The standard Leather Card Holder Kit (product ID 1238885) uses A-grade vegetable-tanned leather that will develop a rich patina over time. The Leather Card Holder Kit (Seconds) (product ID 1238884) uses B-grade leather with minor surface imperfections such as stretch marks or bug bites. The Seconds kit costs slightly less ($18.25 vs. $18.00 at catalog comparison price $25.00) and is a great way to save money if you don't mind cosmetic quirks. Both kits use the same brass rivets and produce the same functional card holder.
How to decide: standard kit or seconds kit
- Choose the standard kit if: You want a card holder with a clean, even leather surface that will develop a natural patina over time. This is also the better choice if you're making a gift.
- Choose the Seconds kit if: You're on a tighter budget, plan to use the card holder for yourself, or enjoy the character that minor leather blemishes add. The savings are small but real.
- Assembly steps: 1. Place the leather pieces with the pre-punched holes aligned. 2. Insert a brass rivet through both holes. 3. Place the rivet head on the anvil and tap the post with a hammer until it mushrooms and locks. 4. Repeat for the second rivet. That's it — your card holder is ready to use. Practice on a scrap piece of leather first if you've never set a rivet.
Kit comparison at a glance
-
Leather Card Holder Kit (Seconds): The leather in these B-Grade has minor imperfections, such as stretch marks, bug bites, or other textural blemishes. You get the same construction and function for a lower price, but the leather surface won't be perfectly uniform.
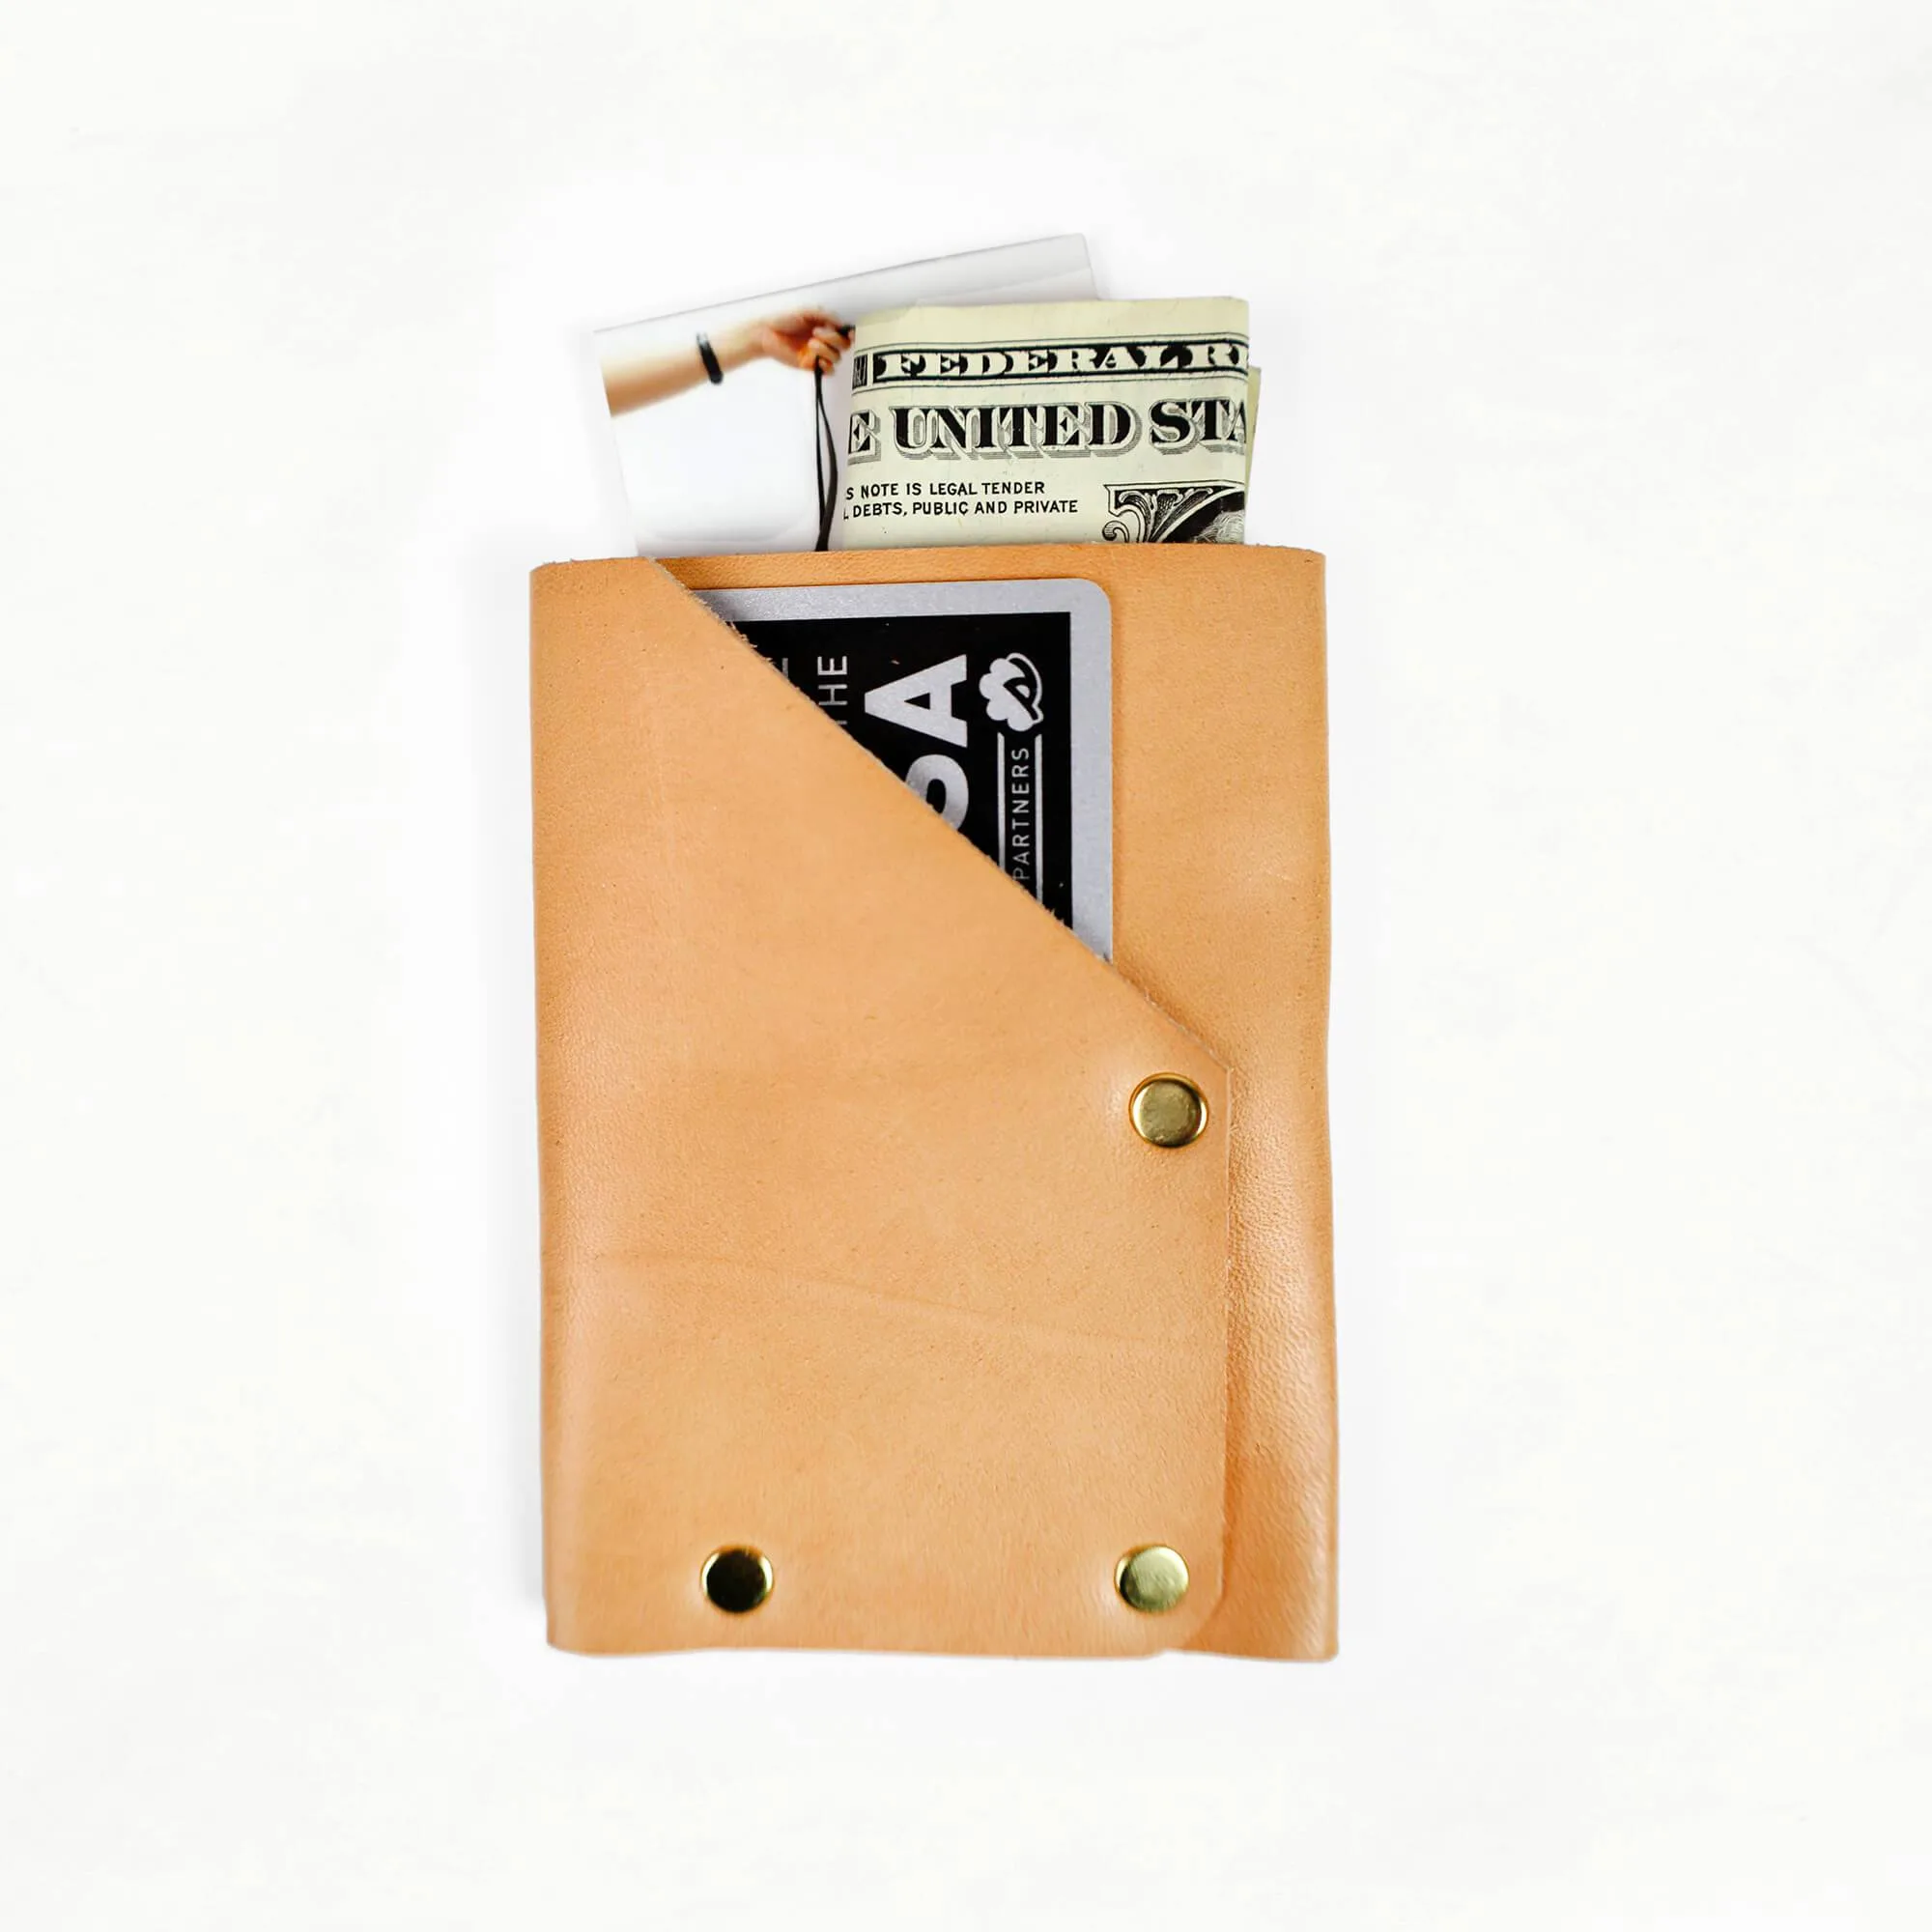
Leather Card Holder Kit (Seconds)
-
Leather Card Holder Kit: Veg-tanned leather has natural inconsistencies that add to its character. It will darken in color and develop a beautiful, worn-in patina. This kit gives you a flawless starting surface that will age gracefully, making it ideal if you want a pristine finished piece or a gift.
Leather Card Holder Kit
Who this kit works best for
Best for
- Beginners who want a quick, satisfying leather project with no sewing or cutting
- Experienced makers looking for a 30-minute gift or stash project
Not ideal for
- Shoppers who want a finished, ready-to-use card holder (this is a DIY kit)
- Makers who don't own a metal dot anvil and hammer and don't want to buy them