Quick answer
Use a leather gauge with the material relaxed and the plunger seated flat, then read the dial in ounces or millimeters and record the average of at least three spots. A leather ounce gauge is the practical choice for most project work; a caliper is better for thin or rigid materials.
Why leather thickness varies across one hide
A single hide is rarely one uniform thickness. The back, belly, and neck areas can differ enough to change how a project fits or folds. Measuring only the first spot you touch can lead you to cut a strap or panel from a section that is thinner or thicker than expected.
Take readings from the area you actually plan to cut, not from the edge of the hide. If the project needs consistent thickness, measure several candidate sections before marking your pattern.
Leather gauge vs caliper: which tool fits the job
A leather gauge with a spring-loaded plunger is fast and forgiving on soft, compressible leather. A caliper can give finer readings on thin or firm materials, but it is easier to over-compress soft leather and get a low reading.
For routine project work in ounces, a dial gauge indexed in both ounces and millimeters saves conversion steps. For very thin linings or rigid materials where you need a precise millimeter figure, a caliper may be the better second tool.
When ounce readings are not enough
Ounce markings are convenient for choosing leather weight, but they are not a substitute for a millimeter reading when a pattern specifies exact thickness. If your gauge shows both scales, record both numbers so you can compare against either type of instruction.
Compression is the main source of error. Soft, oiled, or spongy leather can read thinner than it is if you press hard. Measure with light, consistent pressure and check the same spot twice to see whether the reading changes.
How to measure leather thickness step by step
- Let the leather relax flat: Place the leather on a flat surface and let it settle without stretching or curling the edge. Measure away from cut edges, folds, and stamped areas. If the leather will not lie flat, the plunger can lift it and give a false reading.
- Zero-check the gauge: Close the plunger fully with nothing between the contacts and confirm the dial reads zero. Adjust the dial if your gauge allows it. A gauge that does not return to zero will shift every reading by the same amount.
- Seat the plunger with light pressure: Lower the plunger until it just contacts the leather, then release it and let the spring do the work. Do not squeeze the frame or press down on the dial. Heavy pressure compresses soft leather and reads thin; keep pressure the same at every spot.
- Read ounces and millimeters together: Note both numbers if the dial shows them, and write them down immediately rather than relying on memory. Recording both units prevents conversion mistakes when matching a pattern or a supplier's specification.
- Measure at least three spots: Take readings across the section you plan to cut and average them. If the spread is large, choose a different section or adjust the project. One reading is a sample, not a measurement of the whole panel.
- Confirm with a second pass: Re-measure the same spots once more. If the numbers differ, check for a tilted plunger, a curled edge, or leather that has compressed under the first pass. Repeatable readings matter more than a single precise-looking number.
Product facts
-
Leather Gauge: The Leather Gauge is indexed in both ounces and millimeters and has an easily adjustable dial. You can compare a reading directly against patterns or suppliers that use either unit without converting by hand.
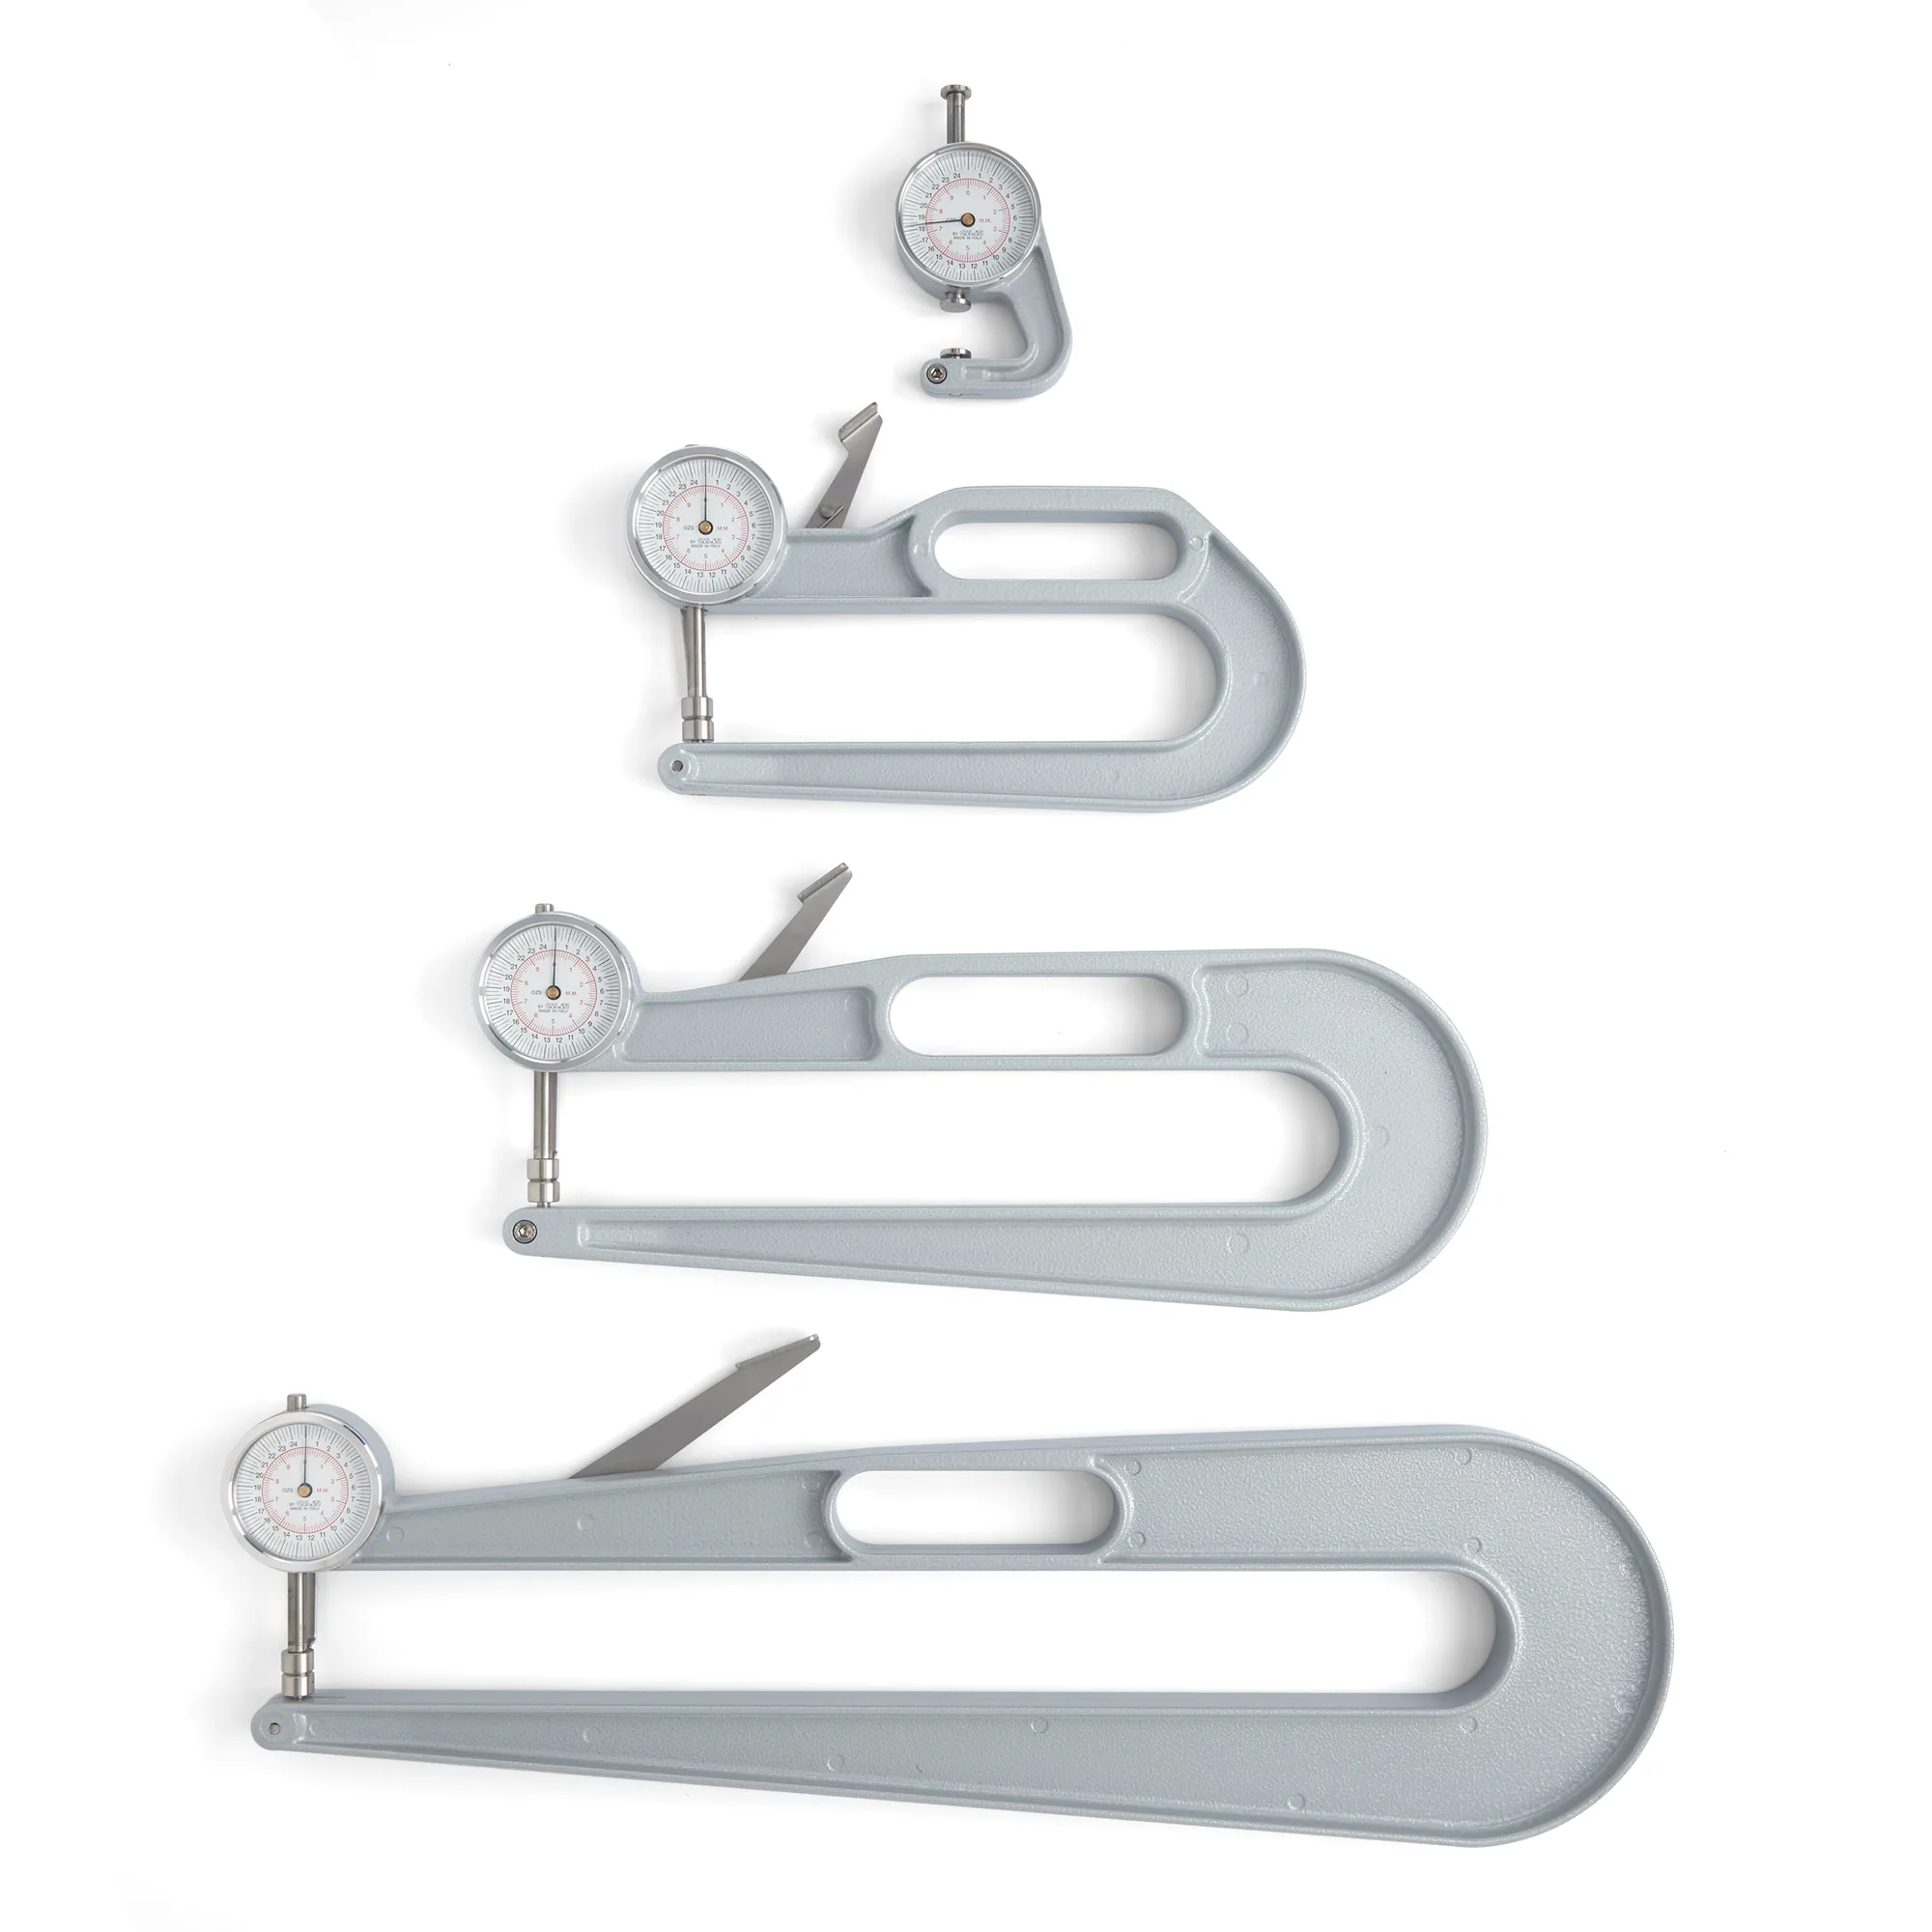
Leather Gauge