Start with the mounting method, not the position
The LED Safety Light is not a clip-on beacon in the usual sense. It attaches to the CoyoteVest or SpikeVest with Velcro, so the first question is not which D-ring or strap to clip to, but which Velcro surface on the vest gives you a stable, visible mount.
The supplied instructions allow one light on top of the vest or one on each side, and you can mix and match as you please. That flexibility is the whole point: placement should follow your dog's shape, the vest model, and the direction you want the light to face, not a single fixed spot.
A practical placement routine
Work through these steps with the vest on your dog so you can judge visibility from the front, side, and rear.
- Put the vest on first: Fasten the CoyoteVest or SpikeVest as you normally would. Placement decisions made on a loose vest often change once the vest is fitted.
- Choose a top or side mount: The supplied instructions support one light on top of the vest or one on each side. A top mount keeps the light high and easy to see from a distance; side mounts can keep a light visible from both flanks.
- Use the separate Velcro piece for under-spike mounting: CoyoteVest includes a separate piece of Velcro that makes it easy to hang the LED under the spike strips on the back of the vest. Use that piece when you want the light tucked below the spikes rather than sitting on top of them.
- Press the Velcro firmly and check it by hand: Give the light a gentle tug before you head out. The supplied information does not specify a pull-force rating or a minimum contact area, so a hand check is the honest checkpoint.
- Set flashing or steady on: A simple push-button control lets you choose flashing or steady on. Pick one and confirm it is working before the walk starts.
What the LED Safety Light adds to a night walk setup
-
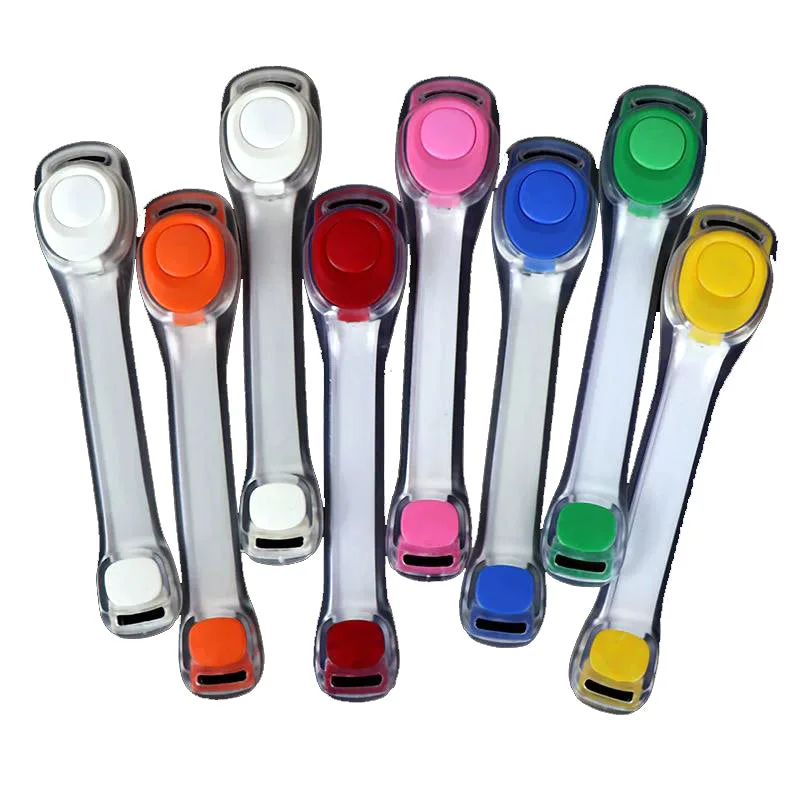
LED Safety Light: The LED Safety Light attaches to the CoyoteVest or SpikeVest with Velcro and can be placed on top of the vest or one on each side. This is the core placement rule. It tells you the light is a Velcro-mounted accessory for those vests, not a generic clip for any harness or collar.
LED Safety Light
-
LED Safety Light: A separate piece of Velcro is included to hang the LED under the spike strips on the back of the vest. If you want the light below the spikes rather than on top, this is the supplied method for doing it.
-
LED Safety Light: The light is sealed in silicone rubber for water resistance and weighs 1.5oz, a little heavier than the original LED flashers. Weight and sealing affect how the mount feels and how much weather exposure it can handle, so they belong in the placement decision.
Top mount vs. side mount: how to decide
A top mount on the back of the vest is the simplest starting point. It keeps the light above the spike strips and makes the light easy to reach for the push-button control. If you use the separate Velcro piece, you can instead hang the light under the spike strips, which keeps it lower and more tucked in.
Side mounts are useful when you want the light visible from both flanks, for example on a narrow path where a driver or cyclist approaches from the side. The supplied instructions explicitly allow one light on each side, so a two-light setup is a supported configuration rather than a workaround.
There is no supplied rule about a best height, angle, or distance from the ground. Treat placement as a visibility judgment: stand a few steps away in low light and check whether the light reads clearly from the directions that matter on your route.
Mounting choices at a glance
- One light on top of the vest: Easiest to reach and simple to check. Good default for a single-light setup.
- One light on each side: Supported by the supplied instructions and useful when side visibility matters more than a single high point.
- Under the spike strips using the included Velcro piece: Keeps the light below the spikes on the back of the vest. Use the separate Velcro piece supplied for this.
- With a HawkShield: The supplied details say the lights can even be used with a HawkShield. Check the mounting surface on your own setup before committing.
Battery, color, and control details that affect placement
The LED is rated to operate for up to 96 hours with a set of replaceable watch batteries, and a second set of brand new batteries is included. That rating is a manufacturer figure for the light itself, not a promise about how often you will need to swap batteries on your walks.
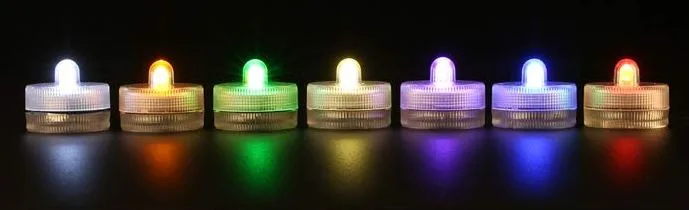
Color is the other placement-adjacent choice. The light is available in Blue, Pink, Orange, Yellow, Red, Green, and White. A brighter-looking color against your dog's coat and your usual walking environment is a reasonable tiebreaker when you are deciding which light goes on which side.
The push-button control is simple, but it is still worth pressing it once after mounting. A light that switched on in your hand can be switched off by a firm Velcro press if you are not paying attention.
LED Safety Light details for your setup
- LED Safety Light: The light uses a simple push-button control with flashing or steady on, and is rated for up to 96 hours with a set of replaceable watch batteries; a second set of batteries is included. These are the operating facts you need to confirm before and during a night walk.
- LED Safety Light: Available colors are Blue, Pink, Orange, Yellow, Red, Green, and White. Color choice is part of a visibility setup, especially when you run one light per side.
What the supplied information does not settle
Be honest about the limits of the instructions. The supplied record does not give a recommended mounting height, a required angle, a minimum distance from the ground, or a pull-force specification for the Velcro. It also does not state a waterproof depth rating, only that the light is sealed in silicone rubber for water resistance.
That means you should not treat any particular position as a manufacturer-mandated one. The supported rule is the mounting method and the allowed positions: Velcro attachment to the CoyoteVest or SpikeVest, one on top or one on each side, with the separate Velcro piece available for under-spike mounting.
- No stated height or angle: Choose a position you can see and reach, then check it in low light.
- No stated Velcro pull rating: Do a hand tug check before each walk.
- Water resistance, not a depth rating: The light is sealed in silicone rubber for water resistance; the supplied information does not give an immersion rating.
A simple night-walk visibility setup
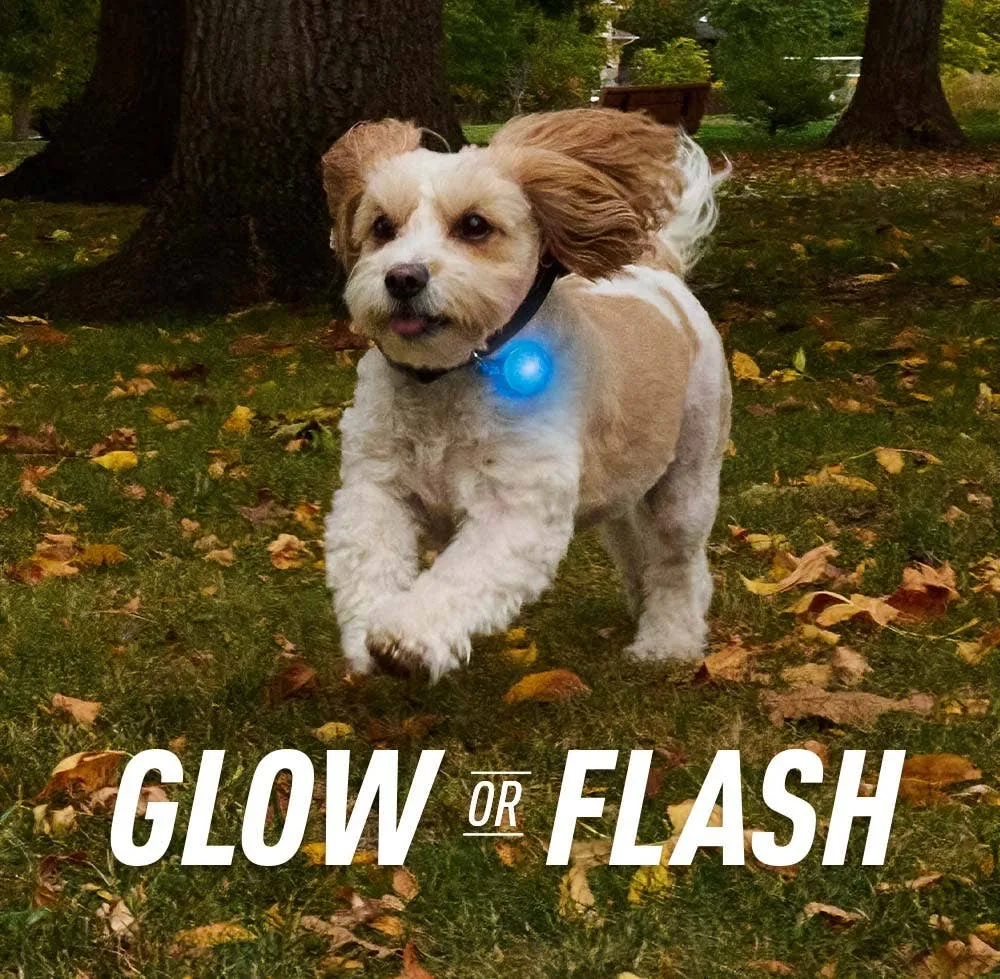
For most dogs, one LED Safety Light on top of the CoyoteVest or SpikeVest is enough to know where your dog is in the dark, which is the problem the light is meant to solve when coyotes are near your home. If your route has traffic approaching from the side, add a second light on the opposite side using the same Velcro method.
Keep the setup repeatable: same vest, same mounting points, same button press before you leave. That habit makes it easier to notice when a light has shifted, dimmed, or come loose, and it keeps your dog vest visibility setup consistent from one night to the next.