Quick answer
Sort the 118 pieces by color and shape before you start, follow the picture instructions page by page, and press every plate fully down as you go. Once the jet is built, treat the luggage cart and four minifigures as part of the play, not extras.
Why the Starter Brick changes the build order
The set includes a Starter Brick, which gives young builders a larger base to attach the first sections onto. That makes the early pages more forgiving, but it also means the model gets wide before it gets tall. Clear a flat surface about the size of a dinner plate so the wings and tail have room to spread out without knocking into other toys.
Where young builders usually get stuck
The most common slowdown is not a hard step but a skipped one: a small accessory or a minifigure part left in the bag until the end. Because the jet, luggage cart, and four minifigures are built from the same 118 pieces, it is easy to assume a leftover piece belongs to a later model. Keep the bags separate until each section is finished, and check the picture instructions for the small sub-builds before moving on.
What this set does and does not include
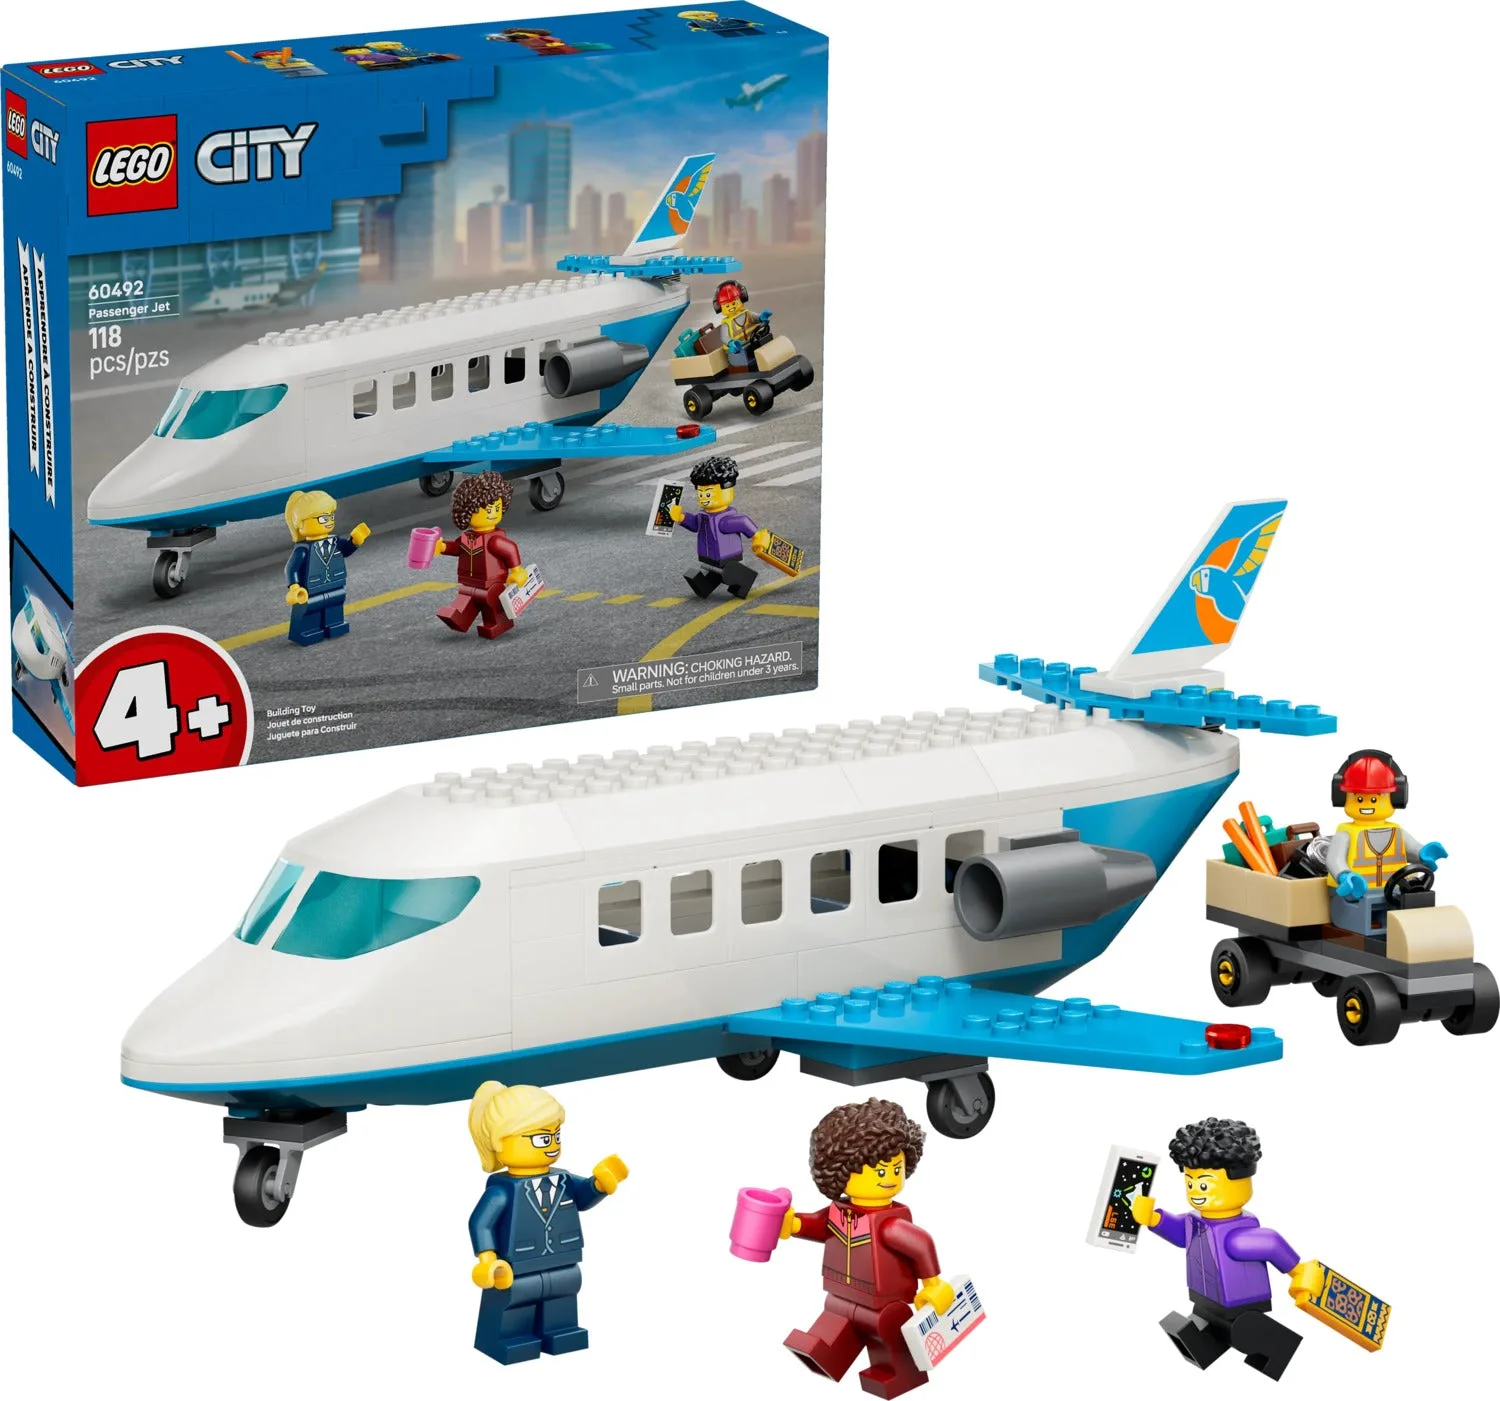
This is a compact airport scene, not a full terminal. The catalog lists a toy plane, a luggage cart, four minifigures, and accessories such as suitcases, a camera, and a boarding pass. It does not list an airport building, runway, or extra vehicles, so plan play around the jet and cart rather than expecting a complete airport. That smaller scope is also what keeps the build short enough for one sitting.
Build and play steps
- Unpack and sort by sub-build: Open the bags and separate pieces into three groups: plane, luggage cart, and minifigures with accessories. Keep the instruction booklet open at the page that matches the group you are building. Common mistake: mixing all 118 pieces into one pile, which makes the small accessories hard to find. If a piece seems missing, check the minifigure and accessory group before searching the floor.
- Build the plane body on the Starter Brick: Start with the Starter Brick base and follow the picture instructions for the fuselage before attaching wings or tail. Press each plate down until you feel it click. Checkpoint: the body should sit flat on the table with no loose edges before you add the wings.
- Attach wings and tail last: Add the wings and tail only after the body is complete, and support the model with one hand while pressing pieces on with the other. Common mistake: pressing hard on a finished wing and popping off a plate underneath. Do a gentle shake test over the table; any rattle means a plate is not fully seated.
- Assemble the luggage cart and load it: Build the cart, then place the suitcases on it and check that they sit without tipping. Keep the camera and boarding pass in a small bowl nearby so they do not get lost between play sessions.
- Assign the four minifigures: Set out the pilot, airport worker, and two passengers, and decide who holds the boarding pass and camera. Common mistake: letting the pilot wander off before the plane is 'boarded', which breaks the play routine. Name each figure's job out loud once; kids remember roles better than pieces.
- Run a boarding and takeoff routine: Load suitcases onto the cart, seat the passengers, have the airport worker guide the plane with the aircraft wands, and let the pilot take off. Repeat the sequence in reverse for landing and baggage claim. If play stalls, ask the child what happens next at the airport rather than suggesting a new game.
Product facts
-
60492 Passenger Jet: 118-piece set with a toy plane, luggage cart, and 4 minifigures. The piece count is small enough for a single build session, and the cart and figures give kids something to do besides flying the plane.
60492 Passenger Jet