What the LEGO Creator 3in1 Retro Telephone Offers
The LEGO Creator 3in1 Retro Telephone (31174) is a 383-piece building set that lets you create three different vintage phone models from the same bricks. Designed for nostalgic adults and creative kids aged 8 and up, it offers a hands-on building experience with a touch of retro charm.
The primary model is a 1960s-style rotary phone with a liftable receiver, flexible cord, and a spring function that mimics hanging up. The set also includes a brick-built pencil and a customizable sticky notepad with three tile options for different messages.
Product Facts from the Catalog
-
Lego: Retro Telephone: The set features 3 different building options with the same bricks: a retro phone from the 1960s, a phone from the 1980s on a charging base, or two phones from the 2000s. Knowing the three build options helps you decide which model to build first and plan for future rebuilds.
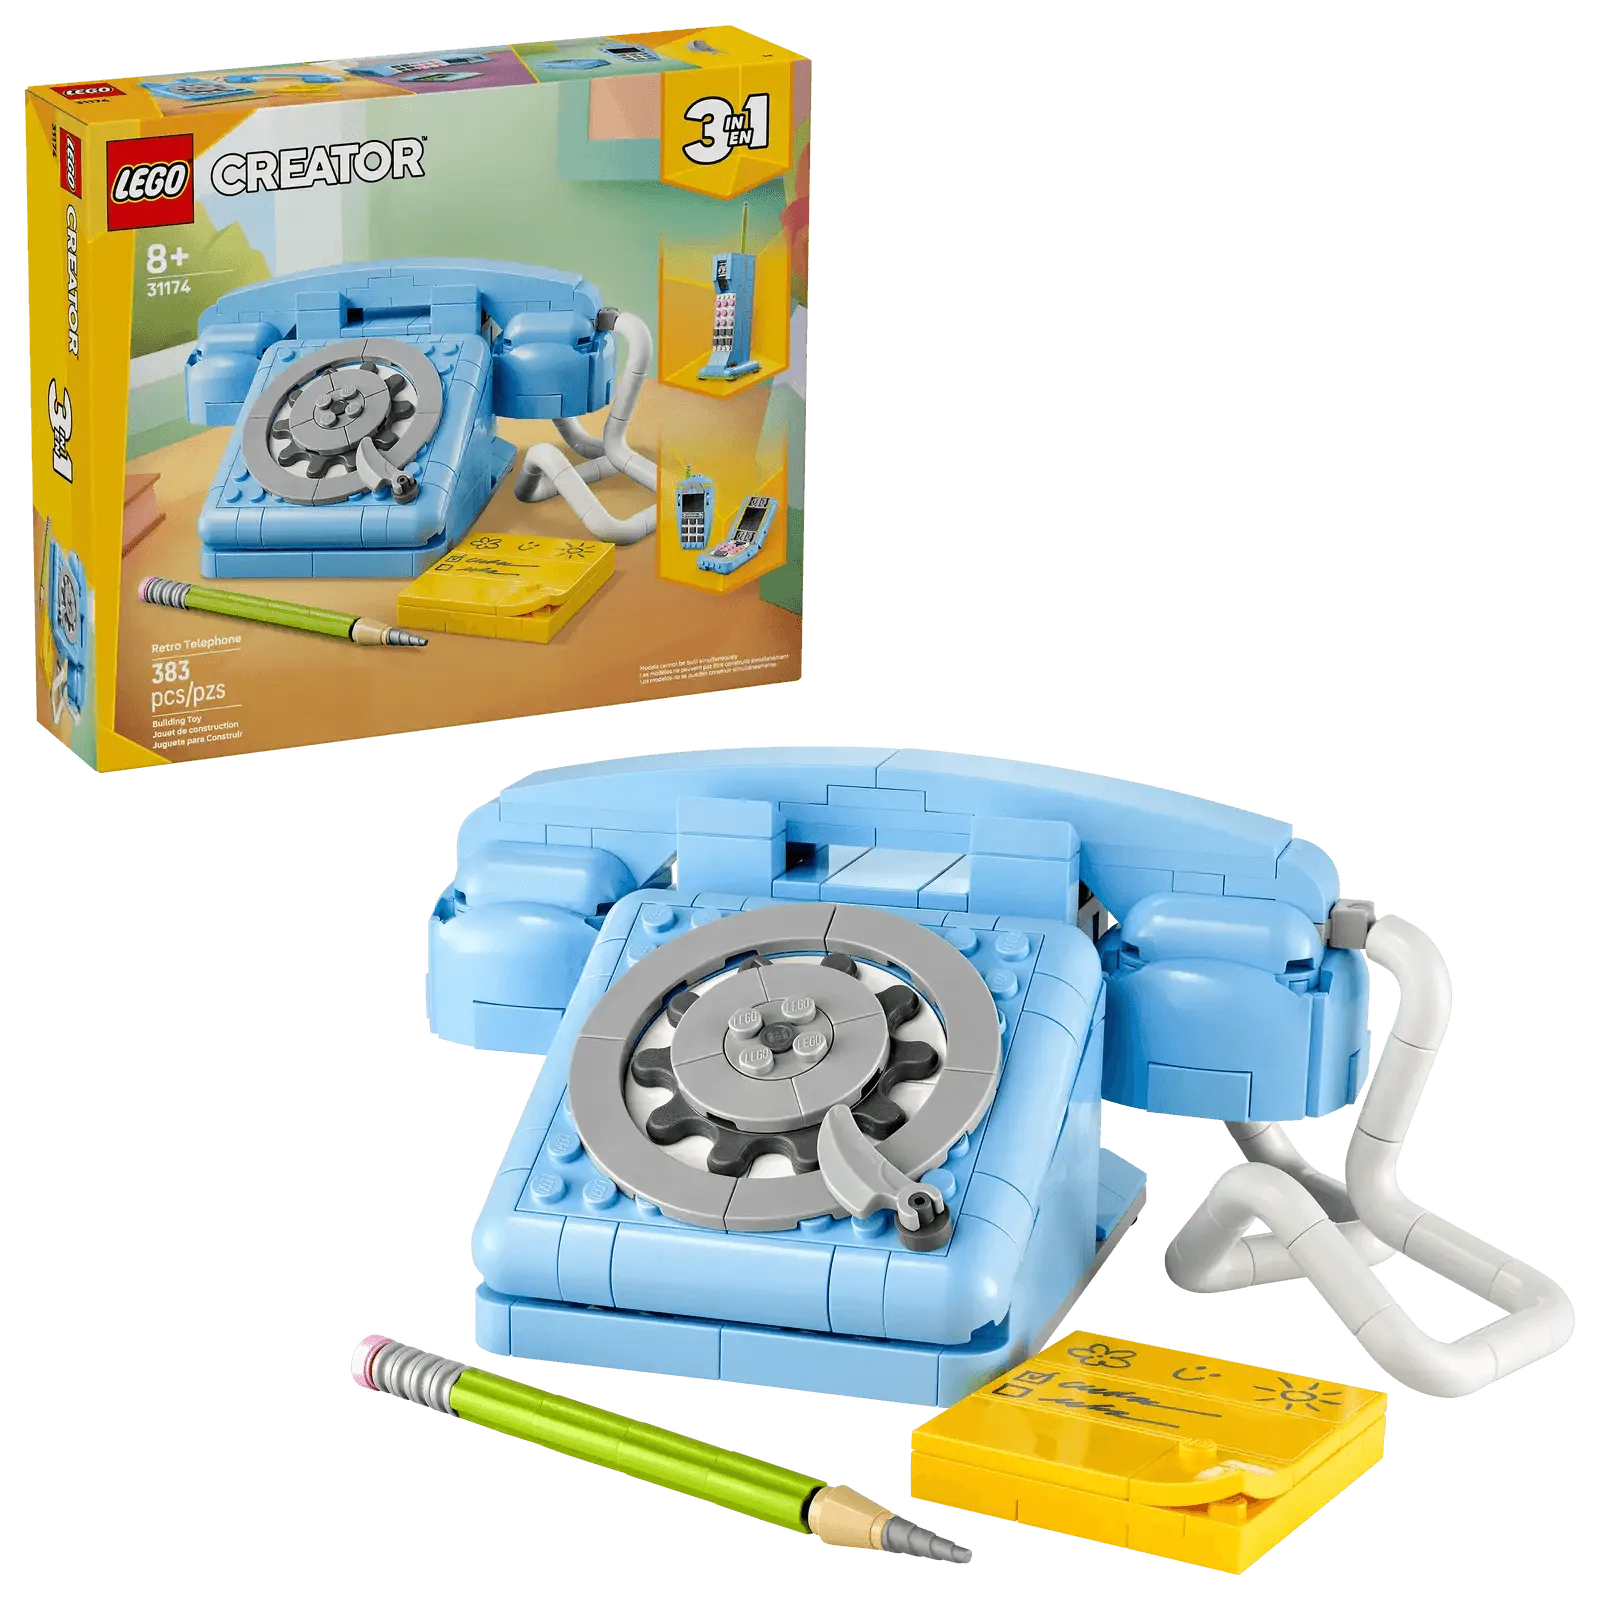
Lego: Retro Telephone
-
Lego: Retro Telephone: The retro phone includes a liftable receiver, a flexible cord, a rotary dial, and a spring function for when callers hang up. These interactive features make the model more than just a display piece—it's a toy with moving parts.
-
Lego: Retro Telephone: The set contains 383 pieces and is recommended for ages 8 and up. The piece count and age rating give a sense of build complexity and suitability for different skill levels.
How to Build the Retro Telephone (1960s Model)
The following steps outline the general process for building the primary 1960s phone model. Since the set offers multiple builds, you can choose to follow the included instructions for the 1980s or 2000s models later.
- Sort the bricks: Open the box and separate the 383 pieces by color and size. This makes it easier to find parts as you follow the instructions.
- Build the base and dial: Start with the phone's base, attaching the rotary dial mechanism. Ensure the dial spins freely before moving on.
- Attach the receiver and cord: Build the handset receiver and connect it using the flexible cord. The receiver should lift easily and the cord should bend without strain.
- Add the notepad and pencil: Construct the brick-built pencil and assemble the sticky notepad. Choose one of the three tile messages to personalize your phone.
- Test the spring function: Once complete, gently press the receiver down to check the spring function. It should return to the lifted position when released.
Tips for a Smooth Build
Work on a flat, well-lit surface to avoid losing small pieces. If you're building with a child, take turns placing bricks to make it a shared activity.
Remember that only one model can be built at a time—the set does not contain enough pieces for simultaneous builds. If you want to switch to the 1980s or 2000s phone, you'll need to disassemble the current model first.
Store the instruction booklet safely, as it contains the steps for all three designs. You can also download digital instructions from LEGO's website if needed.
Who This Set Is For
The LEGO Retro Telephone is a good fit for kids aged 8 and up who enjoy creative building and imaginative play. It also appeals to adults who appreciate retro design and want a quick, satisfying build.
If you're looking for a gift that offers multiple building experiences in one box, this 3in1 set delivers variety without needing extra pieces.