Quick answer
To fit Lemon Squeezer Hat Heads cleanly, trim the neck peg at an angle and test-fit before gluing. For conversions, the spare hat lets you swap hats between heads or add them to existing models.
Why fitting matters for character heads
Lemon Squeezer Hat Heads have a distinctive wide brim that can interfere with collar or shoulder pads if not positioned correctly. A poor fit makes the head sit too high or at a tilted angle, breaking the natural line of the miniature. Taking time to adjust the neck joint gives a more professional result.
Step-by-step fitting and conversion tips
- 1. Trim the neck peg at an angle: Use a hobby knife to cut the neck peg at a 45-degree angle, removing about 1-2 mm. This creates a natural tilt and lowers the head so it sits flush with the torso. Common mistake: cutting straight across leaves the head looking stiff and elevated.
- 2. Dry-fit before gluing: Place the head on the body without glue and check the alignment from all angles. The hat brim should clear the shoulders and the face should point forward or slightly downward. If the head rocks or leans, trim more from the high side of the peg.
- 3. Use the spare hat for head swaps: Carefully cut the hat off a spare head using a fine saw or blade. Sand the underside flat and glue it onto a different head (e.g., a bare male head) to create a custom Lemon Squeezer character. Checkpoint: the hat must sit level; use a tiny bit of putty to fill gaps if needed.
- 4. Add a neck filler for seamless joins: After gluing, apply a small amount of green stuff or model filler around the joint. Smooth it with a wet tool to hide the seam and match the collar line. Skipping this step can leave an obvious line that distracts from the paint job.
Product facts
-
Lemon Squeezer Hat Heads Male x10: Includes 10 male heads featuring classic Lemon Squeezer hats, plus one spare hat for customization. The spare hat lets you experiment with conversions without sacrificing a complete head.
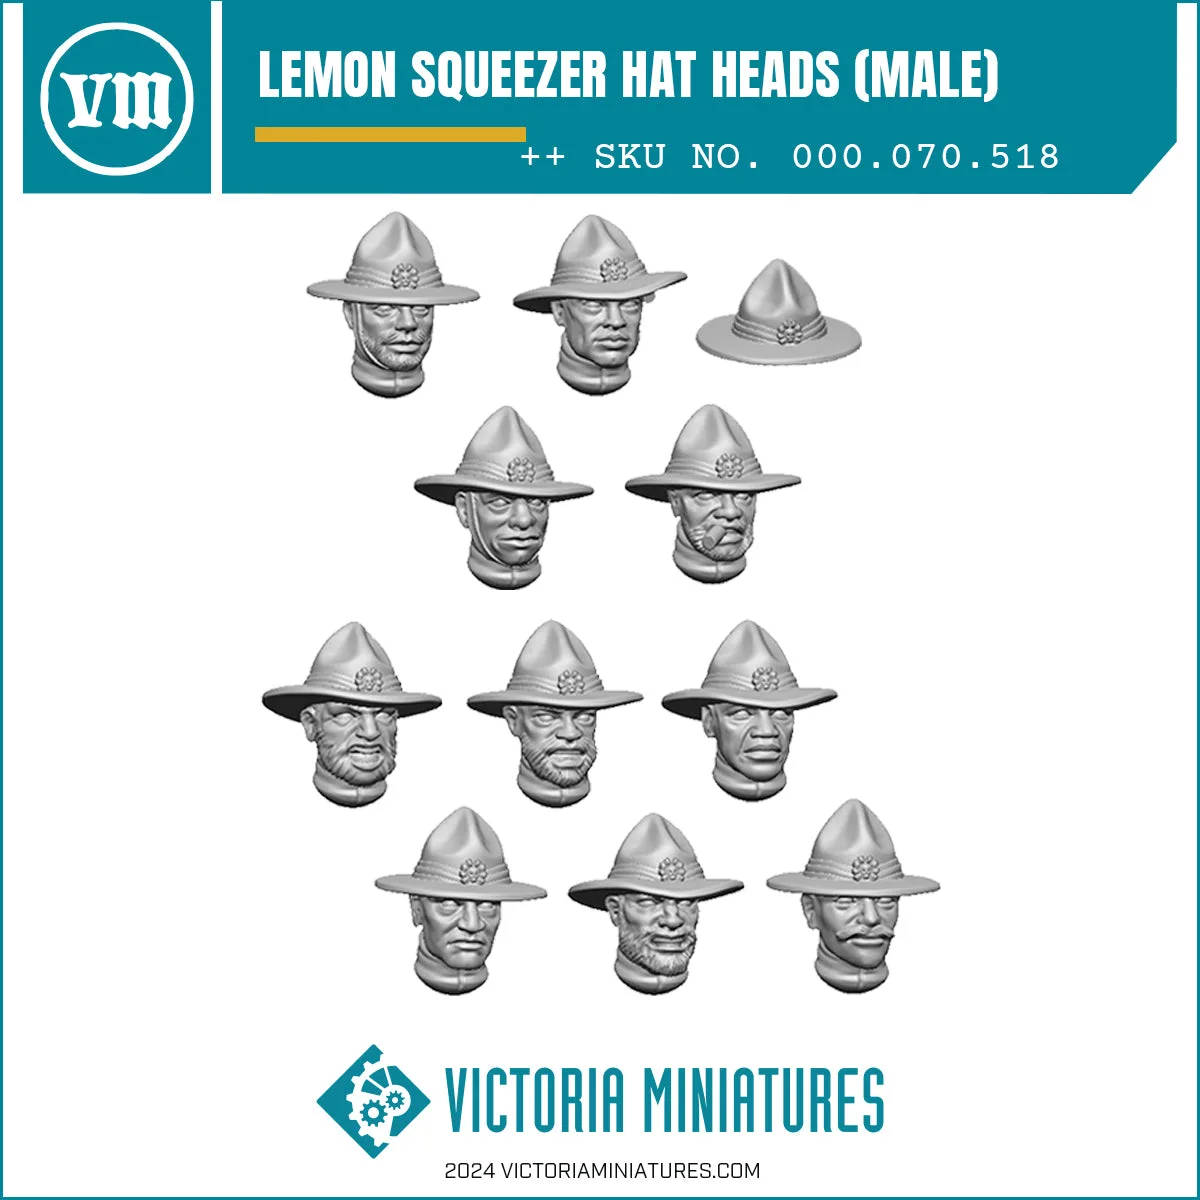
Lemon Squeezer Hat Heads Male x10