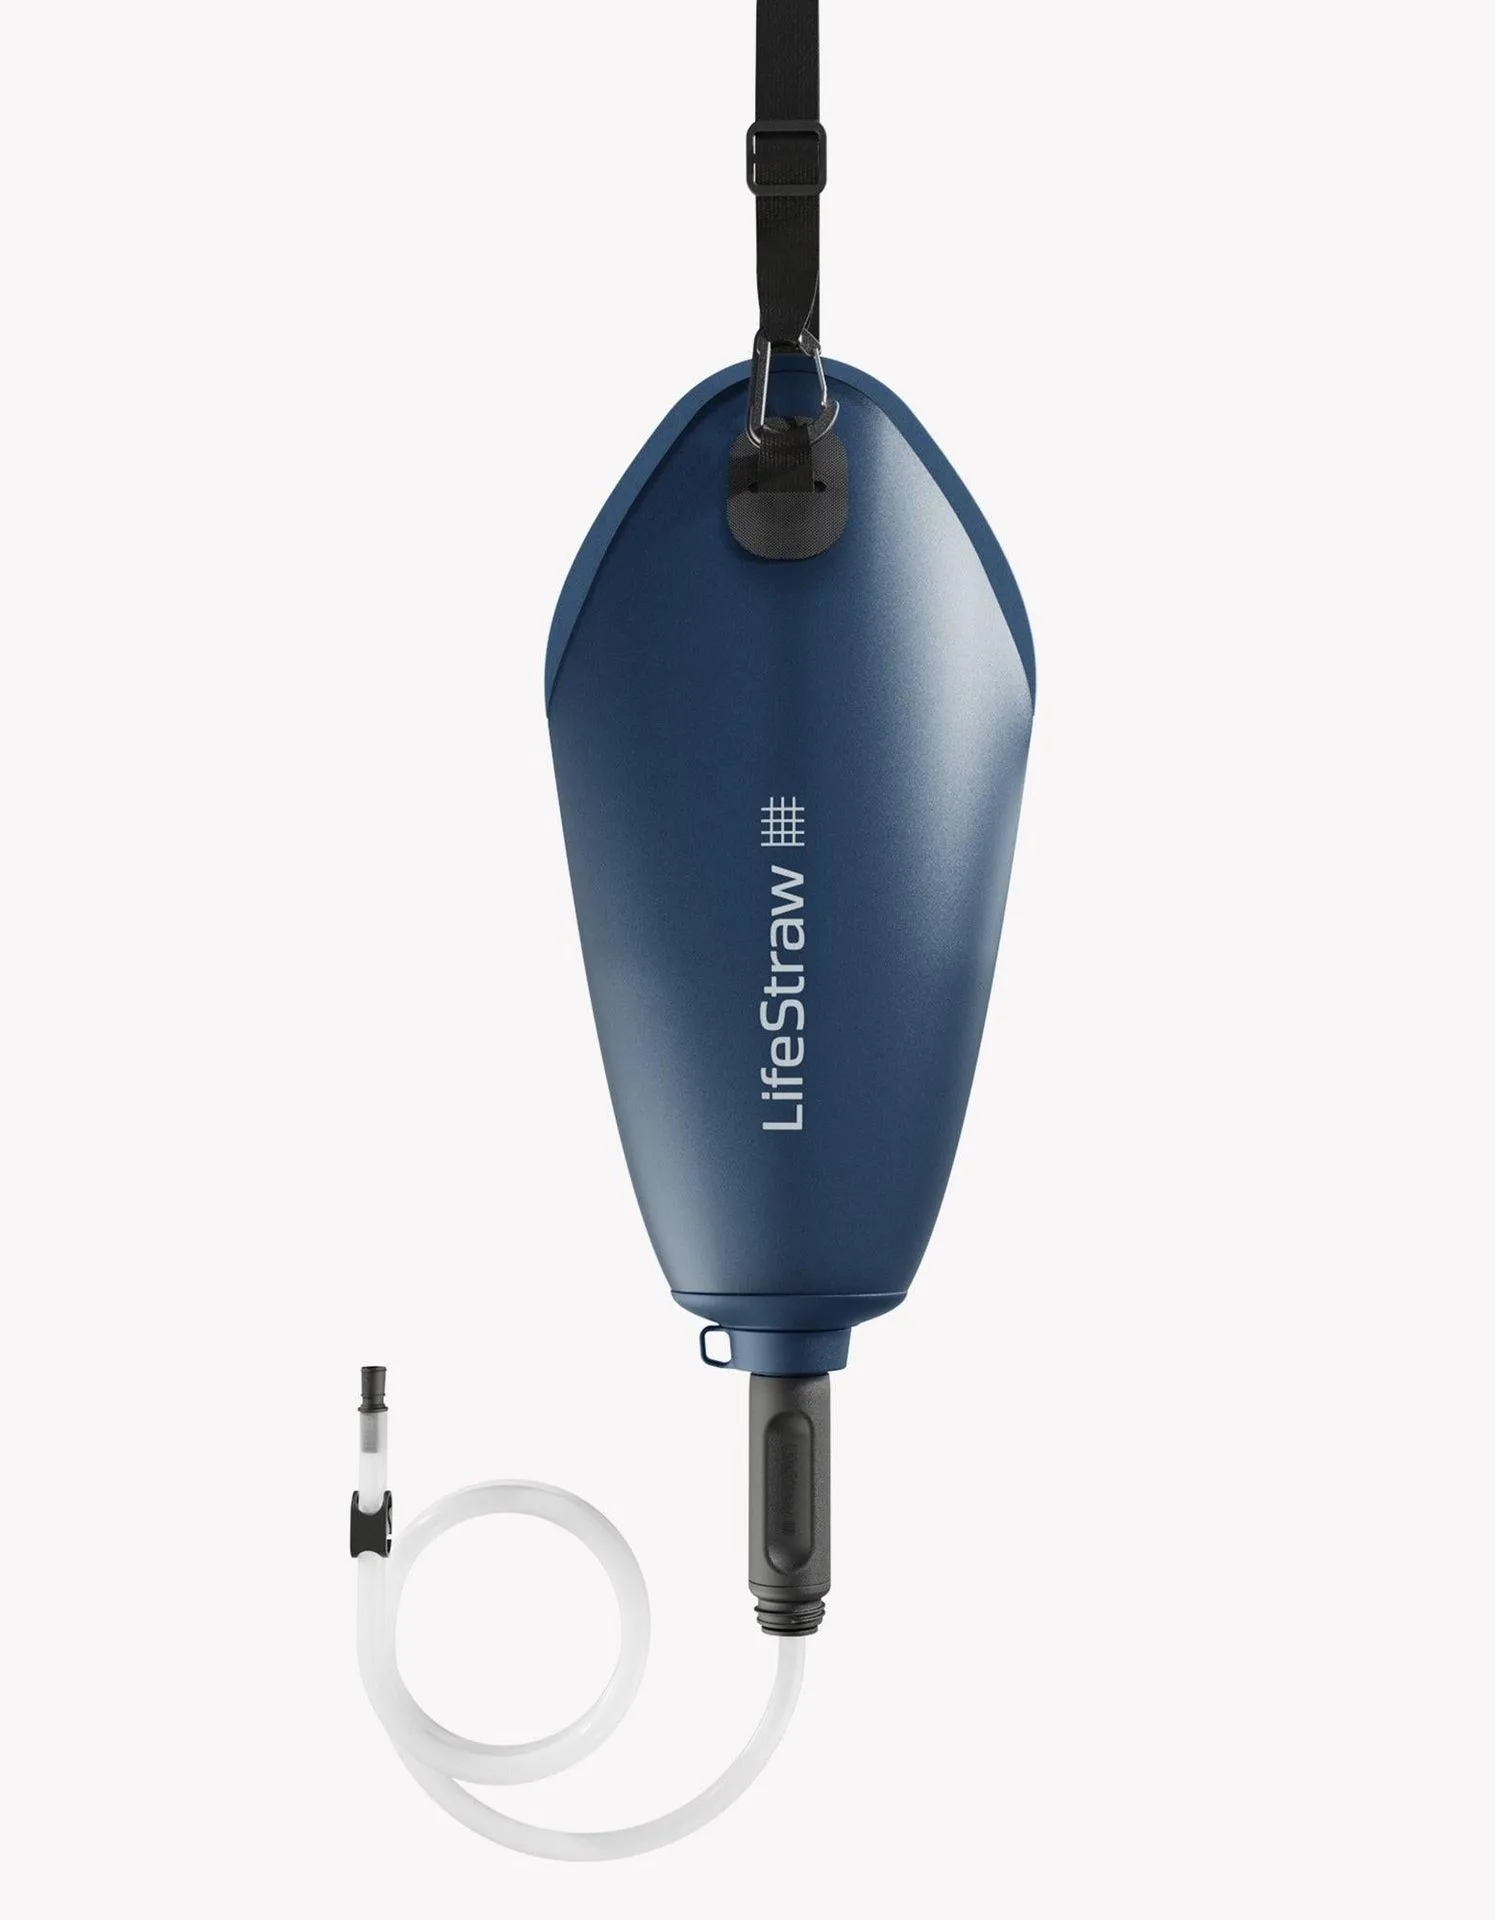
Long-distance hiking demands reliable access to clean water, but carrying enough for days on the trail is impractical. Many hikers rely on hydration bladders like CamelBak for hands-free sipping, yet refilling from streams, lakes, or rivers requires a water filter. The challenge is integrating a filter into your bladder system without slowing down or compromising safety. This guide explains how to use a LifeStraw with a CamelBak or any hydration bladder for long-distance hiking, covering setup, maintenance, and the best LifeStraw models for the job.
LifeStraw filters are renowned for their lightweight design and effective microbial removal, but they are not traditionally built to attach directly to hydration bladders. However, with a few adaptations and the right components, you can create a seamless trail hydration system. Whether you're thru-hiking the Appalachian Trail or tackling a multi-day trek, this method keeps you hydrated without the hassle of stopping to filter water manually.
Why Combine a LifeStraw with a Hydration Bladder?
Hydration bladders offer convenience: they distribute weight evenly, allow hands-free drinking, and hold several liters of water. But filling them from untreated sources risks waterborne illnesses. A LifeStraw removes bacteria, parasites, and microplastics, making wild water safe. Combining both gives you the best of both worlds: the bladder's ease of use and the filter's protection.
For long-distance hiking, time and energy are precious. Instead of stopping to pump or squeeze water through a filter, you can fill your bladder directly from a source while the LifeStraw filters it as you drink. This inline setup reduces stops and keeps you moving. It also eliminates the need to carry extra bottles or a separate filter system, saving pack weight.
- Reduces time spent filtering water on the trail
- Keeps your hands free for navigation or trekking poles
- Lowers risk of contamination from dirty bottles or hands
Choosing the Right LifeStraw for Bladder Integration
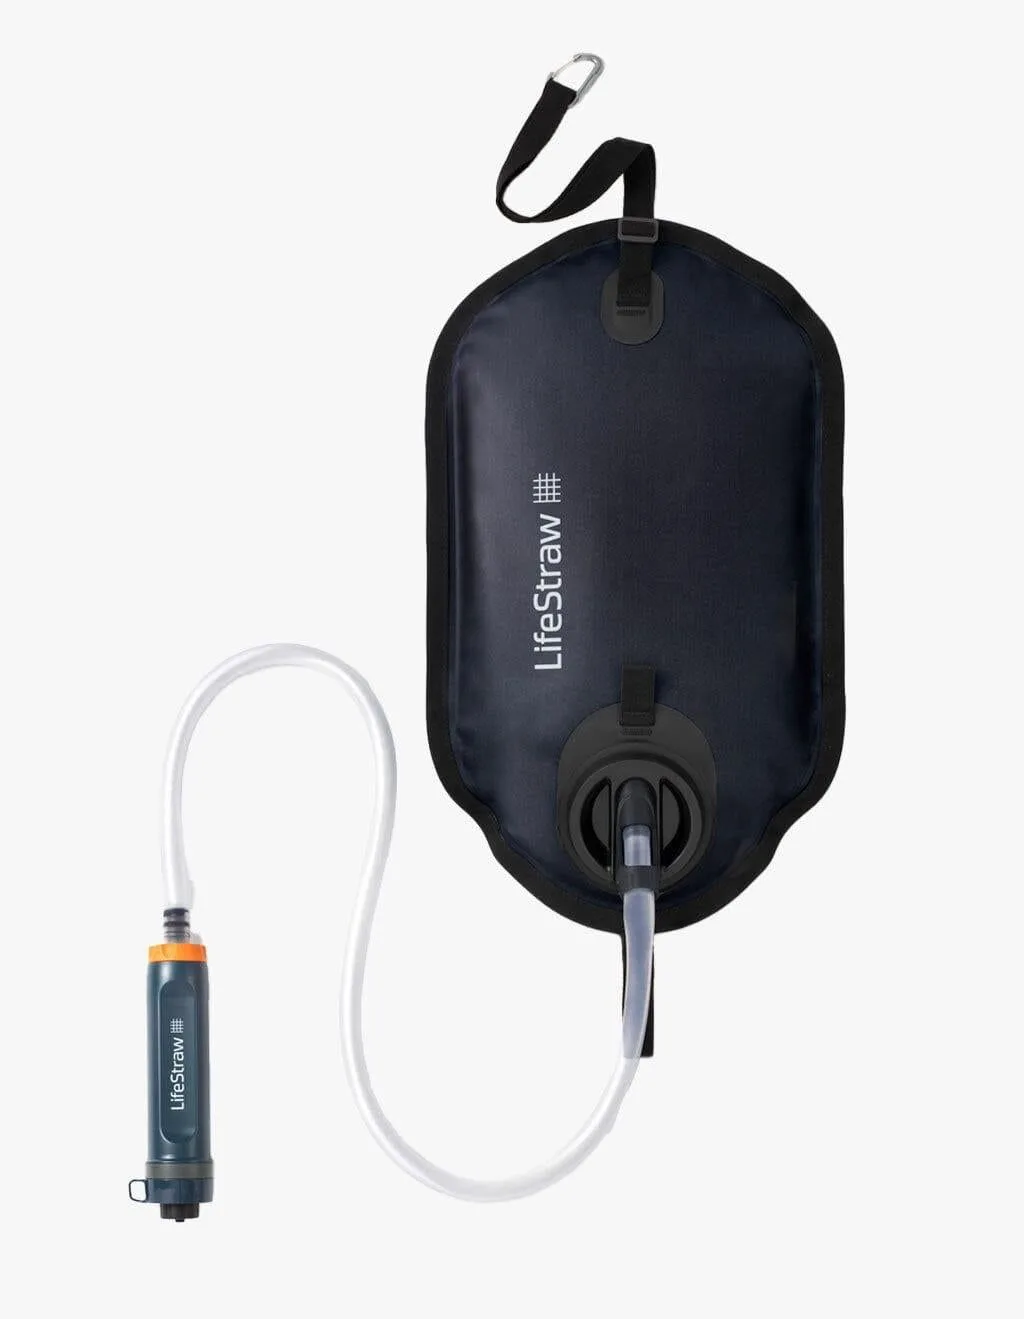
Not all LifeStraw models work well with hydration bladders. The standard LifeStraw is designed for direct drinking from a water source, not for inline use. However, the LifeStraw Peak Series Gravity Filter System – 3L is an excellent choice because it includes a gravity bag and hose that can be adapted to a bladder. Alternatively, the https://outdoorvault.store/products/lifestraw-go-series-stainless-steel-24-oz-limited-edition-63335LifeStraw Go Series Stainless Steel 24 oz - Limited Edition can be used as a pre-filter to fill your bladder, though it requires manual squeezing.
For the most streamlined setup, consider using a LifeStraw that fits into the drinking hose of your bladder. Some hikers use a LifeStraw Universal Adapter (available separately) to connect the filter directly to the bladder's bite valve. The key is to ensure the filter sits between the water source and your mouth, so every sip is purified.
- LifeStraw Peak Series Gravity Filter System – 3L: ideal for gravity-fed inline filtering
- LifeStraw Go Series Stainless Steel 24 oz - Limited Edition: good for pre-filtering water into a bladder
- Always check compatibility with your bladder's hose diameter (typically 1/4 inch)
Step-by-Step Setup: Connecting LifeStraw to Your CamelBak
Start by removing the bite valve from your CamelBak hose. Attach the LifeStraw filter to the hose using a short piece of tubing or an adapter. If you have the LifeStraw Peak Series Gravity Filter System – 3L, you can use its included hose and connector. For other models, a quick-connect coupling from a hardware store may be needed. Ensure all connections are tight to prevent leaks.
Next, fill your bladder with untreated water from a stream or lake. The LifeStraw filter will remove contaminants as water passes through to your mouth. To prime the system, suck on the bite valve until water flows. This may take a few seconds. Once flowing, you can hike and drink normally. Remember to backwash the filter periodically to maintain flow rate, especially after filtering silty water.
- Use a LifeStraw bladder adapter kit for a secure, leak-free fit
- Test the setup at home before your hike to ensure proper flow
- Carry a spare LifeStraw Go Carbon Filter Replacement for extended trips
Maintenance Tips for Trail-Ready Hydration
Keeping your LifeStraw and bladder clean is vital for long trips. After each day, empty the bladder and blow air back through the filter to remove debris. Store the filter in a dry place to prevent mold. If flow slows, backwash with clean water using a syringe or the filter's included cleaning cap. Replace the filter according to the manufacturer's guidelines, typically after 1,000 gallons or when flow becomes too slow.
For the bladder, use a cleaning kit to remove biofilm and bacteria. Avoid using soap on the filter, as it can damage the membrane. Instead, rinse with clean water. On multi-day hikes, consider rotating between two filters to extend lifespan. The LifeStraw Go Series Replacement Mouthpiece (pack of 3) is handy for maintaining hygiene on the trail.
- Backwash the filter after every 4-5 liters of silty water
- Store the bladder and filter in a zip-lock bag to prevent freezing
- Replace the filter every 1-2 years depending on usage
Common Mistakes and How to Avoid Them
One common mistake is attaching the filter backward. Water must flow from the bladder through the filter to your mouth. If you connect it in reverse, unfiltered water will reach your mouth. Always check the arrow on the filter indicating flow direction. Another error is using a filter that is too small for the bladder's output, causing slow flow. The LifeStraw Peak Series Gravity Filter System – 3L is designed for higher flow rates and works well with 2-3 liter bladders.
Hikers also forget to protect the filter from freezing. In cold weather, keep the filter inside your jacket or sleeping bag at night. If water freezes inside, the filter may crack and become unusable. Finally, do not use the filter for saltwater or chemically treated water, as it will clog or damage the membrane.
- Always verify flow direction before hitting the trail
- Use a filter with a flow rate of at least 1 liter per minute for bladder use
- Keep the filter warm in freezing conditions
Integrating a LifeStraw with your CamelBak or hydration bladder transforms your long-distance hiking experience, providing safe, convenient water without extra gear. With the right setup and maintenance, you can stay hydrated and focused on the trail ahead. For a reliable, high-flow option, consider the LifeStraw Peak Series Gravity Filter System – 3L, which adapts easily to most bladders and delivers clean water on demand.