Long bike rides push your endurance, but they also push your hydration needs. Carrying enough water for a full day in the saddle can be bulky, heavy, and impractical — especially on remote gravel or mountain routes where refill points are scarce. That’s where a LifeStraw paired with a hydration bladder becomes a game-changer for cyclists who want to ride farther with less weight.
By combining a lightweight water filter with a standard hydration bladder, you can refill directly from streams, rivers, or taps without worrying about contaminants. This guide walks you through the best LifeStraw models for cycling, how to set up your system, and tips to keep water flowing smoothly on every ride.
Why Use a LifeStraw with a Hydration Bladder for Cycling?
Cycling demands constant fluid intake — even a 2% drop in hydration can reduce performance and increase fatigue. Traditional water bottles limit your range, forcing you to plan around water stops. A hydration bladder holds 1.5 to 3 liters and lets you sip hands-free, but carrying that much water from the start adds unnecessary weight. With a LifeStraw, you can start with a lighter load and refill on the trail, filtering water from natural sources.
LifeStraw filters remove bacteria, parasites, and microplastics, making wild water safe to drink. For cyclists, this means you can stop at a stream, fill your bladder, and keep riding without carrying a heavy supply all day. The setup also reduces plastic waste from disposable bottles — a win for both your ride and the environment.
- Reduces initial water weight by up to 3 liters
- Allows refills from natural sources on remote routes
- Eliminates need for chemical tablets or boiling water
- Keeps hands free for steering and shifting
Best LifeStraw Models for Cycling Hydration Bladders
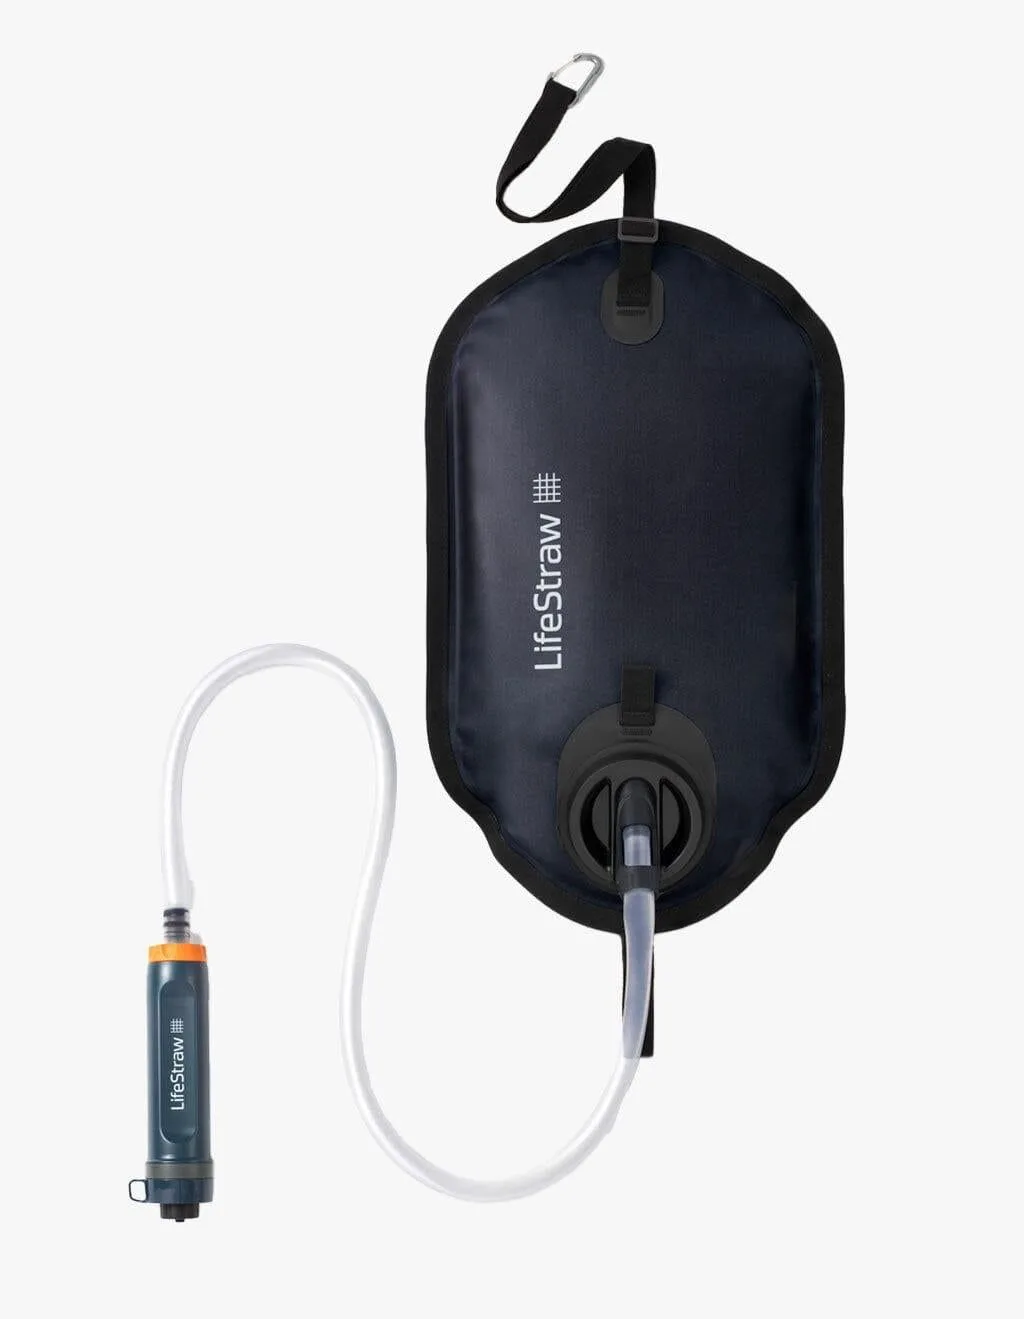
Not all LifeStraws are designed for inline use with a bladder. The best option for cyclists is the LifeStraw Peak Series Gravity Filter System – 3L. It comes with a hose and bite valve that can be integrated into most hydration bladders, and its gravity-fed design means you don’t need to suck hard — just hang the dirty bag, let it filter into your clean bladder, and ride. For longer tours, the LifeStraw Peak Series Gravity Filter System – 8L offers more capacity for group rides or multi-day trips.
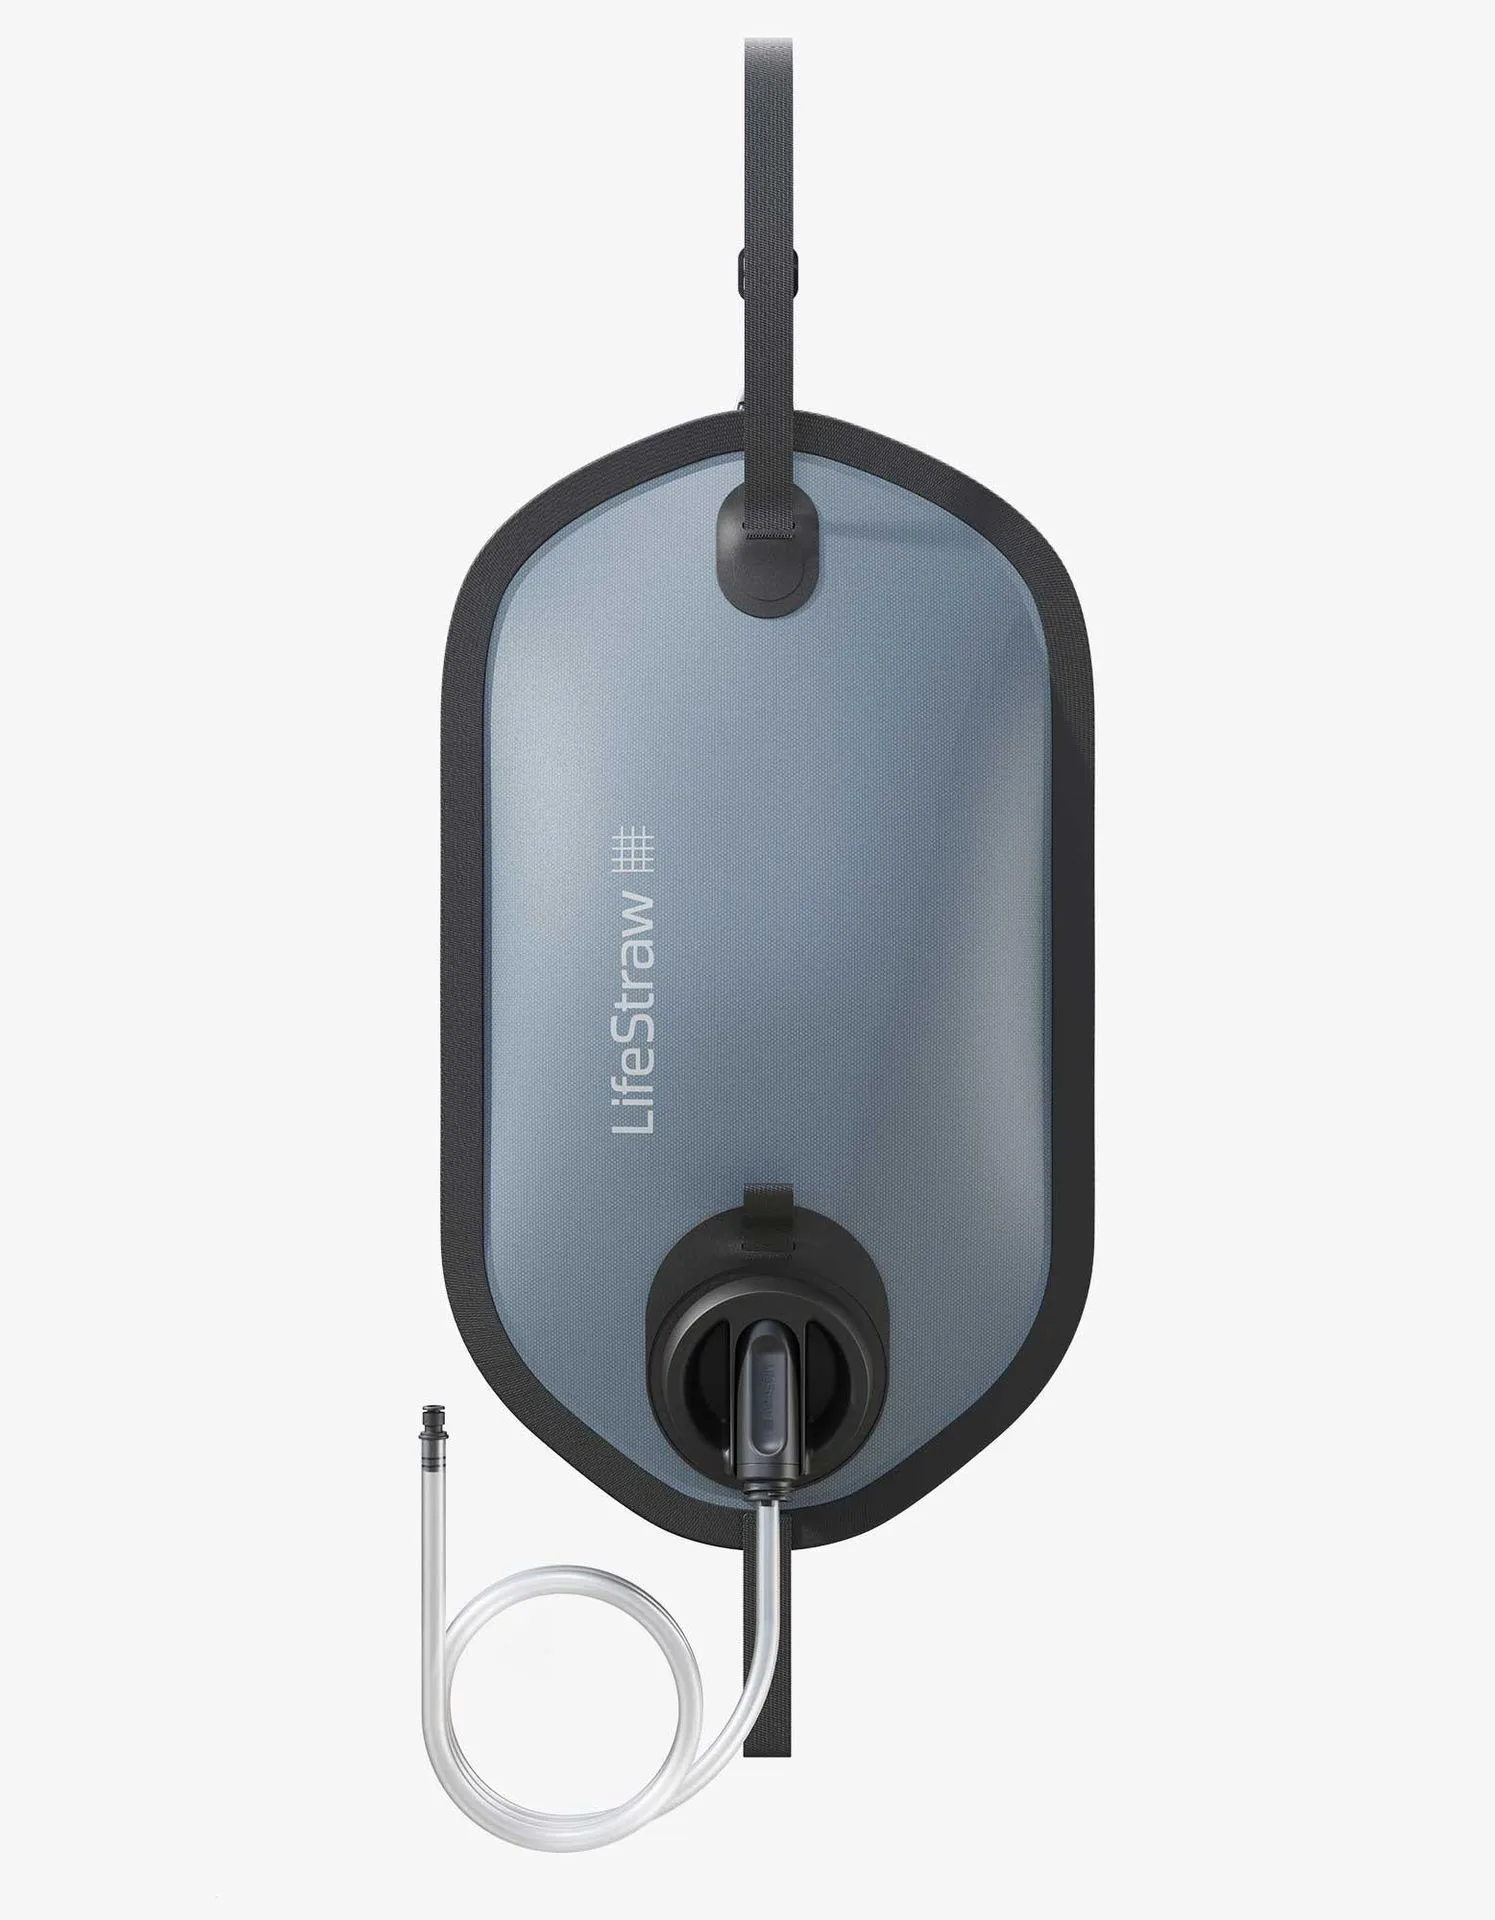
LifeStraw Peak Series Gravity Filter System – 8L
If you prefer a bottle-style filter that can also connect to a bladder, the LifeStraw Go Series Stainless Steel 1L is a durable choice. It fits standard bike bottle cages and can be used as a standalone bottle or as a source to refill your bladder. For cyclists who want a compact backup, the LifeStraw 3 Pack and Carry Case provides three individual straw filters — ideal for emergency use or sharing with riding buddies.
- LifeStraw Peak Series Gravity Filter System – 3L: lightweight, inline, great for solo rides
- LifeStraw Peak Series Gravity Filter System – 8L: larger capacity for groups or multi-day tours
- LifeStraw Go Series Stainless Steel 1L: dual-use bottle that fits standard cages
- LifeStraw 3 Pack and Carry Case: compact emergency backup
Step-by-Step Setup: Connecting LifeStraw to Your Hydration Bladder
Start by choosing a hydration bladder with a standard 1/4-inch hose connector — most brands like CamelBak or Platypus work. If you’re using the LifeStraw Peak Series Gravity Filter System – 3L, the kit includes a clean reservoir and a dirty bag. Fill the dirty bag from a stream or tap, hang it from your bike or a tree, and let gravity pull water through the filter into the clean reservoir. Then attach the clean reservoir’s hose to your bladder or drink directly from the included bite valve.
For a more integrated setup, you can bypass the dirty bag and attach the LifeStraw filter inline between your bladder and drinking hose. This requires an adapter (sold separately or DIY with a hose coupler). Simply cut your bladder hose, insert the filter, and ensure a tight seal. When you drink, water passes through the filter before reaching your mouth. This method works best with low-flow filters and a clean source to avoid clogging.
- Use the dirty bag from the LifeStraw Peak Series for easy gravity filtering
- For inline setup, cut your bladder hose and insert the filter with an adapter
- Always pre-filter muddy water through a cloth to extend filter life
- Test the system at home before a long ride
Tips for Maintaining Flow and Preventing Clogs on the Trail
Flow rate can drop if your filter gets clogged with sediment. To prevent this, avoid filtering visibly muddy water — instead, let it settle in a container for 10-15 minutes, then pour the clearer top layer into your dirty bag. Carrying a lightweight pre-filter cloth or coffee filter helps. Also, back-flush the filter after each ride by pushing clean water through in reverse direction, which dislodges particles trapped in the membrane.
Cold weather can slow flow as water viscosity increases. If riding in winter, keep the filter close to your body (inside a jacket pocket) to maintain warmth. For the LifeStraw Peak Series Gravity Filter System – 8L, the larger surface area helps maintain flow even in cooler conditions. Replace the filter cartridge according to the manufacturer’s guidelines — typically after filtering 1,000 liters or when flow becomes noticeably slow.
- Pre-filter muddy water to avoid clogging
- Back-flush after every ride to maintain performance
- Keep filter warm in cold weather for better flow
- Replace cartridge at recommended intervals
Common Mistakes Cyclists Make When Using LifeStraw with a Bladder
One common mistake is attaching the filter backward — water must flow from the dirty side to the clean side. Always check the arrow on the filter housing. Another error is using a filter that’s too small for group rides. The LifeStraw Peak Series Gravity Filter System – 3L is perfect for solo cyclists, but if you’re riding with friends, the 8L version saves time. Also, avoid leaving water in the bladder for days without cleaning, as bacteria can grow in the tube or bite valve.
Some cyclists forget to prime the filter before first use — this means filling the dirty bag and letting water run through until it flows clear. Skipping this step can result in air pockets that reduce flow. Finally, don’t rely solely on a filter if the water source is chemically contaminated (e.g., near agricultural runoff). LifeStraw filters remove biological contaminants but not chemicals or heavy metals — for those, use a carbon attachment like the LifeStraw Peak Series - Activated Carbon Filter Attachment.
- Always check flow direction before attaching
- Prime the filter before first use
- Clean bladder and hose regularly
- Use carbon filter for chemical concerns
Riding farther means drinking smarter. By pairing a LifeStraw with your hydration bladder, you can refill from nature, carry less weight, and stay hydrated on the longest rides. Whether you choose the compact LifeStraw Peak Series Gravity Filter System – 3L for solo adventures or the larger 8L version for group tours, you’ll have clean water whenever you need it. Explore the full range of LifeStraw cycling solutions and gear up for your next ride with confidence.