Start with a dry fit, not glue
The LOC-I Magnum is designed as a first rocket kit, with a pre-slotted airframe, laser-cut birch fins, and a Kevlar shock cord. Before you open any adhesive, lay out every part and test how they fit together. This dry-fit stage catches mismatches early and keeps your build moving.
The kit includes an engine hook for 18mm motors from A through D impulse. That hook and the motor mount are the first things to check, because they set up the rest of the assembly.
A supported dry-fit sequence for the Magnum
Work through these checkpoints in order. Each one uses only what the kit listing confirms, so you can verify fit without guessing.
- Inspect the pre-slotted airframe: The airframe is pre-slotted and built to twice the thickness of others in its class. Run your finger along each slot and test-fit a fin by hand. The slot should accept the fin tab without forcing.
- Check the laser-cut birch fins: Dry-fit each fin into its slot. The fins are laser-cut for consistency, so any tightness is likely a small burr or a slot that needs light cleanup, not a reason to enlarge the slot.
- Test the engine hook and motor fit: The included engine hook is sized for 18mm motors. Slide a motor into the mount and confirm the hook engages the motor case as intended. Do not bend or trim the hook during this check.
- Lay out the Kevlar shock cord: The Kevlar shock cord is supplied with the kit. Confirm its attachment point and route before the motor mount is glued in place, since access can change after assembly.
- Confirm the vinyl decals and instructions: The kit includes vinyl decals and Magnum instructions. Read the instructions before dry-fitting, and set the decals aside so they stay clean and flat.
What the LOC-I Magnum kit confirms
-
LOC-I Magnum: LOC-I series kits are described as perfect for your first rocket kit and were designed for the classroom environment. This tells you the kit is intended for new builders, so the dry-fit checks above are the right level of prep.
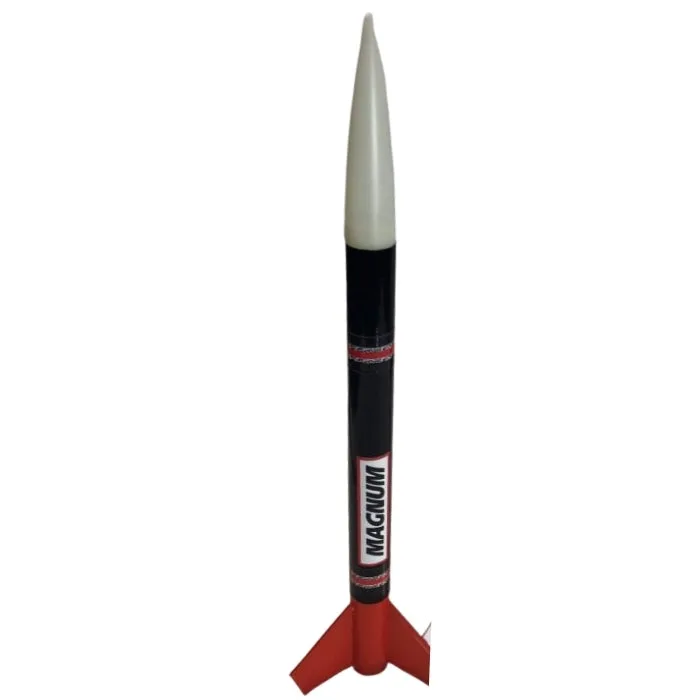
LOC-I Magnum
-
LOC-I Magnum: The pre-slotted airframe is 2x the thickness of others. A thicker airframe resists handling damage during dry fitting, but you still need to check each slot for fit.
-
LOC-I Magnum: Kevlar shock cord and laser cut birch fins add to durability and strength. These are the recovery and fin components you will handle most during prep, so inspect them before assembly.
-
LOC-I Magnum: An engine hook is included for 18mm motors ranging from A-D impulse. This defines the motor mount compatibility you need to verify during your dry fit.
Fit checks the listing does not cover
The catalog does not supply dimensions for the fin tabs, slot depth, or motor mount tube. Treat these as measurements you take yourself during dry fitting rather than assumptions.
- Fin tab depth: Measure the fin tab against the airframe slot. The listing does not give a target depth, so confirm the tab seats fully without protruding into the motor mount area.
- Motor mount alignment: With the engine hook in place, check that the motor slides in and out without binding. The listing does not supply an alignment angle or offset, so verify straightness by eye and by feel.
- Shock cord anchor point: Identify where the Kevlar shock cord attaches before the motor mount is fixed. The listing confirms the cord is included but does not specify the anchor location.
What to leave until after the dry fit
Do not apply adhesive, trim the engine hook, or enlarge any slot until every part has passed the checks above. The kit's classroom design and thick airframe give you room to test-fit, but the supplied information does not include step-by-step assembly instructions beyond the Magnum instructions file. Read that file fully before you commit to glue.
If a part does not fit as expected, stop and compare it to the instructions rather than forcing it. The listing does not provide a troubleshooting guide, so a careful dry fit is your best way to catch problems early.