Achieving the perfect camera angle is one of the most important aspects of any security system. Even the highest-resolution camera won't perform well if it's installed in a spot that leaves blind spots or captures too much glare. That's where the Lorex corner mount bracket comes in — a simple yet essential accessory that lets you position your camera securely on a corner, opening up a wider field of view and reducing obstructions. Whether you're installing a dome camera for discreet monitoring or a turret camera for long-range coverage, the corner mount bracket can dramatically improve your camera's effectiveness.
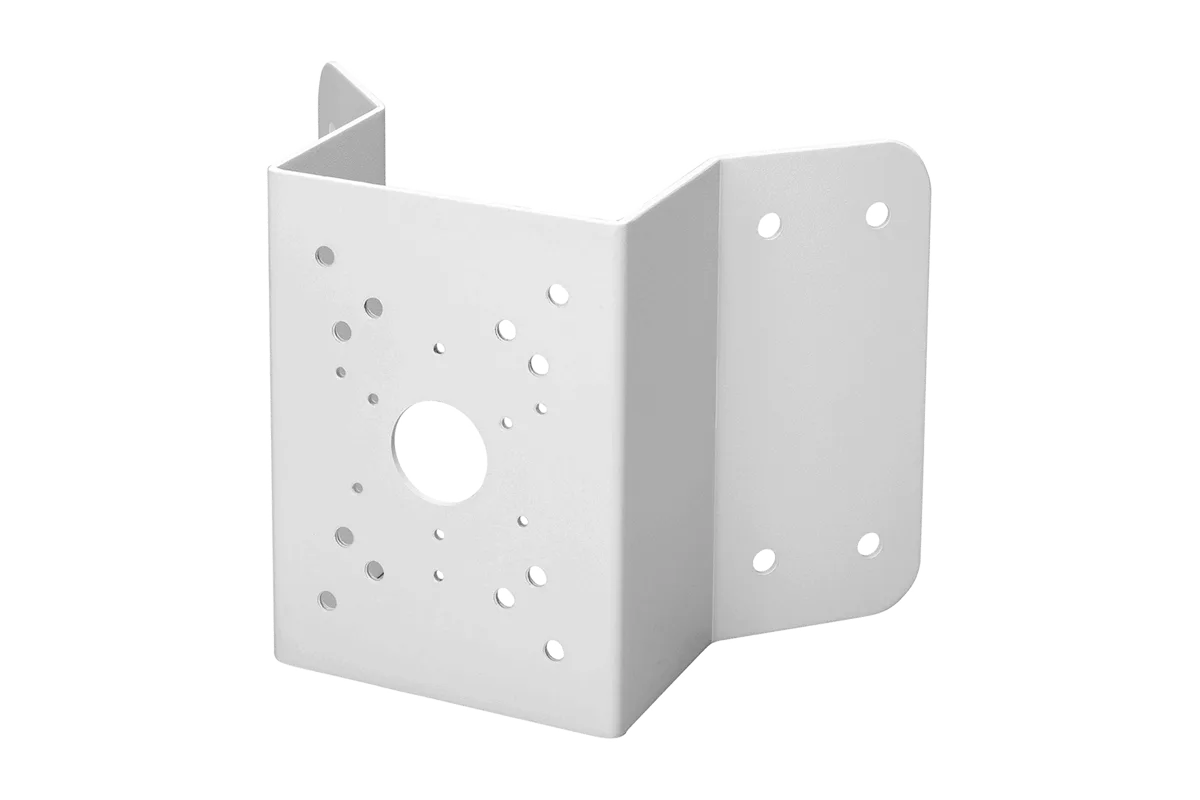
corner mount bracket
In this guide, we'll walk you through the entire process of installing the Lorex corner mount bracket, from choosing the right location to securing the bracket and attaching your camera. We'll also share positioning tips specifically for dome and turret cameras, so you can get the most out of your surveillance setup. By the end, you'll have a clean, professional installation that maximizes coverage and minimizes maintenance.
Understanding the Lorex Corner Mount Bracket and Its Benefits
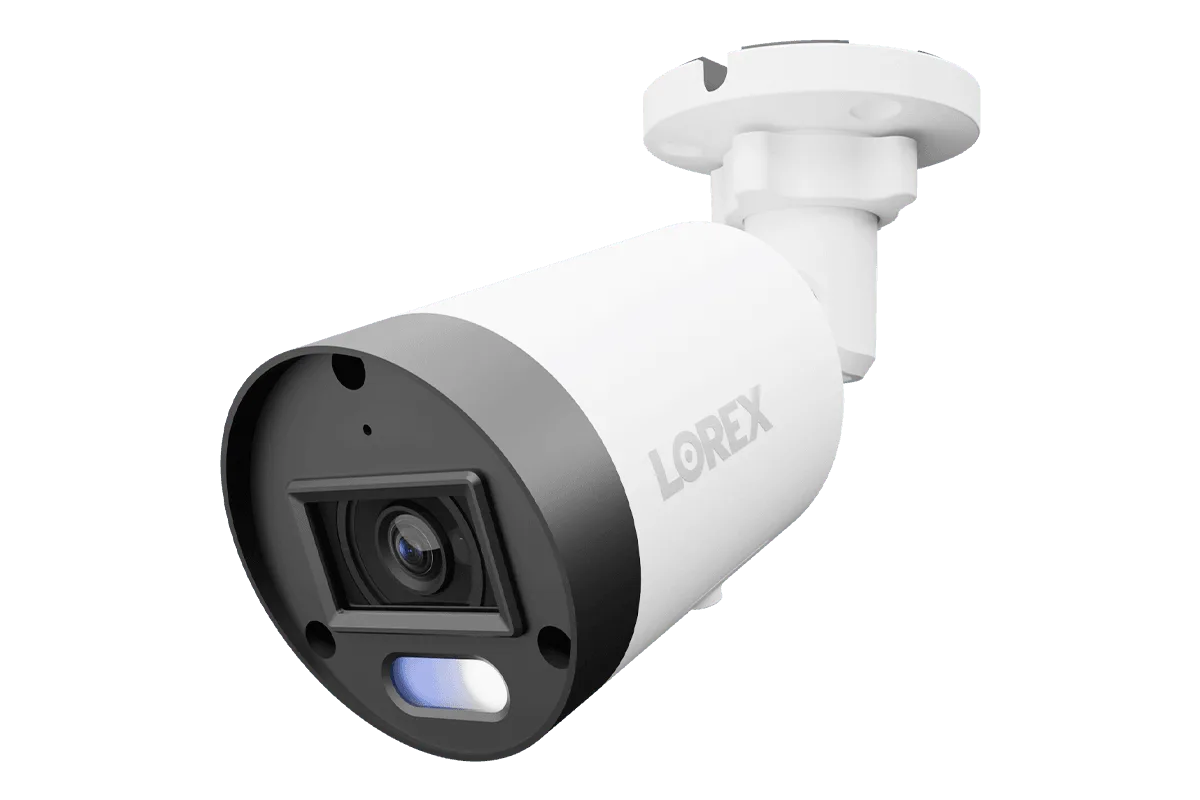
A corner mount bracket is designed to attach to the corner of a building, allowing your security camera to sit flush against the wall while offering an angled view that covers both sides of the corner. This is especially useful for monitoring entryways, alleyways, or the intersection of two walls. The Lorex corner mount bracket is built from durable metal and includes all necessary hardware for a secure installation. It is compatible with most Lorex dome and turret cameras, including popular models like the Lorex 4K+ Ultra HD 12MP Smart Security Lighting Deterrence Dome AI PoE IP Wired Camera and the Lorex A4 4MP IP Wired Turret Security Camera.
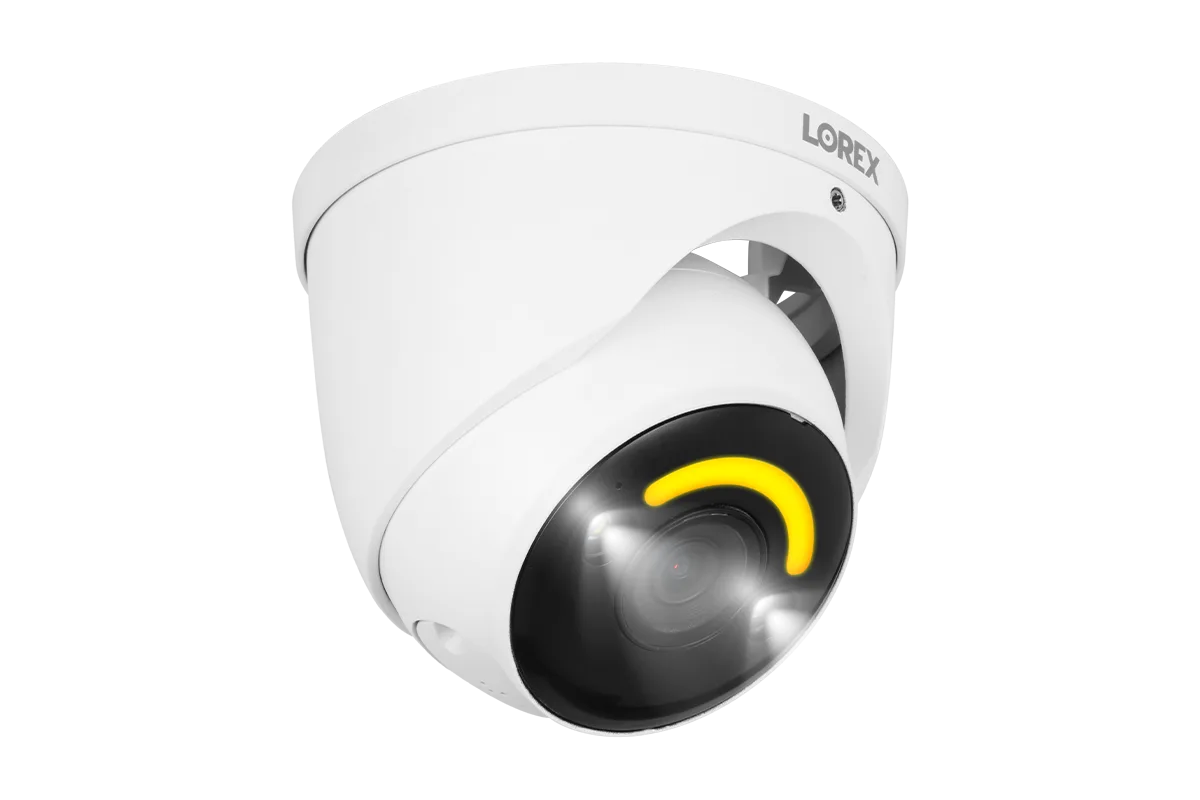
Lorex 4K+ Ultra HD 12MP Smart Security Lighting Deterrence Dome AI PoE IP Wired Camera
Using a corner mount bracket eliminates the need for awkward wall bending or makeshift mounts. It provides a stable platform that keeps your camera level and aligned, even in high-wind areas. Additionally, the bracket allows you to route cables neatly along the wall, protecting them from weather and tampering. For outdoor installations, this means your camera remains positioned for optimal coverage while all connections stay safe and organized.
- Ideal for covering two adjacent zones with a single camera — great for reducing the number of cameras needed.
- Reduces glare from direct sunlight by positioning the camera away from flat wall reflections.
Tools and Preparation Needed
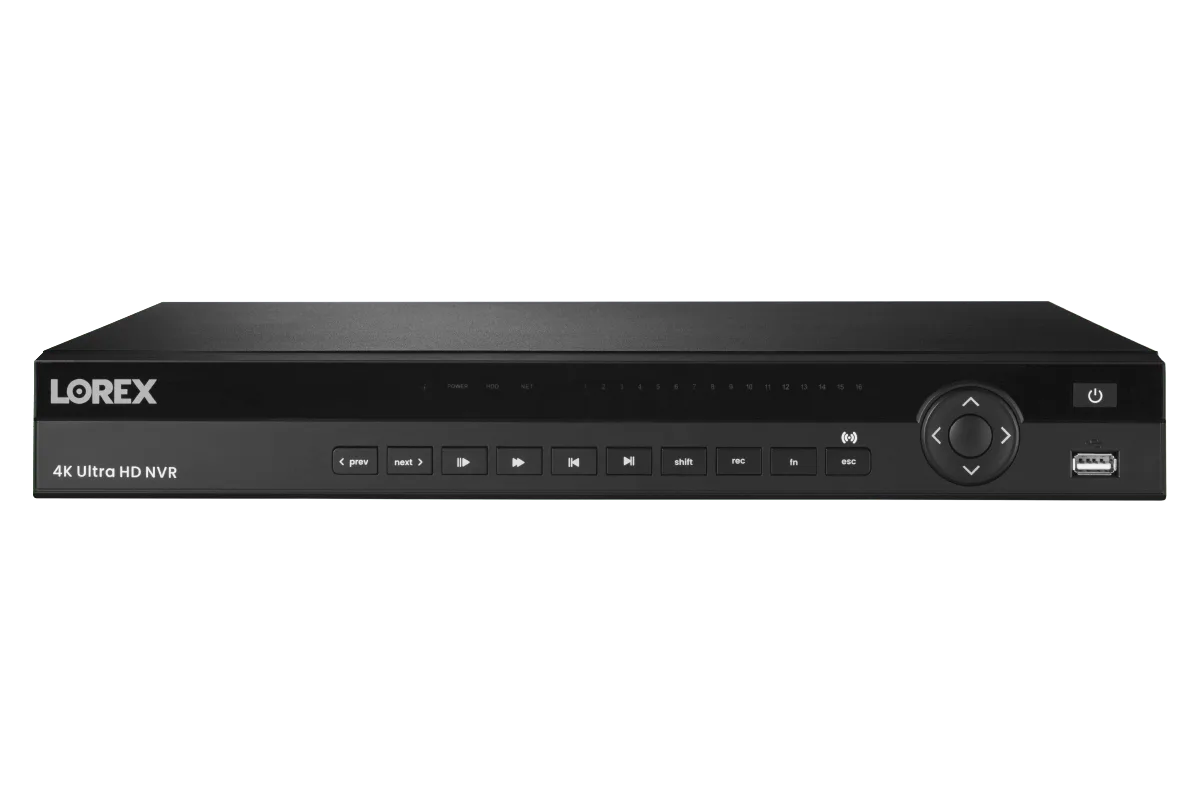
Before you begin, gather the following tools: a power drill with masonry or wood bit (depending on your wall type), a screwdriver (usually Phillips), a level, pencil, measuring tape, and the included mounting hardware (screws, anchors, and possibly a hex key). You should also have your Lorex camera ready, ideally with the RJ45 Ethernet cable already attached if possible. For a PoE (Power over Ethernet) setup, ensure your network video recorder, such as the Lorex 4K (32 Camera Capable) Elite Series 6TB NVR, is connected and ready to receive the camera signal.
Safety tip: always turn off power at the breaker before drilling near electrical lines. Use a stud finder or a voltage detector if you are unsure about wiring behind the wall. Also, wear safety glasses when drilling into brick or concrete. Preparing the camera software ahead of time (through the Lorex app or NVR interface) can save time later — you can test the camera's live view before finalizing the bracket position.
Step-by-Step Installation Guide
Step 1: Select the corner. Choose a location that offers a clear view of the area you want to monitor. For most outdoor corners, about 8 to 10 feet high is ideal — high enough to avoid vandalism but low enough to capture facial details. Use a level to mark two mounting holes on each side of the corner, following the bracket's template. The bracket typically has slots for adjustment after installation.
Step 2: Drill pilot holes at the marked positions. For wood siding, drill directly; for brick or concrete, insert wall anchors after drilling. Clean out dust with compressed air or a brush.
Step 3: Align the bracket over the holes and secure it with the provided screws. Tighten evenly on both sides to keep the bracket straight. Use a level again to confirm alignment before fully tightening.
Step 4: Attach your Lorex camera to the bracket. Most dome and turret cameras have a standard 1/4"-20 threaded mount, which fits the bracket's bolt. Screw the camera onto the bracket, then adjust the camera head to your desired angle. For a dome camera, loosen the locking ring, tilt the camera to the correct angle, and retighten. For a turret camera, you can rotate the barrel and tilt the lens without tools.
Step 5: Route and connect the Ethernet cable. Use the bracket's cable management channel or a separate conduit to run the cable along the corner to your NVR or switch. Seal any openings with silicone caulk to prevent water intrusion. Finally, power on the system and check the camera's view in the Lorex app.
- If you are installing multiple cameras on the same corner, consider using a junction box or multi-mount bracket to keep installations clean.
- Always test the camera's field of view before fully securing the bracket — a small adjustment can make a big difference.
Positioning Tips for Dome and Turret Cameras
Dome cameras, like the Lorex 4K+ Ultra HD dome model, are excellent for general surveillance because their rounded shape is discreet and makes it difficult for intruders to see which direction the camera is pointing. When using a corner mount with a dome camera, position the bracket so that the camera's lens points slightly downward and toward the area you want to cover. Avoid pointing the dome directly at a light source — this can cause glare or washout. For indoor applications, corner mounting is especially effective in open-concept rooms where corners provide an unobstructed view of the entire space.
Turret cameras, such as the Lorex A4 4MP IP Wired Turret Security Camera, offer more rugged construction and better low-light performance due to their larger lens housing. When mounting a turret camera on a corner bracket, you have more freedom to pan and tilt the camera without visible obstruction. The bracket allows you to angle the camera in a way that covers both sides of the corner, reducing the total number of cameras needed. For example, a single turret camera on a corner mount can cover a whole backyard where two walls meet — saving money and installation time.
- For best results, angle the camera so that the edge of the corner is just out of the frame — this maximizes coverage on both sides.
- Use the camera's built-in motion detection zones (available in the Lorex app) to ignore small animals or passing cars on the street.
Testing and Final Adjustments
Once the bracket and camera are installed, log into your Lorex NVR or the Lorex app to view the camera's live feed. Look for any blind spots directly below the camera or on the far edges of the field of view. Adjust the camera tilt slightly if needed. Many Lorex cameras offer a 3-axis adjustment system that lets you rotate the lens without moving the bracket — use this to fine-tune your view.
Check the camera's night vision by waiting until dark or covering the light sensor. Ensure the IR LEDs are not reflecting off the wall or bracket — this can cause a white-out effect. If you see reflections, try rotating the camera a few degrees or using a silicone gasket to block light leaks. Finally, confirm that all cable connections are secure and weatherproofed. With proper installation, your Lorex corner mount bracket will provide years of reliable, worry-free surveillance.
Installing a Lorex corner mount bracket is a straightforward upgrade that can transform your security camera's coverage. Whether you are using a dome camera for discreet indoor monitoring or a turret camera for outdoor durability, the bracket gives you the flexibility to place your camera exactly where it's needed. For an even more advanced setup, consider pairing your corner-mounted camera with the Lorex 4K+ Ultra HD 12MP Smart Security Lighting Deterrence Dome AI PoE IP Wired Camera — its built-in smart security lighting and AI alerts make it a powerful addition to any property. Explore the full range of Lorex cameras and mounts to build your ideal system today.