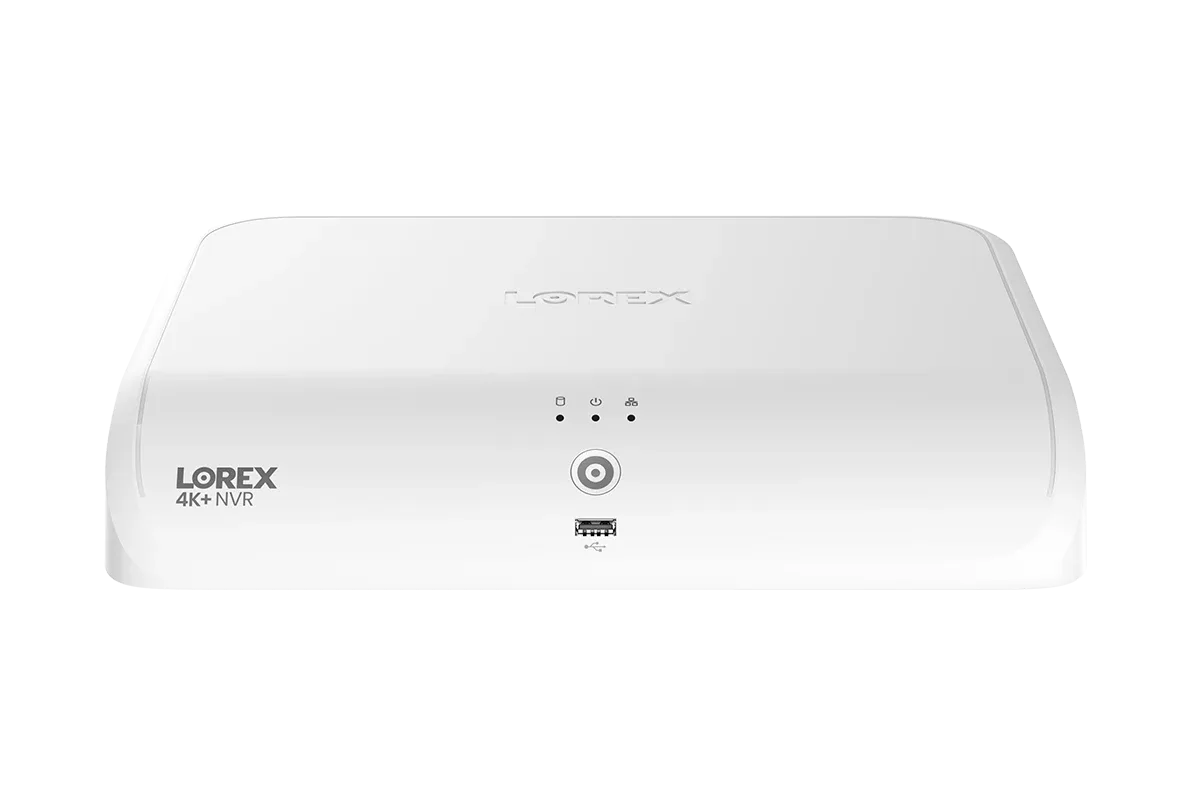
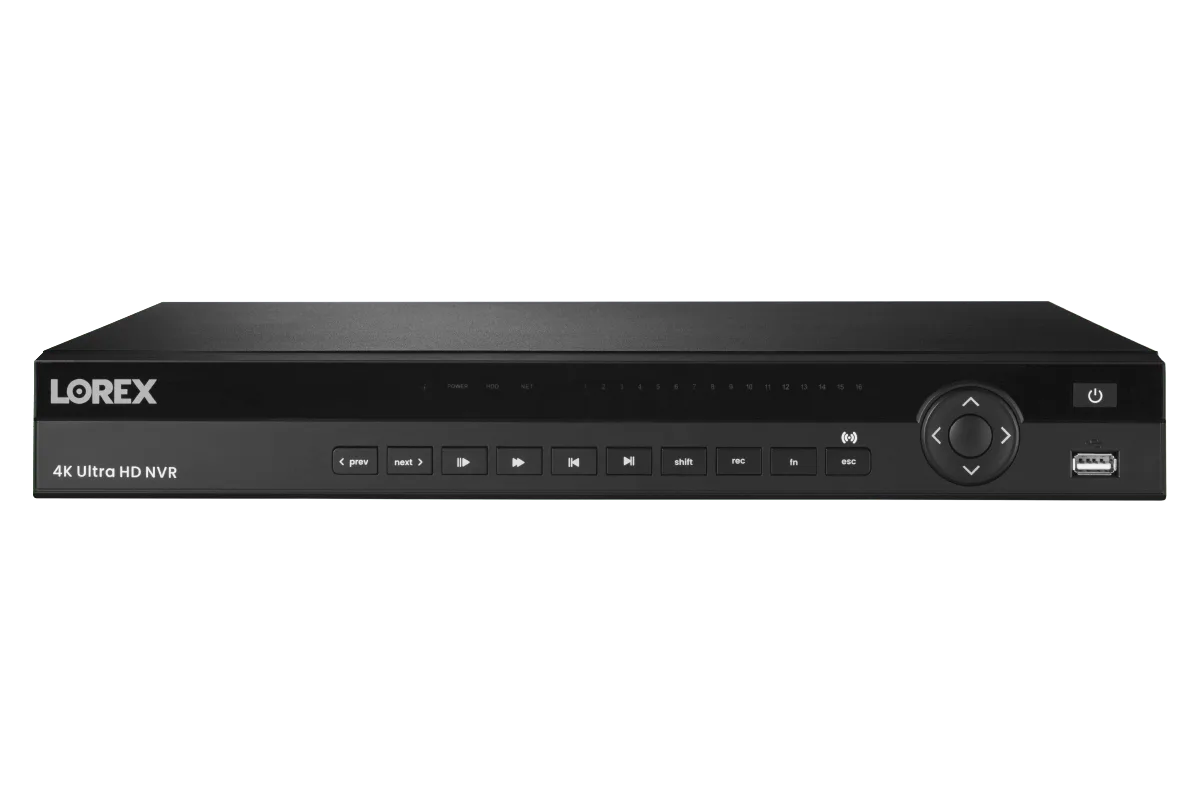
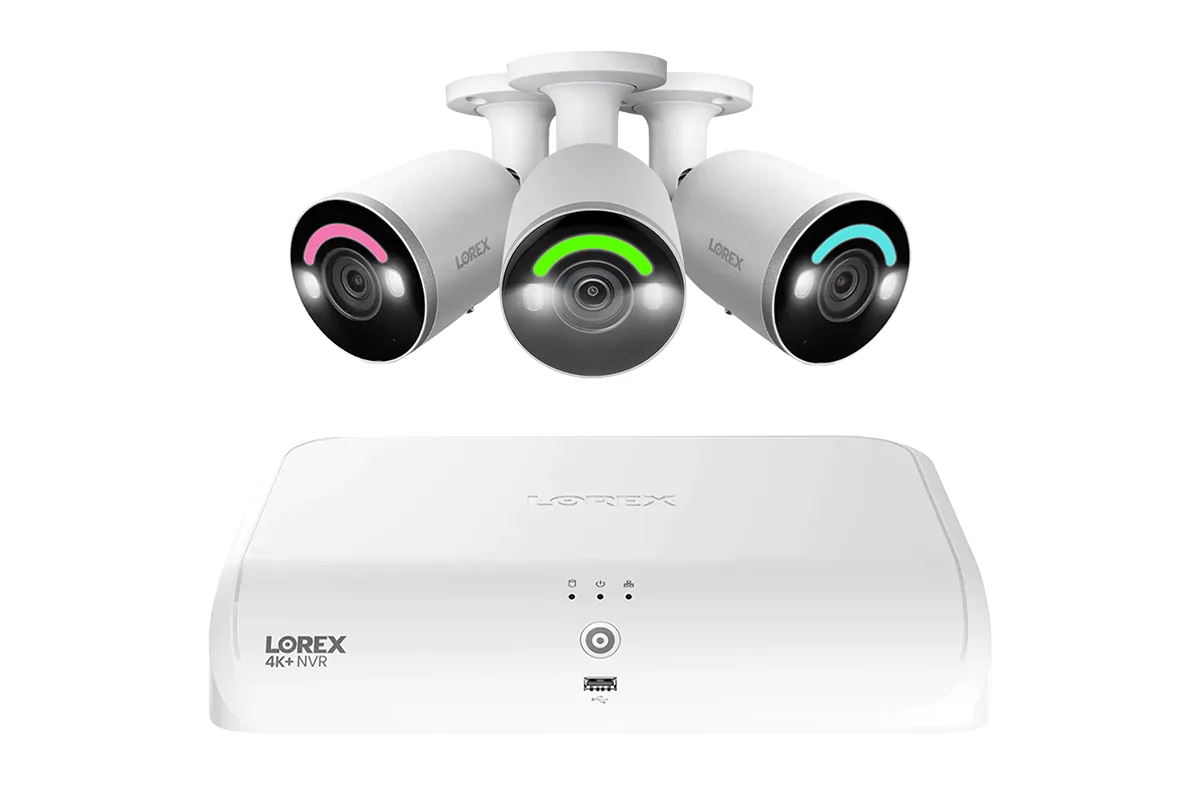
Home security systems have evolved to blend the reliability of wired connections with the flexibility of wireless cameras. The Lorex Fusion Series NVR is designed to do exactly that—support up to 16 wired PoE cameras plus additional Fusion Wi‑Fi cameras without needing a separate recorder. In this guide, you will learn how to set up your hybrid system from unboxing to full operation, ensuring every camera is recording and accessible from the Lorex app.
Whether you choose the Lorex Fusion 4K+ Ultra HD 12MP 16 Camera Capable (8 Wired + 8 Fusion Wi‑Fi) Network Video Recorder or another model in the Fusion lineup, the core setup steps remain the same. We will cover hardware placement, connecting wired cameras, pairing Fusion Wi‑Fi cameras via the NVR’s web interface, and configuring motion detection zones. By the end, you will have a robust hybrid security system that covers every corner of your property.
Unboxing and Hardware Placement
Start by choosing a central location for your NVR near your network router and power source. The Fusion NVR includes a built-in PoE switch, so wired cameras connect directly to the back panel using Ethernet cables. For wired cameras, plan cable runs from the NVR to each camera location, avoiding sharp bends and potential interference. For Fusion Wi‑Fi cameras, ensure they are within range of your home Wi‑Fi network (2.4 GHz is recommended for stability).
Unpack the NVR, connect the included power adapter and HDMI cable to a monitor, and attach the mouse. Insert the pre-installed hard drive (some models like the Lorex Fusion 4K 20-Channel 16 Wired and 4 Fusion Wi‑Fi 2TB Digital Video Recorder ship with a 2TB drive). Power on the NVR and follow the initial setup wizard to set your language, time zone, and create an admin password.
- Mount wired PoE cameras within 100m of the NVR using Cat5e or Cat6 cable.
- Position Fusion Wi‑Fi cameras near power outlets—many models have magnetic bases for easy placement.
Connecting Wired Cameras to the NVR
Once the NVR is powered on, plug each wired camera into one of the PoE ports on the back. The NVR will automatically assign an IP address and begin streaming video. You may need to wait up to 60 seconds for the first image to appear on the live view screen. To verify each camera is recognized, go to the NVR’s main menu, select Camera Management, and check that all connected cameras show a green status icon.
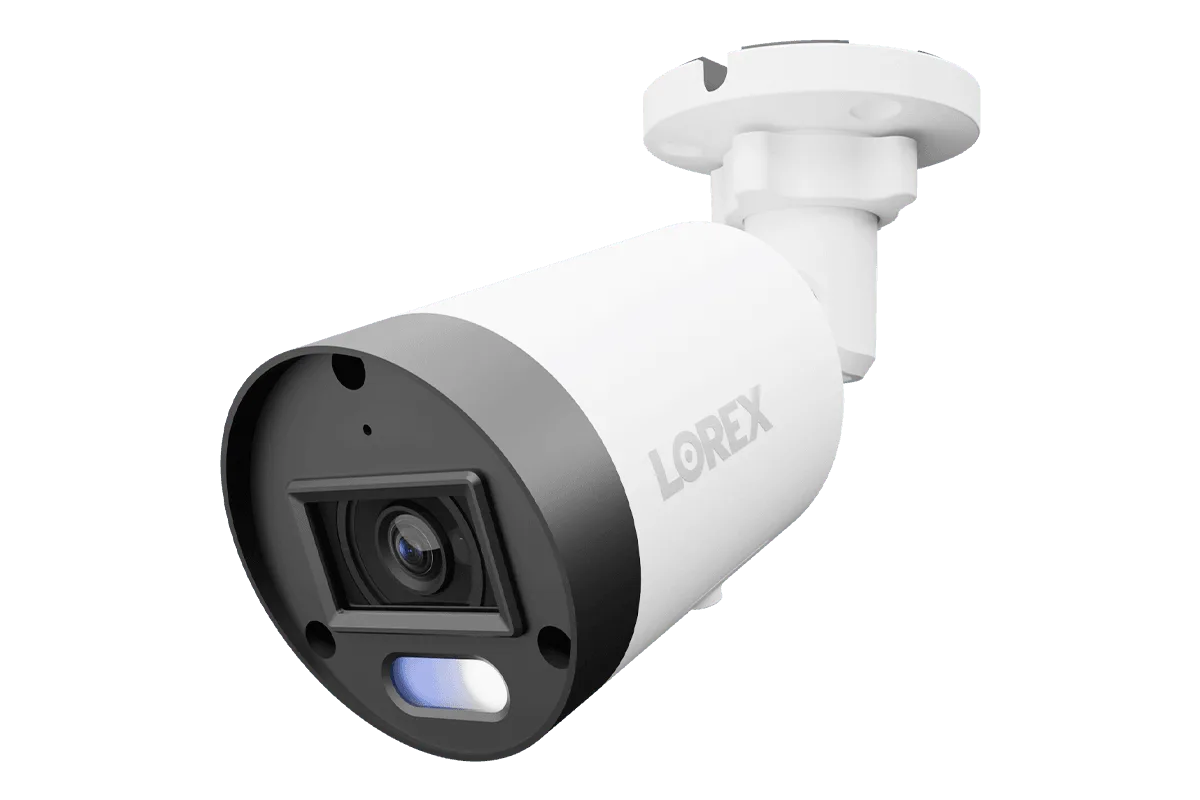
For cameras like the Lorex Connect V5 4K PoE Turret Cameras with Color Smart Security Lighting, ensure the cable connectors are fully seated and the camera lens is adjusted to your desired field of view. You can fine‑tune image settings—brightness, contrast, and infrared mode—from the NVR interface or the Lorex app after setup.
- If a camera does not appear, try a different Ethernet port or reboot the NVR.
- Label each cable at both ends to simplify future maintenance.
Pairing Fusion Wi‑Fi Cameras with the NVR
Fusion Wi‑Fi cameras are designed to pair directly with the Fusion NVR without needing a separate Wi‑Fi bridge. Begin by powering on the camera and standing within six feet of the NVR. On the NVR’s menu, select Fusion Camera Pairing, then press the sync button on the camera (usually located on the back or bottom). The NVR will emit a tone, and a pairing code appears on screen—confirm it to complete the link.
If you are adding an indoor camera such as the Lorex Connect 2K Dual-Lens Indoor Pan-Tilt Wi-Fi Camera, you can also use the Lorex app for pairing. Simply open the app, tap Add Device, scan the QR code on the camera, and select your Fusion NVR from the list. The camera will join the system and appear in your channel list. For best results, place wireless cameras within 30–40 feet of the NVR or a strong Wi‑Fi access point.
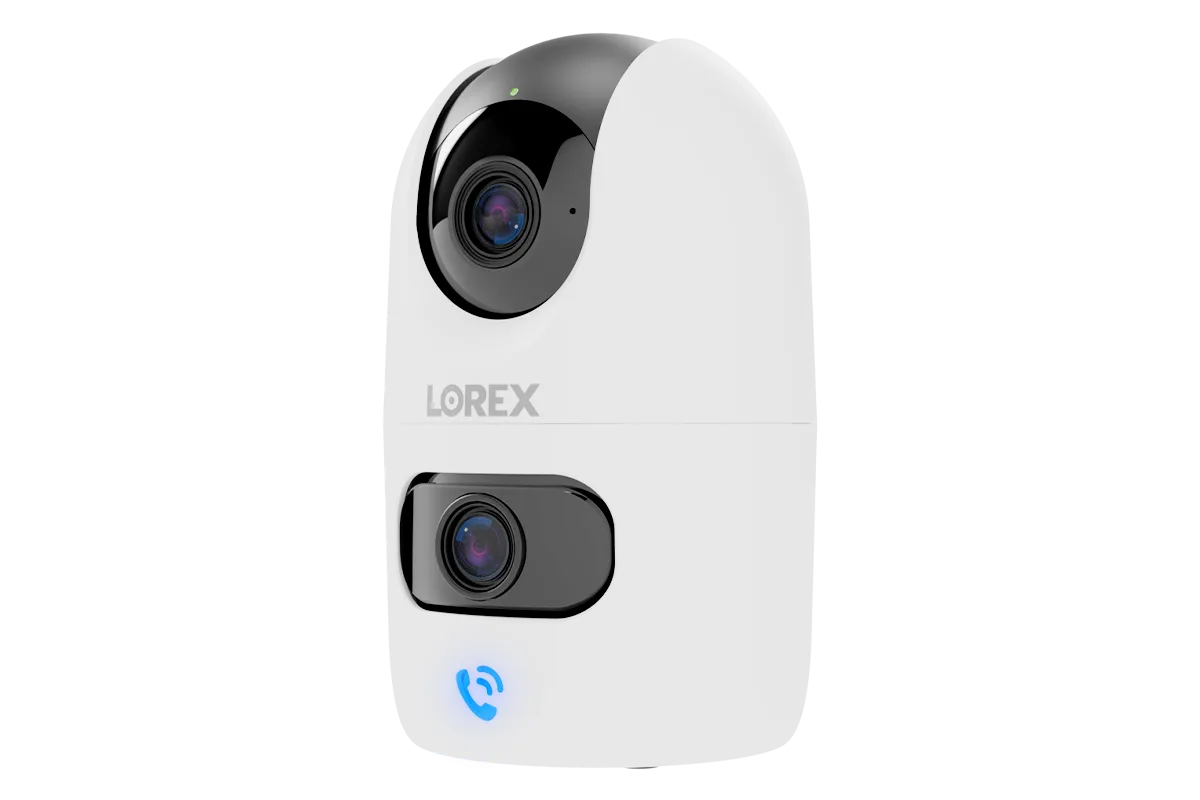
Lorex Connect 2K Dual-Lens Indoor Pan-Tilt Wi-Fi Camera
- Use the NVR’s built-in Wi‑Fi channel scanner to find the least congested channel.
- For outdoor Fusion cameras, verify the Wi‑Fi signal strength before final mounting.
Configuring Recording Schedules and Motion Alerts
After all cameras are online, it is time to customize how they record. Go to the Recording tab in the NVR menu and select either Continuous, Motion, or Scheduled mode. For hybrid systems, many users set wired cameras to continuous recording and Fusion Wi‑Fi cameras to motion‑only to conserve storage and bandwidth. Motion detection zones can be drawn directly on the video preview—avoid areas with constant motion like trees or busy streets.
To receive push notifications on your smartphone, download the Lorex app, sign in with your NVR account, and enable alerts per camera. You can also set sensitivity levels and schedule quiet hours. For advance systems like the Lorex Fusion 4K+ Ultra HD 12MP model, motion detection is enhanced with smart analysis that reduces false triggers from pets or shadows.
- Smart motion detection filters are available in the NVR’s Event Detection menu.
- Test alerts by walking in front of each camera after saving changes.
With the NVR and all cameras properly configured, you now have a powerful hybrid security system that combines the stability of wired connections with the flexibility of Fusion Wi‑Fi cameras. The Lorex app lets you view live feeds, playback recorded clips, and adjust settings from anywhere. Explore the Lorex Fusion 4K 20-Channel 16 Wired and 4 Fusion Wi‑Fi 2TB Digital Video Recorder to see how it fits your property, or add a few wireless indoor cameras like the Lorex Connect 2K Dual-Lens Indoor Pan-Tilt Wi-Fi Camera to cover interior blind spots.