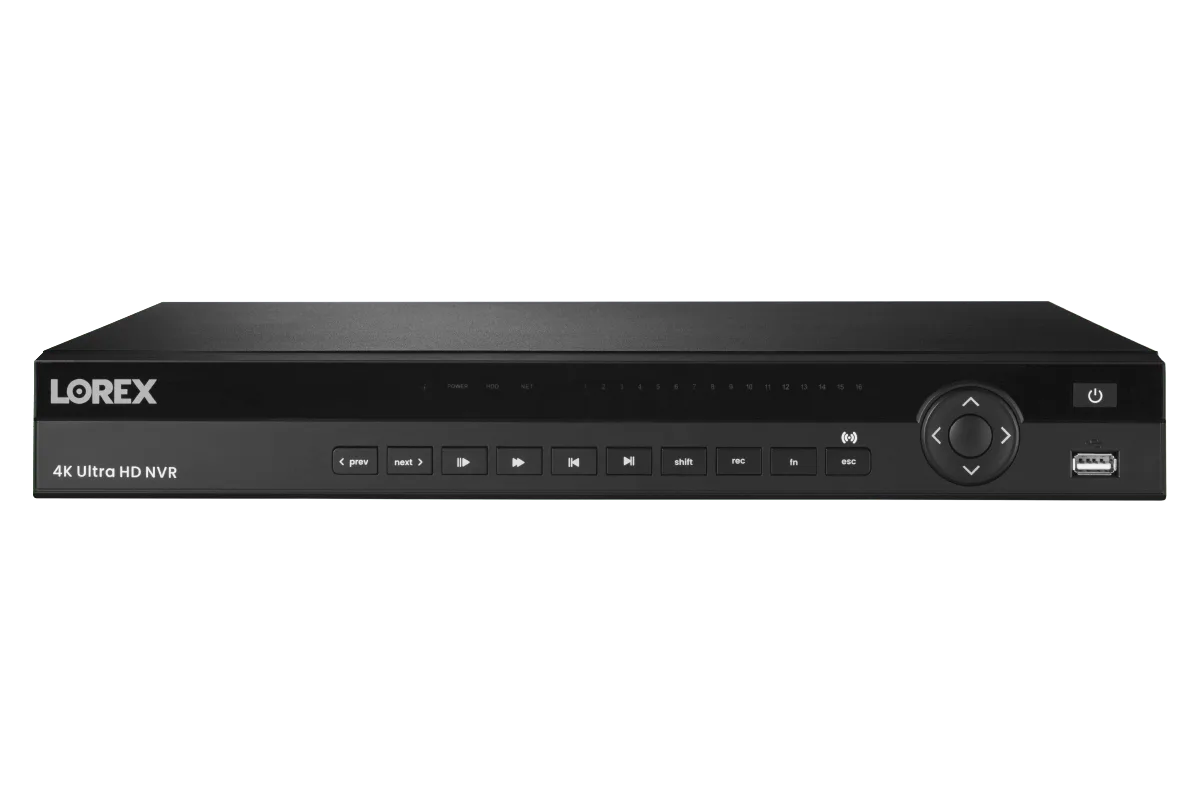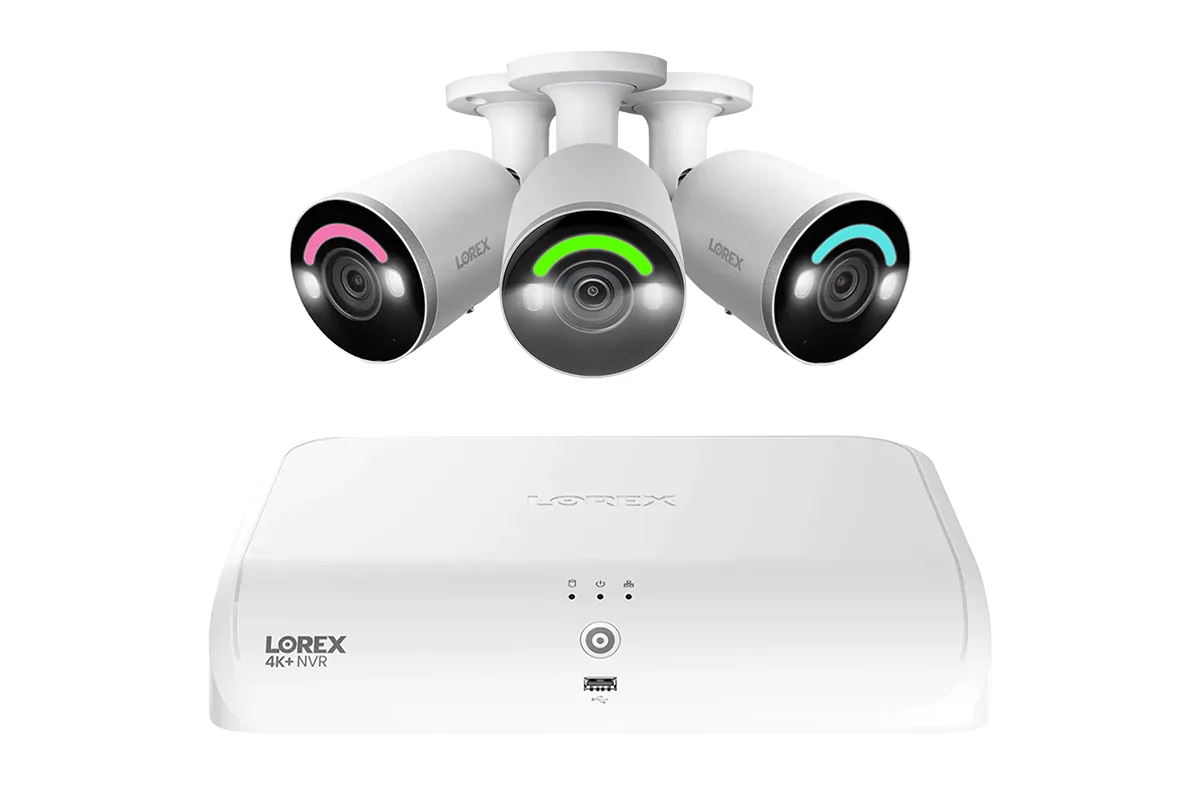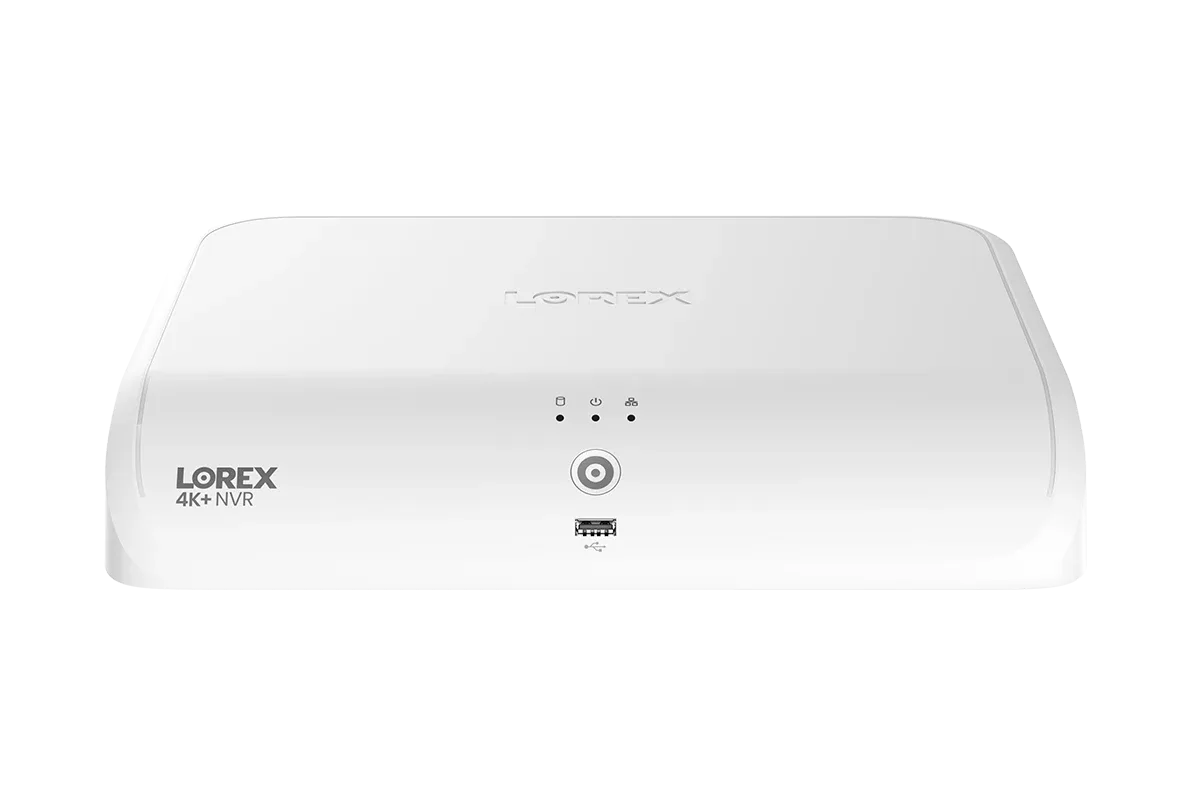
A reliable NVR is the brain of your security system, but when connection issues arise, it can leave you frustrated and your property unprotected. Whether your Lorex camera isn’t connecting, the NVR keeps dropping off the network, or PoE devices fail to power up, most problems have simple fixes. In this guide, we’ll walk you through the most common Lorex NVR connection issues—from PoE troubleshooting to network configuration errors—so you can restore your system quickly without calling a technician.
Before diving in, remember that many connection problems stem from physical setup: loose cables, incorrect IP addresses, or incompatible switches. We’ll cover step-by-step diagnostics for each scenario, helping you isolate the root cause. By the end, you’ll know exactly how to check PoE power, verify network settings, and ensure your cameras and NVR talk to each other reliably.
1. Power and PoE Connection Problems
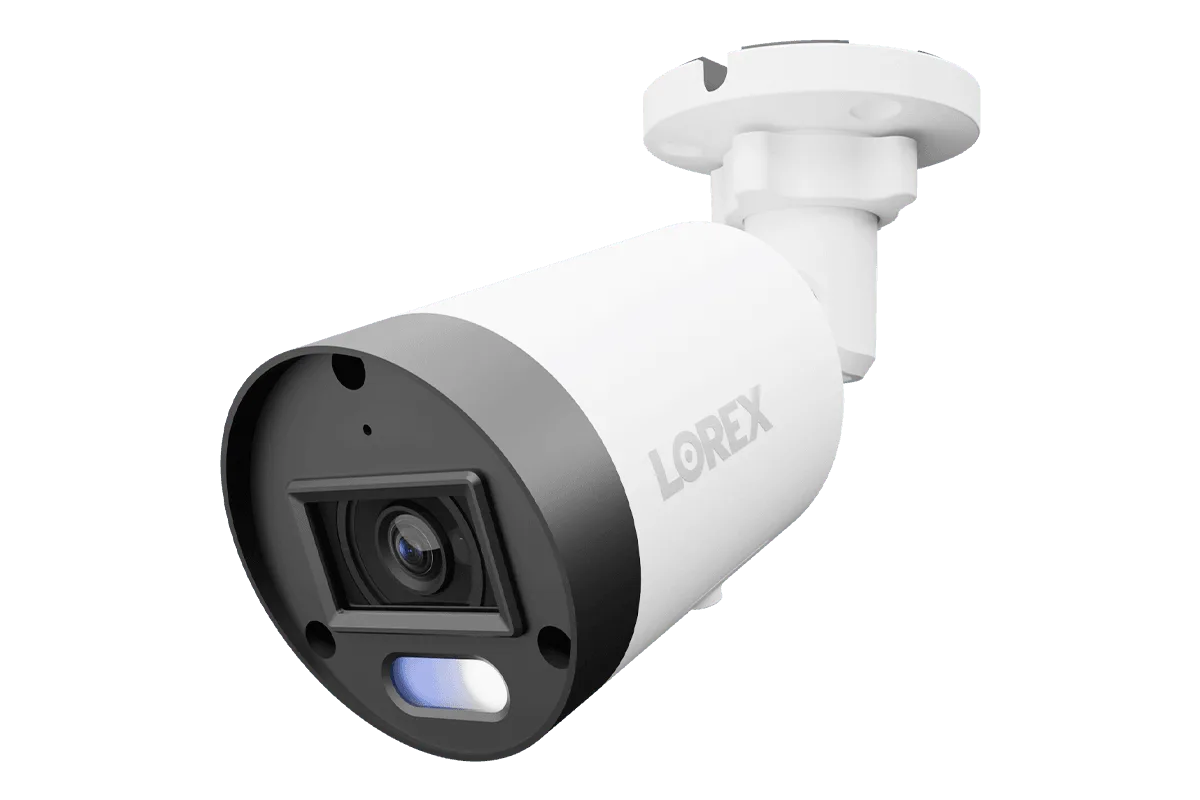
One of the most frequent issues users face is that cameras or the NVR itself aren’t receiving power. Start by verifying the power adapter is plugged into a working outlet and that the LED indicators on your NVR and cameras are lit. If you’re using Power over Ethernet (PoE), ensure your switch or NVR’s built-in PoE ports are supplying adequate power. For example, the Lorex A4 4MP IP Wired Bullet Security Camera with IK10 Vandal Proof Rating requires a stable PoE connection—check that the Ethernet cable is securely clicked into both the camera and the PoE port.
A quick way to test PoE is to swap the cable with a known working one. Damaged cables are a leading cause of intermittent connections. Also, verify that your PoE switch or NVR has enough total power budget to support all connected cameras. If you suspect an overload, temporarily disconnect a few devices to see if the issue resolves. For advanced troubleshooting, use a PoE tester to confirm voltage and wire mapping.
- Always use quality shielded CAT5e or CAT6 cables for outdoor runs to reduce interference.
2. Network Configuration Errors
If your Lorex NVR can’t connect to the local network or remote viewing via the Lorex app fails, check your router’s DHCP settings. By default, the NVR should obtain an IP address automatically. Verify that the NVR’s IP settings are set to DHCP (not static) unless you’ve configured a fixed address. A common mistake is entering an IP that conflicts with another device. For instance, if your NVR is assigned 192.168.1.100 but another device uses the same IP, both will drop offline intermittently.
To resolve, log into your router’s admin panel and check the DHCP client list. Find your NVR’s MAC address (printed on the unit) and assign a reserved IP outside the DHCP range to avoid future conflicts. Also, ensure that UPnP is enabled on your router if you plan to use remote access. For hybrid systems like the Lorex Fusion Series NVR with Seven IP Bullet Cameras, make sure both wired and Wi‑Fi cameras are on the same subnet for seamless integration.
- Disable VPN or proxy services temporarily to rule out network interference.
3. Camera Not Detected by the NVR
After adding a new camera, you may find it doesn’t appear in the NVR’s channel list. First, confirm the camera is powered and its link LED is blinking. For PoE cameras, connect them directly to the NVR’s PoE ports (not a separate switch) to isolate the issue. If using a separate PoE switch, ensure the switch is compatible with the NVR and that both devices are on the same VLAN if segmented.
Next, check the camera’s IP address. Most Lorex cameras come with a default IP of 192.168.1.xxx or auto-request DHCP. If your NVR is on a different subnet, the camera won’t be discovered. Manually add the camera by IP in the NVR’s device management menu. Also, verify the camera firmware is up to date—older firmware can cause compatibility hiccups. The https://gadgetguardai.shop/products/lorex-a14-4k-ip-wired-bullet-security-camera-with-listen-in-audio-and-smart-218088Lorex A14 4K IP Wired Bullet Security Camera with Listen-In Audio and Smart Motion Detection is a popular model that auto-negotiates speed, but a bad cable can still prevent detection.
- Reset the camera by holding the reset button for 10 seconds, then power cycle both camera and NVR.
4. IP Address Conflicts and Subnet Issues
IP address conflicts are a sneaky cause of random disconnections. When two devices on the same local network share the same IP, both will experience dropouts. To spot conflicts, log into your router and look for duplicate IP entries. You can also ping the camera’s IP from a computer—if you get replies from two different MAC addresses, you have a conflict.
The easiest fix is to set static IPs for all Lorex cameras and the NVR, using addresses outside your router’s DHCP pool (e.g., use 192.168.1.200-254). Be sure to record each device’s MAC address and assigned IP for future reference. If you’re using multiple switches, verify that all are configured with the same subnet mask (typically 255.255.255.0) and that no VLANs are blocking traffic between PoE and network ports.
- Use the Lorex Device Manager software (available on Lorex’s support site) to scan your network and identify IP assignments.
5. Firmware and Software Issues
Outdated firmware can cause all sorts of mysterious connection problems. Check your NVR’s firmware version in the system settings and compare it with the latest on Lorex’s support portal. Download and install updates using a USB drive (most Lorex NVRs support firmware via USB). Similarly, update the firmware of individual cameras through the NVR’s maintenance menu.
Another common software issue is the Lorex app not connecting remotely. Ensure your NVR is connected to the internet and that port forwarding is correctly set up for ports 80, 443, and 37777 (TCP). For the best experience, update the app to the latest version on your phone. If problems persist, try uninstalling and reinstalling the app. Some users find that disabling firewall rules temporarily can isolate blocking issues.
- Always power cycle your NVR and modem/router after a firmware update to clear cached settings.
Troubleshooting Lorex NVR connection issues doesn’t have to be overwhelming. By systematically checking power, network settings, IP assignments, and firmware, you can resolve most problems in minutes. For reliable performance, consider upgrading to a proven setup like the Lorex A14 4K IP Wired Bullet Security Camera with Listen-In Audio and Smart Motion Detection, which offers robust PoE connectivity and seamless integration with Lorex NVRs. Visit the product page to explore how it can enhance your security system today.