Quick answer
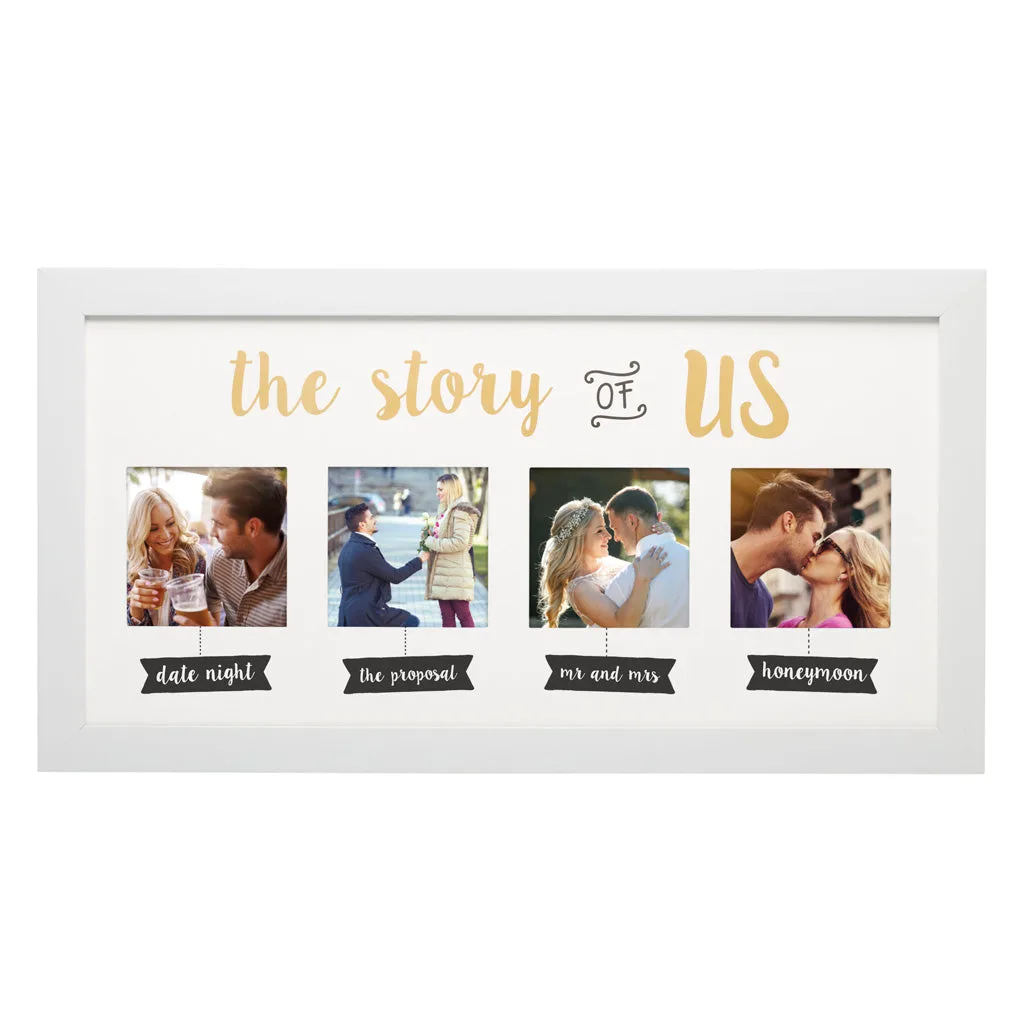
Use the love story frame as a chronological mini-album: place one photo in each labeled slot (Date Night, The Proposal, Mr & Mrs, Honeymoon) and display it where you will see it daily. Choose photos that show faces and emotions clearly at 4" x 4", and keep the frame out of direct sunlight to protect prints.
Why the four-slot layout works for wedding stories
The love story frame’s four labeled openings guide you to curate a narrative rather than fill a generic collage. Each label marks a chapter, so you can choose one strong image per stage without overcrowding. This structure also makes the frame a conversation piece—guests can follow the sequence from dating to honeymoon.
Because the slots are 4" x 4", you will need square prints or crop rectangular photos to square. That constraint helps you focus on close-ups and candid moments where expressions read clearly at a small size.
Styling the frame in different rooms
In a bedroom or hallway, the frame works as a personal focal point on a dresser or console. In a living room, it can sit on a side table or shelf among other keepsakes. Avoid placing it in a spot with harsh glare or direct sun, which can fade photos over time.
If you prefer wall display, check whether the frame has a built-in hanging hardware; the catalog does not specify hanging options, so confirm before committing to a wall placement. For tabletop use, a small easel or stand can improve the viewing angle.
How to display your wedding photos in the love story frame
- Gather candidate photos for each label: Pull 3–5 possible images for each of the four stages. Look for photos where faces are visible and the moment feels authentic. Common mistake: choosing only formal portraits—candid shots often read better at 4" x 4". Aim for variety: one close-up, one full-scene, and one detail shot per stage if possible.
- Crop to square and check clarity: Use your phone’s photo editor or a printing app to crop each image to a square. Zoom in to ensure the main subject is not cut off. Checkpoint: view the cropped image at thumbnail size—if expressions are unclear, pick a different photo. Print a test sheet on plain paper before ordering final prints to confirm crops.
- Order prints on matte or satin paper: Matte or satin finishes reduce glare and fingerprints compared to glossy. Order 4" x 4" prints or print on 4" x 6" and trim carefully. Common mistake: using glossy paper behind acrylic glass, which can create distracting reflections. If you trim by hand, use a sharp craft knife and a square template for clean edges.
- Insert photos in chronological order: Slide each photo into its labeled slot: Date Night (early relationship), The Proposal, Mr & Mrs (wedding day), Honeymoon. Make sure the photo is fully seated behind the acrylic glass and not bent. Checkpoint: step back—does the sequence read left to right or top to bottom clearly? If a label feels mismatched (e.g., no proposal photo), substitute a meaningful moment that fits the spirit of that chapter.
- Place the frame away from direct sun and handle with care: Set the frame on a stable surface where it won’t be knocked over. Keep it out of direct sunlight and away from heat sources to slow fading. Clean the acrylic glass with a soft, dry cloth—avoid paper towels, which can scratch. Rotate the frame occasionally if displayed in a bright room to minimize one-sided light exposure.
Product facts
-
love story frame: Four 4" x 4" photo slots labeled “Date Night,” “The Proposal,” “Mr & Mrs,” and “Honeymoon.” The labels make it easy to assign one photo per milestone, so you can tell your story without guessing which image goes where.
love story frame