Quick answer
Mount a magnet board near your sewing machine, attach magnetic strips to the board, and use them to hold pins, needles, and small metal tools. This keeps your magnetic pin holder ready and your sewing room magnetic storage system simple.
Why a magnetic pin holder beats a loose pin cushion
A magnetic pin holder keeps pins aligned and easy to grab, reducing the chance of spills and lost pins. Unlike a pin cushion, a magnet board with strips lets you see exactly how many pins you have and keeps them off the work surface.
For sewing room magnetic storage, a wall-mounted board frees up table space and keeps pins within arm's reach. Magnetic strips also hold small metal items like seam rippers or needle cases, making them a versatile addition to your setup.
Choosing the right spot for your magnet board
Pick a location close to your sewing machine but out of the direct path of fabric. Avoid placing it where metal objects like scissors or rulers might accidentally stick and fall.
If you use a freestanding folding stand, ensure the board is stable and at a comfortable height. For wall mounting, check that the surface can support the board's weight and that you can reach it without stretching.
Steps to set up your magnetic pin holder
- Mount the magnet board: Attach the board to a wall or stand at eye level or slightly below, ensuring it is secure and stable. Common mistake: mounting it too high, which makes it hard to reach pins while seated. Check that the board does not wobble before adding pins.
- Arrange the magnetic strips: Place the three strips horizontally or vertically on the board, spacing them to create separate zones for different pin types or tools. Common mistake: placing strips too close together, which can cause pins to cluster. Leave at least an inch between strips for easy separation.
- Test magnet strength: Before adding pins, test how well the strips hold a few pins. If pins slide, consider adding more strips or using stronger magnets. Common mistake: assuming all strips are equally strong; test each one. Weak spots may need an extra strip or a different pin type.
- Organize pins by type: Group pins by size or function on separate strips—for example, one strip for silk pins, one for quilting pins, and one for safety pins. Common mistake: mixing sizes, which makes grabbing the right pin slower. Label strips if you use many pin types.
- Add small metal tools: Use leftover space on the board to hold metal tools like seam rippers, tweezers, or needle cases. Common mistake: overloading the board, which can weaken the magnetic hold. Keep heavy tools on lower strips for stability.
Product facts
-
Magnet Board & Strips, 8" x 12": The board measures 12" x 8" and includes 3 magnetic strips of varying lengths. The compact size fits on a wall or stand near your machine, and the assorted strips let you customize pin placement.
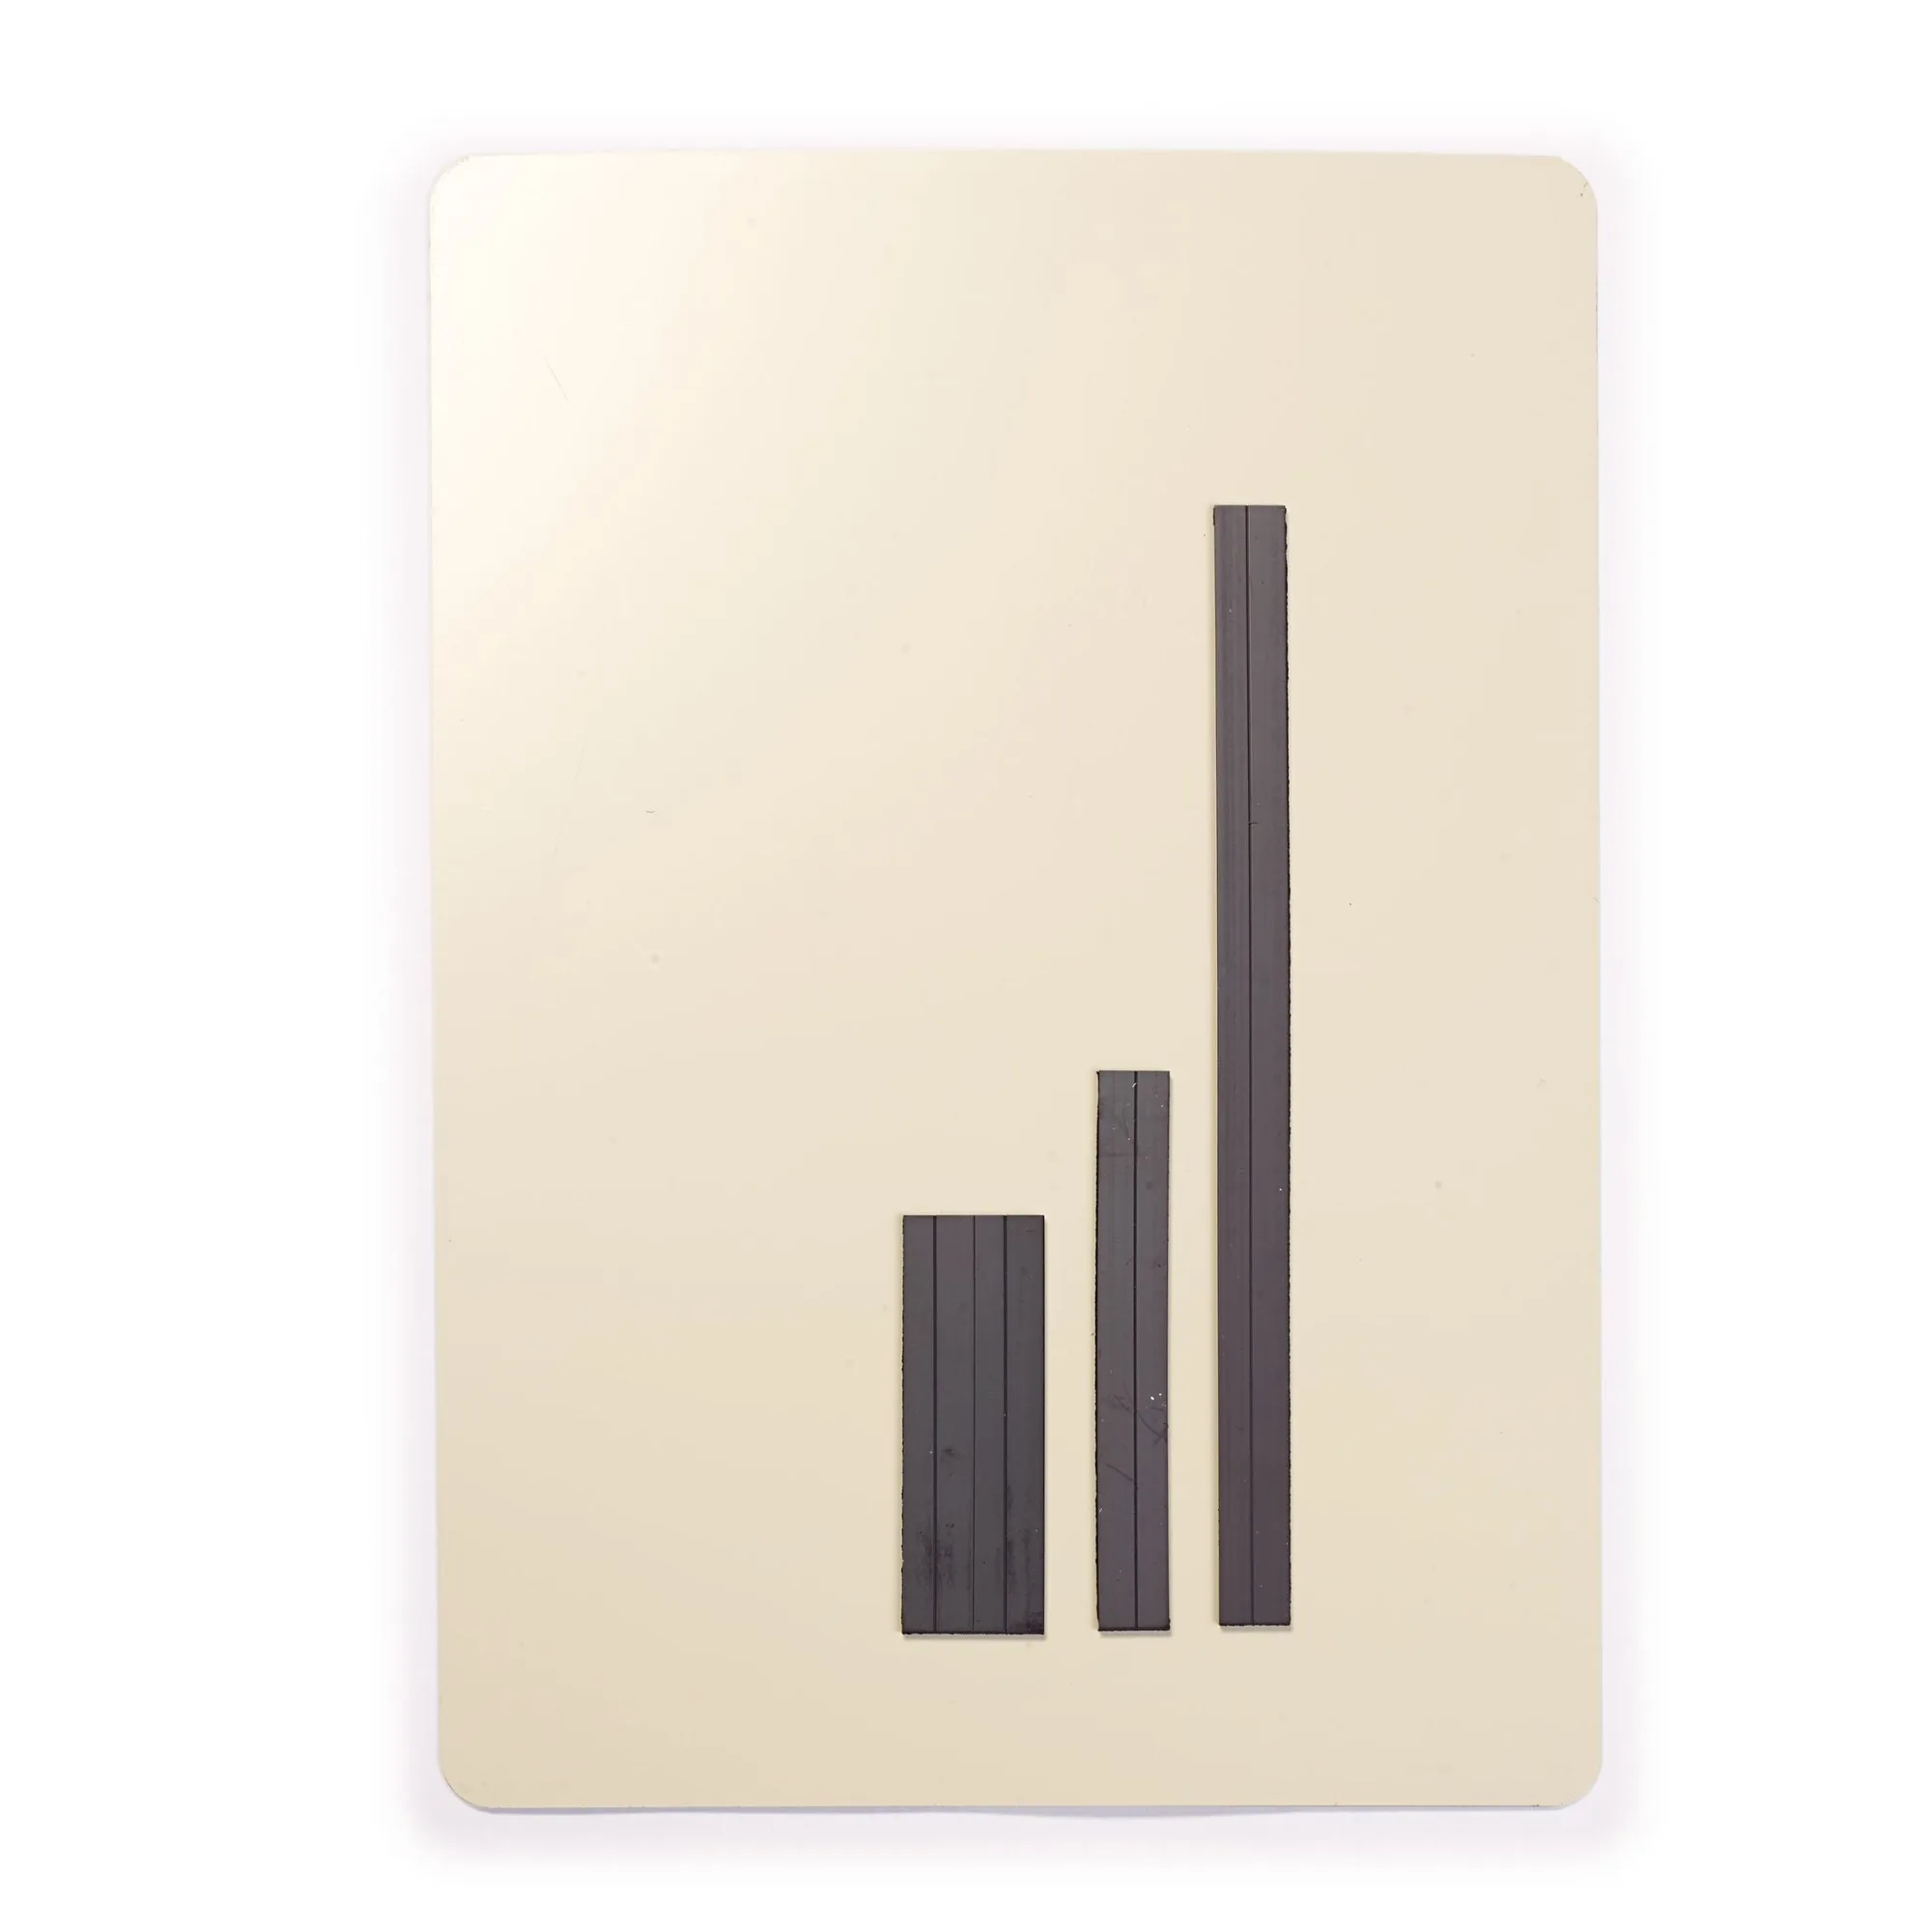
Magnet Board & Strips, 8" x 12"