Quick answer
Mount the Magpul MBUS 3 front sight on the top rail at the forward-most position, tighten it evenly, and zero it to your preferred point of impact. Use a consistent cheek weld and adjust the front post for elevation only. For most shooters, a lower 1/3 co-witness with a red dot is the most practical setup.
Prepare the rail and choose the right position
Before mounting, clean the rail section with a dry cloth to remove oil or debris. The MBUS 3 front sight is designed for a Picatinny rail and should sit as far forward as possible on the upper receiver or handguard, maximizing sight radius. Avoid placing it on a railed gas block, which can get hot and may not be at the same height as the receiver rail. If your handguard rail is not continuous with the receiver, verify that the mounting surface is level and true.
Install the sight and set initial torque
The MBUS 3 front sight attaches with a single crossbolt. Hand-tighten the nut until the sight is snug, then use a small flathead screwdriver or the edge of a coin to tighten it further. Do not overtighten; the polymer body can be damaged by excessive force. The goal is to eliminate any wobble without crushing the rail. Once mounted, press the sight down to ensure it locks securely in the deployed position and folds flat when not in use.
Adjust elevation and confirm sight height
The MBUS 3 front sight uses a standard A2-style front post that adjusts for elevation. Turn the post clockwise to raise the point of impact and counterclockwise to lower it. Because the MBUS 3 is a polymer sight, it sits at a standard AR-height over the bore, so it will align with most rear sights and red dots. If you are using a red dot, check that the front sight does not obscure the dot; a lower 1/3 co-witness allows the dot to sit above the iron sights.
Zero the sight and confirm co-witness
Start at 25 yards with a large target. Fire a three-shot group, then adjust the front post for elevation and the rear sight for windage. If you are co-witnessing with a red dot, zero the red dot first, then align the iron sights to the dot. This gives you a backup aiming solution that matches your primary optic. After zeroing, apply a small amount of thread locker to the mounting bolt if you want extra security, but avoid getting any on the polymer.
Step-by-step setup
- Clean and inspect the rail: Wipe down the rail section with a dry cloth. Check for burrs or debris that could prevent the sight from sitting flat. A clean rail ensures a solid, wobble-free mount.
- Position the sight forward: Place the MBUS 3 front sight as far forward on the receiver or handguard rail as possible, but not on a gas block. Maximizes sight radius for better accuracy.
- Tighten the crossbolt: Hand-tighten the nut, then snug it with a flathead screwdriver or coin. Do not overtighten; the polymer can crack. The sight should be snug but not crushing the rail.
- Deploy and check function: Press the sight up to ensure it locks securely, then fold it down to confirm it stays flat. A positive lock and smooth folding are essential for backup use.
- Adjust elevation: Turn the front post clockwise to raise impact, counterclockwise to lower. Use small increments. Make adjustments at the range with live fire for best results.
- Zero and confirm co-witness: Zero your red dot first, then align the iron sights to the dot. Fire groups to confirm point of impact. Co-witnessing gives you a reliable backup aiming solution.
Product facts
- MAGPUL MBUS 3 FRONT SIGHT: The Magpul MBUS 3 front sight is constructed from impact-resistant polymer, keeping weight minimal while ensuring durability against rugged use. Lightweight polymer reduces front-end weight and won't snag, making it a practical backup sight for most builds.
- MAGPUL MBUS 3 FRONT SIGHT: Tool-less adjustments facilitate quick and easy zeroing. You can adjust elevation in the field without special tools, which is handy for fine-tuning after a rough zeroing session.
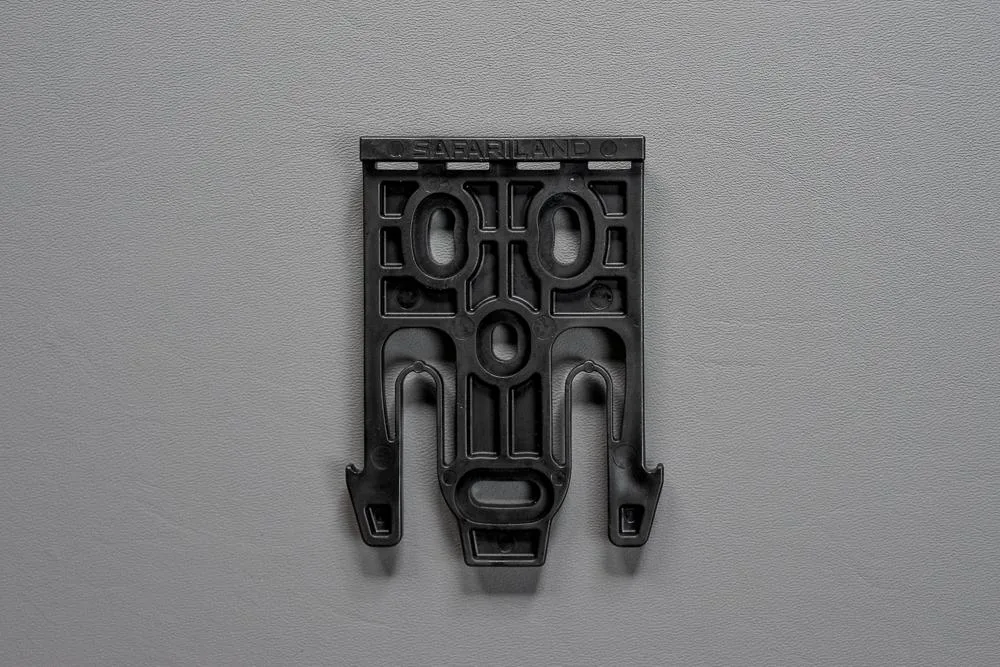
- Safariland QLS Fork: The Safariland QLS Fork works with the QLS 22 Receiver plate and attaches to any Guerrilla Tactical Holster with the 3-hole pattern (drilled for Safariland). If you use a QLS system, you can quickly swap holsters without removing your belt, which complements a streamlined range setup.