Quick Answer
To make your candle last longer, always trim the wick to about 1/4 inch before each burn, allow the wax to melt across the entire surface on the first burn, and keep the candle away from drafts. These simple habits prevent tunneling and ensure an even, clean burn that maximizes every gram of wax.
A well-cared-for candle doesn't just look better—it burns longer and fills your room with fragrance more consistently. Many people unknowingly shorten their candle's life by skipping basic maintenance. The good news: with a few simple habits, you can significantly extend the burn time of your favorite scented candles.
Whether you're burning a 380g scented candle for a cozy evening or a 60g version for a quick refresh, these 10 proven tips will help you get the most from every candle. From the first light to the last flicker, here's how to make your candle last longer.
Why Candle Care Matters
Candles are an investment in ambiance, and the way you burn them determines how long they last. A candle that burns unevenly or tunnels down the middle wastes wax and fragrance. Proper care also prevents soot, smoke, and potential fire hazards, making your candle experience safer and more enjoyable.
Glasshouse candles, made with natural lead-free cotton wicks and a high-quality soy blend wax, are designed for a clean burn. But even the best candle needs a little help. By following the tips below, you'll extend the life of your candle and enjoy its scent to the fullest.
- Always place your candle on a heat-resistant surface.
- Keep the wax pool free of debris like wick trimmings or matches.
The First Burn Sets the Tone
The first time you light a candle is the most important. Allow the wax to melt across the entire surface until it reaches the edges of the container. This can take 2 to 4 hours depending on the candle size. Doing so creates a 'memory' of the melt pool, preventing tunneling on subsequent burns.
For a 380g candle, this first burn may take closer to 4 hours. Be patient—this step is crucial for an even burn and maximum lifespan. If you extinguish too early, the candle will form a tunnel that wastes wax and shortens its life.
- Checkpoint: After the first burn, the entire top layer should be liquid.
10 Steps to a Longer-Lasting Candle
- Trim the wick to 1/4 inch before every burn: Use a wick trimmer or scissors to cut the wick to about 6mm. A longer wick creates a larger flame, which burns wax faster and can produce soot. Trimming also helps control the flame size for a cleaner burn. Checkpoint: Always trim before lighting, even if the candle was only burned briefly.
- Perform the first burn for 2-4 hours: Light the candle and let the wax melt across the entire surface until it reaches the container edges. This creates a full melt pool that prevents tunneling and ensures an even burn on future uses. Common mistake: Extinguishing too early on the first burn creates a tunnel that wastes wax.
- Burn for no more than 4 hours at a time: After 4 hours, the wax can overheat, causing the wick to mushroom and the scent to degrade. Extinguish, let the candle cool, trim the wick, and relight if you want more ambiance. Checkpoint: Set a timer to remind yourself to extinguish after 4 hours.
- Keep the wick centered: If the wick drifts to one side, gently push it back to the center while the wax is still soft. A centered wick ensures an even melt pool and prevents the glass from overheating on one side. Common mistake: Ignoring a crooked wick can lead to uneven burning and wasted wax.
- Avoid drafts and vents: Drafts cause the flame to flicker and burn unevenly, leading to soot and a faster burn. Place your candle away from windows, fans, and air conditioning vents. Checkpoint: The flame should burn steadily without flickering.
- Use a candle snuffer or dip the wick to extinguish: Blowing out a candle can cause smoke and soot. Instead, use a snuffer to cut off oxygen, or dip the wick into the melted wax and straighten it. This reduces smoke and keeps the wick in good condition. Common mistake: Blowing out the candle creates smoke that can linger and dull the scent.
- Trim the wick after each burn, not before: After the candle cools, the wick may have a carbon 'mushroom.' Trimming it before the next burn is fine, but trimming right after extinguishing can cause debris to fall into the wax. Always trim before lighting, when the wick is firm. Checkpoint: Keep a wick trimmer near your candle for convenience.
Candles That Reward Good Care
- Palm Springs Panache: Plunge into juicy pool-side fruity cocktails with tropical fruits, agave and coconut water in this love-letter to Palm Springs. Made with natural lead-free cotton wicks and the highest quality non-toxic soy blend wax for a burn that is pure and intensely fragrant. This 380g candle is perfect for practicing the first-burn rule—its generous size gives you a long-lasting fragrance, and proper care ensures you enjoy every tropical note.
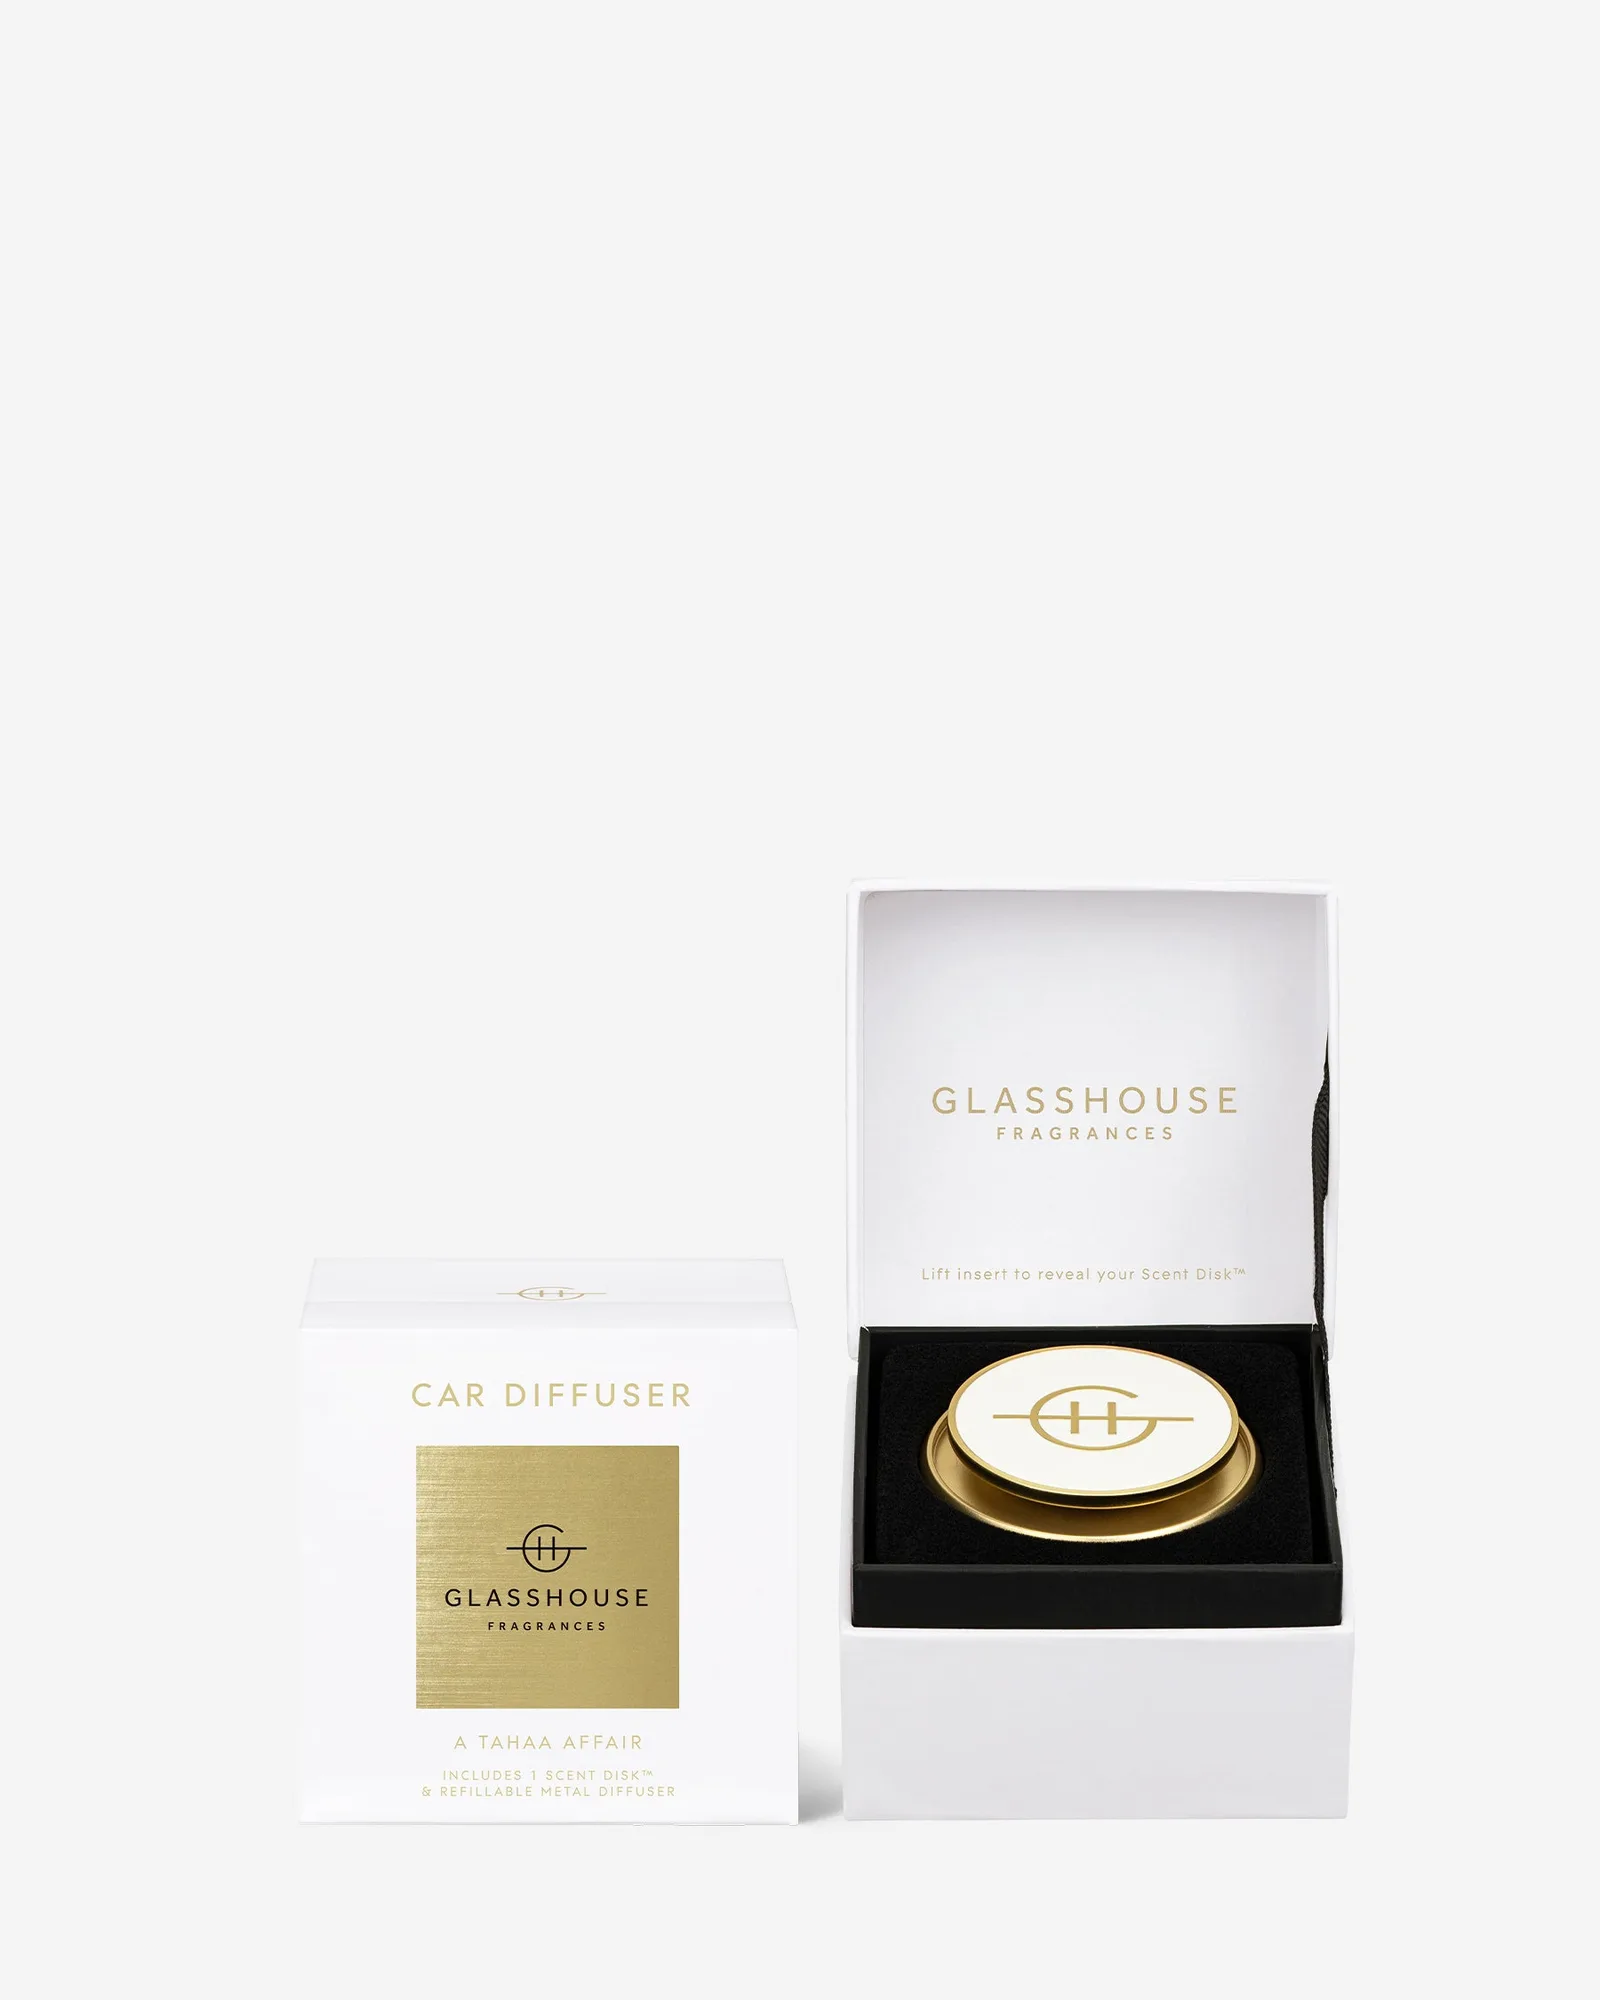
- https://glasshousefragrancesda.com/products/a-tahaa-affair-356003https://glasshousefragrancesda.com/products/a-tahaa-affair-356010A Tahaa Affair: Sweet indulgence under warm island skies in our best-selling home fragrance. Made with natural lead-free cotton wicks and the highest quality non-toxic soy blend wax for a burn that is pure and intensely fragrant. As a 60g candle, it's ideal for shorter sessions. But even small candles need the first full melt to avoid tunneling—follow the 2-hour minimum to get the most from its compact size.
By incorporating these 10 simple habits into your candle routine, you'll not only extend the life of your candles but also enjoy a cleaner, more fragrant burn. Remember, the key is consistency: trim, burn, and care. With a little attention, your favorite scents—like Palm Springs Panache or A Tahaa Affair—will fill your home for many more cozy evenings.