Quick Answer
To make a herbal tincture at home, choose a dried or fresh herb, place it in a glass jar, cover with high-proof alcohol (like vodka or brandy), seal, and let it steep for 4-6 weeks, shaking occasionally. Strain, bottle, and store in a cool, dark place. For best results, use a 1:5 herb-to-alcohol ratio for dried herbs and a 1:2 ratio for fresh.
Making your own herbal tinctures is a rewarding way to harness the benefits of herbs like guayusa, licorice root, or ginkgo biloba. With just a few supplies and a little patience, you can create potent, personalized extracts that fit your wellness routine.
ginkgo biloba
In this guide, we'll walk you through the entire process, from selecting your herbs to bottling your finished tincture. You'll learn the key steps, common mistakes to avoid, and how to adjust the method for different herbs.
Why Make Your Own Tinctures?
Homemade tinctures let you control the quality of the herbs and the strength of the extract. You can tailor the alcohol percentage and the herb-to-liquid ratio to suit your needs, and you'll save money compared to buying commercial tinctures. Plus, it's a satisfying DIY project that deepens your connection to herbalism.
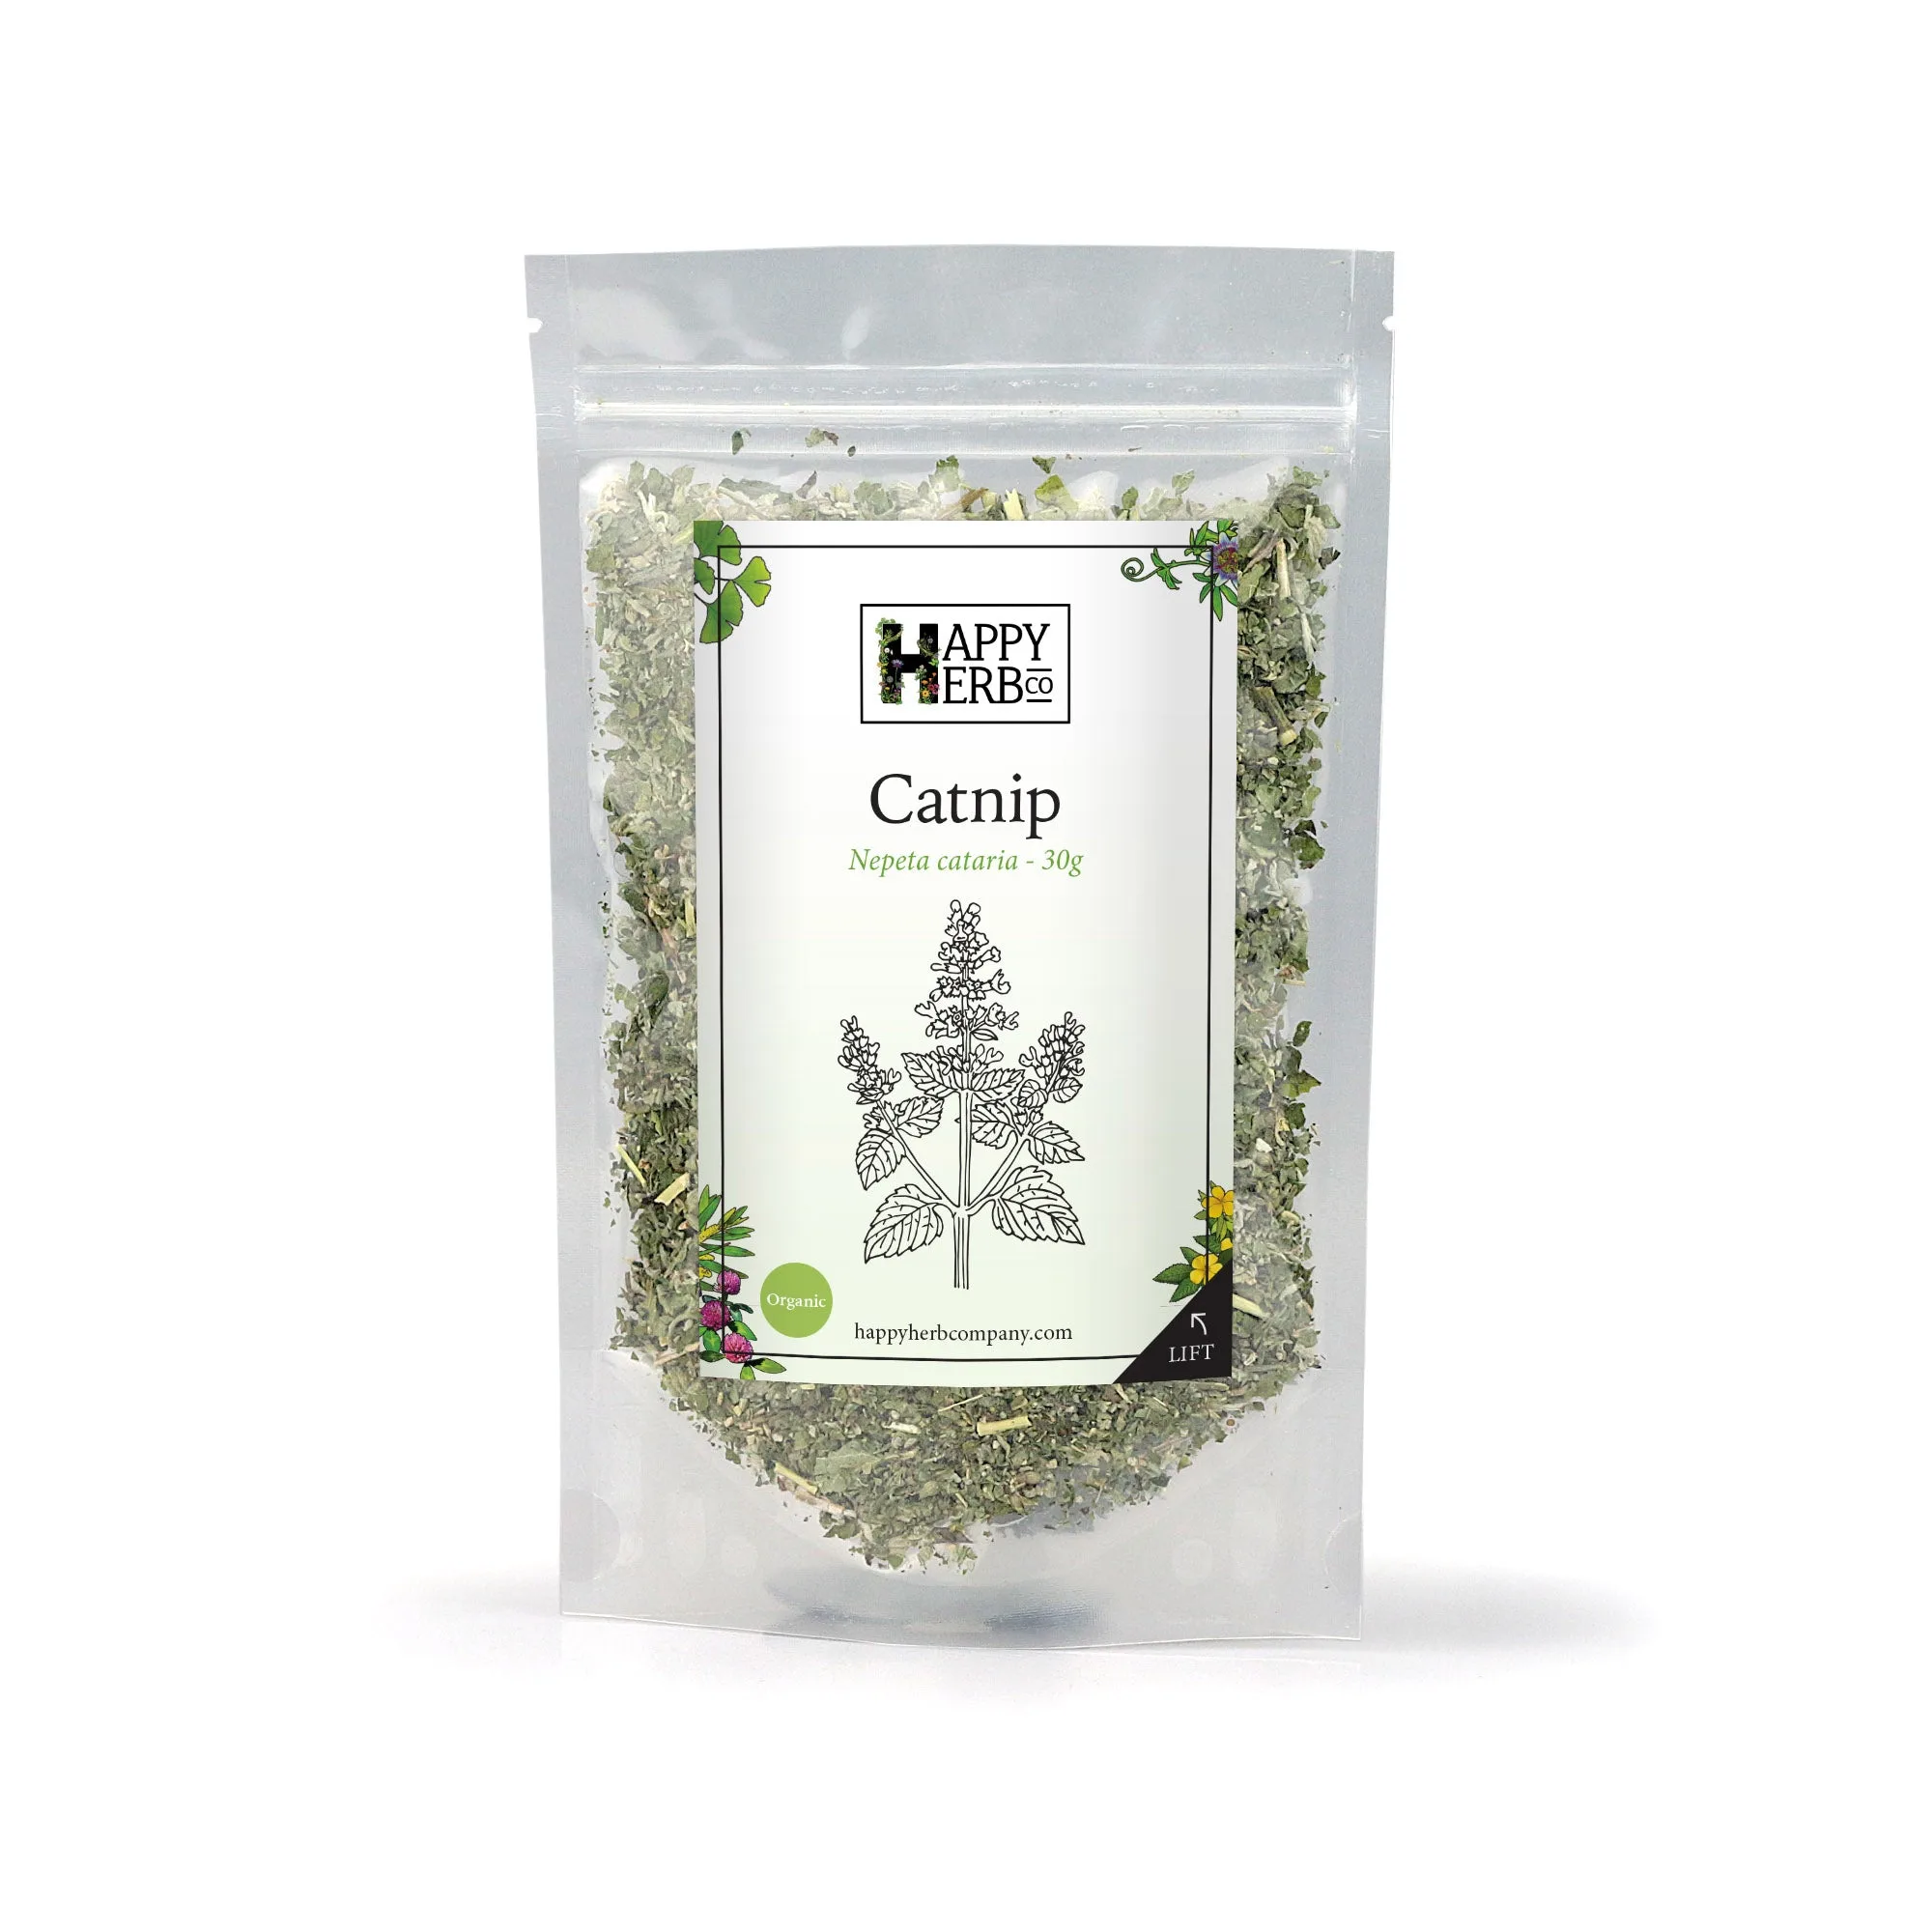
When you make your own, you also know exactly what's in the bottle—no hidden additives or preservatives. For example, if you're drawn to the calming properties of catnip or the cognitive support of ginkgo, you can prepare them fresh and use them as needed.
- Choose organic or wildcrafted herbs when possible to avoid pesticides.
- Start with one herb at a time to learn its effects before blending.
Supplies You'll Need
Gather your materials before you start. You'll need a clean glass jar with a tight-fitting lid (amber or clear both work), a high-proof alcohol (80-100 proof vodka or brandy is standard), your chosen dried or fresh herb, a kitchen scale for precise measurements, cheesecloth or a fine mesh strainer, and dark glass bottles for storage.
The quality of your alcohol matters. It should be food-grade and at least 40% alcohol (80 proof) to effectively extract the plant constituents. Vodka is neutral, while brandy adds a sweeter note. For roots and resins, you might prefer higher-proof alcohol like Everclear, but it's not necessary for most home tinctures.
- Use a scale to measure herbs accurately for consistent results.
- Label your jar with the herb name and date before you forget.
Step-by-Step Tincture Making Process
Start by preparing your herb. If using dried herbs, chop or grind them slightly to increase surface area. Fill your jar about one-third to one-half full with the herb. For dried herbs, a common ratio is 1 part herb to 5 parts alcohol by weight. For fresh herbs, use 1 part herb to 2 parts alcohol.
Pour the alcohol over the herb until it's completely submerged, leaving about an inch of headspace. Seal the jar tightly and shake it well. Store the jar in a cool, dark place for 4 to 6 weeks. Shake the jar every few days to help the extraction process.
After the steeping period, strain the mixture through cheesecloth or a fine mesh strainer, squeezing out as much liquid as possible. Bottle the tincture in dark glass dropper bottles, label them with the herb name and date, and store in a cool, dark place. Your tincture is now ready to use.
- If you're in a hurry, you can do a 'quick extract' by gently heating the mixture for a few hours, but traditional cold extraction preserves more delicate compounds.
- Double extraction is a method used for mushrooms and some roots, involving a water extraction followed by an alcohol extraction to pull out both water-soluble and alcohol-soluble compounds.
Quick Checklist for Tincture Success
- Choose your herb and ratio: Decide on a single herb or a blend. Use a 1:5 ratio for dried herbs and 1:2 for fresh. Measure accurately. Checkpoint: Your herb should fill no more than half the jar.
- Prepare and combine: Chop or grind the herb, place in a jar, and pour alcohol over it. Ensure the herb is fully submerged. Common mistake: Not leaving enough headspace can cause overflow when shaking.
- Steep and shake: Seal the jar and store in a cool, dark place. Shake every few days for 4-6 weeks. Checkpoint: If you see mold, discard the batch and start over with clean equipment.
- Strain and bottle: After steeping, strain through cheesecloth, squeezing well. Bottle in dark glass dropper bottles and label. Your tincture is ready! Store away from light and heat to preserve potency.
Herbs to Consider for Your First Tincture
- Guayusa 1:2 Liquid Herb: Sacred to the Kichwa people of the Ecuadorian Amazon, Guayusa is traditionally brewed before dawn as a herb of dreams, community and intentional presence. Naturally caffeinated and rich in antioxidants, it offers a clean and focused energy with a smooth, naturally sweet character. If you want a morning tincture that provides alertness without jitters, guayusa is an excellent choice. Its naturally sweet flavor pairs well with vodka or brandy.
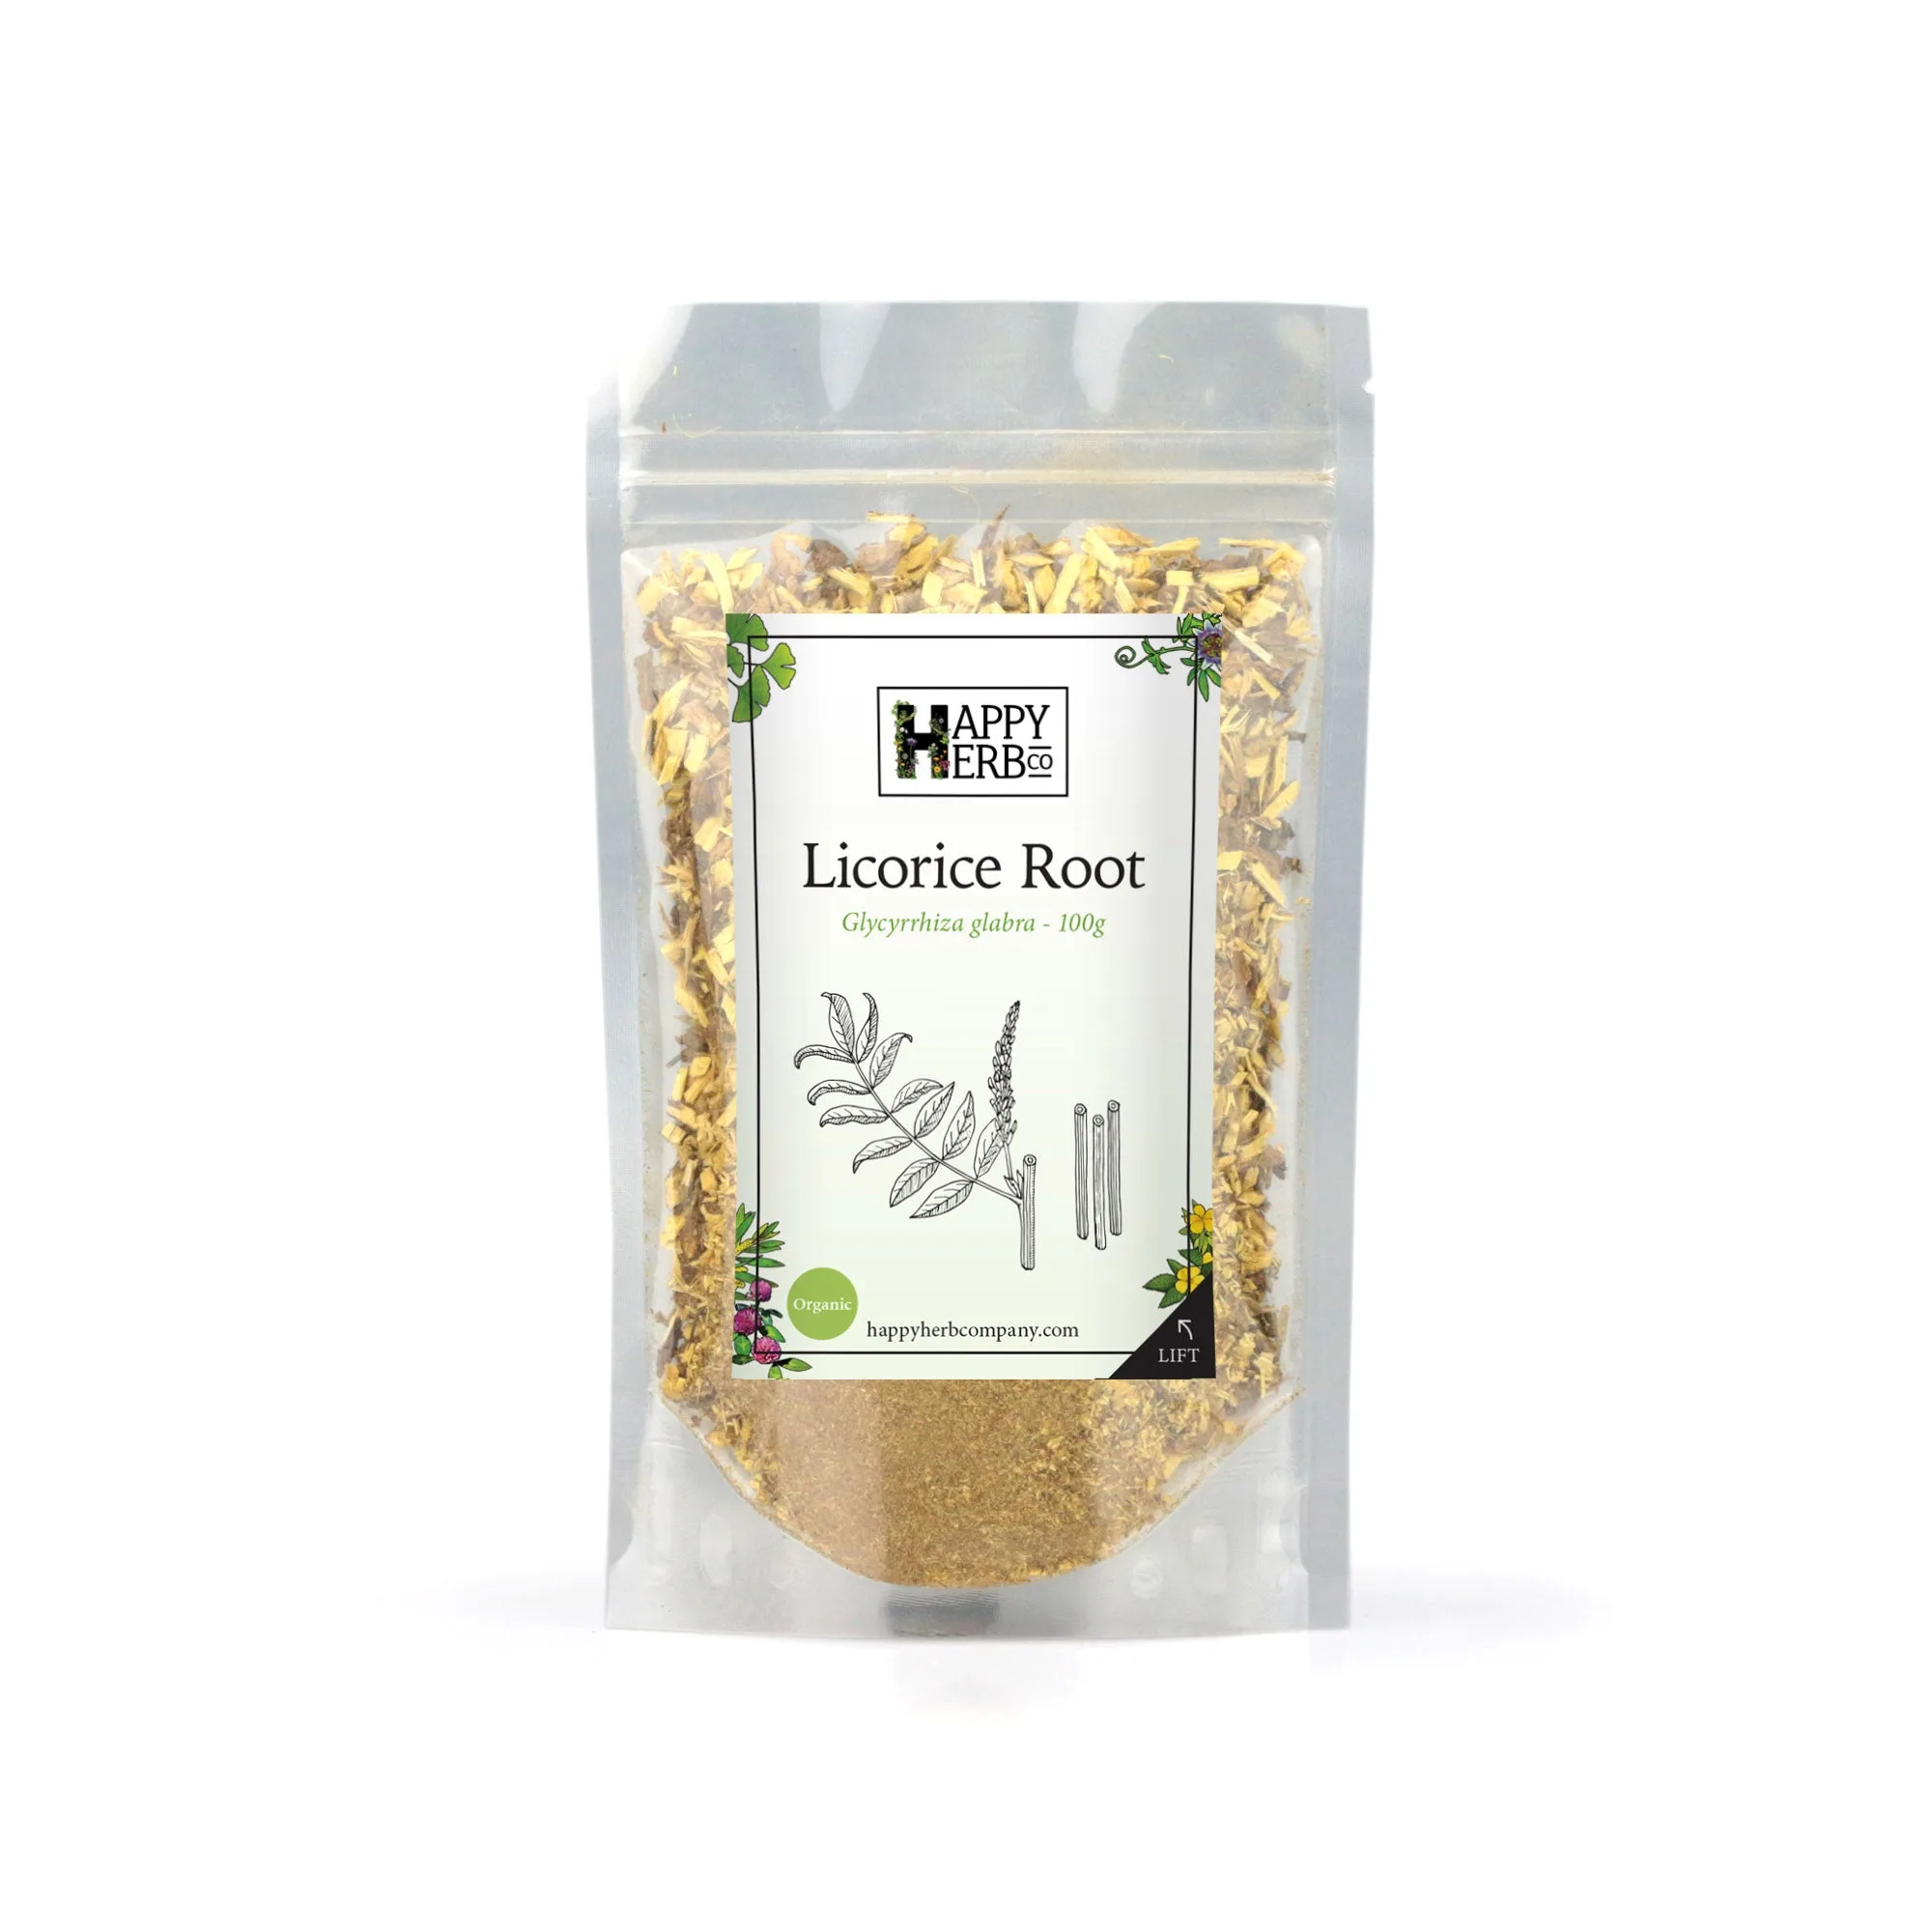
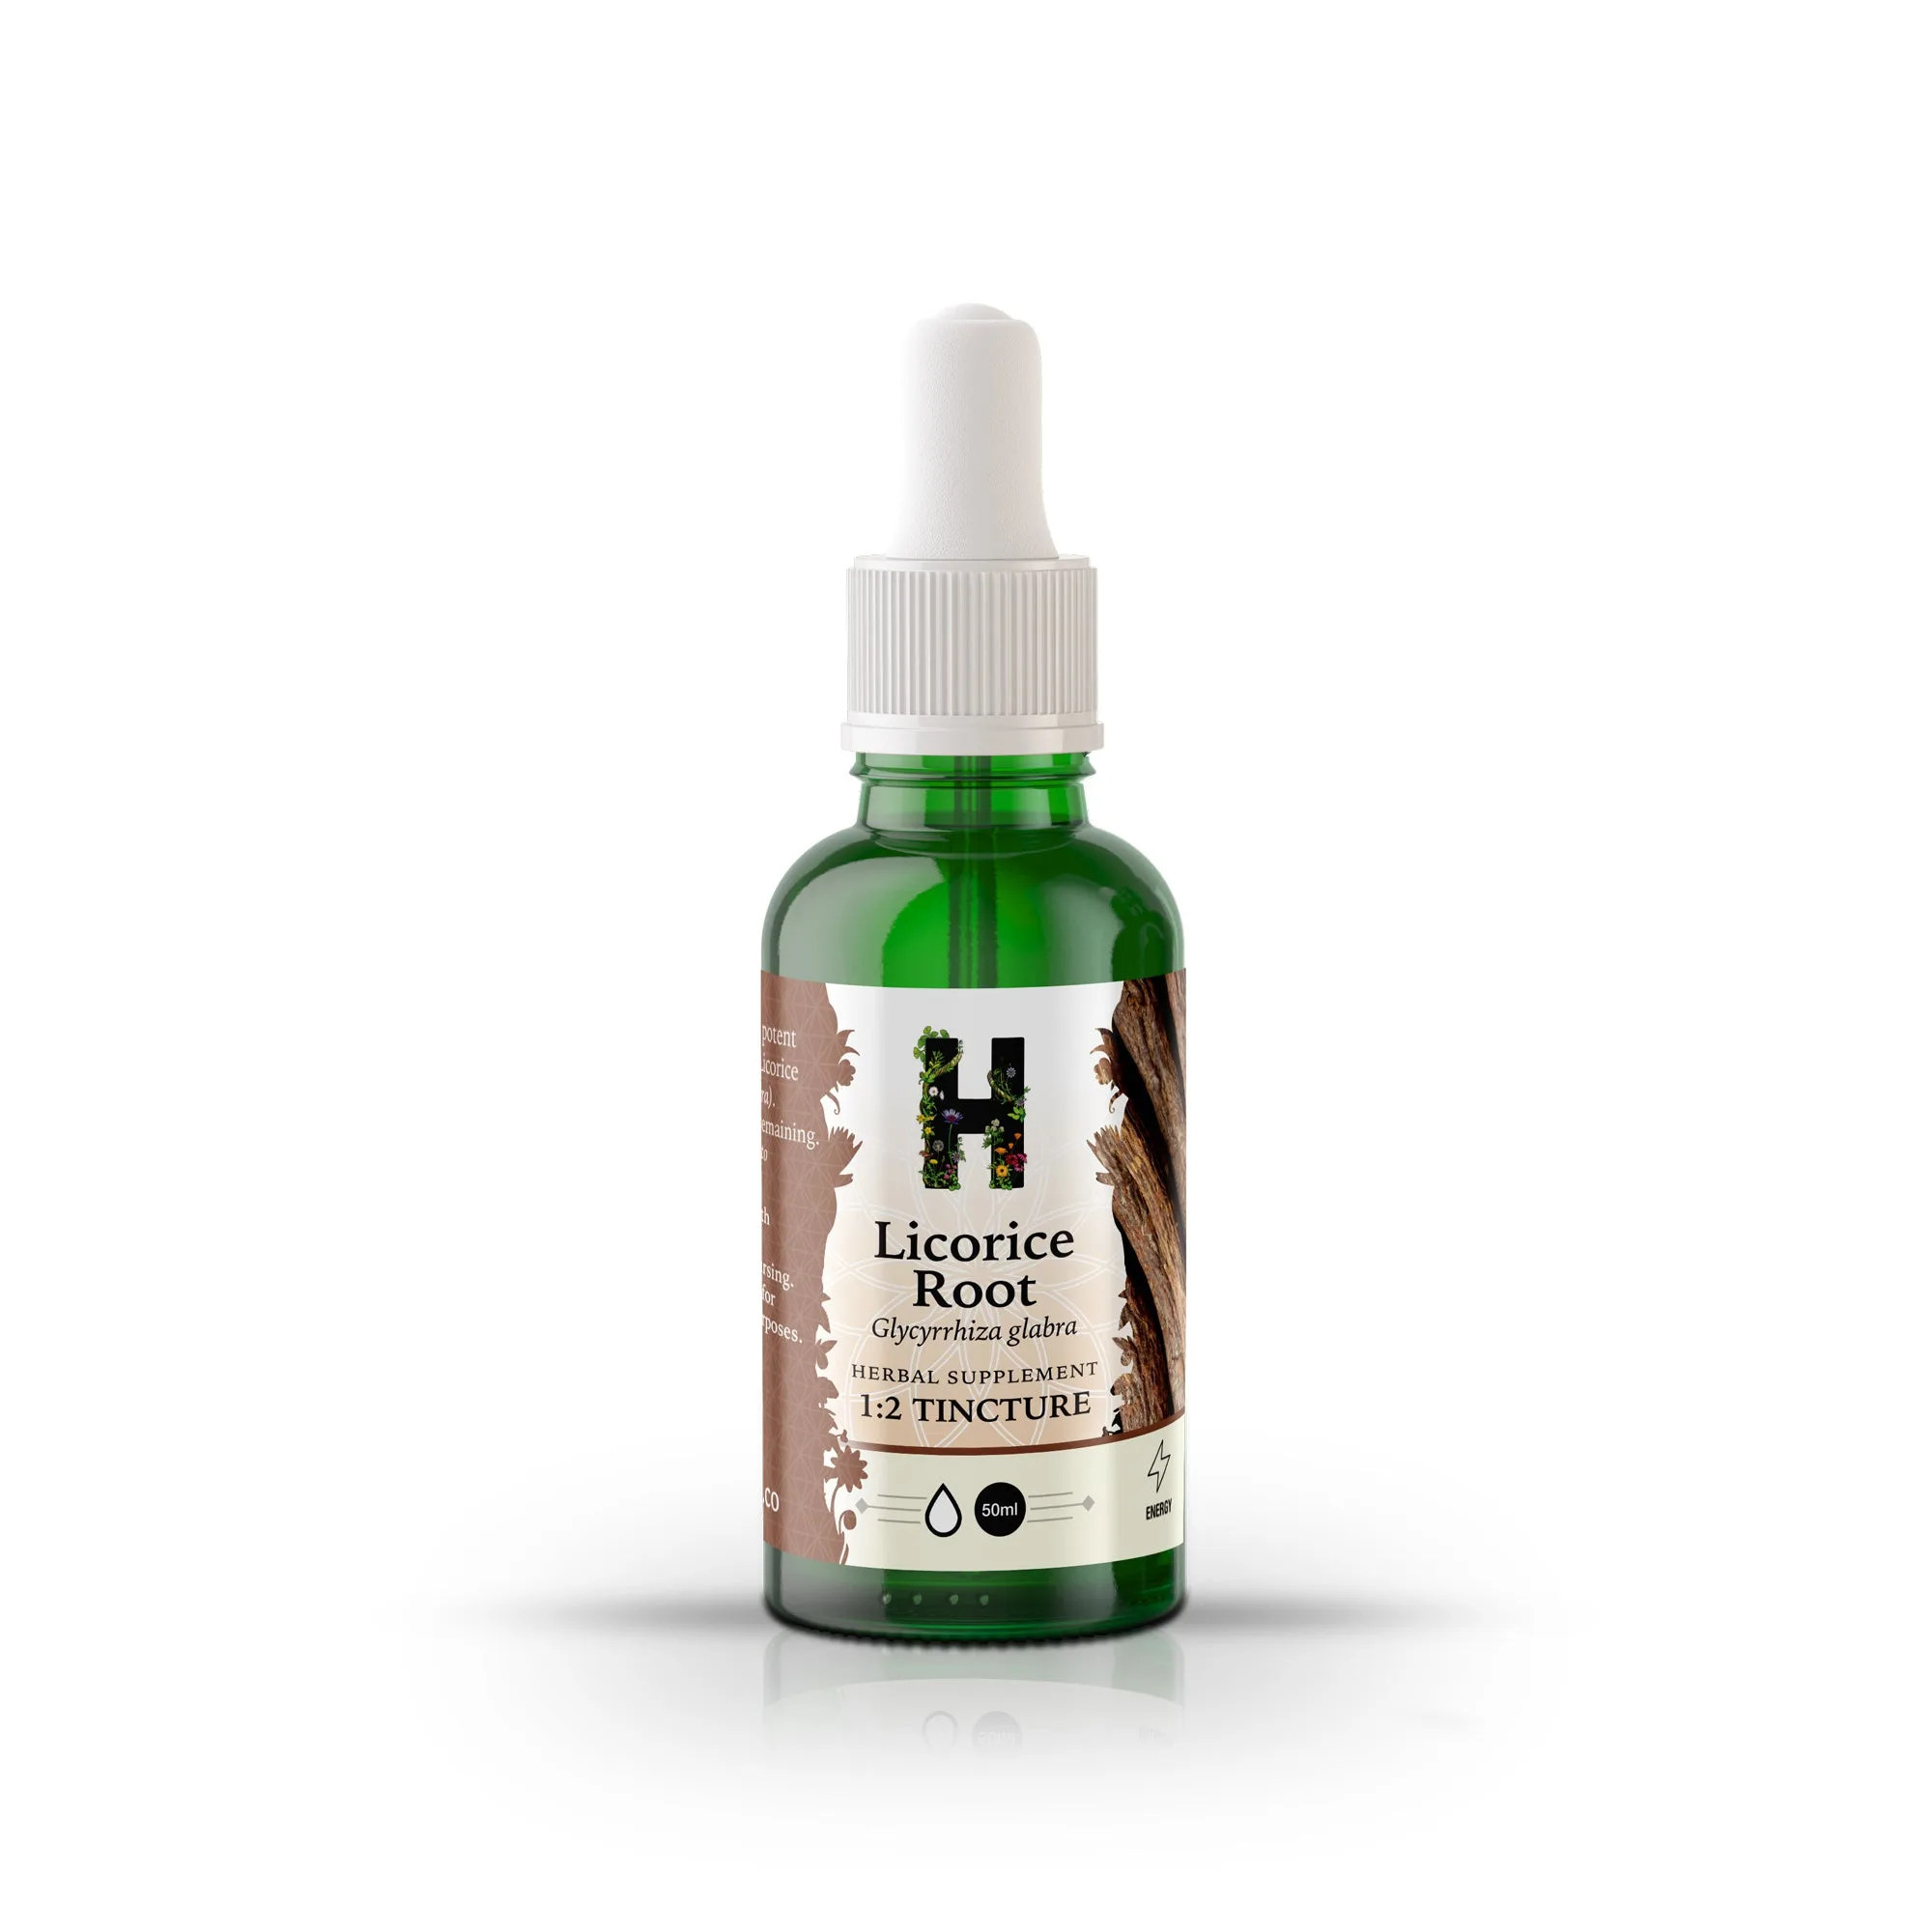
- Licorice 1:2 Liquid Herb: Sweet, grounding and deeply harmonising. Licorice Root has long been valued across Ayurvedic, Chinese and Western herbal traditions as one of herbalism's great unifiers. Traditionally added to formulas to soften, round and bring balance to the character of other herbs. Licorice root adds a pleasant sweetness to tincture blends and is often used to round out bitter herbs. It's a great addition to your home apothecary.
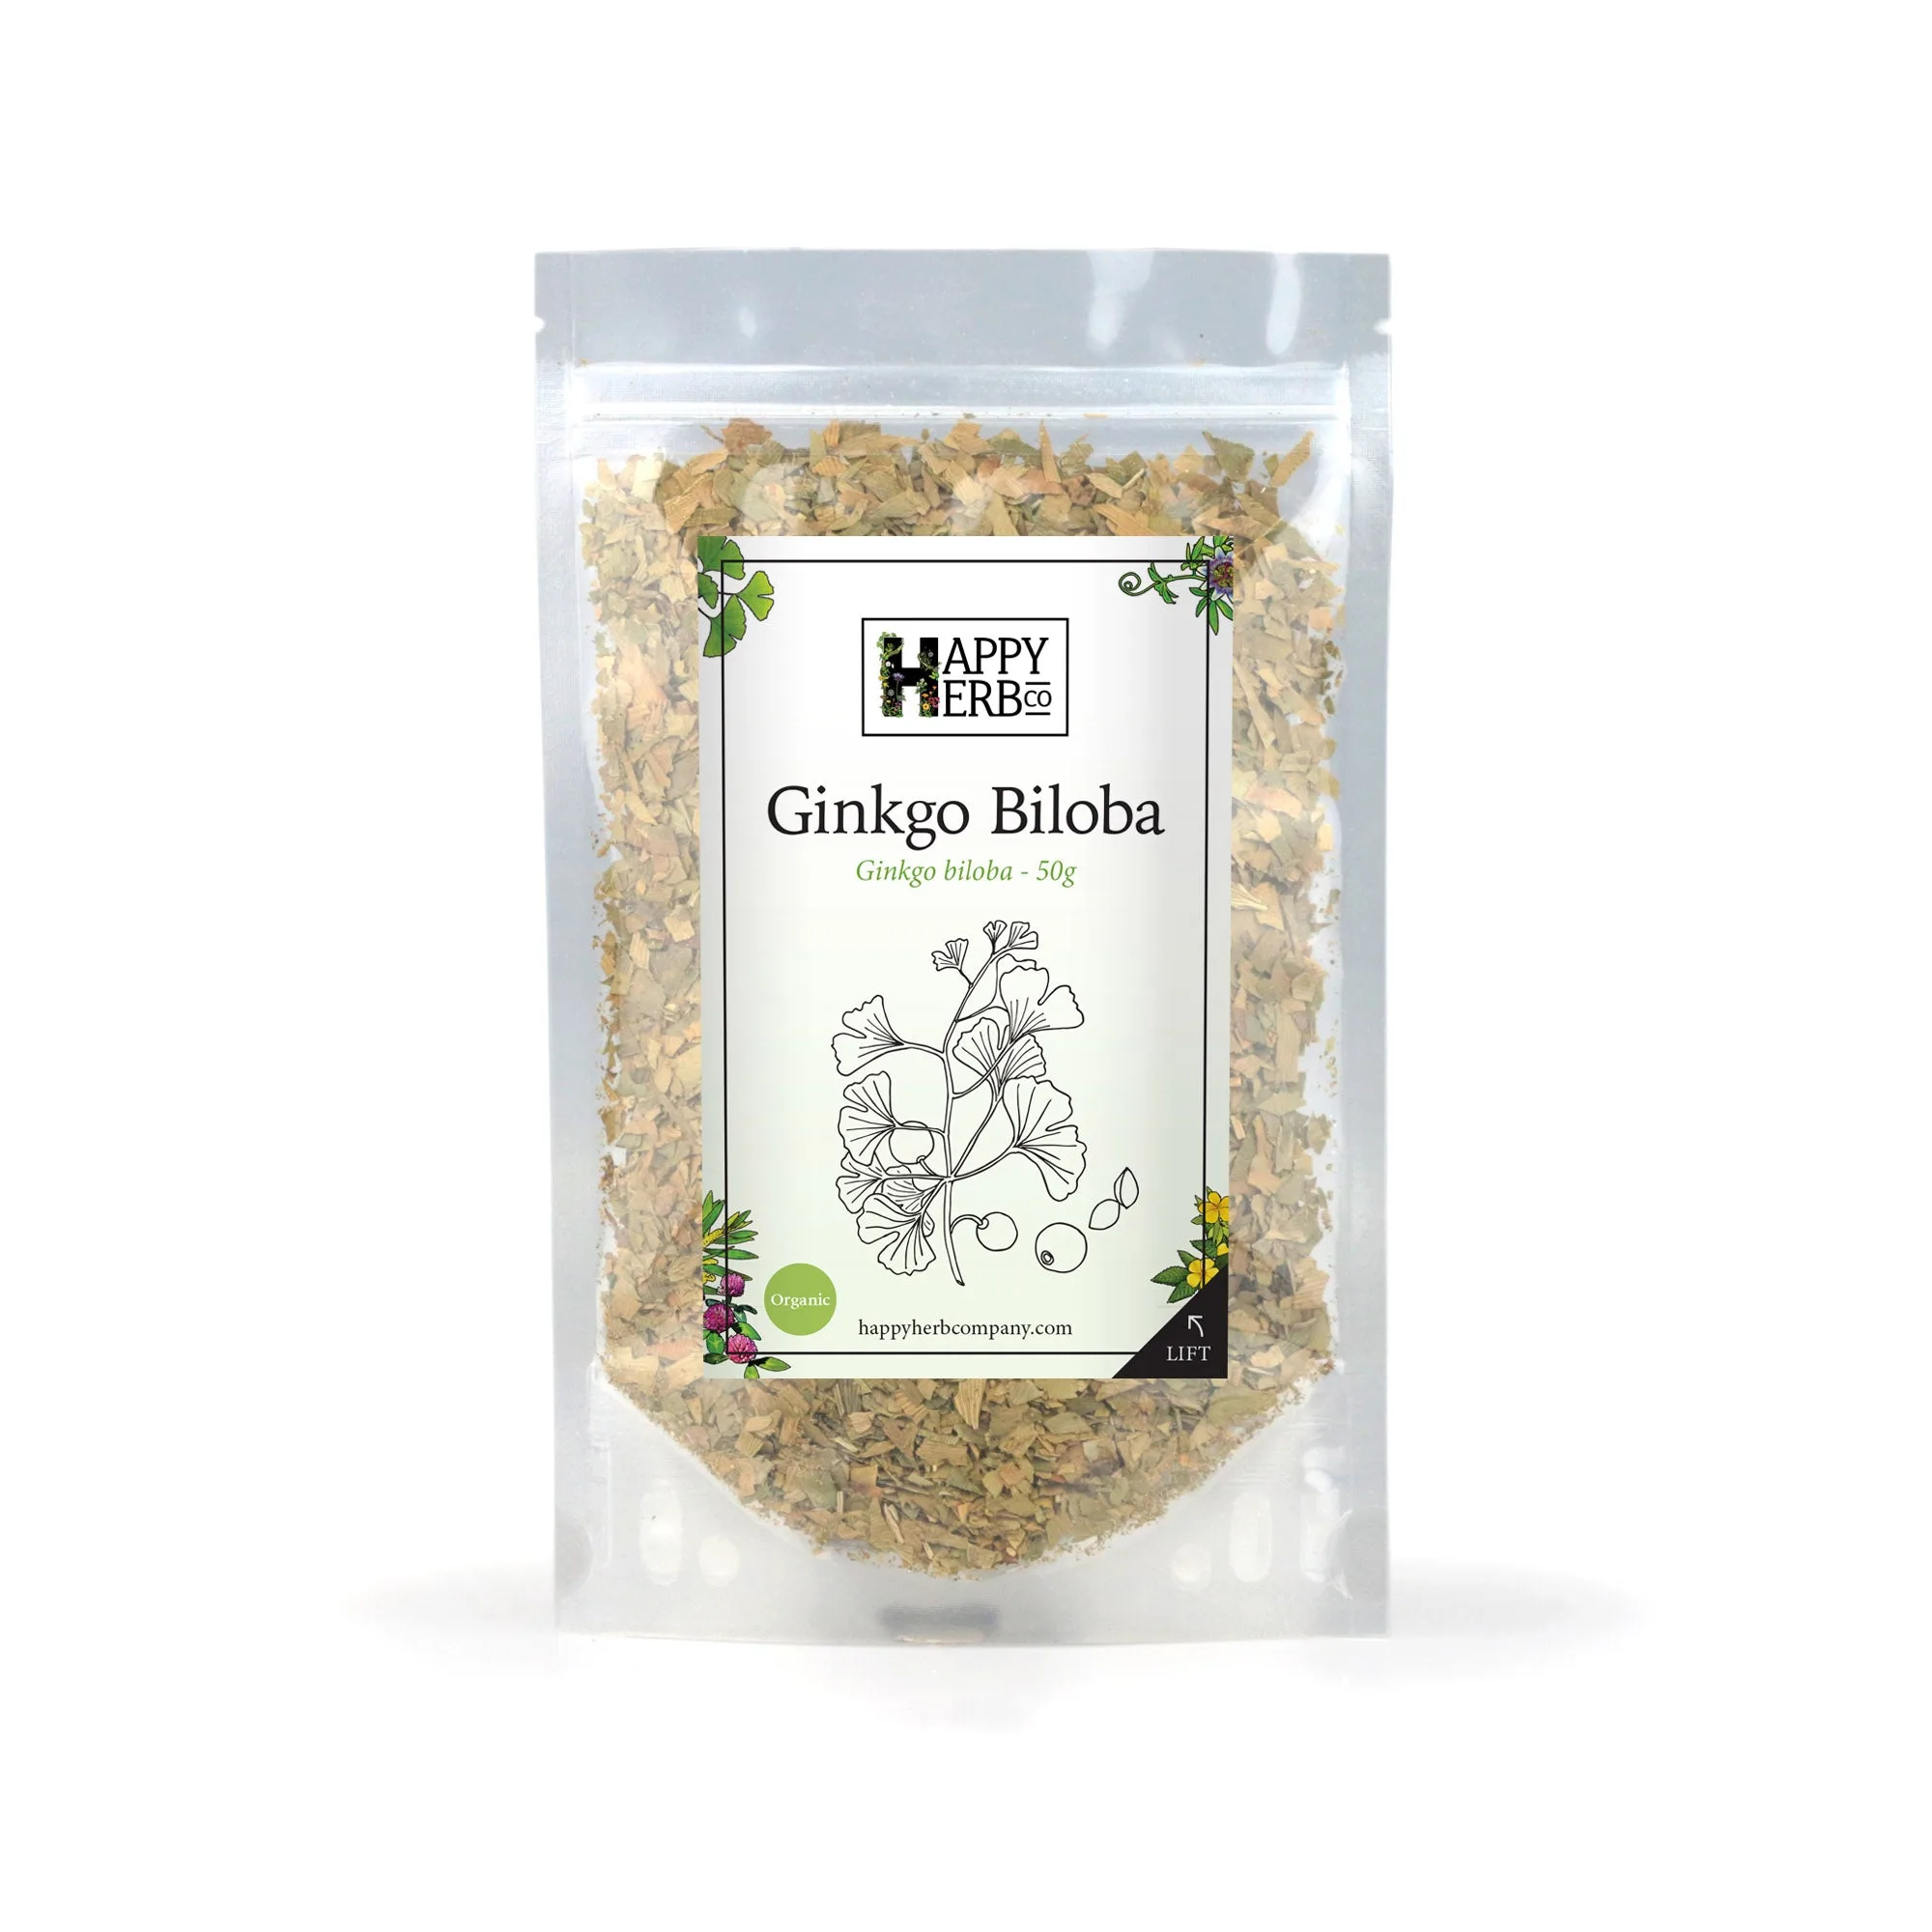
- Ginkgo Biloba: One of the oldest living tree species on earth, Ginkgo has been valued in TCM for thousands of years as a supreme tonic for mental clarity, presence and circulation. If you're making a tincture for cognitive support, ginkgo is a classic. Its bitter, earthy taste is well-extracted by alcohol.
Making your own herbal tinctures is a simple, rewarding process that puts you in control of your wellness toolkit. With the right herbs, alcohol, and a little patience, you'll have a personalized extract that supports your health every day. Whether you're crafting a calming catnip tincture or a focus-enhancing ginkgo blend, the steps are the same—so start experimenting and enjoy the journey.