Quick answer
Load the Mana 8 12-Pocket Zip PRO-BINDER by working one page at a time from the back to the front, keeping each pocket to a single card and zipping the binder closed after every few pages. This routine keeps the 20 pages aligned and prevents the zipper from straining as you fill all 480 pockets.
Why the 12-pocket layout changes your loading order
A 12-pocket page holds three columns of four pockets, so each page carries more weight than a standard 9-pocket page. If you load the front pages first, the filled section pulls the binder forward and the unfilled back pages can bow or catch in the zipper track. Loading from the back keeps the spine balanced while the binder is still mostly empty.
The 12-pocket format also means you will handle fewer pages for the same number of cards. That is an advantage for large MTG storage, but it makes each page a bigger single unit to keep flat. Set the binder on a hard surface rather than your lap so the pages stay level as you work.
What fits and what to leave out
The binder is built for standard trading cards, and the supplied catalog lists a capacity of up to 480 cards across twenty 12-pocket pages. That figure assumes one card per pocket. Doubling up cards in a pocket adds thickness that can stress the page seams and make the zipper harder to close.
The padded leatherette cover and zippered closure protect the pages during transport, but the zipper is not a compression system. If the binder feels tight before it is full, remove cards rather than forcing the zip. For decks or bulk storage beyond 480 cards, use a separate card storage box instead of overfilling this binder.
Step-by-step loading routine
- Set up a flat, clean surface: Place the binder on a hard table with the zipper fully open and the pages fanned slightly so they lie flat. Common mistake: loading on a soft surface, which lets pages curl and makes pockets harder to open. Check that the spine lies flat before inserting any card.
- Start with the last page: Begin at the back page and fill one card per pocket, working left to right and top to bottom. Common mistake: starting at the front, which unbalances the binder and can make later pages catch. Keep the filled section at the back until the binder is at least half full.
- Insert cards without forcing: Slide each card in until it sits fully inside the pocket, then run a finger along the top edge to seat it. Common mistake: pushing a card past a tight seam, which can bend corners or split the page. If a pocket resists, stop and check for a doubled card or debris.
- Zip closed after every few pages: After filling three or four pages, close the zipper and check that it runs smoothly. Common mistake: waiting until the binder is full to test the zip, when strain is hardest to fix. A zip that drags early means a page is misaligned, not that the binder is too full.
- Finish at the front and do a capacity check: Load the remaining front pages, then count filled pages against the 480-card capacity. Common mistake: assuming the binder holds more because pockets look loose. Leave the last page empty if you plan to add cards later without reorganizing.
Product facts
-
Mana 8 - 12-Pocket Zip PRO-BINDER® - Swamp for Magic: The Gathering: Padded white leatherette cover with the Swamp symbol debossed on the front and a zippered closure. The zip keeps pages contained in transit, so you can load the binder fully and carry it without cards sliding out.
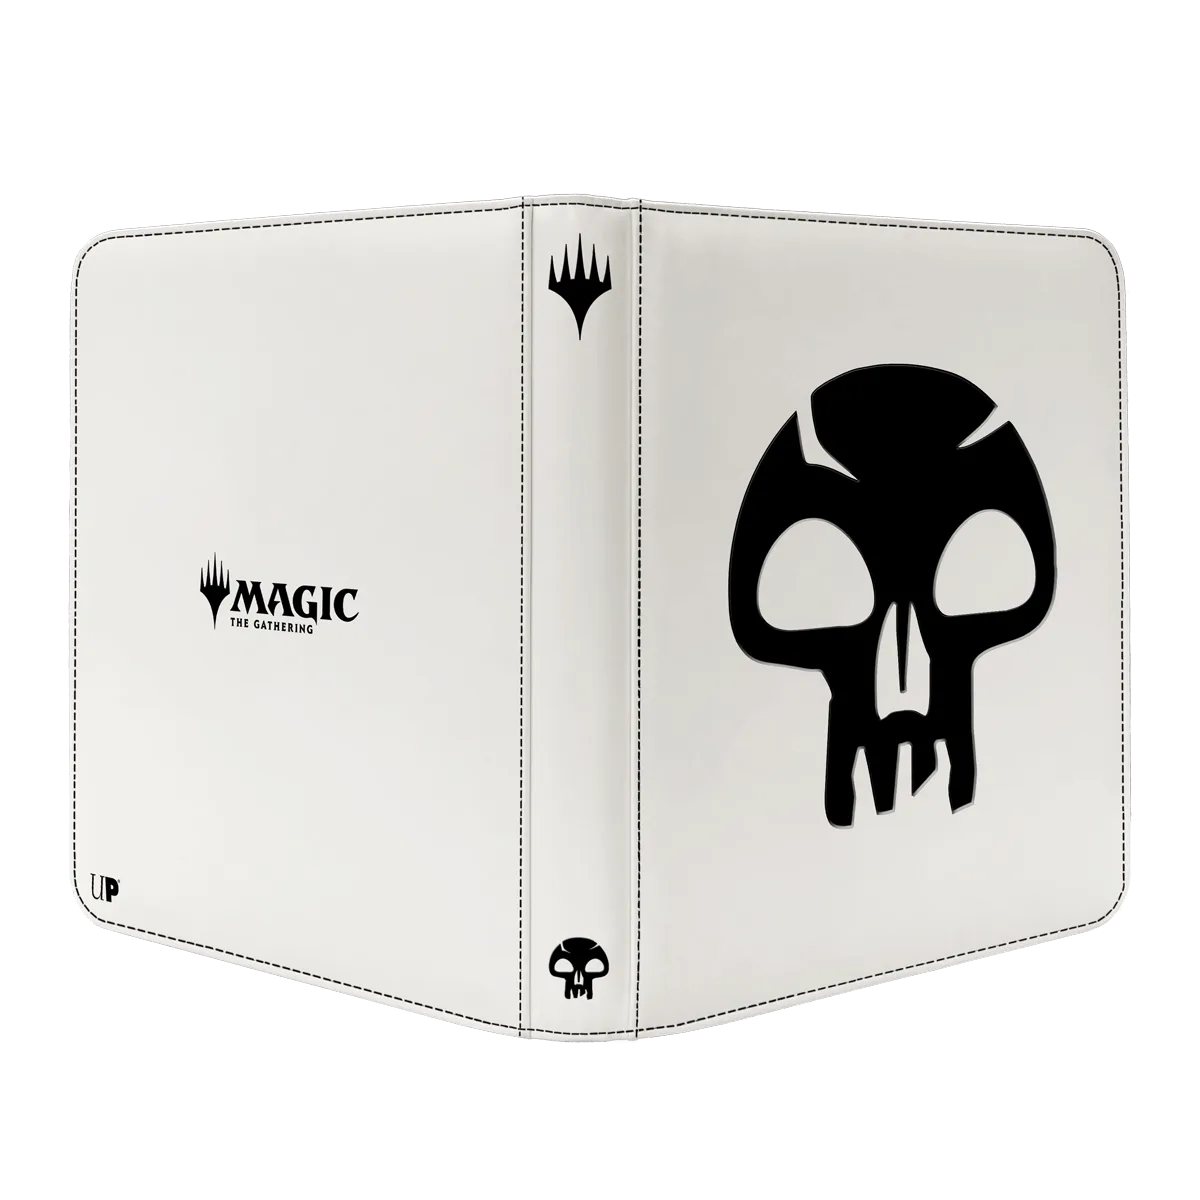
Mana 8 - 12-Pocket Zip PRO-BINDER® - Swamp for Magic: The Gathering
-
Mana 8 - 12-Pocket Zip PRO-BINDER® - Swamp for Magic: The Gathering: Twenty matching 12-pocket pages store up to 480 cards. Plan your loading in page batches so you can track capacity and avoid overfilling the last pages.