There’s something primal and deeply satisfying about building a fire from scratch. Whether you’re gathered around a fire pit in your backyard or huddled at a campsite under the stars, the ability to start a fire reliably is a skill every outdoor enthusiast should master. But even the best fire pit can’t do the work alone — you need the right tools, the right technique, and a little bit of patience.
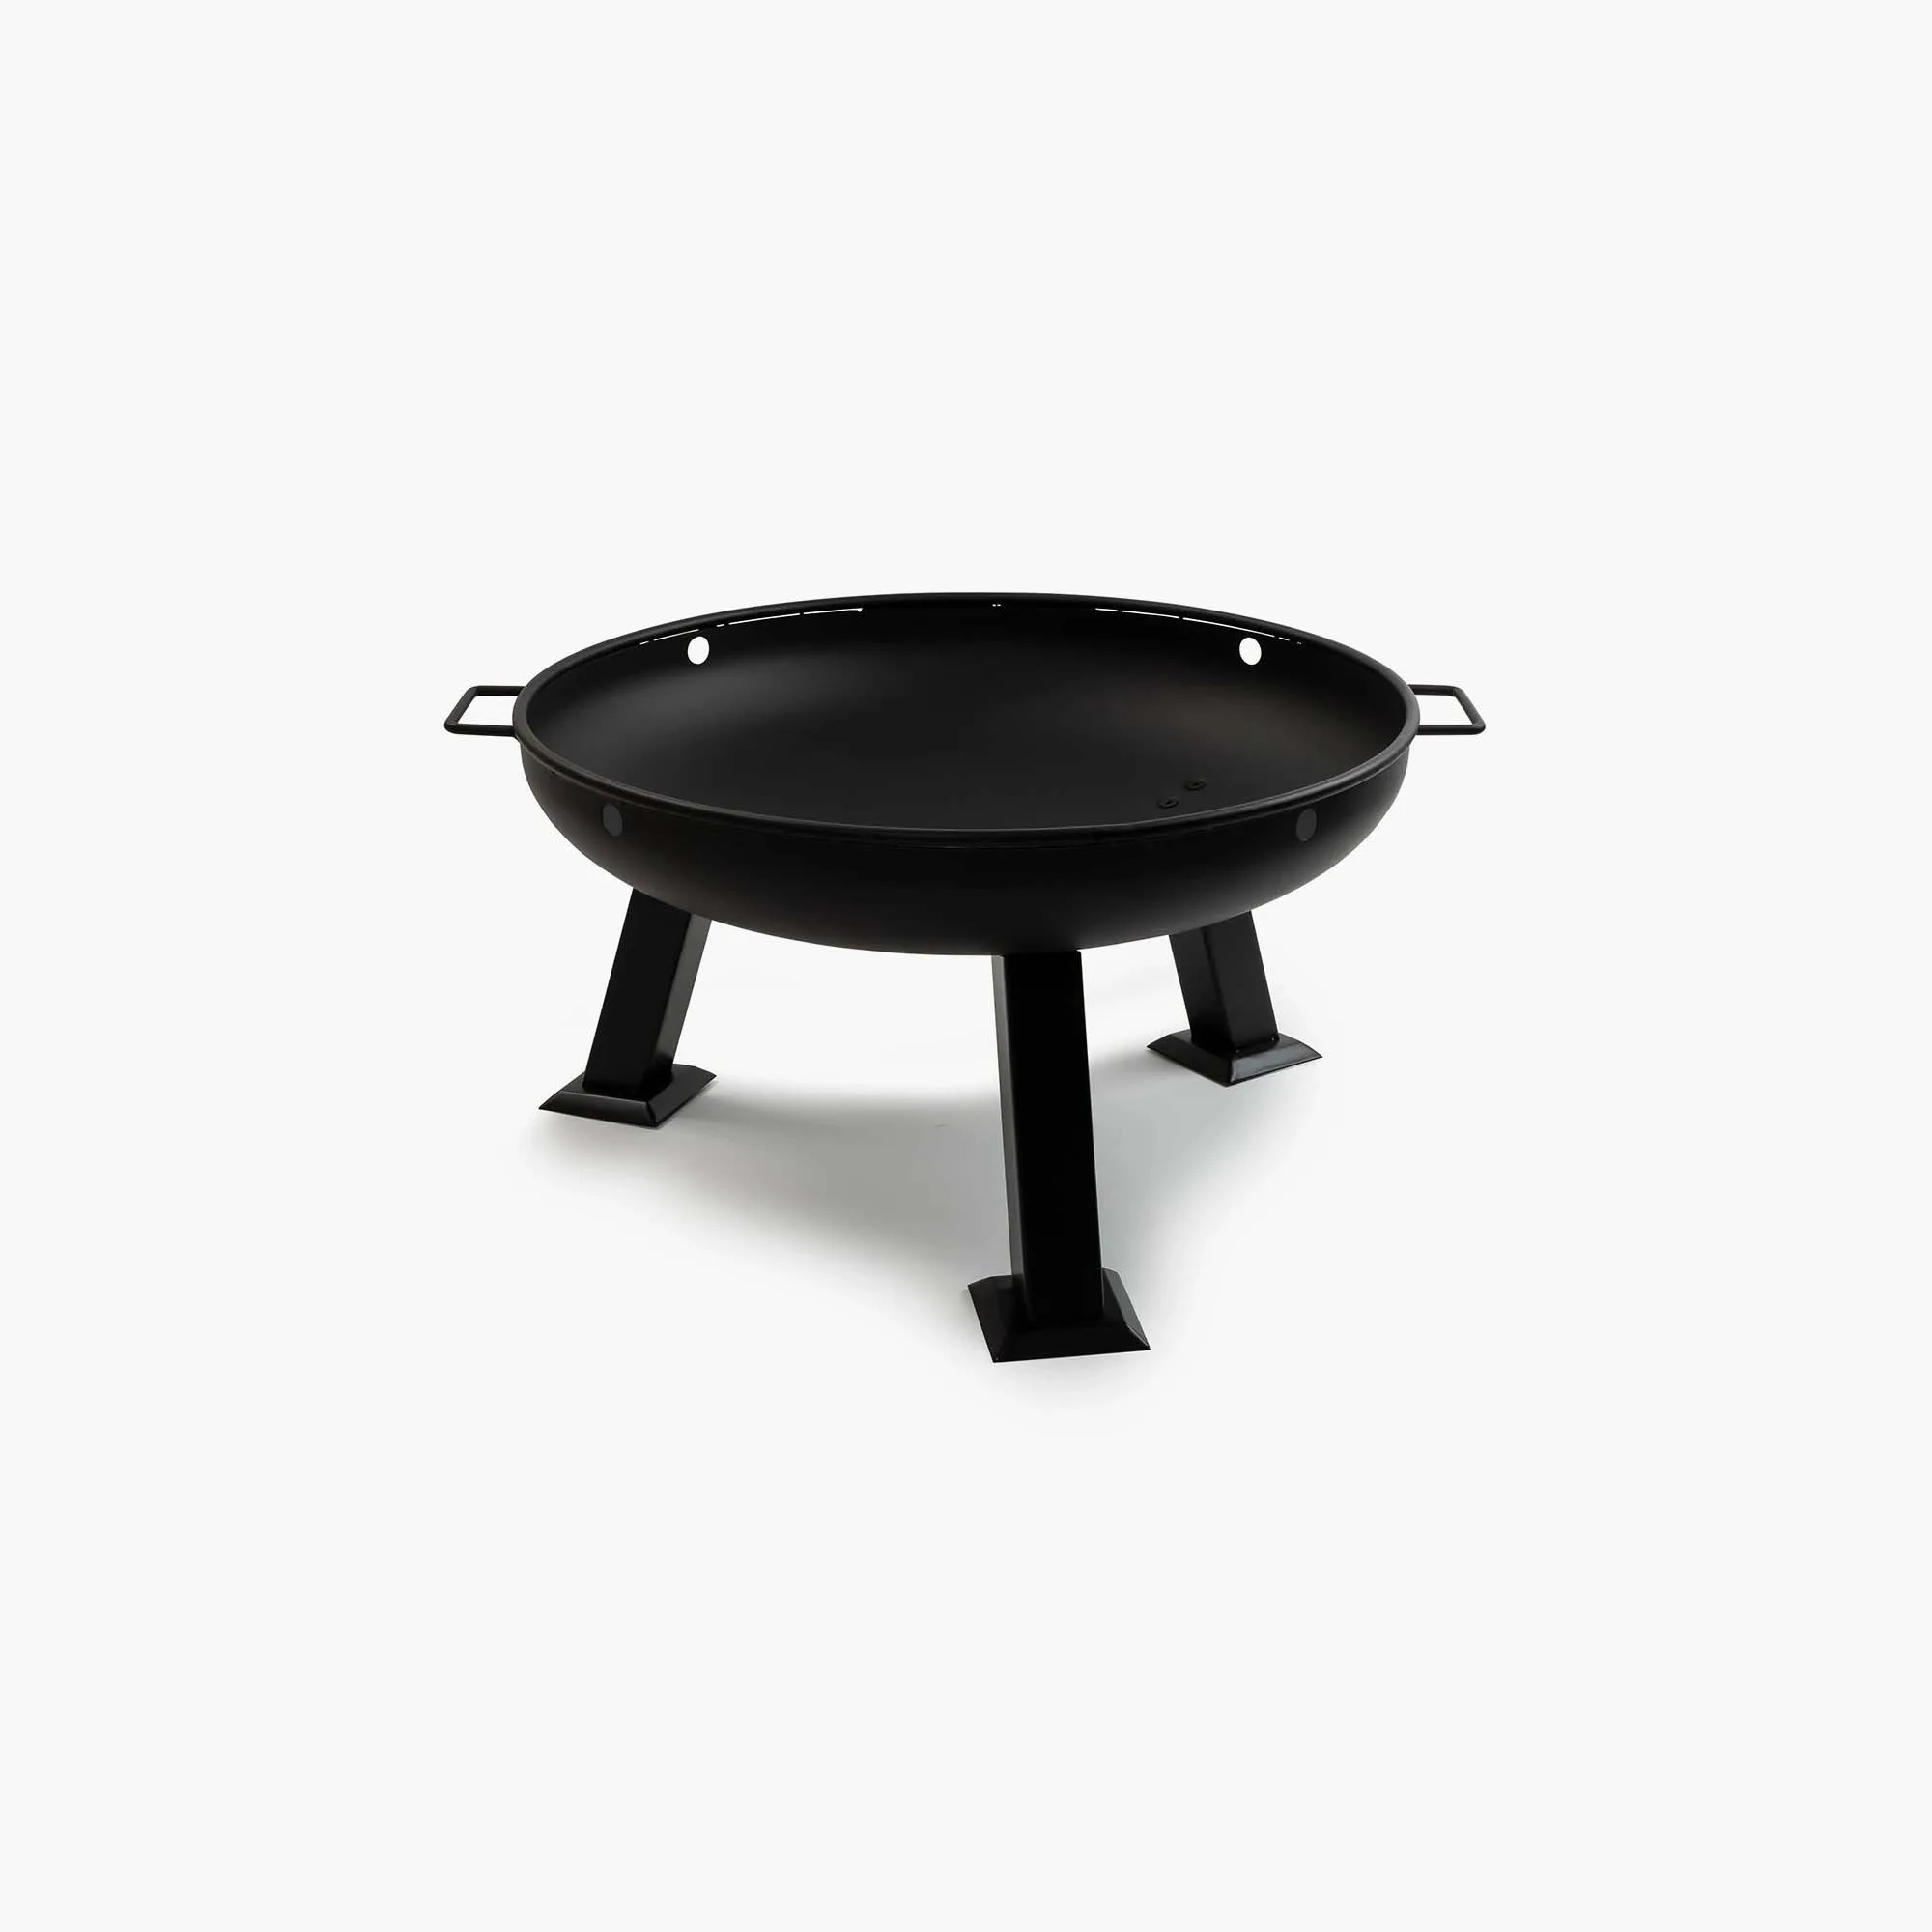
fire pit
In this guide, we’ll walk you through the art of fire starting, from choosing the best tinder and kindling to using essential fire pit tools that make the process safer and more efficient. Whether you’re a beginner or a seasoned fire builder, these tips will help you light up your outdoor space with confidence.
Understanding the Fire Triangle: Fuel, Heat, and Oxygen
Before you strike a match, it helps to understand the science behind a successful fire. Every flame relies on three elements: fuel (wood, tinder, kindling), heat (a spark or flame source), and oxygen (airflow). Remove any one of these, and your fire will sputter out. That’s why proper fire pit design and placement matter — a well-ventilated fire pit allows oxygen to feed the flames while containing the heat.
For backyard fire pits, choose a location away from overhanging branches and dry grass. If you’re camping, look for a spot with natural windbreaks. And always keep a safe distance from tents, gear, and flammable materials. Once your site is set, you can focus on assembling your fuel in the right order: tinder, kindling, and then larger logs.
- Always clear a 10-foot radius of debris before starting your fire.
- Use dry, seasoned wood for cleaner burns and less smoke.
- Keep a bucket of water or a fire extinguisher nearby for safety.
Choosing the Right Fire Starter and Tinder
The foundation of any great fire is excellent tinder. Natural options include dry leaves, pine needles, birch bark, and small twigs. You can also use commercial fire starters, which are often wax- or resin-based and ignite quickly even in damp conditions. A reliable fire starter is a must-have in any outdoor kit, especially when the weather isn’t cooperating.
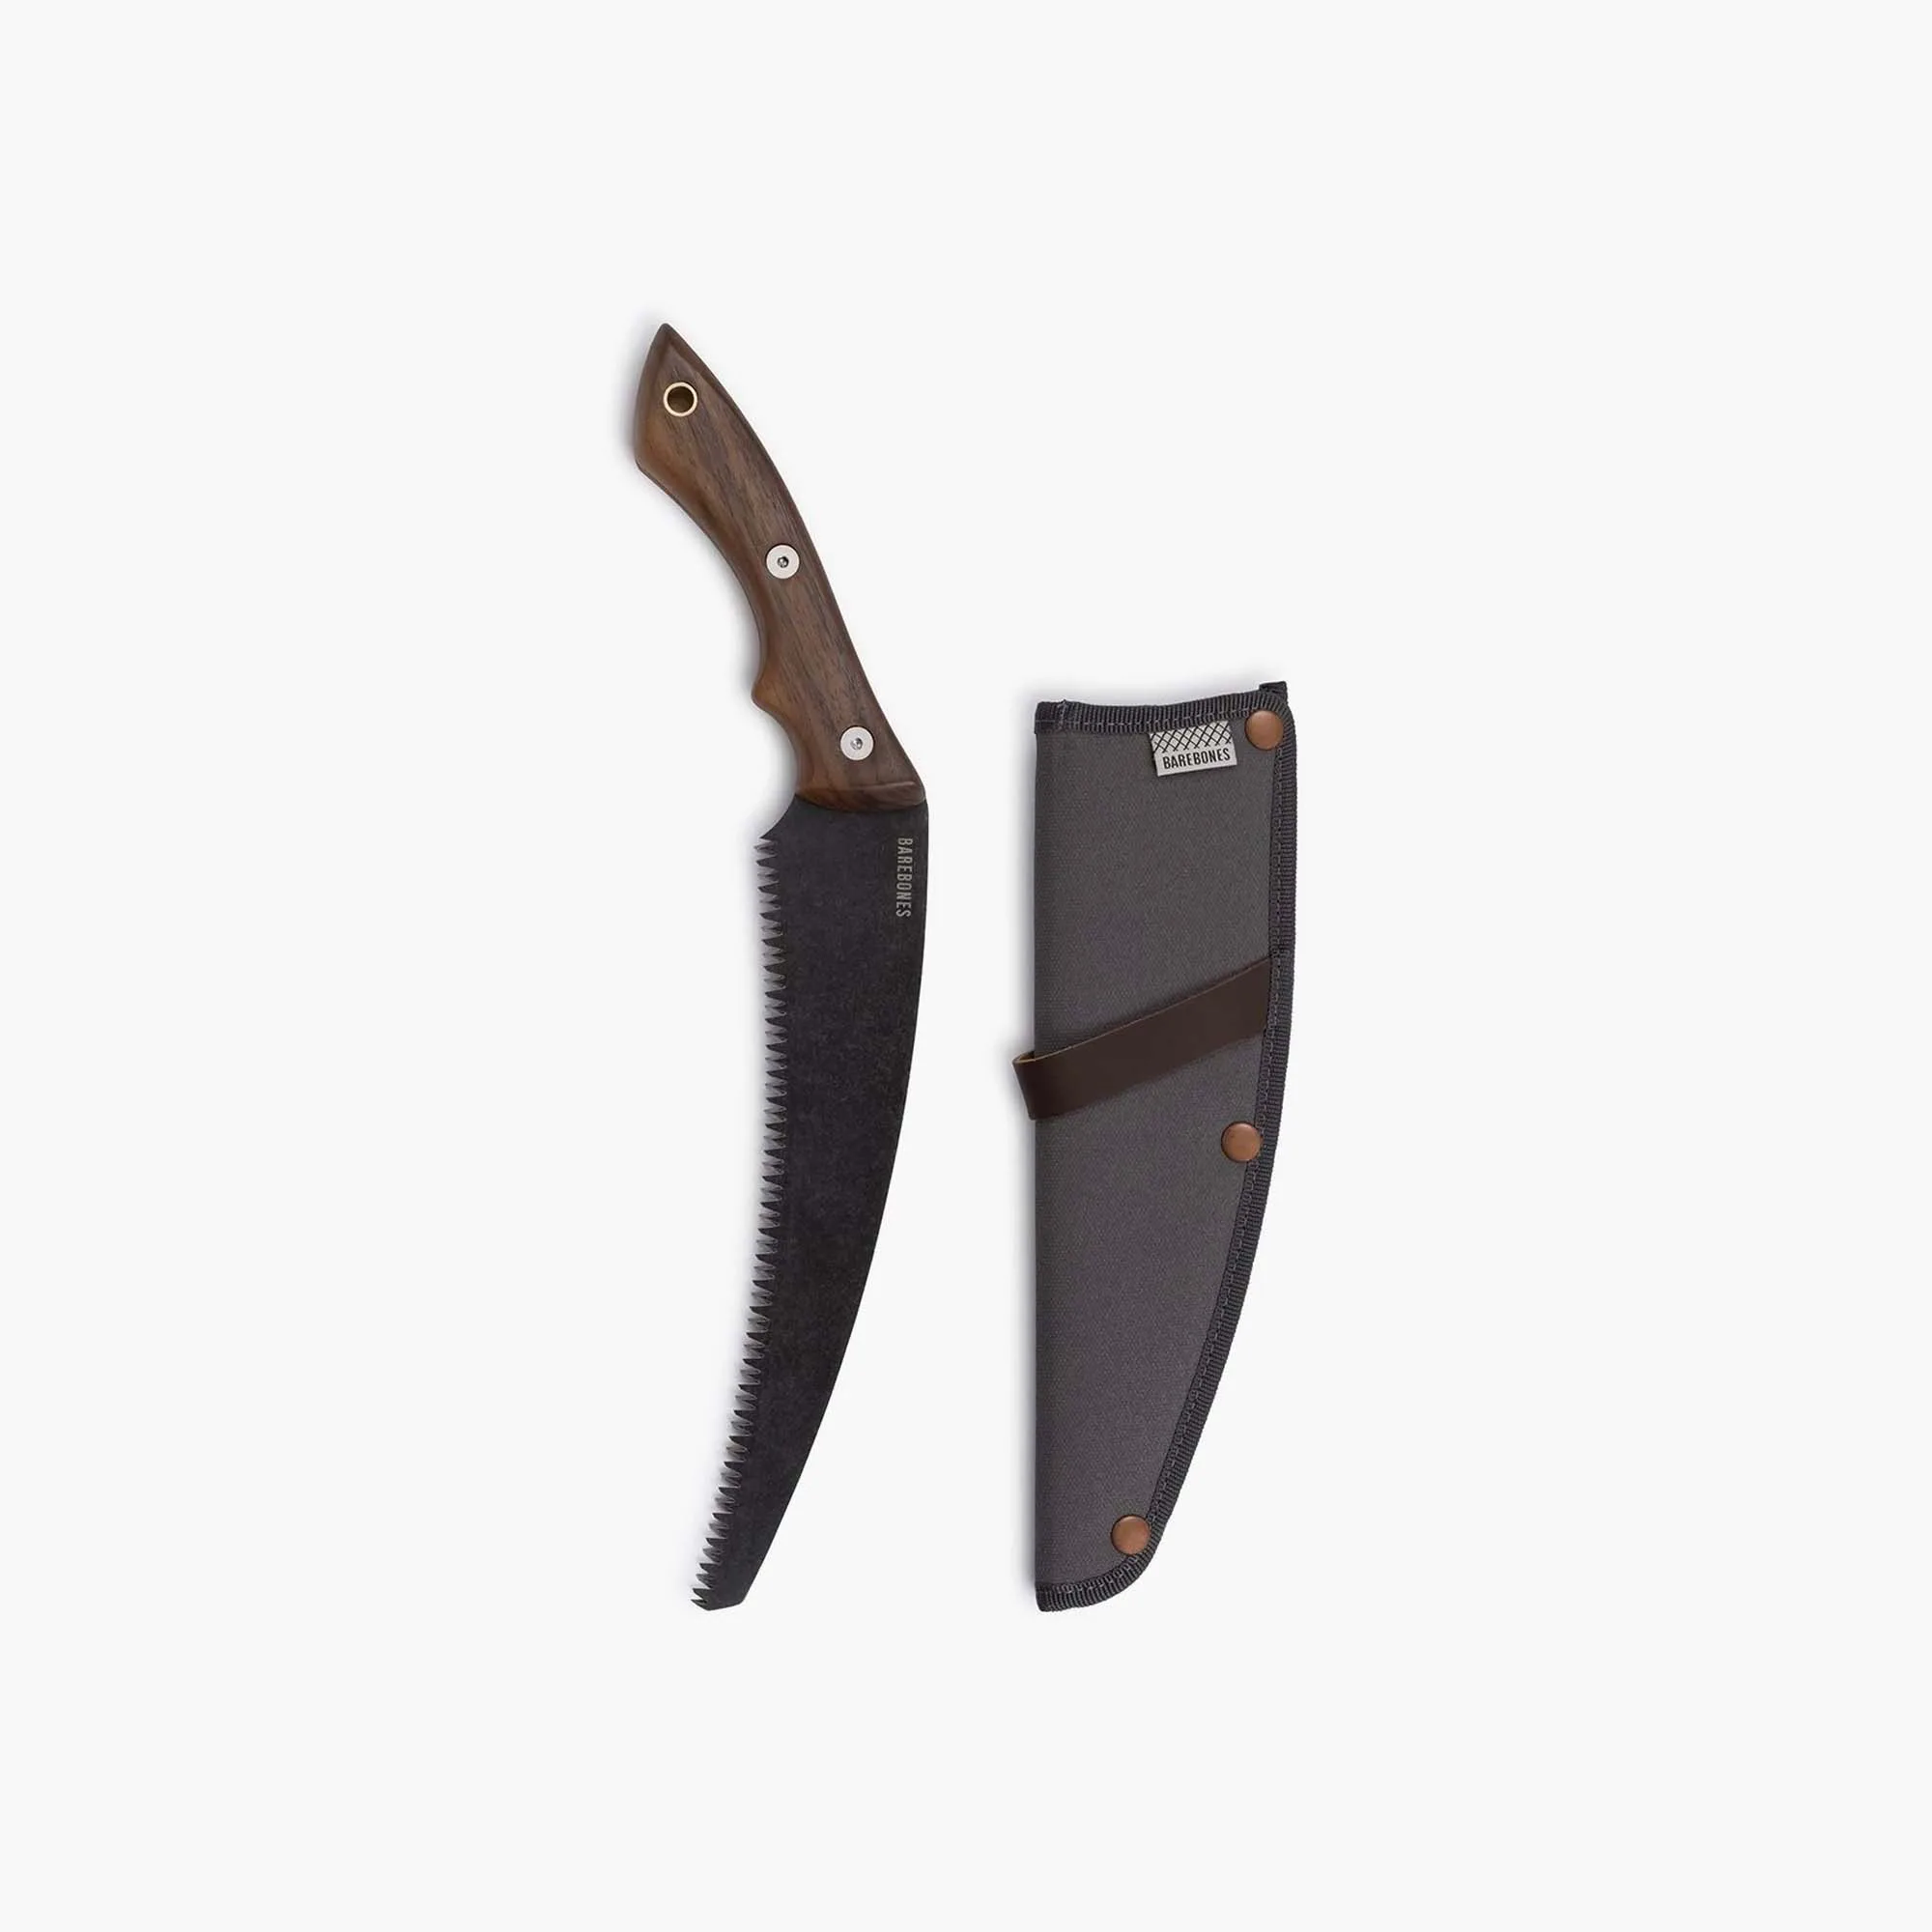
For a more rustic approach, consider carrying a small tin of char cloth or a ferrocerium rod. These tools produce hot sparks that catch on fine tinder. Pair them with a quality knife to shave off tiny curls of wood for an even more reliable ignition. Practice makes perfect — once you master the spark, you’ll never be without a way to start a fire.
- Store your tinder in a waterproof container to keep it dry.
- Cotton balls soaked in petroleum jelly make excellent DIY fire starters.
- Avoid using accelerants like gasoline — they’re dangerous and produce toxic fumes.
Essential Fire Pit Tools for Safe and Easy Fire Building
Having the right tools not only makes fire building easier but also safer. A sturdy pair of gloves, like the Kunar Utility Glove, protects your hands from heat, splinters, and sharp edges while you arrange logs or tend the flames. These gloves are durable enough for heavy use and flexible enough for fine motor tasks like adjusting kindling.
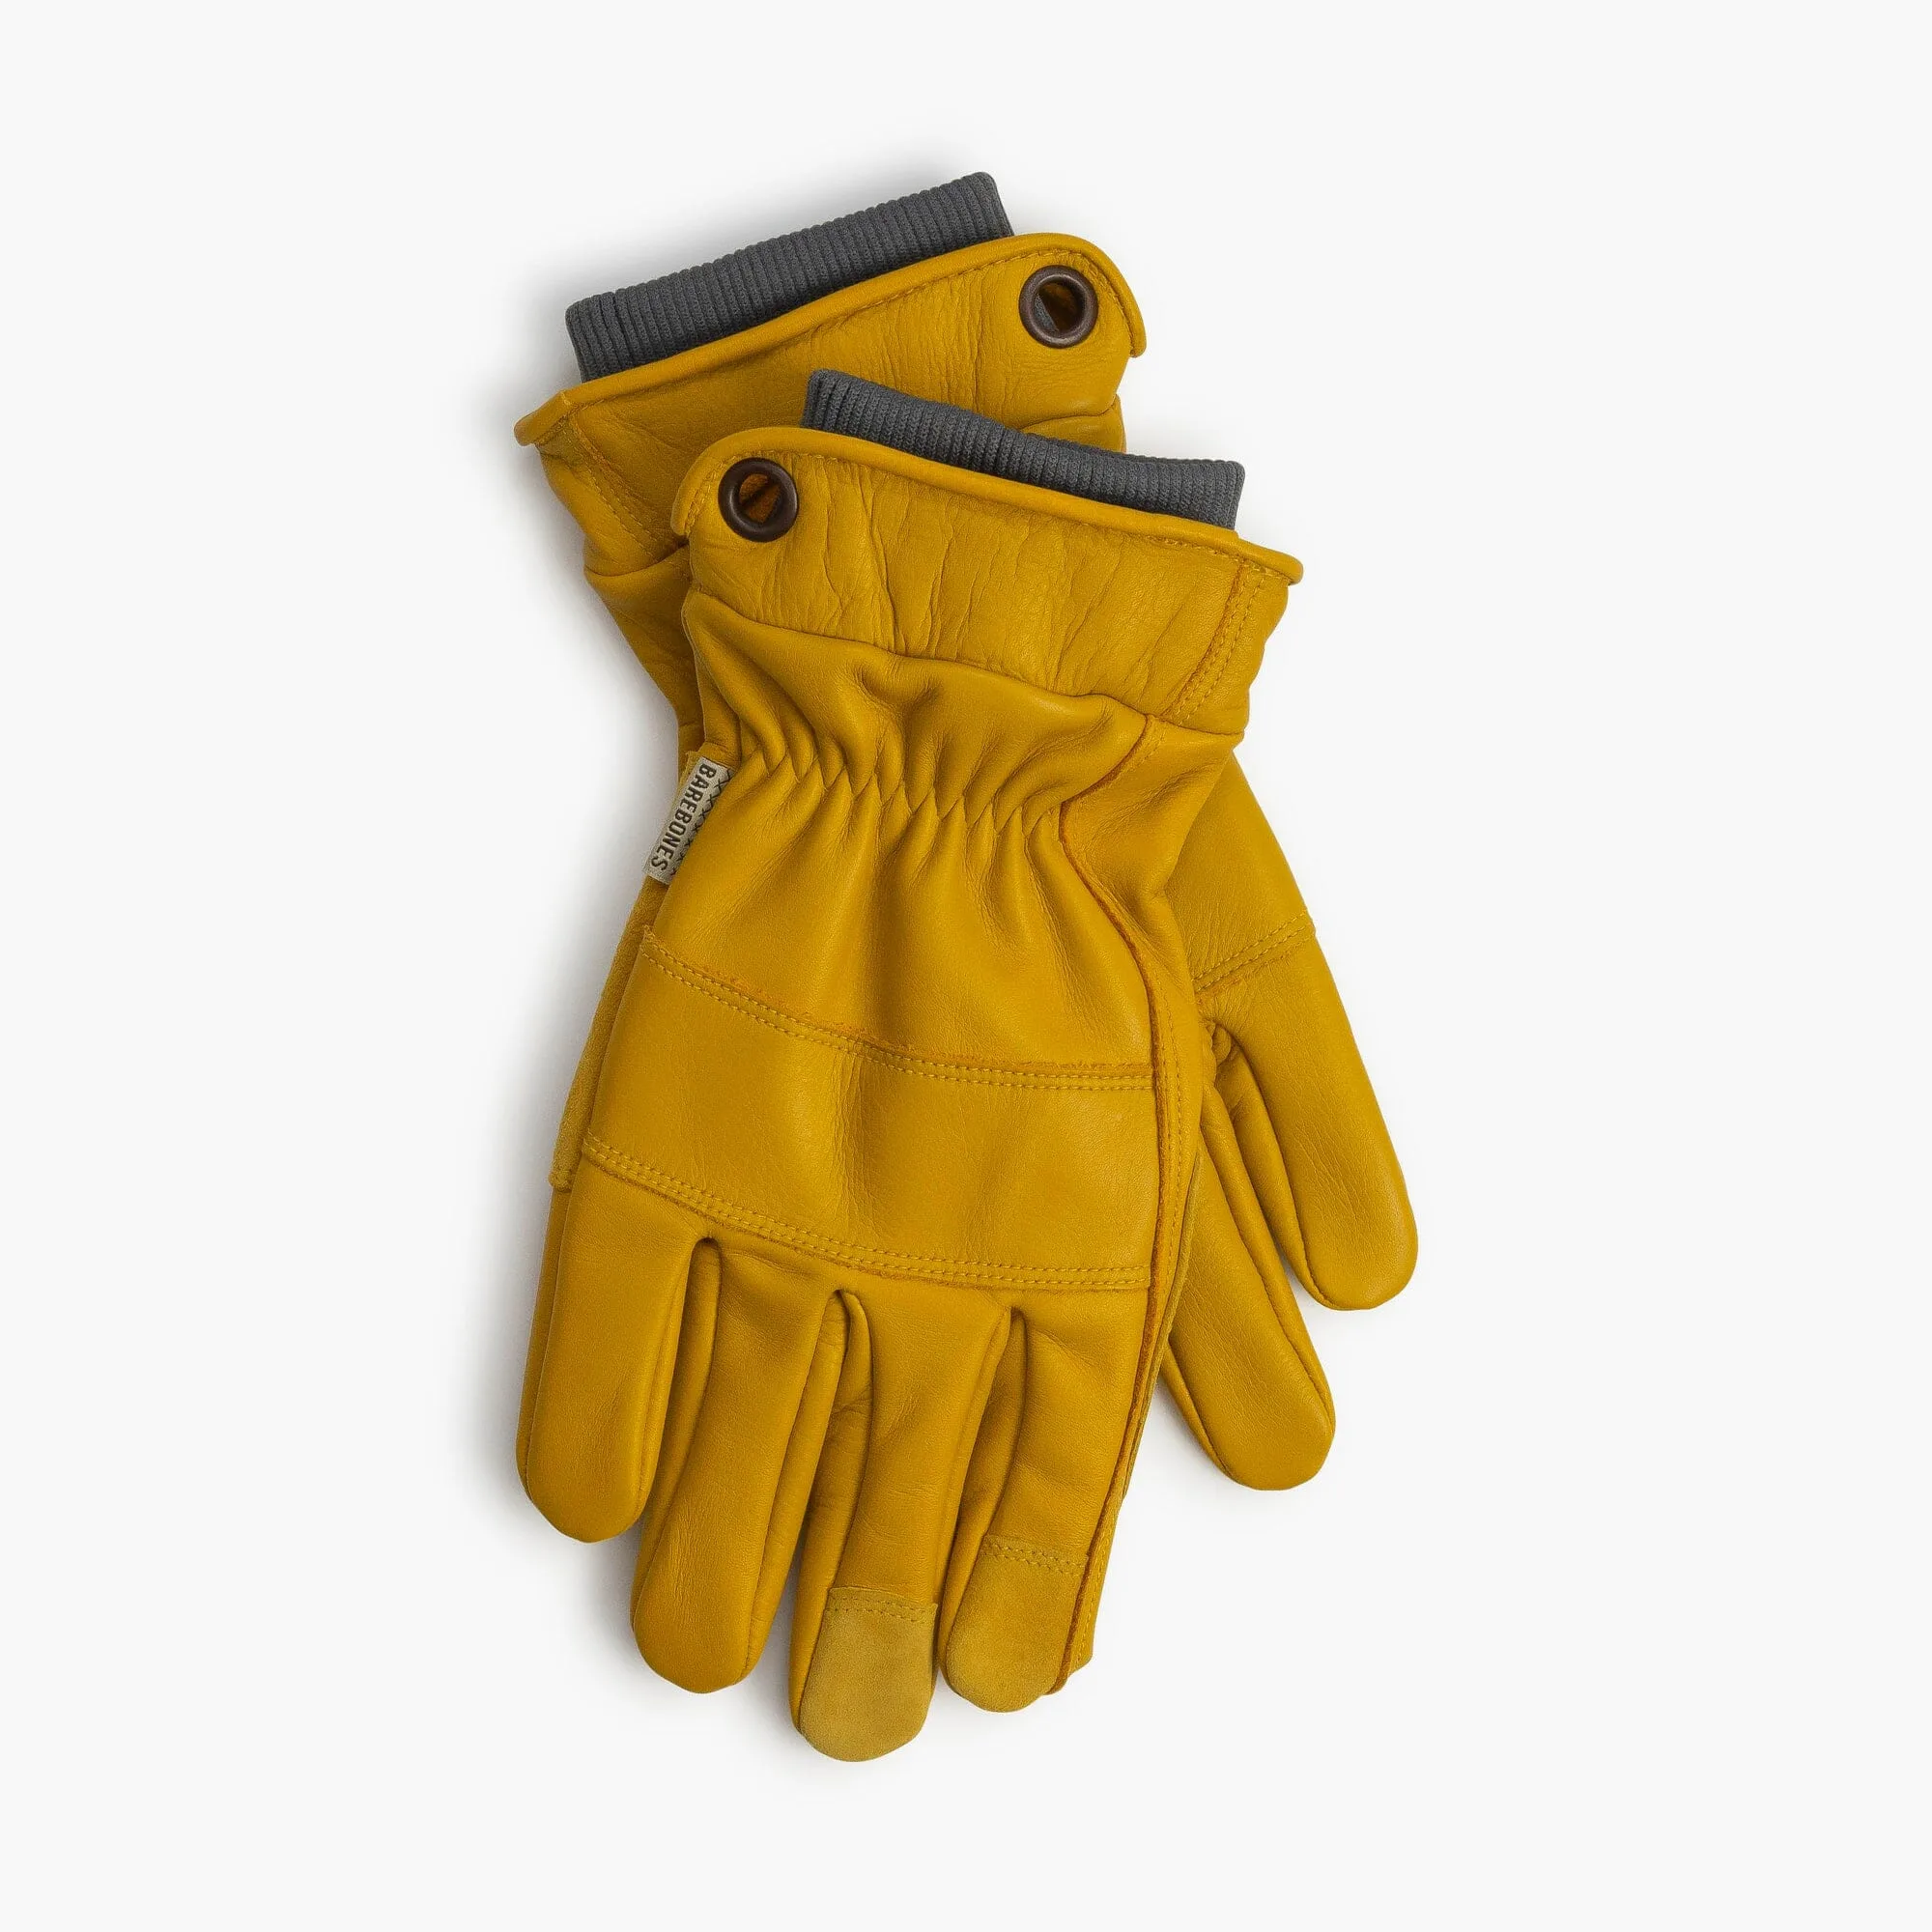
Kunar Utility Glove
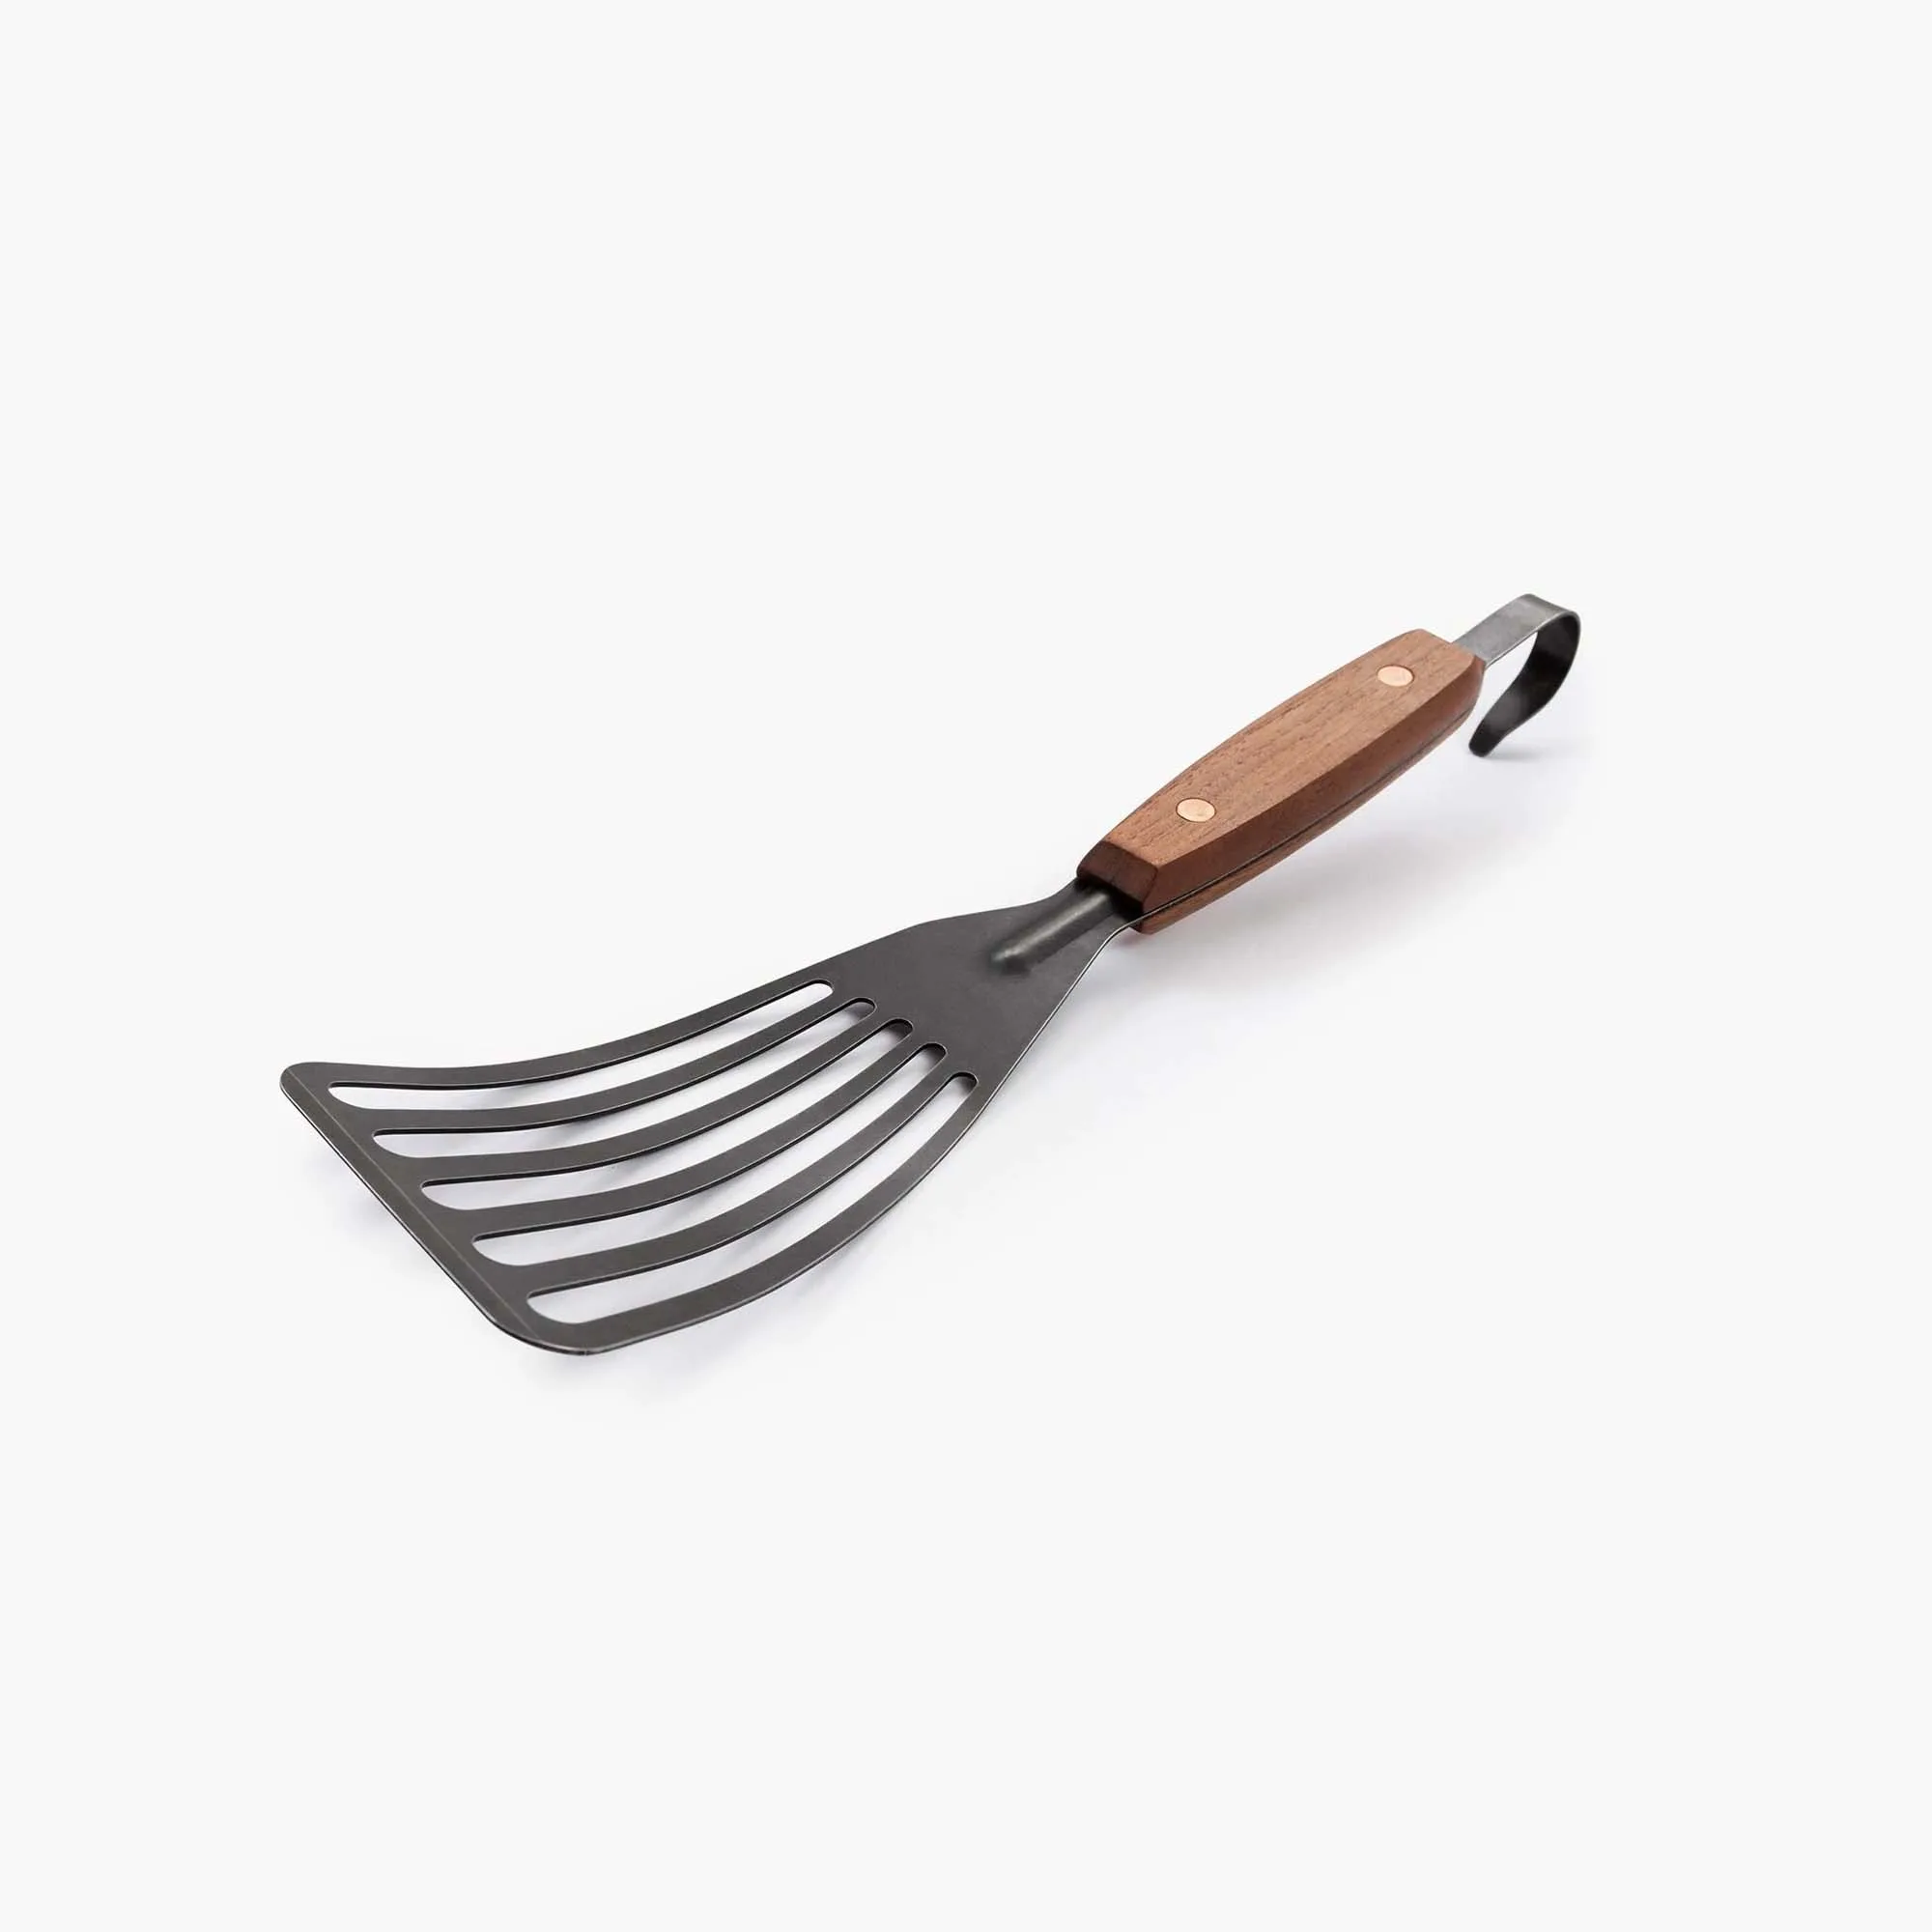
Another indispensable tool is a long-handled spoon or poker for managing the fire. The Cowboy Grill Chef Spoon is perfect for stirring coals, repositioning logs, or even cooking over the fire. Its extended handle keeps your hands at a safe distance from the heat, and the sturdy stainless steel construction ensures it will last through countless campfire meals.
- Use a fire poker or long spoon to adjust logs without getting too close.
- Always let tools cool completely before storing them.
- Keep a small shovel nearby to spread ashes safely when extinguishing the fire.
Fire Building Techniques: Teepee, Log Cabin, and Lean-To
The way you stack your wood determines how well your fire catches and burns. Three classic methods work for most fire pits. The teepee method involves leaning kindling and small logs against each other in a cone shape around your tinder. This design concentrates heat at the center and ignites quickly, making it ideal for starting a fire.
The log cabin method stacks kindling in a square, alternating directions like a miniature log cabin, with tinder in the middle. This structure burns longer and more steadily, perfect for a fire that needs to last through the evening. The lean-to method places a larger log as a windbreak, with smaller sticks leaning against it over the tinder. This works well in breezy conditions and is easy to build with minimal materials.
- Start with thumb-sized kindling, then gradually add larger pieces.
- Leave gaps between logs for airflow — oxygen is essential for combustion.
- Once the fire is established, add logs one at a time to avoid smothering the flames.
Lighting Your Fire Pit: From Spark to Steady Flame
With your tinder and kindling arranged, it’s time to light the fire. If you’re using matches or a lighter, shield the flame from wind with your body or a cupped hand. Light the tinder in multiple spots to ensure even ignition. As the kindling catches, gently blow on the base of the fire to add oxygen — this can turn a small flame into a roaring fire in seconds.
Once the kindling is burning well, add progressively larger logs. Avoid placing logs too close together; a fire needs room to breathe. A good rule of thumb is to add a new log only when the previous one has fully caught. With practice, you’ll develop a rhythm that keeps your fire burning bright and steady for hours.
- Use long-reach lighters or matches for safety when igniting the fire.
- Never leave a fire unattended, especially when children or pets are nearby.
- Extinguish your fire completely with water and stir the ashes before leaving.
Maintaining and Enjoying Your Fire Throughout the Evening
Once your fire is going strong, the real enjoyment begins. A well-tended fire pit provides warmth, light, and a focal point for conversation. To keep the fire going, add a new log every 20–30 minutes, depending on the size of your fire and the type of wood. Hardwoods like oak and hickory burn longer and produce more coals, while softwoods like pine ignite faster but burn out quickly.
For cooking over the fire, consider using a cast iron skillet or a kettle for hot drinks. The Enamel 2-Tone Kettle is a beautiful and functional choice for boiling water over an open flame, perfect for coffee, tea, or hot cocoa. Its enamel coating is easy to clean, and the two-tone design adds a touch of style to your outdoor kitchen setup.
- Rotate logs occasionally to ensure even burning and reduce smoke.
- Use a spark arrestor or screen on your fire pit to prevent embers from escaping.
- Keep a comfortable seating area at least 3 feet from the fire’s edge.
Mastering the art of fire starting transforms any outdoor gathering into a memorable experience. With the right techniques and reliable fire pit tools, you’ll build warm, lasting fires every time. Explore our collection of outdoor essentials, including the durable Kunar Utility Glove and the versatile Cowboy Grill Chef Spoon, to equip yourself for your next adventure around the fire.