What This Guide Covers
Macro photography lets you capture details invisible to the naked eye — the texture of a butterfly wing, the compound eyes of a jumping spider, or the fine veins of a leaf. But getting sharp, well-lit close-ups requires more than just a macro lens. You also need a repeatable workflow: from camera setup and lighting to focus stacking and post-processing.
This guide walks through the key stages of macro photography, using the Fstoppers tutorial "Mastering Macro Photography: The Complete Shooting and Editing Tutorial with Andres Moline" as a structured reference. The tutorial covers studio shoots and field work in the jungles of Central America, with subjects including fine art, products, live insects, amphibians, and reptiles.
What the Tutorial Provides
-
Mastering Macro Photography: The Complete Shooting and Editing Tutorial with Andres Moline: This macro photography tutorial takes you through a variety of studio shoots and then into the jungles of Central America. You get both controlled studio techniques and real-world field shooting, so the workflow adapts to different environments and subjects.
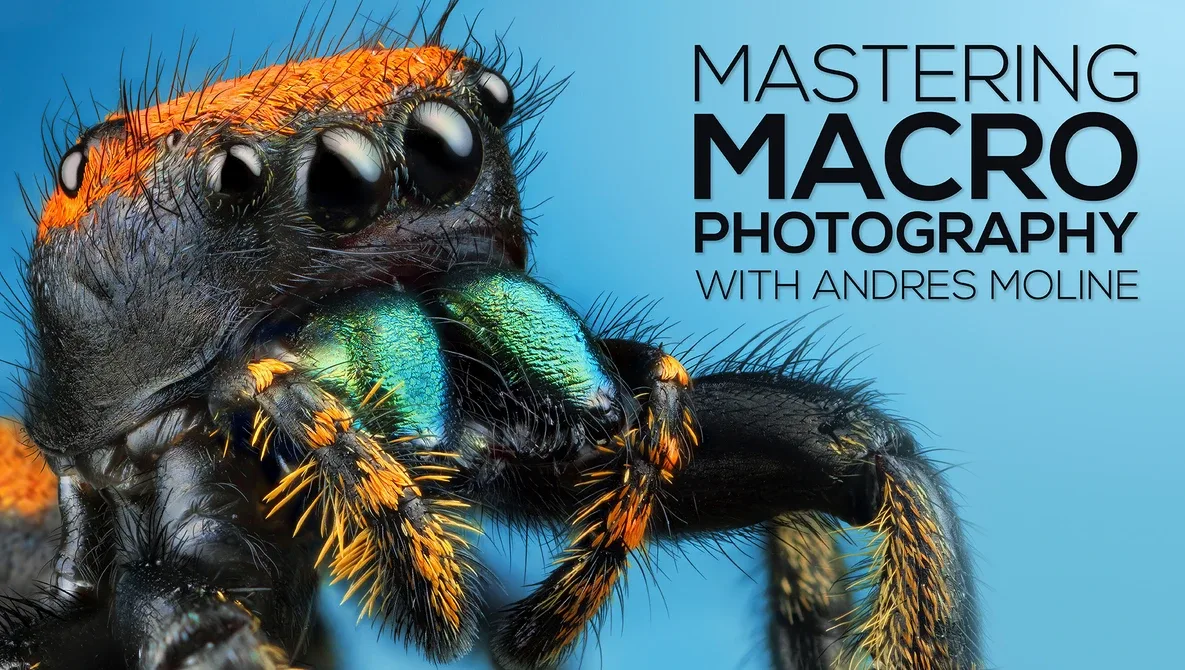
Mastering Macro Photography: The Complete Shooting and Editing Tutorial with Andres Moline
-
Mastering Macro Photography: The Complete Shooting and Editing Tutorial with Andres Moline: Andres teaches his techniques to shoot fine art, products, live insects, amphibians, and reptiles. The variety of subjects means you learn how to handle static objects and skittish live animals within a single course.
-
Mastering Macro Photography: The Complete Shooting and Editing Tutorial with Andres Moline: Each lesson is accompanied by a post-processing section where Andres will demonstrate his full Lightroom and Photoshop workflow. Post-processing is as important as the shoot itself — the tutorial shows how to retouch, stack, and color-grade macro images from start to finish.
Setting Up for Macro Photography
Before you start shooting, decide on your subject and environment. Studio setups give you full control over lighting and composition, while field work demands quick adjustments and portable gear. The tutorial covers both scenarios, so you can follow along with either approach.
For live insects and amphibians, patience is key. Use a longer working distance to avoid spooking your subject, and consider a flash diffuser to soften harsh light. The tutorial demonstrates techniques for approaching and photographing live subjects in the jungle without disturbing them.
A Practical Macro Shooting Workflow
This sequence adapts the tutorial's approach for a typical macro session.
- Choose your subject and environment: Decide whether you're shooting in a studio or in the field. For live subjects, scout the location and observe behavior before raising the camera.
- Set up your macro lens and camera: Use a sturdy tripod for static subjects. For handheld field work, increase your shutter speed to compensate for camera shake. The tutorial covers lens selection and settings for both scenarios.
- Control lighting: Diffused flash or continuous LED light helps reveal details without harsh shadows. The tutorial shows studio lighting setups and on-camera flash techniques for field use.
- Focus and compose: Manual focus is often more precise than autofocus at macro distances. Use live view magnification to check critical sharpness on the eye or texture of your subject.
- Capture a focus stack (if needed): For extreme close-ups, depth of field is razor thin. Shoot a series of images at slightly different focus distances, then combine them in post-processing. The tutorial demonstrates a focus stacking workflow in Photoshop.
Post-Processing: Lightroom and Photoshop Workflow
After the shoot, the real work begins. The tutorial includes a full Lightroom and Photoshop workflow for each lesson. In Lightroom, you can adjust exposure, white balance, and sharpening globally. Then in Photoshop, you can retouch distractions, blend focus stacks, and apply targeted color grading.
For focus stacking, the tutorial shows how to align and blend multiple images in Photoshop to achieve front-to-back sharpness. This is especially useful for insect close-ups where even a slight movement can shift the plane of focus.
Who This Tutorial Is For
The tutorial is designed for anyone wanting to get started in or perfect their macro photography. Whether you're a beginner with your first macro lens or an experienced shooter looking to refine your technique and post-processing workflow, the structured lessons provide a clear path forward.
The catalog does not confirm specific camera or lens compatibility, so you can adapt the techniques to your own gear. The focus is on the creative and technical decisions that apply across most macro setups.