Quick answer
Attach suspender straps to stockings by clipping each strap to the stocking top before adjusting length, then tension the straps evenly so the clips sit flat rather than pulling at the fabric. Match clip type to stocking material: plastic clips grip sheer nylon well, while seamed stockings need the seam kept straight under each clip.
Why clip placement matters more than strap length
The clip is the only part of a suspender setup that touches the stocking directly, so where it sits determines whether the stocking stays put or twists. A clip placed on a folded edge or over a seam ridge will slip; a clip placed on a flat, single layer of fabric holds with less tension. This is why stocking clip placement should be decided before you adjust strap length, not after.
Seamed stockings add a second variable: the back seam must run straight down the leg. If a clip pulls the seam sideways, the whole line of the stocking looks off even when the fit is technically secure. Check the seam line in a mirror after clipping, not just the tension.
When plastic clips are the practical choice
Plastic clip suspender straps suit sheer and delicate hosiery because the clip jaws are typically gentler on fine nylon than metal alternatives. They are also lighter, which matters if you wear stockings for long periods. The trade-off is that plastic clips can lose grip if the stocking top is stretched too tight across the clip. If you wear seamed stockings with a reinforced welt, check that the welt fits inside the clip rather than bunching at the hinge.
Step-by-step: attaching suspender straps to stockings
- Put the stockings on first: Roll each stocking up your leg and smooth it so the top band sits flat against your thigh. Common mistake: clipping before the stocking is fully seated, which leaves a twisted band under the clip. Check that the stocking top is flat and untwisted before any clip goes on.
- Find the clip points: For four-strap suspenders, position clips at roughly the front and back of each thigh, avoiding the inner thigh where straps rub. For seamed stockings, align the back clip with the seam so the seam runs straight down. Common mistake: placing both clips on the same side, which lets the stocking rotate. Mark your preferred clip points once and reuse them each wear.
- Open the clip and seat the fabric: Open the plastic clip, slide the stocking top into the jaw so a single flat layer sits between the teeth, and close firmly. Common mistake: catching a fold of fabric or the seam ridge, which gives the clip less to grip. Run a finger along the closed clip to confirm no fabric is bunched at the hinge.
- Adjust strap length last: With all clips attached, shorten or lengthen each strap so it lies flat without digging in. The strap should feel taut but not lift the stocking top away from your leg. Common mistake: over-tightening to compensate for a clip that is not gripping, which distorts the stocking. If a strap needs heavy tension to hold, re-seat the clip instead of shortening further.
- Do a movement check: Sit, stand, and walk a few steps, then check that each clip still sits flat and the seams remain straight. Common mistake: skipping this check and discovering a slipped clip later. Re-check clip placement after the first ten minutes of wear, then you are set for the day.
Product facts
-
Suspender Straps With Plastic Clips: Each pack includes four black suspender straps with plastic clips. Four straps let you clip front and back on both legs, which distributes tension and reduces single-clip slipping.
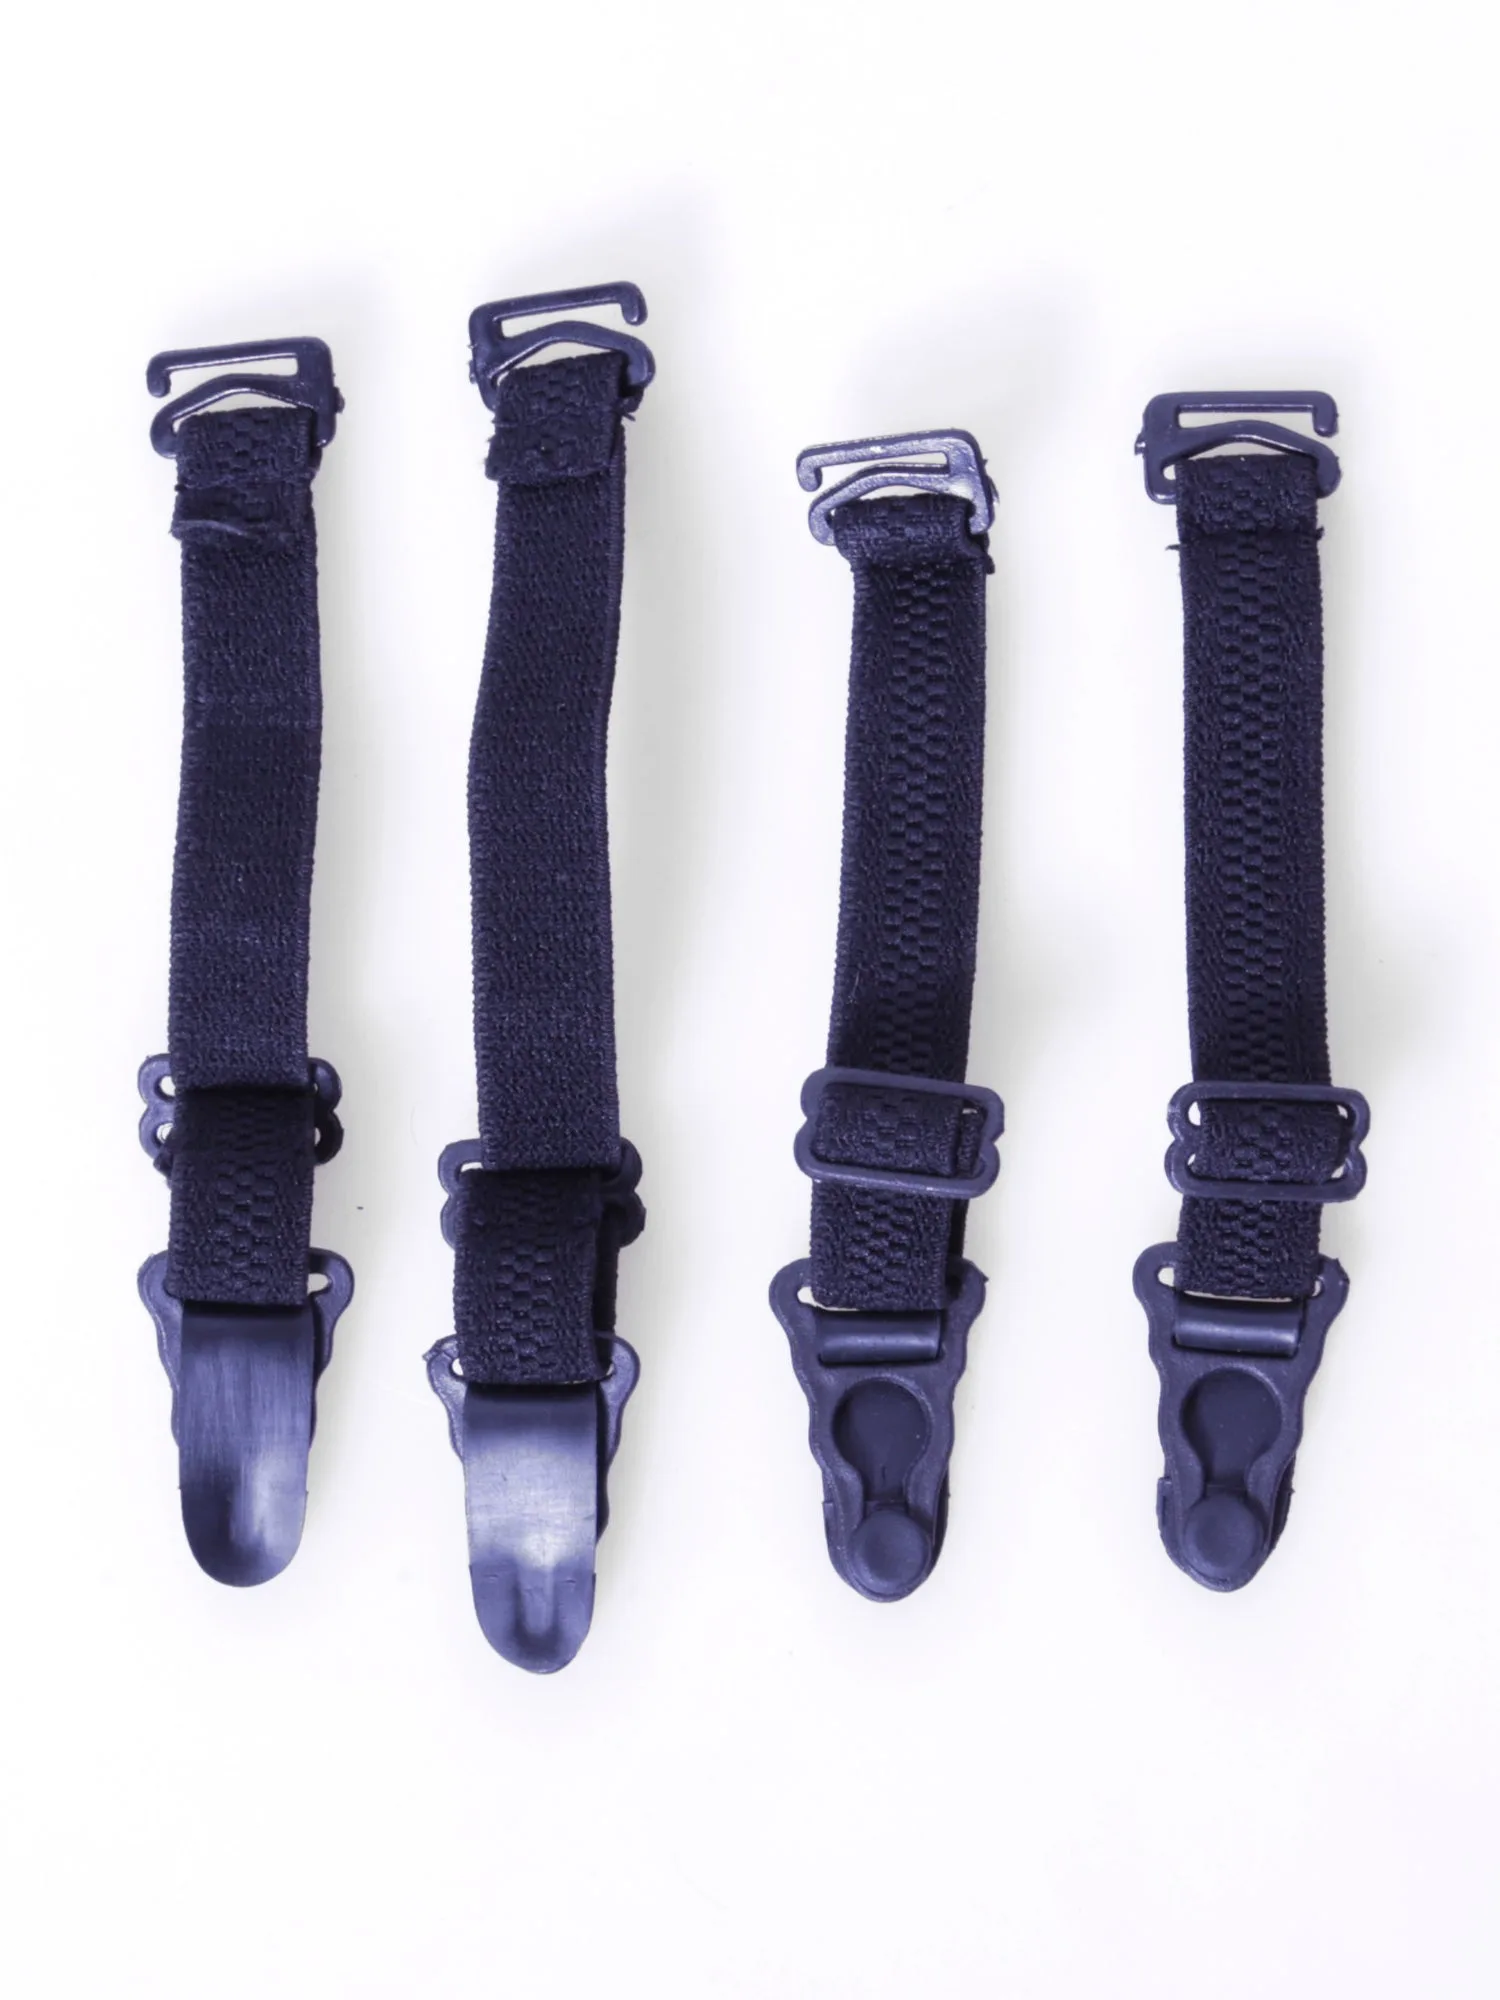
Suspender Straps With Plastic Clips
-
Backseam Cuban Heel Spandex Top Stockings - One Size: These backseam Cuban heel stockings have a spandex top designed to stay up. A stay-up top gives the clip a stable band to grip, so you can use lighter strap tension without the stocking rolling down.
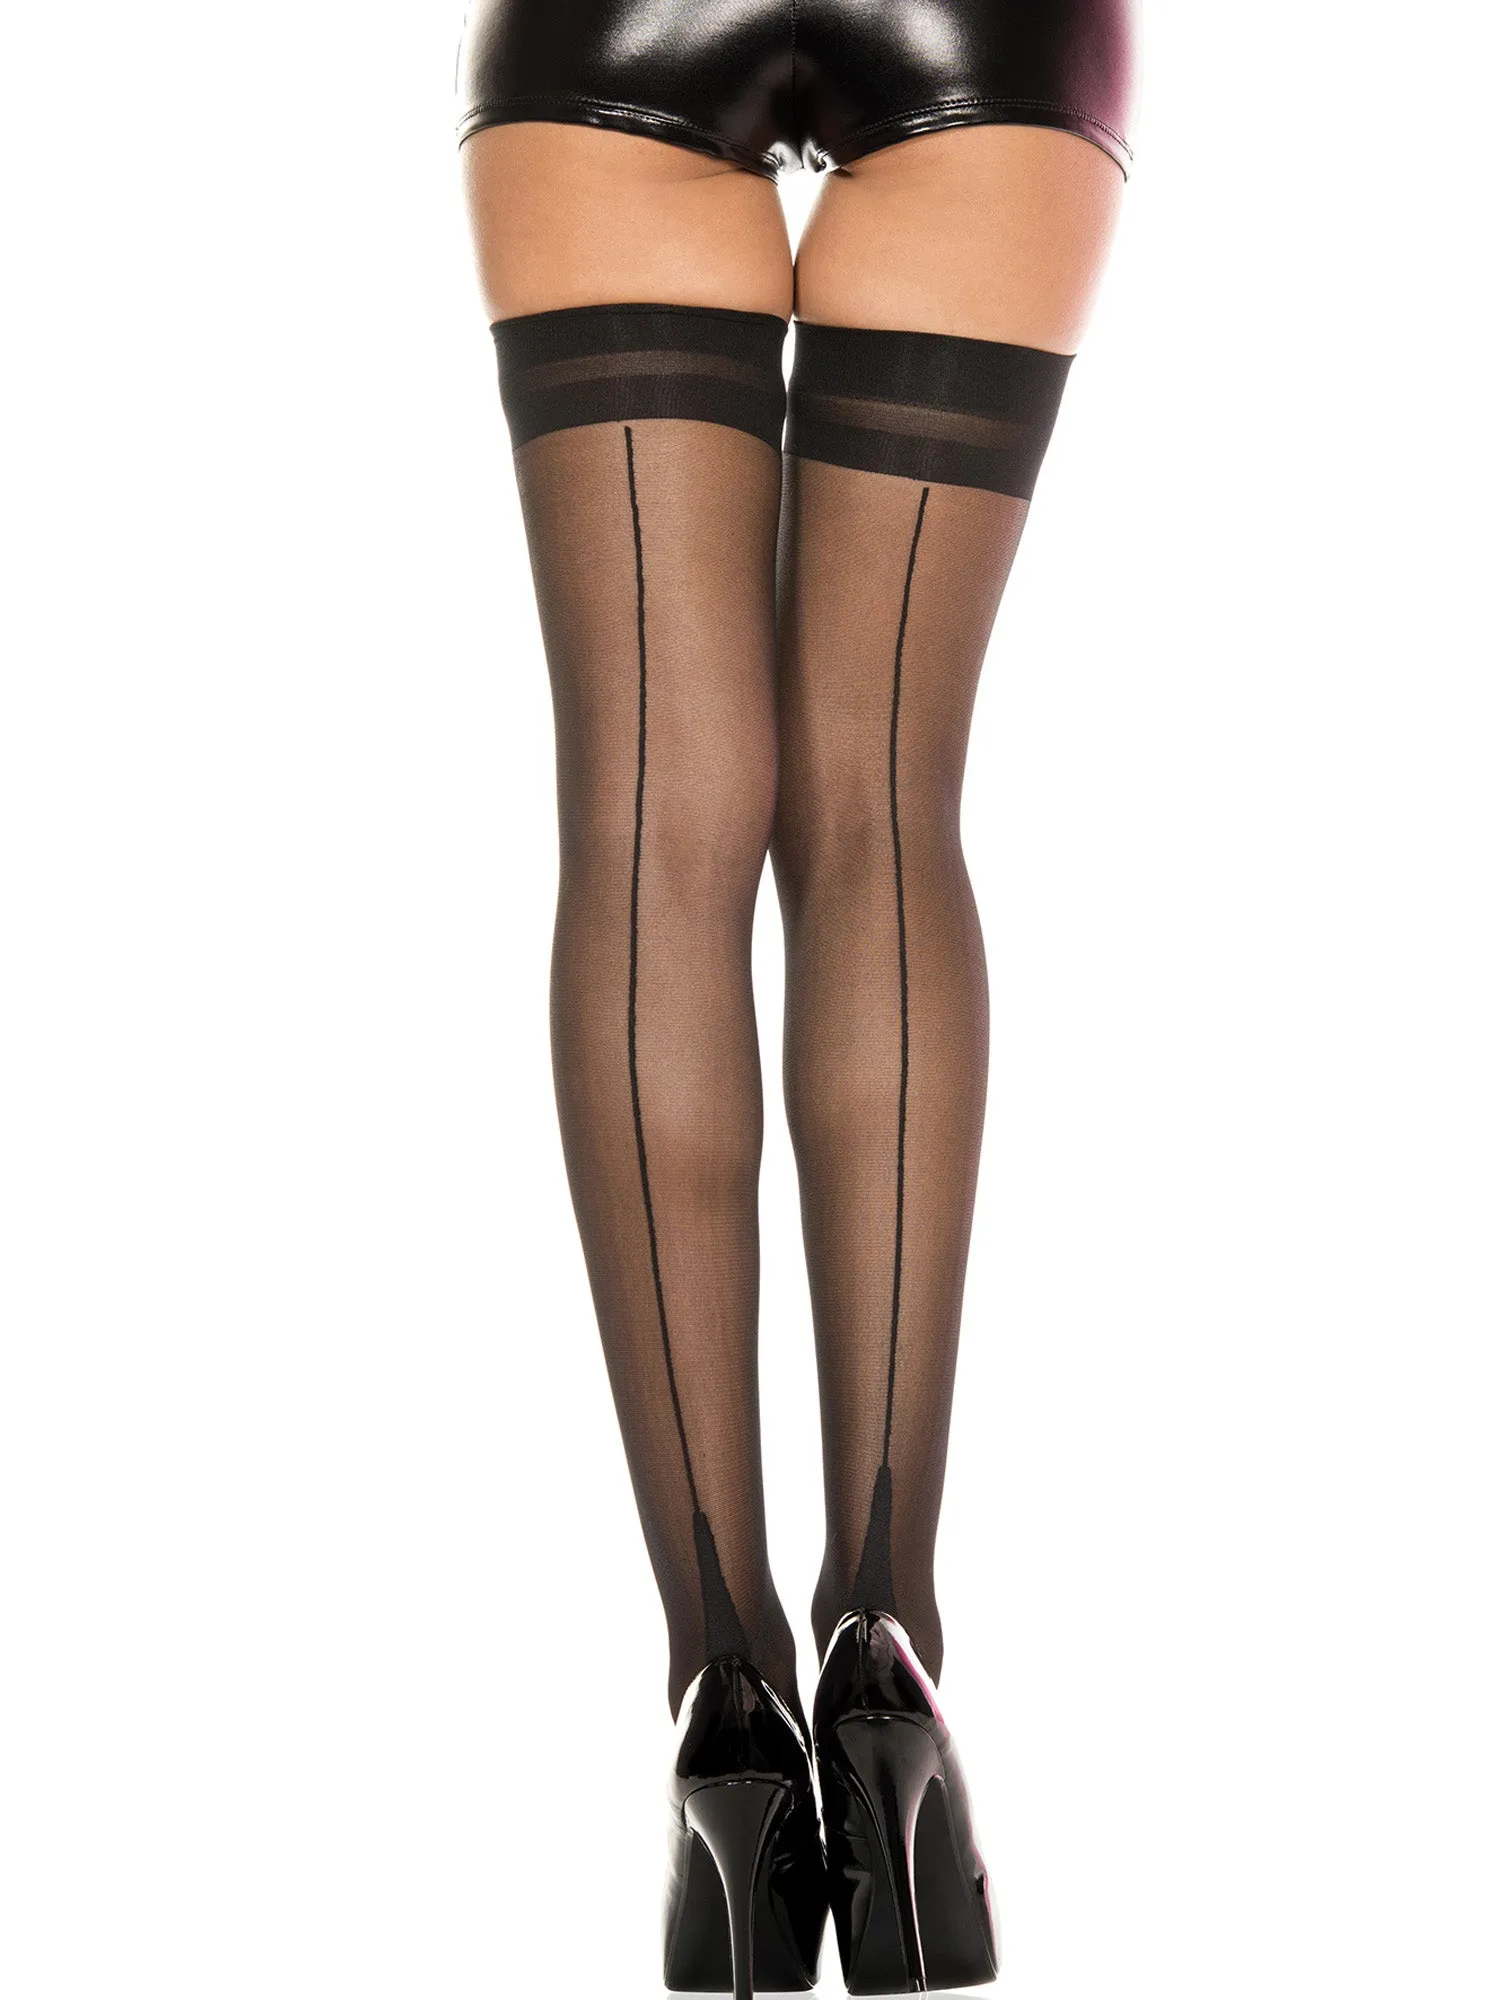
Backseam Cuban Heel Spandex Top Stockings - One Size