Quick Answer
A mattress vacuum cleaner with dust-detecting technology and a vibrating agitator helps remove dust mites, pet hair, and allergens from your mattress more effectively than a standard vacuum.
Why a Dedicated Mattress Vacuum Cleaner?
Standard upright or canister vacuums lack the specialized tools to deeply clean a mattress. A mattress vacuum cleaner is designed with a built-in agitator and a dust sensor that shows you exactly where dirt and allergens remain, so you can stop cleaning only when the surface is truly clean.
The IRIS USA Mattress Vacuum Cleaner, for example, combines a pet hair remover with a vibrating agitator to loosen and capture debris that settles deep in mattress fibers. Its dust-detecting light indicators give you real-time feedback, helping you avoid over- or under-cleaning.
Common Mistakes When Cleaning a Mattress
Many people vacuum their mattress too quickly, missing the embedded dust mites and allergens. Another frequent error is using a vacuum without a HEPA filter or dust sensor, which can recirculate particles back into the room. Also, forgetting to vacuum the sides and edges of the mattress leaves a significant amount of debris behind.
Step-by-Step Mattress Cleaning Guide
- Step 1: Strip the Bed: Remove all bedding—sheets, pillowcases, mattress protectors, and blankets. Wash them in hot water (at least 130°F) to kill dust mites. While the bedding is washing, let the mattress air out for 15 minutes. Common mistake: vacuuming with the sheets still on traps debris and reduces cleaning effectiveness.
- Step 2: Pre-Treat Stains: Spot-clean any visible stains with a mild upholstery cleaner or a paste of baking soda and water. Blot gently—do not soak the mattress. Allow the area to dry completely before vacuuming. Checkpoint: vacuuming over wet stains can push moisture deeper, leading to mold.
- Step 3: Vacuum the Top Surface: Using a mattress vacuum cleaner with a dust sensor, start at the head of the mattress and work in overlapping passes toward the foot. Watch the light indicator: red means still dirty, green means clean. Move to the next section only when the light turns green. Common mistake: rushing through the surface. Slow, deliberate passes are more effective than fast sweeps.
- Step 4: Vacuum the Sides and Edges: Switch to a crevice tool or the edge of the vacuum head to clean the sides and seams of the mattress. Dust mites and allergens often accumulate along the piping and handles. Checkpoint: many people skip the sides, leaving a reservoir of allergens that can resettle on the top.
- Step 5: Flip and Repeat: If your mattress is double-sided, flip it over and repeat steps 3 and 4 on the other side. For single-sided mattresses, vacuum the bottom side lightly to remove any dust that has migrated through. Common mistake: assuming one side is enough. Dust mites can travel through the mattress core.
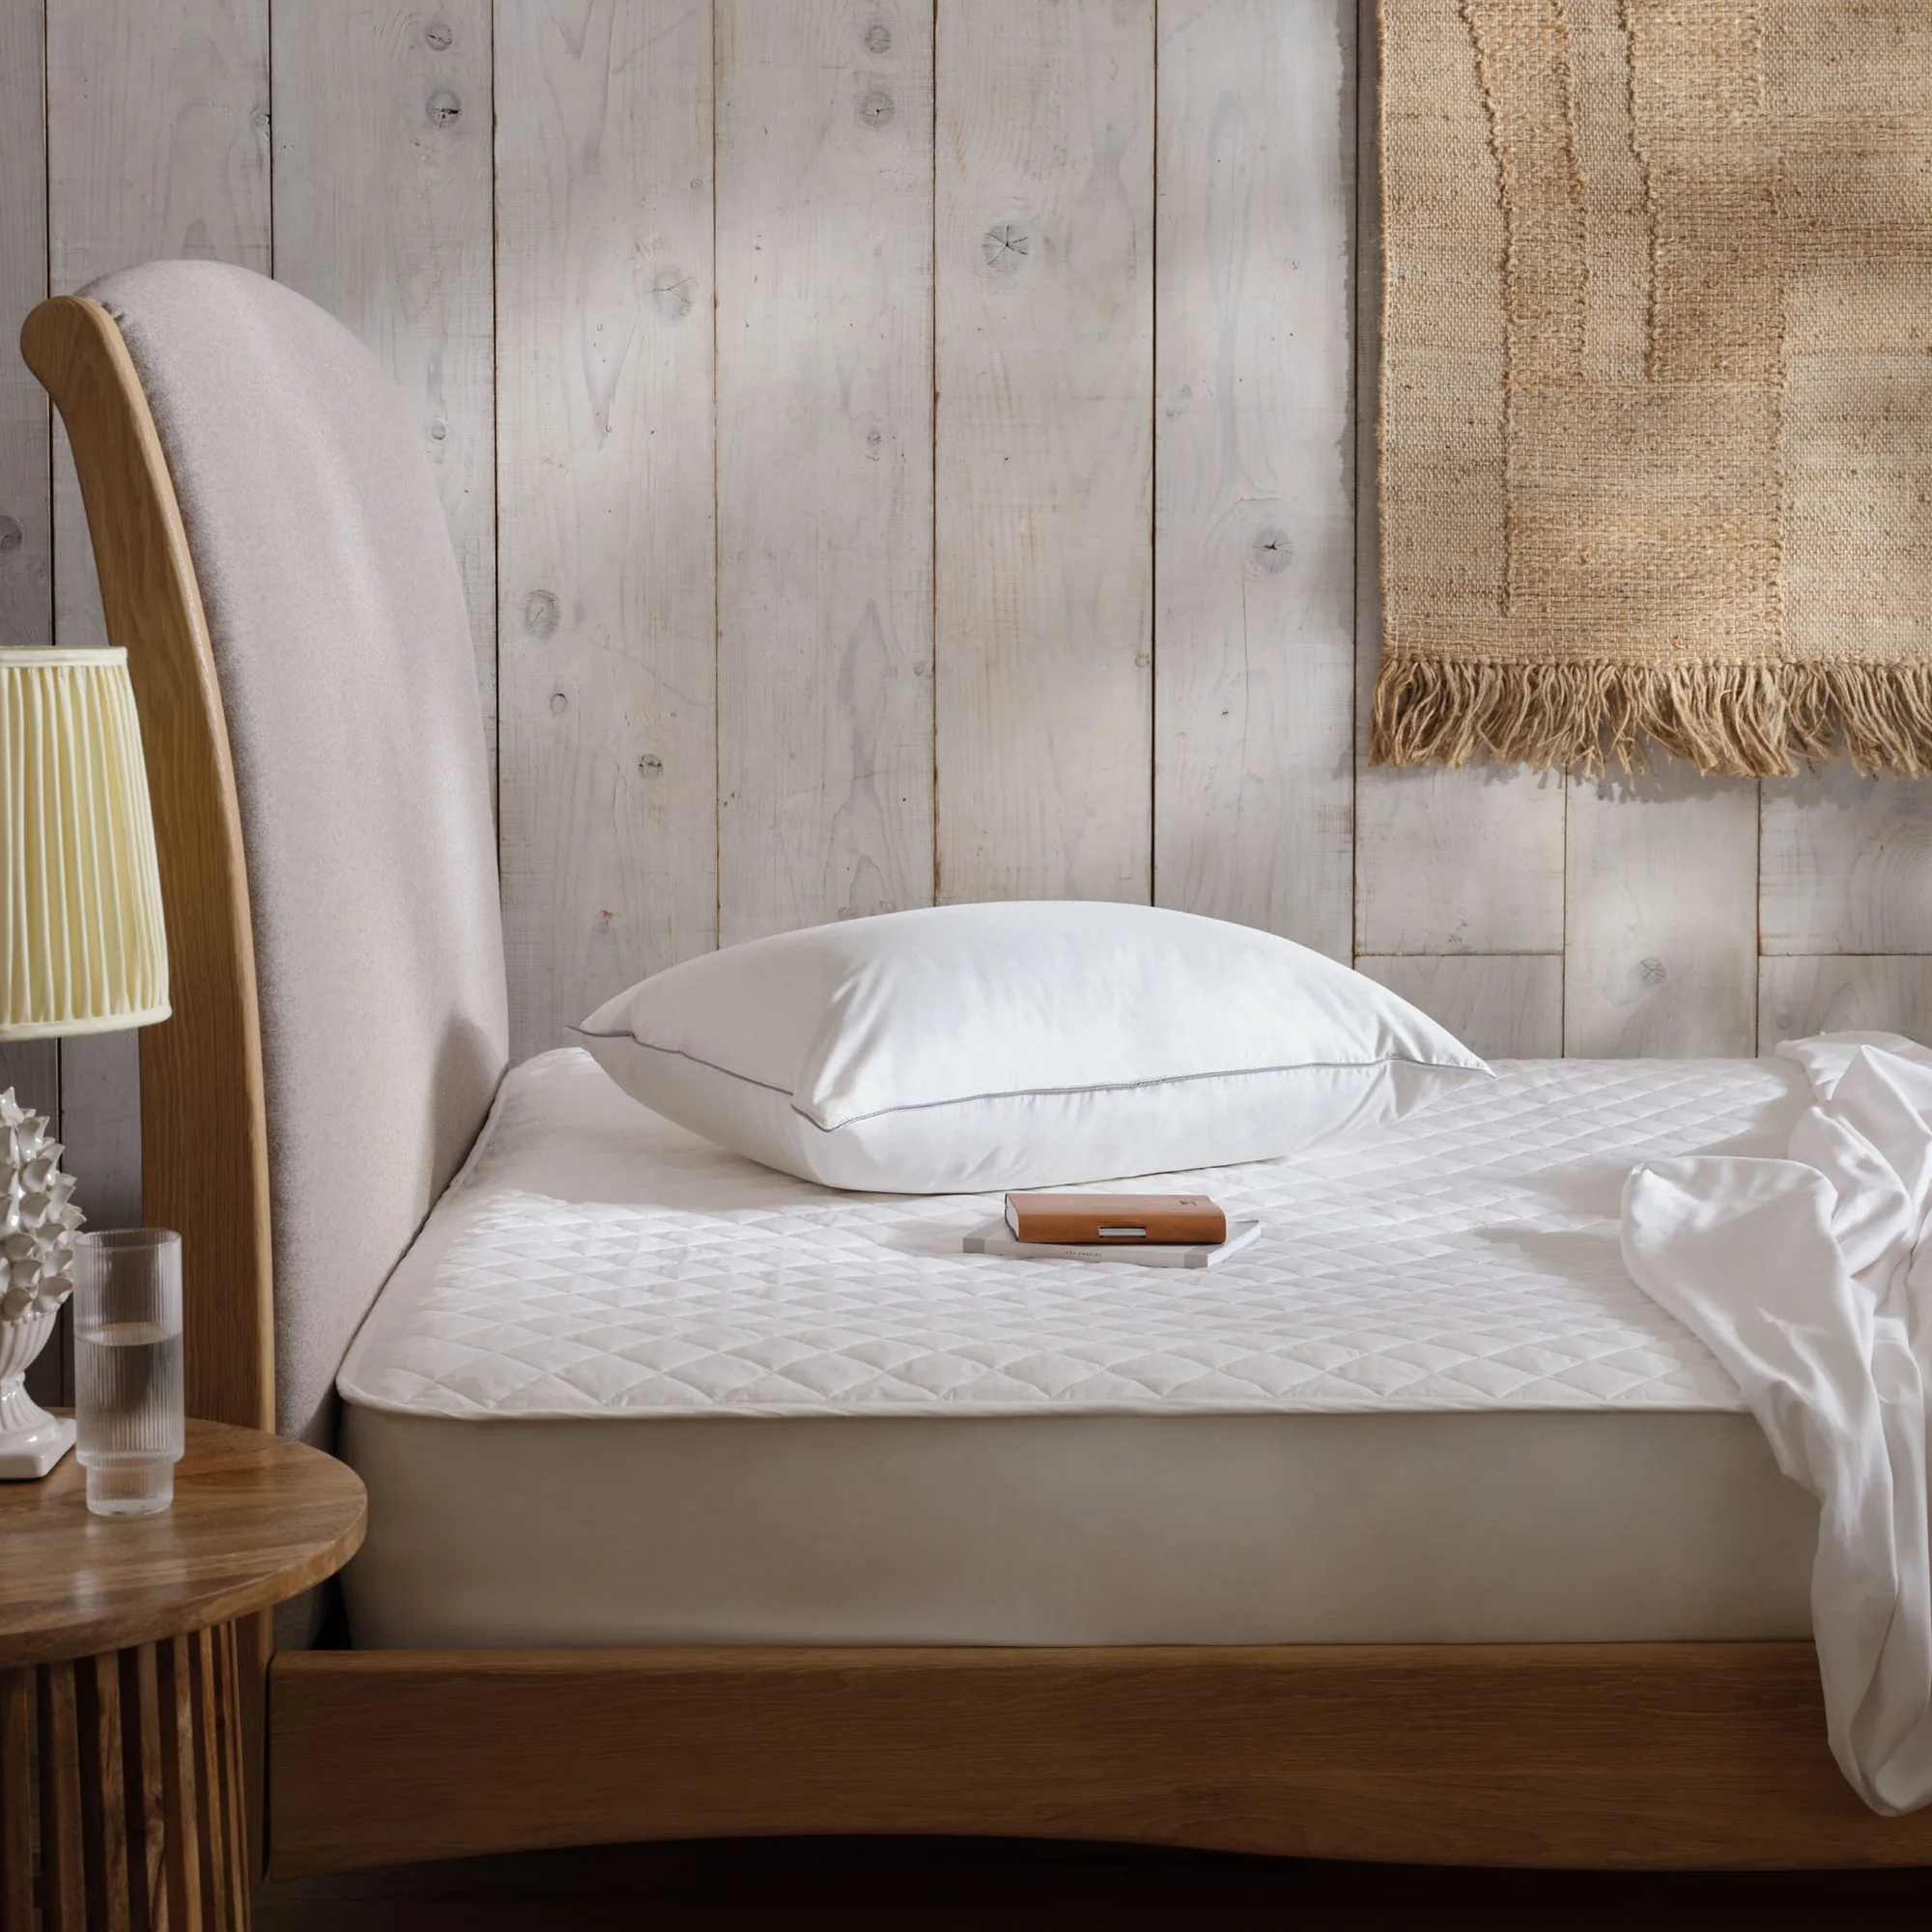
- Step 6: Let It Air Out: Leave the mattress uncovered for at least 30 minutes after vacuuming to allow any remaining moisture to evaporate. Then, put on a clean mattress protector and fresh bedding. Checkpoint: sealing a damp mattress in a protector can encourage mildew growth.
Product Highlight
-
Mattress Vacuum Cleaner: DUST DETECTING TECHNOLOGY: With the dust sensor and the light indicators, it lets you know how much dust is on the surface and when it is done cleaning. You no longer have to guess whether your mattress is clean—the visual indicator tells you exactly when to move to the next section.
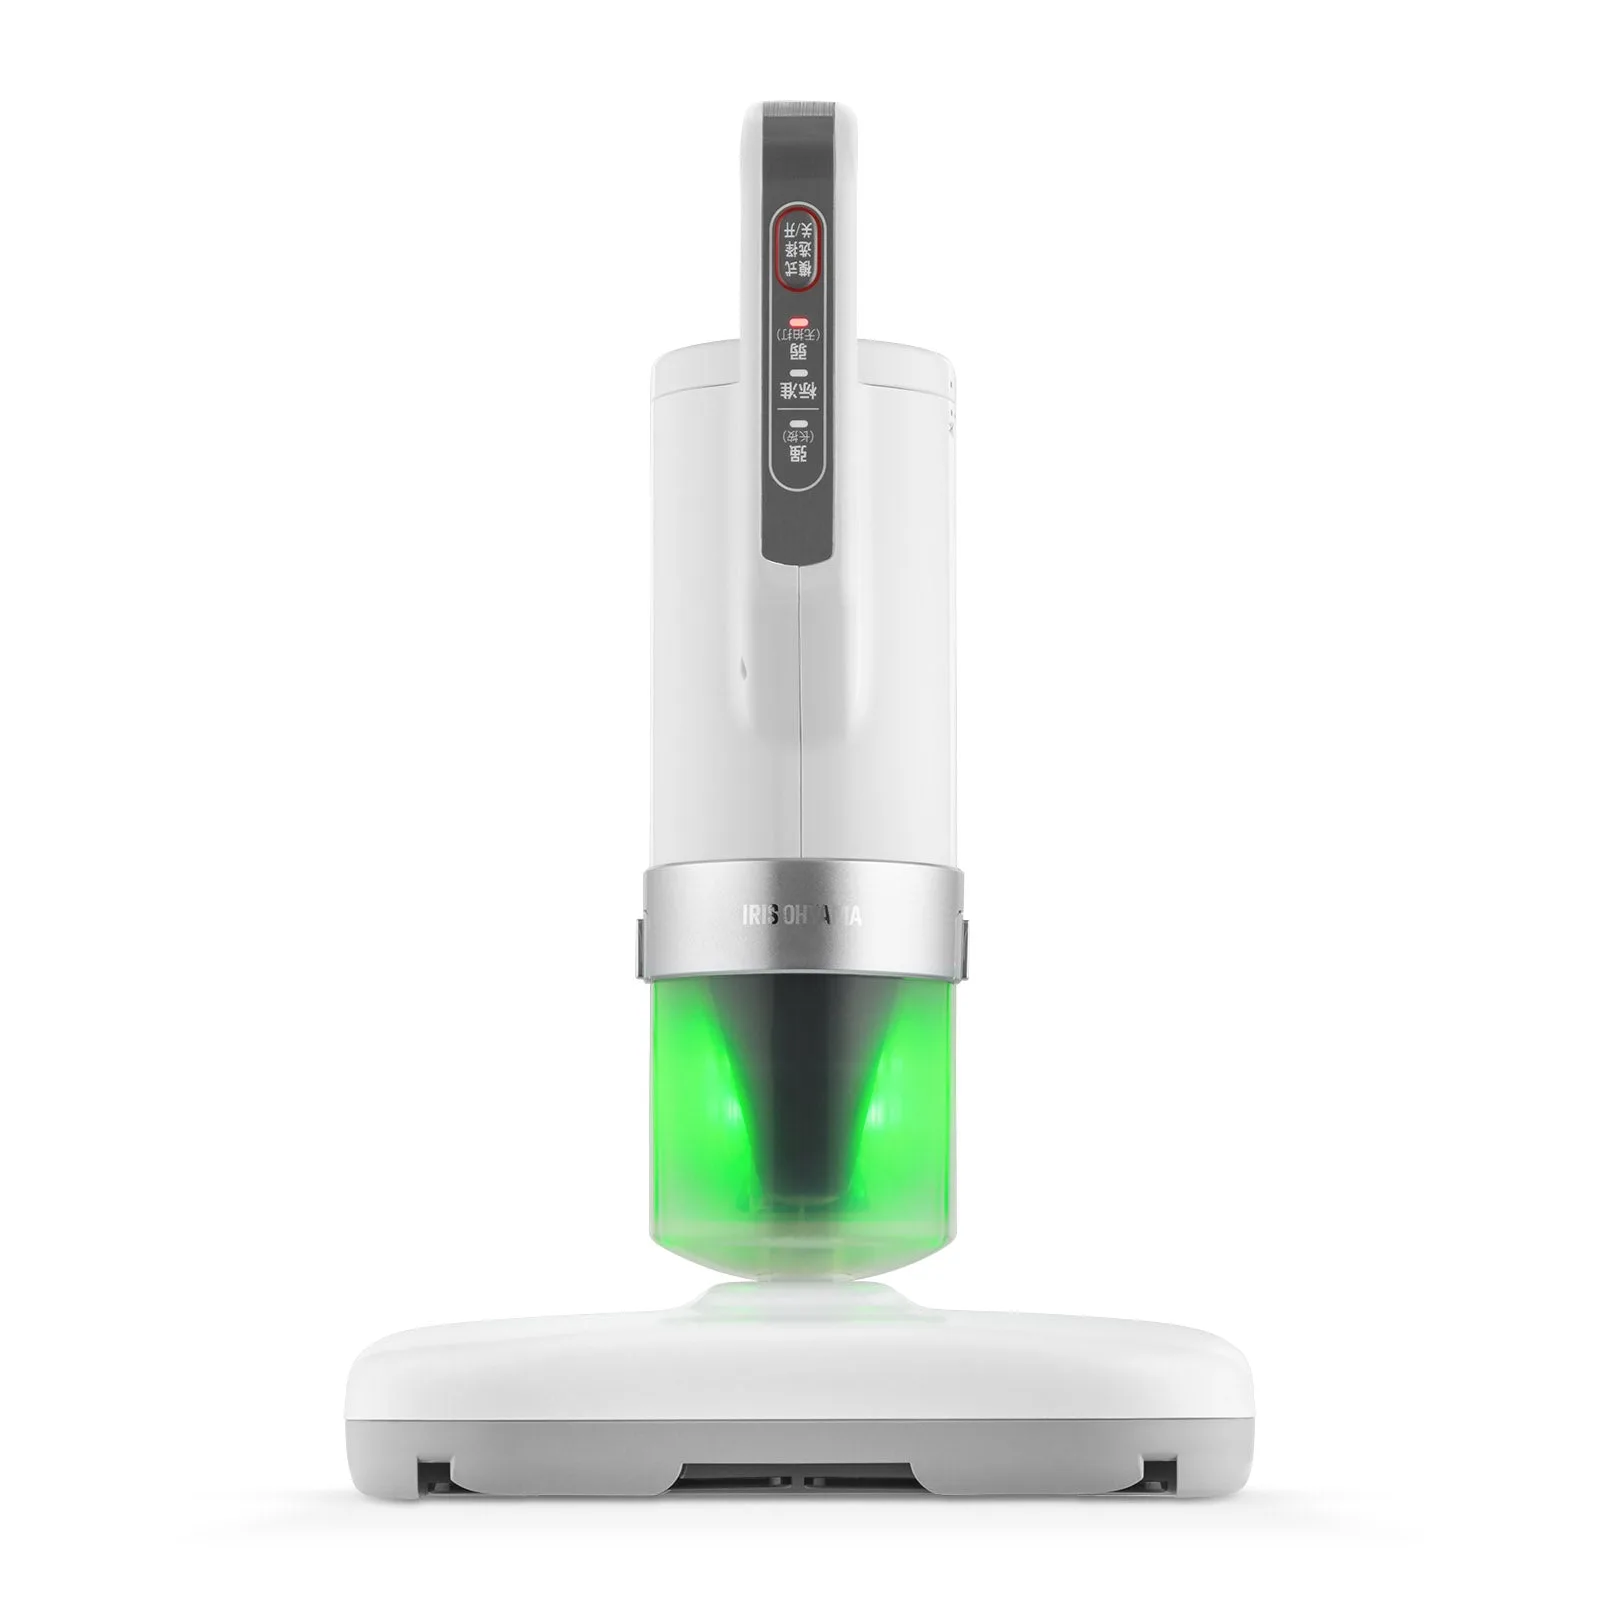
Mattress Vacuum Cleaner