Quick answer
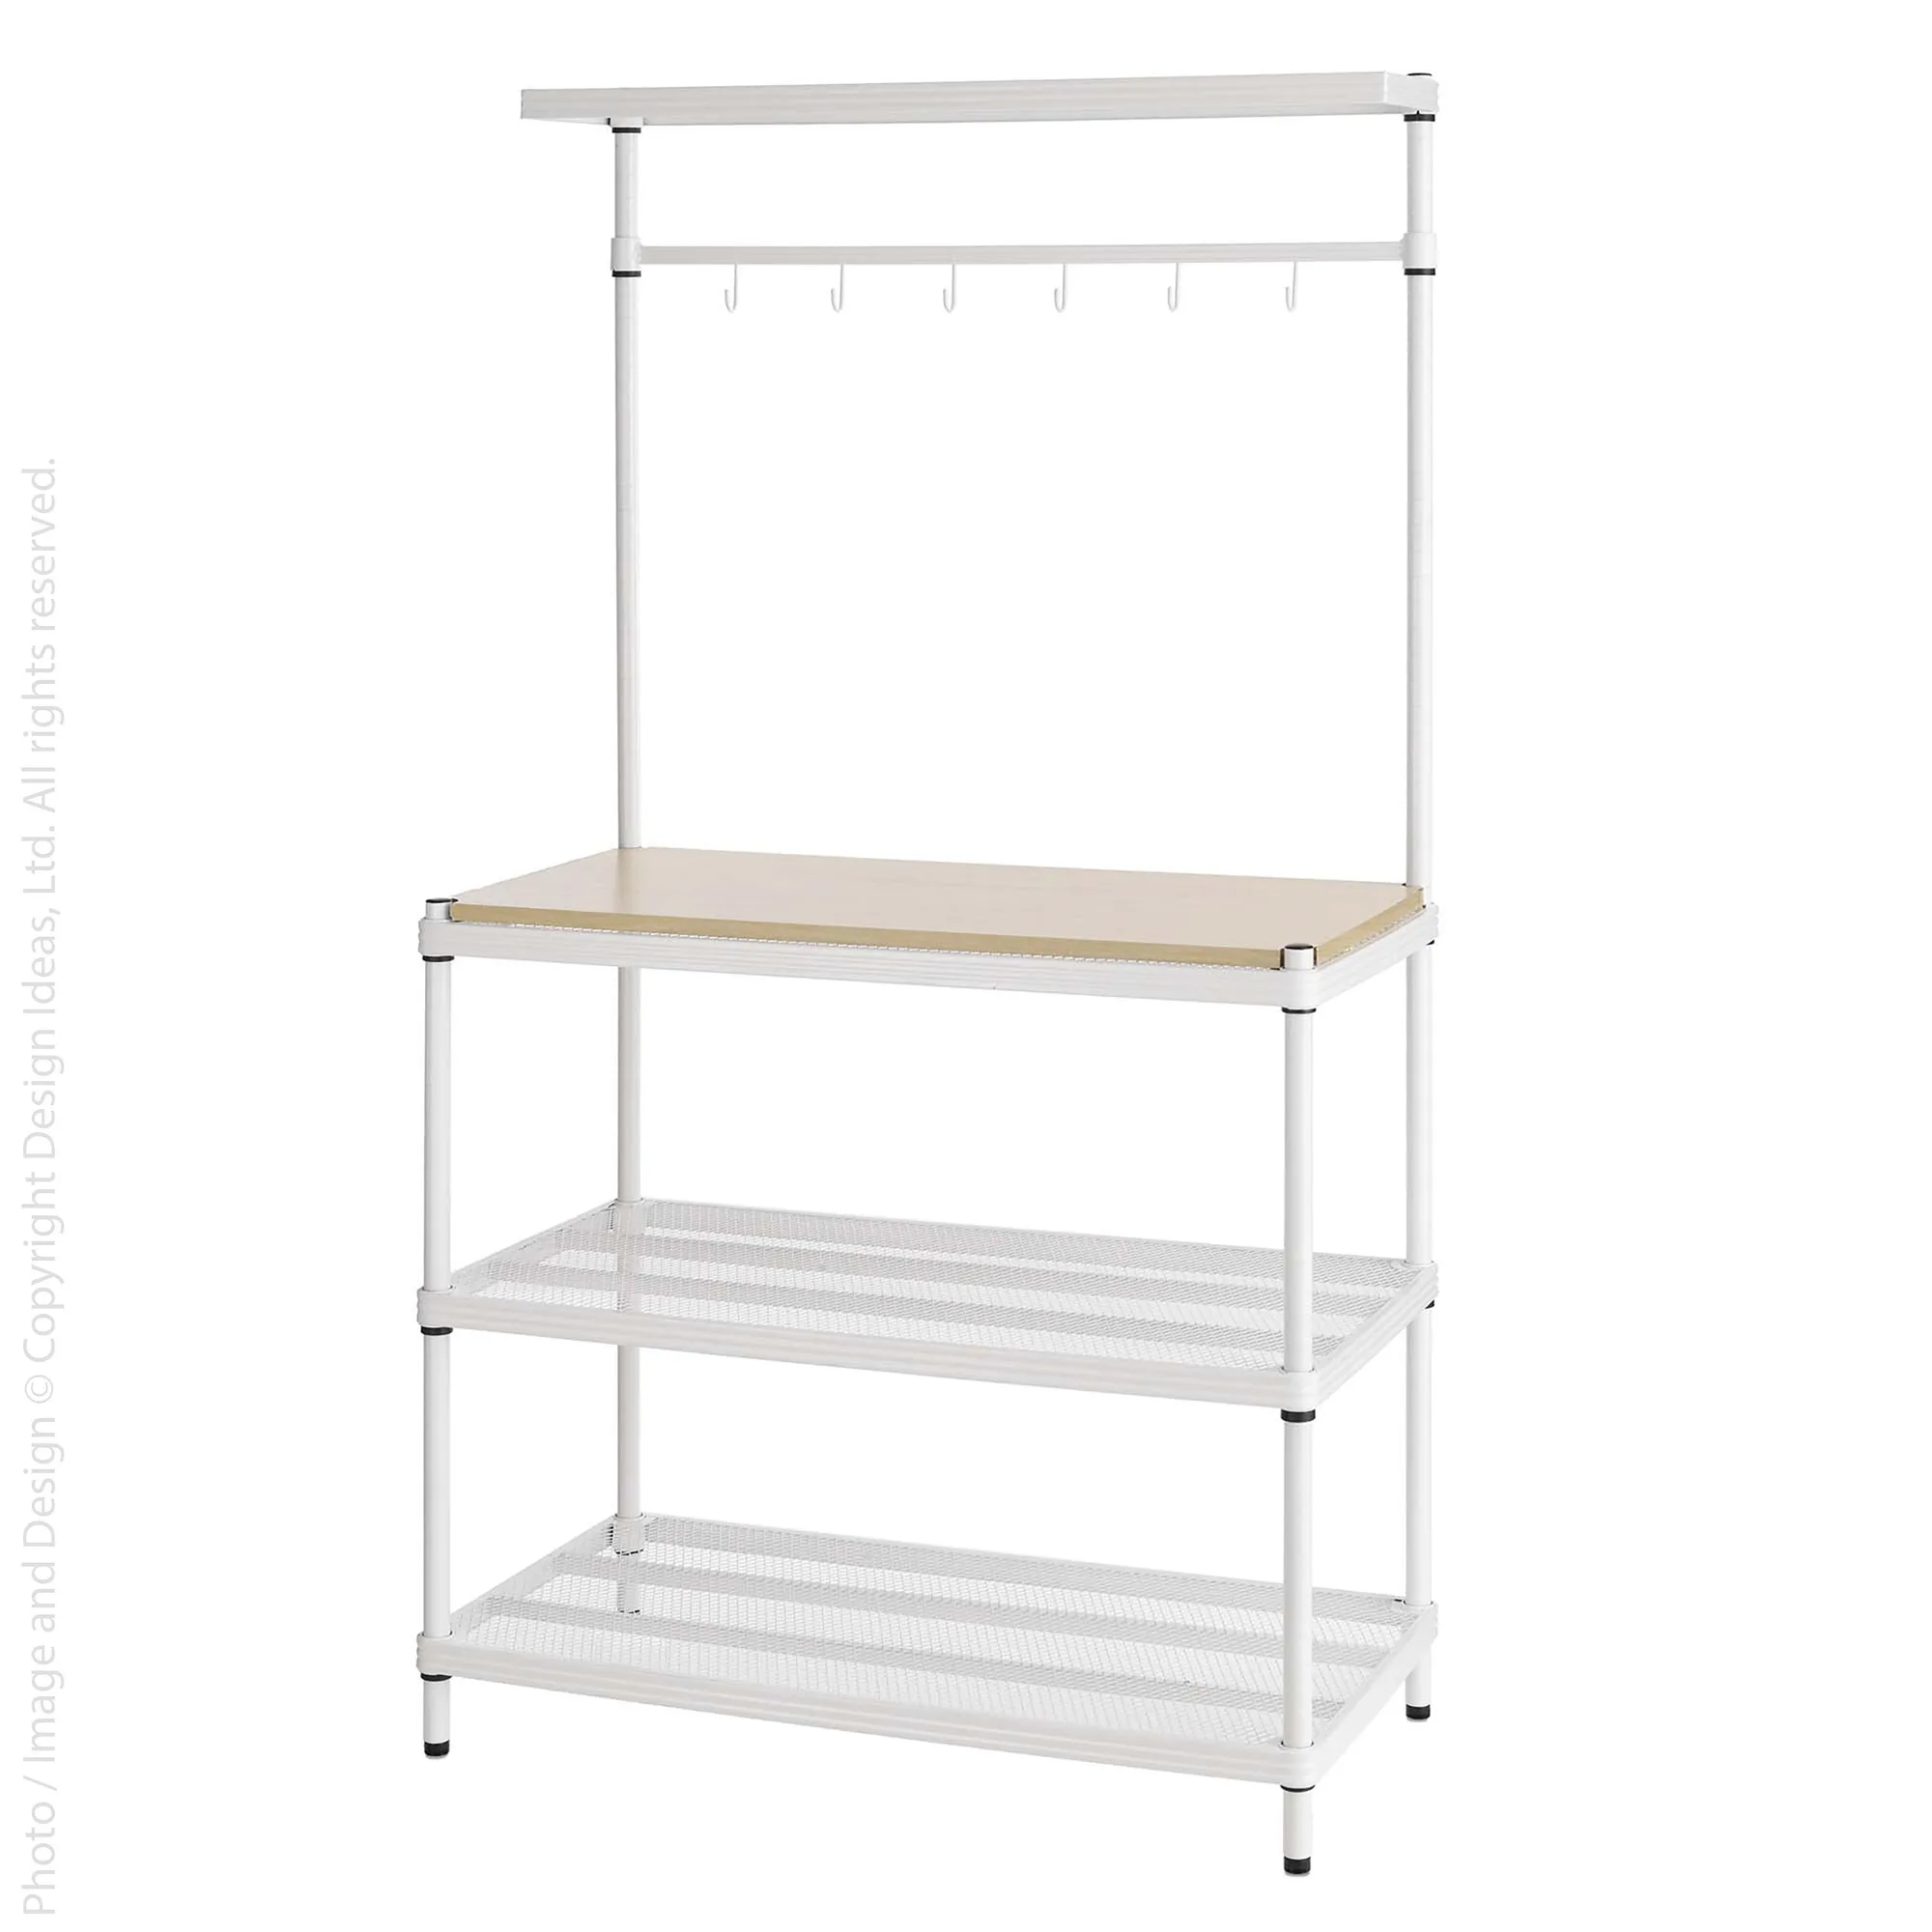
Assemble your MeshWorks epoxy coated steel shelving unit on a flat, protected surface, then set shelf heights before loading. No tools are required for assembly—the mesh shelves and posts lock together by hand. For a stable setup, place the utility wood top on the top shelf and distribute weight evenly across each shelf, keeping within the 440 lb. per-shelf limit.
Why the mesh design changes how you assemble and load it
Unlike traditional wire shelving, the expanded metal mesh on this unit keeps small items from slipping through, so you can store olive oil, cooking utensils, shovels, and similar items without a liner. That same mesh construction means you should check that each shelf sits fully seated on its support before adding weight. A partially seated shelf can wobble or shift later.
Preparing your space and tools
Clear the area where the unit will stand and check the floor for level. A flat, hard surface works best; on carpet, use a plywood base if you need a more stable footing. Although no tools are required for assembly, keep a rubber mallet and a level nearby—they help seat stubborn joints and confirm the unit is straight. If you plan to move the unit after assembly, assemble it near its final spot to avoid dragging it across the floor.
Adjusting shelf height before you load
Set your shelf heights before adding any weight. The MeshWorks unit uses a slip-sleeve system on the posts, so you can reposition shelves by hand. Plan the bottom shelf for heavy items, the middle for everyday items, and the top for lighter or less frequently used items. If you need to change a shelf height later, unload that shelf completely first—trying to adjust a loaded shelf can bind the sleeves or cause the shelf to drop.
Stability and weight distribution tips
Place the heaviest items on the lowest shelf to keep the center of gravity low. Distribute weight evenly across each shelf rather than clustering everything on one side. The unit holds up to 440 lb. per shelf, but that rating assumes even distribution and a level floor. If the unit rocks after loading, recheck the floor and the shelf seating before adding more weight.
Assembly steps
- Unbox and sort: Lay out all posts, shelves, and the utility wood top. Check that you have the correct number of shelves and that the posts are free of debris. Missing or damaged parts? Stop and contact the retailer before assembly.
- Build the base: Attach the bottom shelf to the four posts by sliding the shelf corners over the post sleeves. Press down firmly until the shelf sits level. Common mistake: forcing a shelf on at an angle. If it resists, realign and try again.
- Add middle shelves: Slide each additional shelf onto the posts at your desired height. Use the same height on all four corners for each shelf. Checkpoint: measure from the floor to each shelf corner to confirm it is level.
- Place the wood top: Set the utility rubber wood top on the top shelf. It should sit flat without rocking. If the top rocks, remove it and check that the top shelf is seated evenly.
- Level and stabilize: Stand the unit upright and check for rocking. If needed, adjust the foot levelers (if included) or place shims under the posts. A level unit is safer and easier to load.
- Load and test: Add items starting with the bottom shelf. Distribute weight evenly. After loading, gently push the unit to check stability. If it wobbles, unload and recheck shelf seating and floor level.
Product facts
- MeshWorks® epoxy coated steel shelving unit (utility wood top): MeshWorks® epoxy coated steel shelving unit (with utility rubber wood top) holds up to 440 lb. per shelf and requires no tools for assembly. You can assemble it by hand and load heavy items with confidence, as long as you distribute weight evenly.
- MeshWorks® epoxy coated steel shelving unit (utility wood top): The expanded metal mesh design prevents small items from slipping through, unlike traditional wire shelving. You can store olive oil, cooking utensils, and other small items directly on the shelf without adding a liner.