Start with the laptop, then build outward
The Method Backpack DLX 28L puts the separate laptop compartment at the back panel, so the most important decision comes first: slide your laptop in before anything else. A back-panel sleeve keeps the heaviest, flattest item against your spine, which is where it carries best and where it is least likely to be crushed by books or a change of clothes.
Once the laptop is seated, treat the main compartment as the flexible middle. The 28L size is a day pack, not a weekender, so the goal is a layout you can repeat every morning rather than a bag you repack from scratch. Put the items you need at a desk — notebook, charger, cables — in the organizer and accessory pockets, and reserve the main compartment for bulk.
Method Backpack DLX 28L at a glance
-
Method Backpack DLX 28L - Black Ripstop: 19.29 x 12.20 x 8.85in [49 x 31 x 22.5cm] These are the external dimensions, useful for judging whether the packed bag fits your commute setup; they are not a guarantee of airline or locker acceptance.
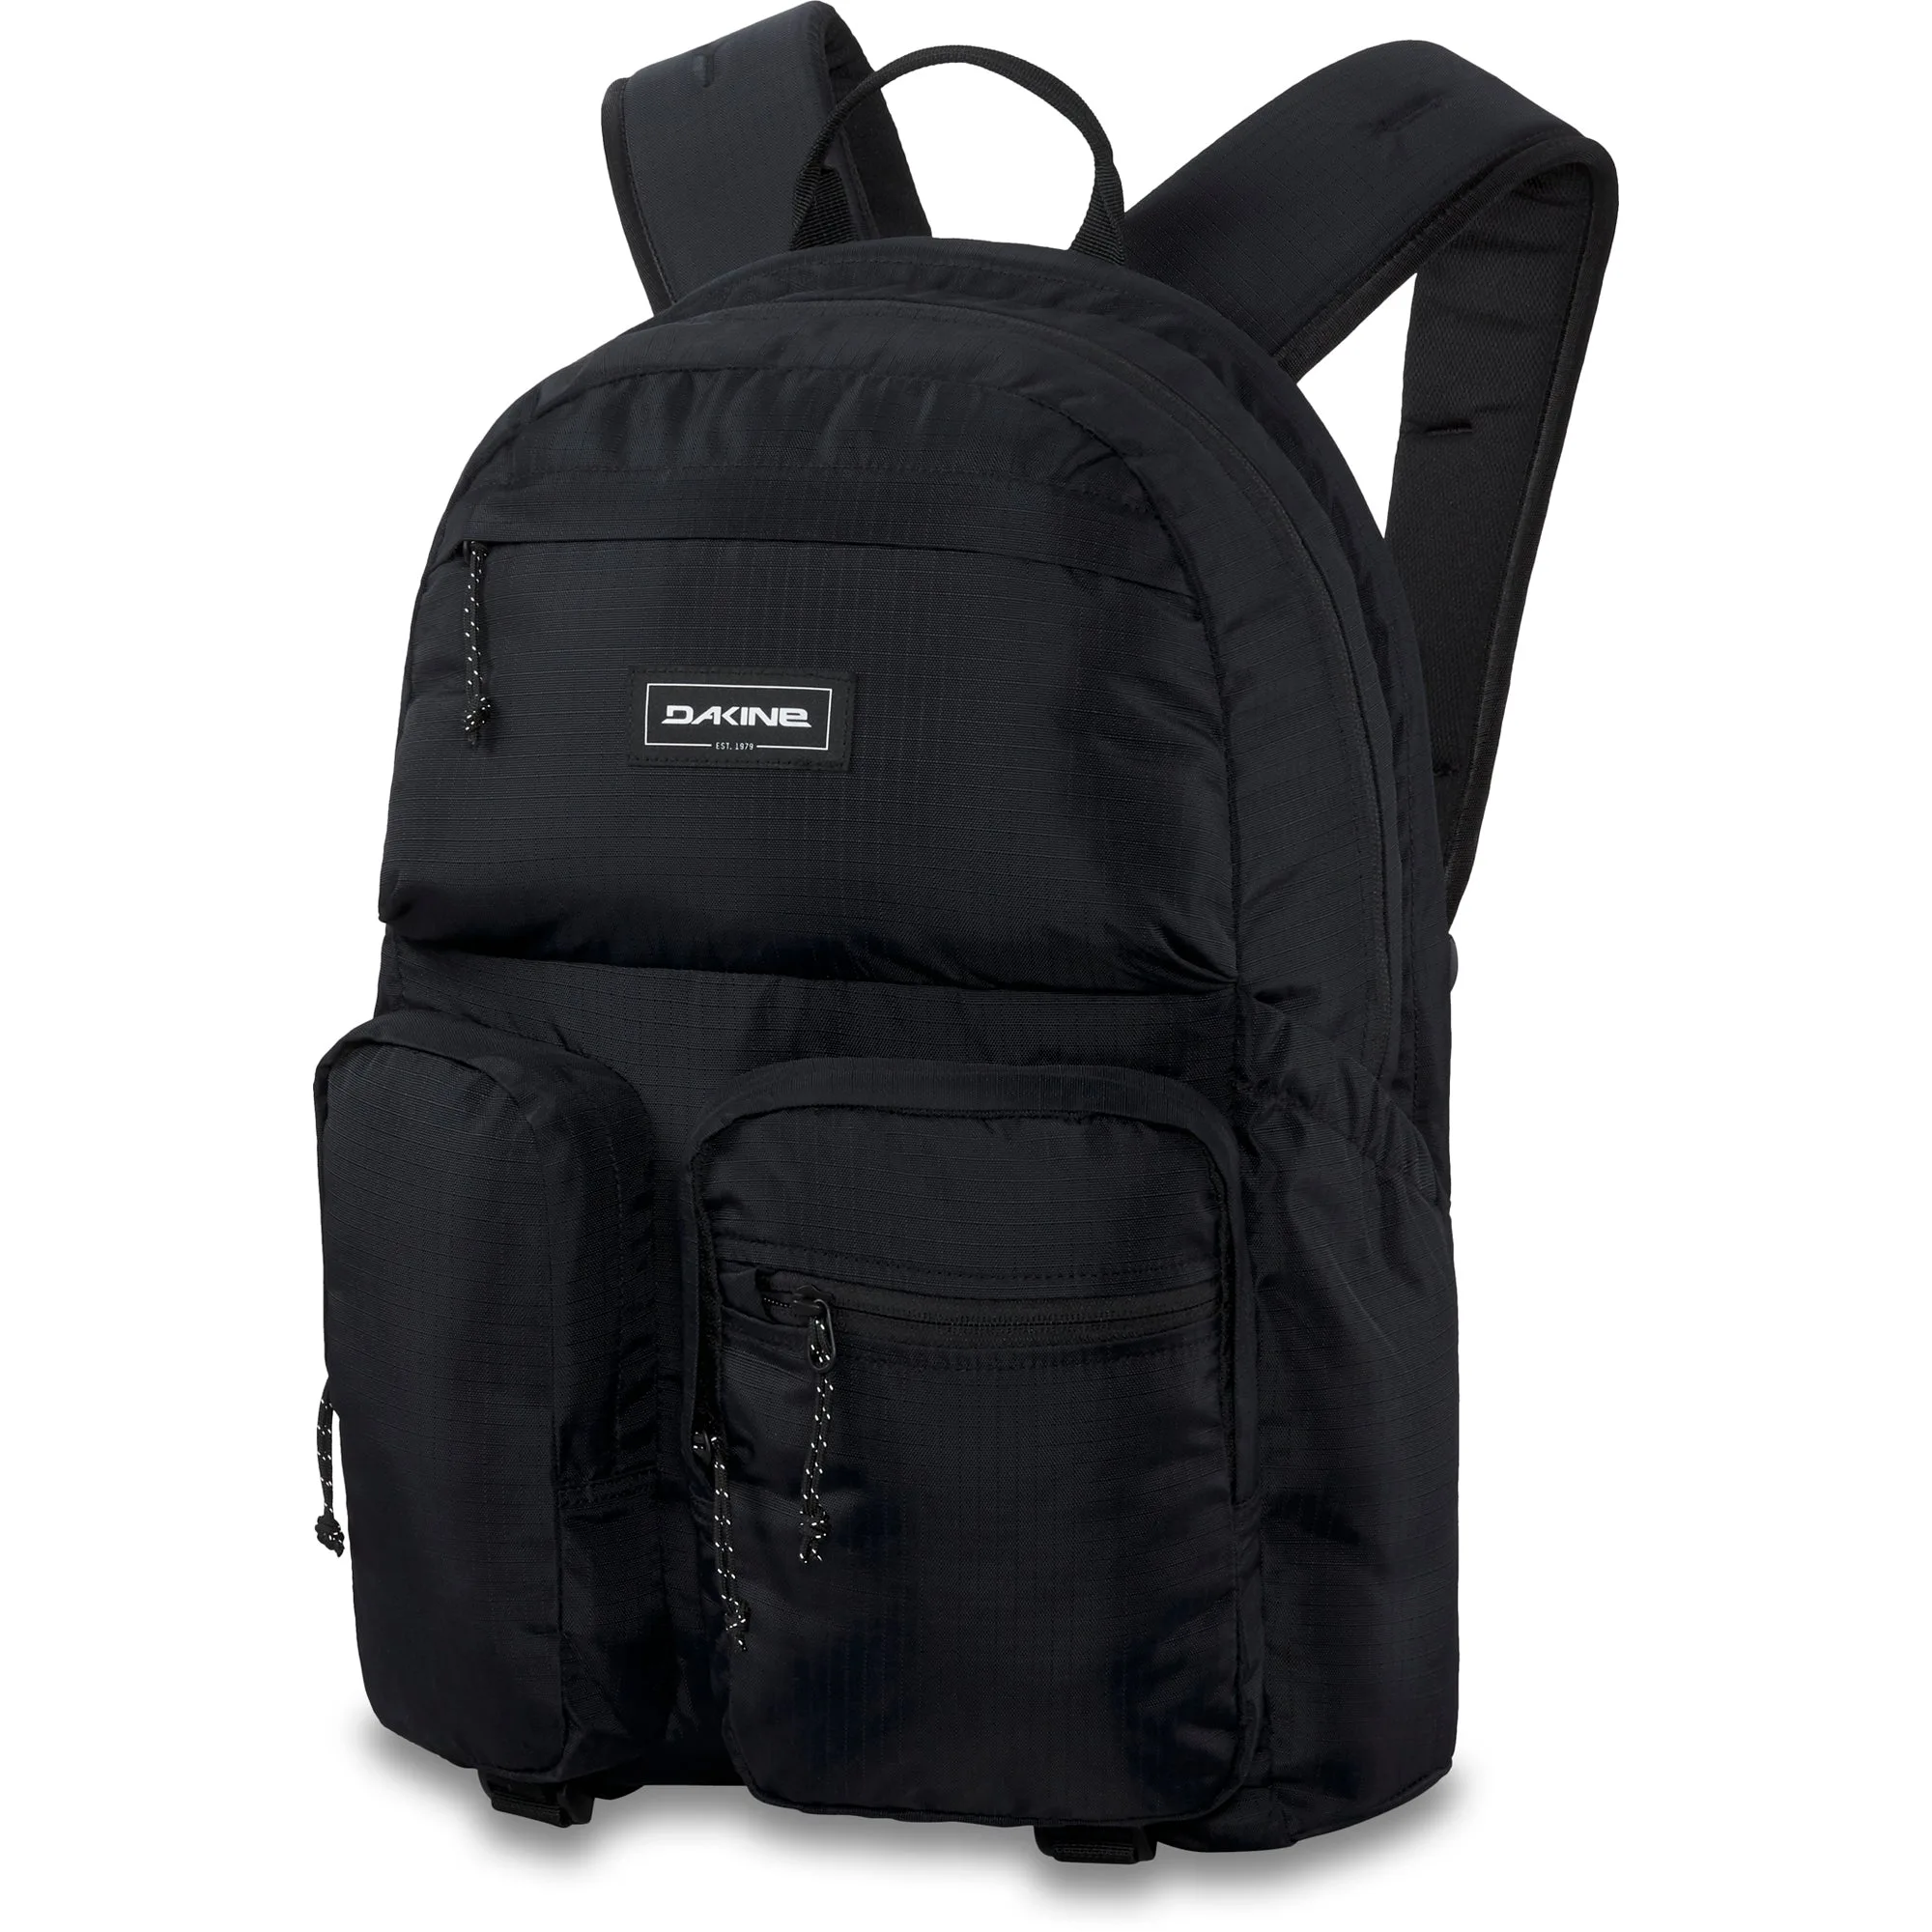
Method Backpack DLX 28L - Black Ripstop
-
Method Backpack DLX 28L - Black Ripstop: 1.49 lbs [0.68 kg] A light empty weight leaves more of your carry budget for the laptop, water, and lunch you actually need.
-
Method Backpack DLX 28L - Black Ripstop: Separate laptop compartment located at back panel This is the anchor point for a work layout: laptop first, everything else around it.
-
Method Backpack DLX 28L - Black Ripstop: Organizer and accessory pockets Small-item storage is where work backpacks usually fail; use these pockets for chargers, pens, and badges instead of dumping them in the main compartment.
-
Method Backpack DLX 28L - Black Ripstop: Two exterior pockets make it easy to organize smaller accessories, electronics and items such as sunglasses Quick-access exterior pockets keep the items you reach for on a commute out of the main load.
-
Method Backpack DLX 28L - Black Ripstop: Self fabrication water bottle pockets Side bottle pockets mean your water does not have to live inside the main compartment next to your laptop.
A repeatable daily carry layout
Build the bag in this order so the heavy, flat items sit closest to your back and the light, bulky items sit farthest away.
- 1. Laptop in the back-panel compartment: Slide the laptop into the separate compartment at the back panel first. This sets the spine of the load and keeps the sleeve from being blocked by other gear.
- 2. Flat documents against the laptop: Notebooks, folders, and papers go in the main compartment directly behind the laptop sleeve. The catalog describes the main compartment as roomy enough for books, binders, and extra clothes.
- 3. Chargers and cables in the organizer pockets: Use the organizer and accessory pockets for the small items that otherwise sink to the bottom: charger, cable, pens, badge, and earbuds.
- 4. Lunch and a layer in the main compartment: Put soft, bulky items — a light jacket, lunch, or a change of clothes — in the remaining main-compartment space, away from the laptop.
- 5. Water bottle in a side pocket: The self-fabrication water bottle pockets on the sides keep a bottle upright and separate from electronics.
- 6. Sunglasses and quick-grab items outside: The two exterior pockets are the right home for sunglasses and small accessories you want without opening the main compartment.
Ripstop packing tips that keep the load stable
The Black Ripstop colorway is the available variant, and ripstop fabric is a sensible choice for a daily commuter because the bag is in and out of cars, trains, and office floors all day. The practical packing habit is to keep the load flat and centered: heavy items low and against your back, light items high and toward the outside.
Use the adjustable sternum strap when the bag is fully loaded. It keeps the pack close to your body on a bike or a crowded platform, which matters more as the main compartment fills. If the bag feels unstable, the fix is usually repacking — moving the laptop and papers closer to your back — rather than tightening every strap.
What fits comfortably versus what strains a 28L day pack
The 28L Method is built for a workday, not a trip. Use this as a packing checkpoint rather than a strict rule.
- Comfortable daily load: Laptop, charger and cable, notebook or binder, lunch, water bottle, light layer, and sunglasses in the exterior pocket — the kind of load the main compartment and organizer pockets are described as handling.
- Possible but tight: A bulky binder plus a full change of clothes plus a large lunch. The main compartment is described as roomy for books, binders, and extra clothes, but not necessarily all at once with a laptop.
- Better for a different bag: Gym shoes, a towel, and a full day of clothing alongside work gear. That is a weekend or gym-hauling load, not the day-pack role the Method is described for.
What the supplied information does not settle
The catalog confirms the dimensions, weight, laptop compartment, organizer pockets, exterior pockets, bottle pockets, and sternum strap. It does not state a maximum laptop size, a water-resistance rating, or whether the bag is accepted by any specific airline as a personal item. Check those against your own laptop and your carrier's rules rather than assuming universal fit. The product description also refers to a 32-liter Method in its copy while the variant is listed as 28L, so treat the 28L listing and the measured dimensions as your sizing reference.