Start with the features that shape your build order
The MG 1/100 Wing Gundam Zero EW Ver.Ka is not a straight build-and-pose kit. Its appeal sits in the white wings, the firing poses, the Twin Buster Rifle storage, and the transformation into Neo Bird Mode. Those features should influence how you sequence assembly, when you apply decals, and how much handling you do before the kit is finished.
The supplied catalog confirms the kit includes the Twin Buster Rifle, two Beam Sabers, a Shield, a Pedestal, a Foil Sticker sheet, and a Water Transfer Decal sheet. It also notes new molding and joints examined for the unfolding and interactive gimmicks. Use that as your planning baseline: build the moving parts with clearance in mind, and save fragile decals until the wings and transformation are working smoothly.
What the catalog confirms about this Ver.Ka
-
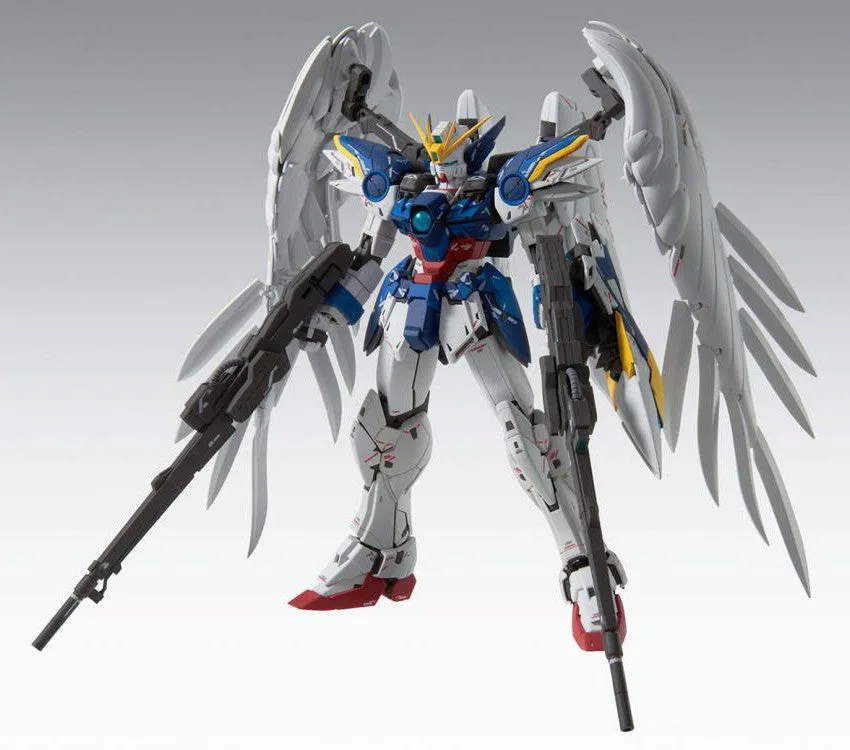
Gundam MG 1/100 Wing Gundam Zero (EW) Ver.Ka "Endless Waltz": The Wing Gundam Zero EW Ver.Ka is created under the full supervision of Hajime Katoki, with new molding and joints examined for unfolding and interactive gimmicks for the white wings and firing poses. This tells you the wing mechanism and poseability are central to the kit, so test those joints before final decals and display.
Gundam MG 1/100 Wing Gundam Zero (EW) Ver.Ka "Endless Waltz"
-
Gundam MG 1/100 Wing Gundam Zero (EW) Ver.Ka "Endless Waltz": The Twin Buster Rifle can be stored in the wings, and transformation into Neo Bird Mode has been recreated. Rifle storage and transformation are handling steps that can stress the wing assembly if you rush them.
-
Gundam MG 1/100 Wing Gundam Zero (EW) Ver.Ka "Endless Waltz": Included accessories are the Twin Buster Rifle x1, Beam Saber x2, Shield x1, Pedestal x1, Foil Sticker x1, and Water Transfer Decal x1. Knowing the exact contents helps you plan decal work, display setup, and which accessories to test-fit during the build.
A practical assembly order for the wings and transformation
The supplied information does not include a step-by-step manual, so treat this as a planning sequence rather than a replacement for the official instructions. The goal is to avoid trapping decals or paint inside moving assemblies.
- Build and test the wing joints before detailing: Assemble the wing sections and cycle the unfolding gimmick while the plastic is still bare. The catalog specifically calls out joints examined for unfolding and interactive gimmicks, so confirm smooth movement before adding foil stickers or water-slide decals near pivot points.
- Check Twin Buster Rifle storage early: The rifle stores in the wings. Test that fit before the wings are fully decorated, because repeated insertion can rub against decals or stickers placed too close to the storage area.
- Rehearse Neo Bird Mode before final display: Transform the kit into Neo Bird Mode once during the build to learn which parts move and where clearance is tight. This is easier to do before the model is crowded with accessories and decals.
- Attach the Pedestal only when you are ready to display: The included Pedestal is a display aid, not a build step. Keep it aside until the kit is complete and you have chosen a pose, especially if you plan to use the firing pose with the rifle stored in the wings.
Panel lining: where to focus on a Ver.Ka kit
The supplied record does not specify panel line locations, line color, or whether the kit is molded in separate colors for lining. That means panel lining advice has to stay general: work from the actual surface detail on your kit rather than a preset map.
A sensible approach is to line after the main assembly is together but before water-slide decals go on. Focus on recessed lines around the wings, shoulders, and rifle, and keep lines light near joints that move. Heavy lines around the wing unfolding mechanism can look messy once the parts shift. If you plan to transform the kit, check that lining does not bridge any gap that needs to open.
Water-slide decal advice for the supplied sheet
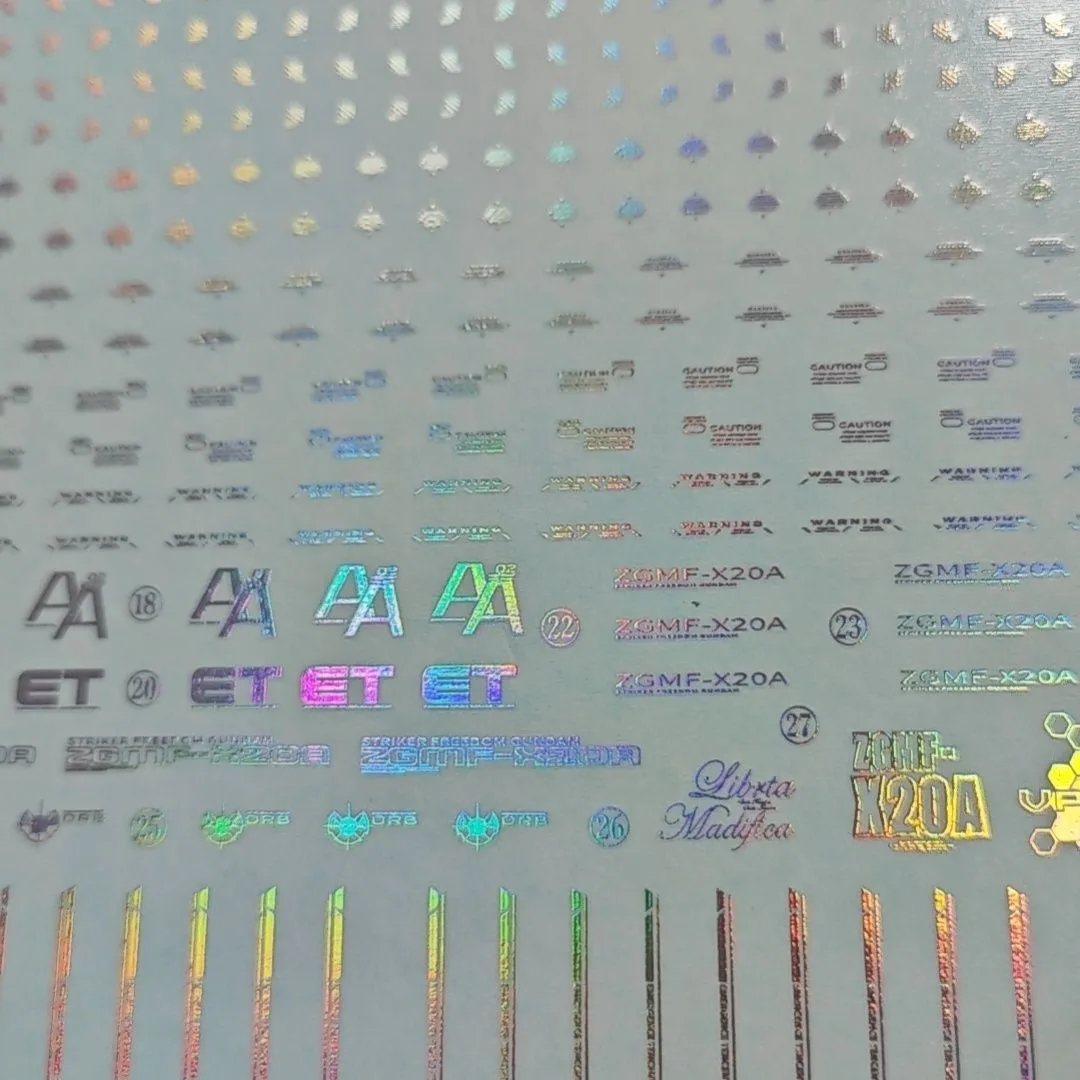
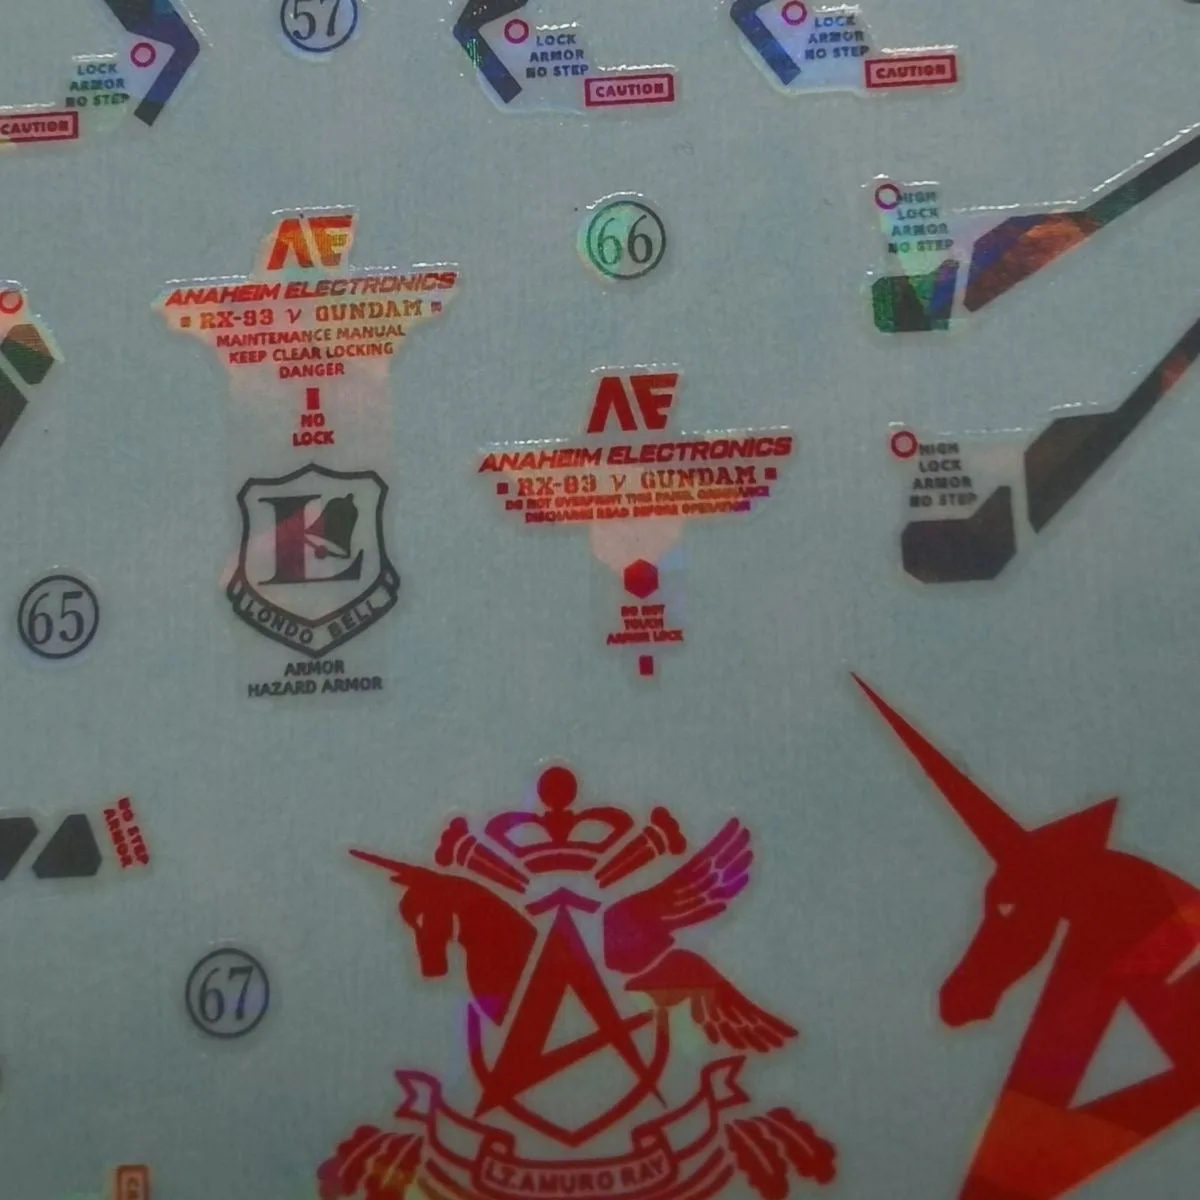
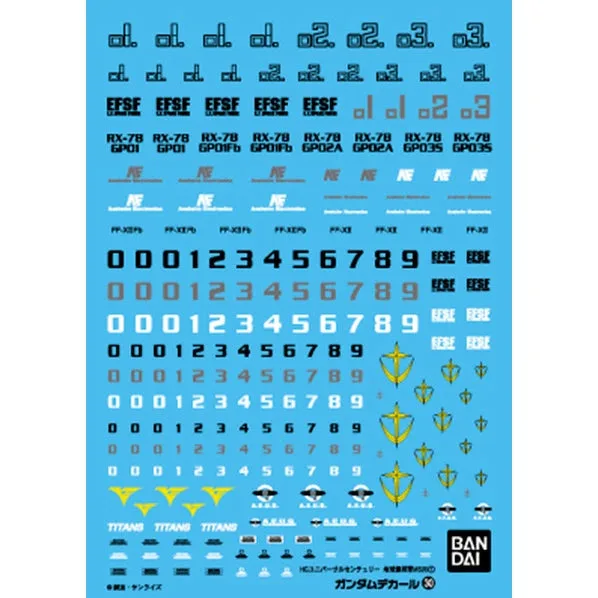
The kit includes a Water Transfer Decal sheet and a Foil Sticker sheet. The catalog does not list decal count, placement guide, or setting solutions, so plan around the general behavior of water-slide decals rather than exact markings.
Apply water-slide decals after the wings and transformation are working to your satisfaction. Place them away from the rifle storage path and any sliding wing surfaces. Work in small sections, allow each decal to set before moving the part, and avoid handling the wings by the decal edges. Foil stickers are best kept for areas that do not flex or rub during Neo Bird Mode transformation. If the supplied information does not confirm a specific decal location, leave it off rather than guessing.
Posing and display with the wings, rifle, and pedestal
The catalog highlights firing poses and the white wings, so plan a display that gives the wings room to unfold. The Twin Buster Rifle can be stored in the wings, which changes the silhouette; decide whether you want the rifle displayed in hand or stowed before you finalize the pose.
The included Pedestal supports display, but the supplied record does not confirm a specific stand height, angle, or compatibility with other stands. Use the Pedestal as supplied and check balance with the wings extended. If you pose the kit in Neo Bird Mode, confirm the transformation is fully seated before leaving it on display. The two Beam Sabers and Shield give you alternate accessory choices, but the catalog does not describe mounting points, so test-fit rather than forcing a connection.
Handling checkpoints before you call the build finished
- Cycle the wing unfolding once more after decals: Move the wings slowly through their range and watch for decals or foil stickers catching on adjacent parts. The catalog confirms unfolding gimmicks, so this is a supported checkpoint.
- Re-test rifle storage after detailing: Insert and remove the Twin Buster Rifle from the wing storage once the area is decorated. If it rubs, stop and adjust the decal placement rather than forcing the rifle.
- Confirm Neo Bird Mode locks together: The transformation is a confirmed feature. Before display, check that the mode holds together without pressure on a single joint.
- Keep the Pedestal and unused accessories separate: Store the Shield, Beam Sabers, and any unused hands or parts away from the display area to avoid scratches during future posing.