Why Choose a Mini Iron and Rest Set?
When you sew small projects—quilting blocks, garment details, or appliqué—a full-size iron and ironing board can feel like overkill. You need to press seams and hems right at your machine, without getting up or risking burns. A mini iron and rest set solves that: the iron is compact enough to keep on your sewing table, and the heat-resistant rest gives it a safe place to land between presses.
The Madam Sew Mini Iron + Mini Iron Rest bundle is designed specifically for this workflow. The rest fits the mini iron perfectly, with a raised lip that contains the hot soleplate and prevents accidental contact. Instead of balancing the iron on end or setting it directly on your table, you simply lay it flat on the silicone rest—no scorched surfaces, no burns.
What the Bundle Includes
-
Mini Iron + Mini Iron Rest: The bundle includes the Madam Sew Mini Iron and a silicone Mini Iron Rest that withstands up to 482°F (250°C). The rest is heat-resistant enough for any mini iron, and the raised lip keeps the hot soleplate contained and your fingers safe.
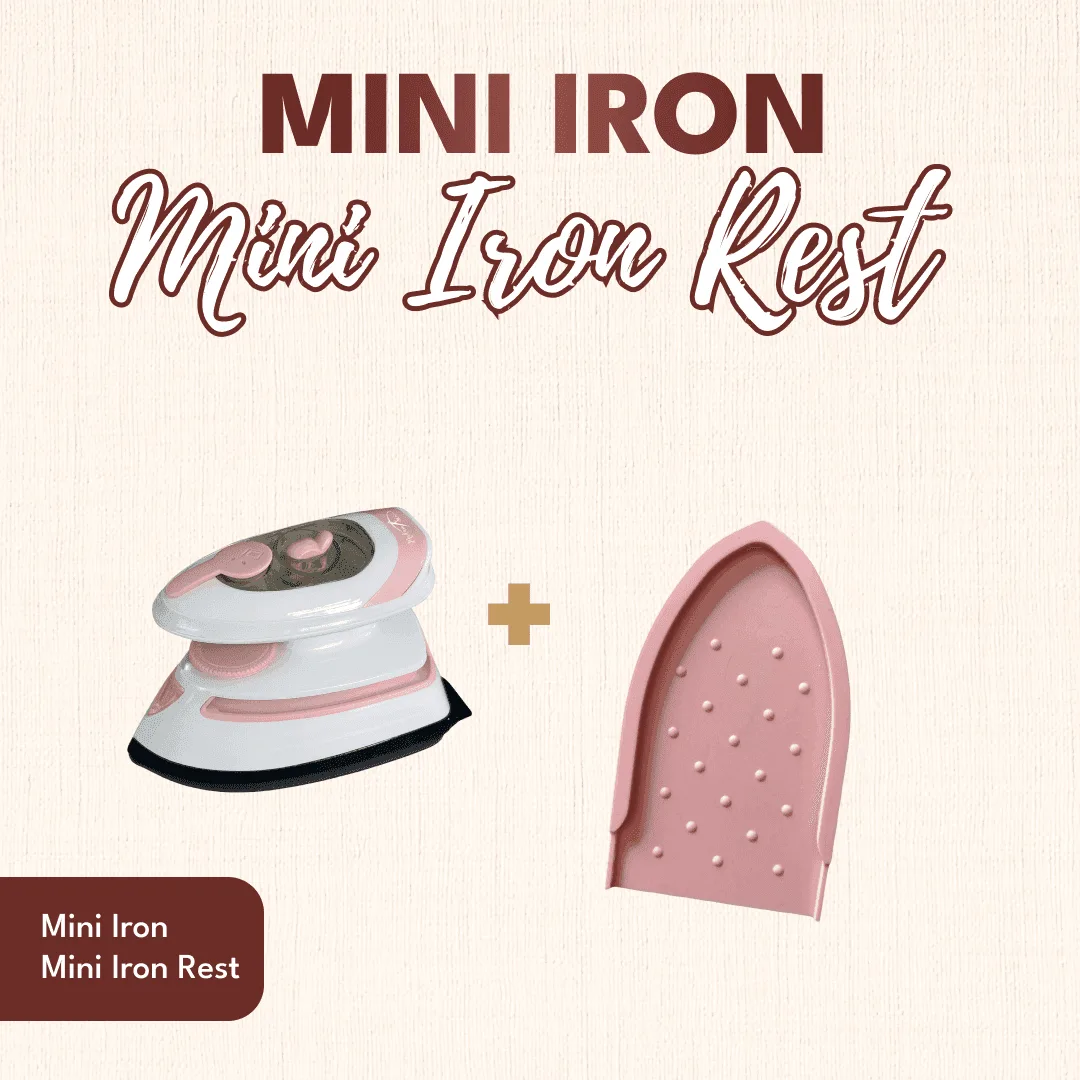
Mini Iron + Mini Iron Rest
-
Mini Iron + Mini Iron Rest: The rest measures 6.69" × 4.06" × 0.12" with a raised edge of 0.36" along the front and sides. Its compact size fits easily on a crowded sewing table, and the lip prevents the iron from sliding off.
-
Mini Iron + Mini Iron Rest: The mini iron has an 8 ft attached power cord and weighs 1 lb 2.2 oz. The long cord gives you flexibility to place the iron anywhere near your machine, and the light weight makes it easy to handle.
Who Benefits Most from This Bundle
This set is ideal for quilters who press seams as they sew, garment sewists who need precise hems and darts, and crafters working with small fabric pieces. The compact size means you can keep it on your sewing table without sacrificing space. It's also great for classes or retreats—the iron comes with a travel bag, and the rest slips easily into a project bag.
However, if you primarily press large items like curtains or full garment lengths, a full-size iron and board may still be more efficient. The mini iron's soleplate is smaller, so pressing large areas takes more passes. For small projects, though, this bundle is a time-saver.
Key Features to Consider
When evaluating a mini iron and rest set, here are the features that matter most for sewing:
- Heat-resistant rest: The silicone rest withstands up to 482°F (250°C) and protects your table or mat from heat damage. The raised lip keeps the iron stable and prevents accidental contact.
- Compact footprint: At just 6.69" × 4.06", the rest takes up minimal space. The iron itself is similarly compact, so both fit easily beside your sewing machine.
- Portability: The iron includes a travel bag, and the rest is lightweight (about 2.2 oz). Together they're easy to pack for classes or sewing retreats.
- Compatibility: The rest is designed for the Madam Sew Mini Iron but also fits most other mini irons. Check the dimensions of your iron to ensure a good fit.
Trade-offs to Keep in Mind
The mini iron's smaller soleplate means it heats up quickly but covers less area per pass. For pressing long seams on large quilts or garment panels, you'll need more strokes. Also, the rest is designed for laying the iron flat—not for standing it upright. If you're used to an upright iron rest, this takes a moment to adjust to.
On the plus side, the flat rest is safer: no risk of the iron tipping over, and the raised lip keeps the hot soleplate away from your fingers. The silicone material is easy to clean with warm soapy water, and it won't scorch or burn.
How to Set Up and Use the Bundle
Getting started is straightforward:
- Place the rest: Set the silicone rest on your work surface within easy reach of your sewing machine. Keep the raised lip toward you.
- Heat the iron: Remove the iron from its travel bag, plug it in, and set it on the rest to heat. The rest protects your table from heat.
- Press as you sew: Press each seam or block immediately after sewing. Lay the iron flat on the rest between presses—never stand it on end.
- Cool and store: When finished, switch off and unplug the iron. Let both cool completely before packing away. Clean the rest with warm soapy water and dry thoroughly.