Quick answer
Replace the Mini2Grow T-bar when you see cracks, deep scratches, or a loose fit that tightening cannot fix. Order the correct color T-bar, then swap it by removing the old bar, checking the height adjustment mechanism, and securing the new bar before a test ride.
Signs the T-bar needs replacing rather than adjusting
A Mini2Grow T-bar can last for years, but plastic and metal parts wear. Before you buy a spare, check whether the issue is simply a loose clamp or a height adjustment that slipped. If the T-bar wobbles even after you tighten the collar, or if you see visible cracks at the base or along the shaft, replacement is the safer choice. Deep gouges that catch a fingernail can also weaken the structure over time.
Height adjustment problems are often mistaken for a worn T-bar. If the bar slides down during riding, the internal locking mechanism may be worn or dirty. Clean and inspect it first; if the bar still will not hold, a new T-bar is the next step. Keep in mind that the Mini2Grow T-bar is a specific spare part, so confirm your scooter model before ordering.
Why color matching matters for the Mini2Grow T-bar
The Mini2Grow T-bar comes in Mint, Pink, and Blue, and each color corresponds to a different SKU. This is not just cosmetic: ordering the right color ensures you get a part that matches your scooter's original look and simplifies future replacements. If your scooter's color is not obvious, check the frame or the original packaging. When in doubt, choose the color that matches the existing T-bar or the dominant frame color.
A mismatched color will not affect function, but it can make resale or hand-me-downs less appealing. Since the T-bar is a visible component, matching it keeps the scooter looking intentional. The part is part of the Micro Kickboard Parts & Accessories range, so you can pair it with other genuine spares if needed.
Step-by-step Mini2Grow T-bar replacement
- Remove the old T-bar: Loosen the clamp or collar at the base of the T-bar and slide the old bar out of the steering tube. If it is stuck, do not force it; apply a few drops of penetrating oil and wait a minute before trying again. Checkpoint: Mark the height of your old T-bar with tape before removal so you can set the new one to the same position.
- Inspect the height adjustment mechanism: With the old bar out, look inside the steering tube for dirt, rust, or worn plastic parts. Clean the tube and test the locking mechanism by inserting the old bar and adjusting it through its full range. If the mechanism does not hold, address that before installing the new T-bar. Common mistake: Skipping this step can cause the new T-bar to slip during riding.
- Install the new T-bar: Slide the new Mini2Grow T-bar into the steering tube until it reaches your marked height. Tighten the clamp or collar firmly, but do not overtighten; you should be able to adjust the height later without excessive force. Checkpoint: Make sure the T-bar is straight and aligned with the front wheel before final tightening.
- Test the height adjustment and secure the bar: With the scooter on the ground, press down on the handlebars to check for movement. Adjust the height up and down a few times to confirm the locking mechanism engages smoothly. If the bar moves at all when locked, re-tighten the clamp or inspect the locking parts. Common mistake: Not testing the lock can lead to a sudden drop while riding.
- Take a slow test ride: Ride the scooter at walking pace in a safe area, turning gently and pressing on the handlebars. Listen for rattles and feel for any wobble. If everything feels solid, you are done; if not, repeat the tightening and adjustment steps. Checkpoint: Re-check the clamp after the first few rides, as parts can settle.
Product facts
-
Parts: Mini2Grow T-bar: Replacement T-bar for the Mini2Grow scooter, available in Mint, Pink, and Blue. Choosing the right color ensures a direct fit and keeps your scooter looking original.
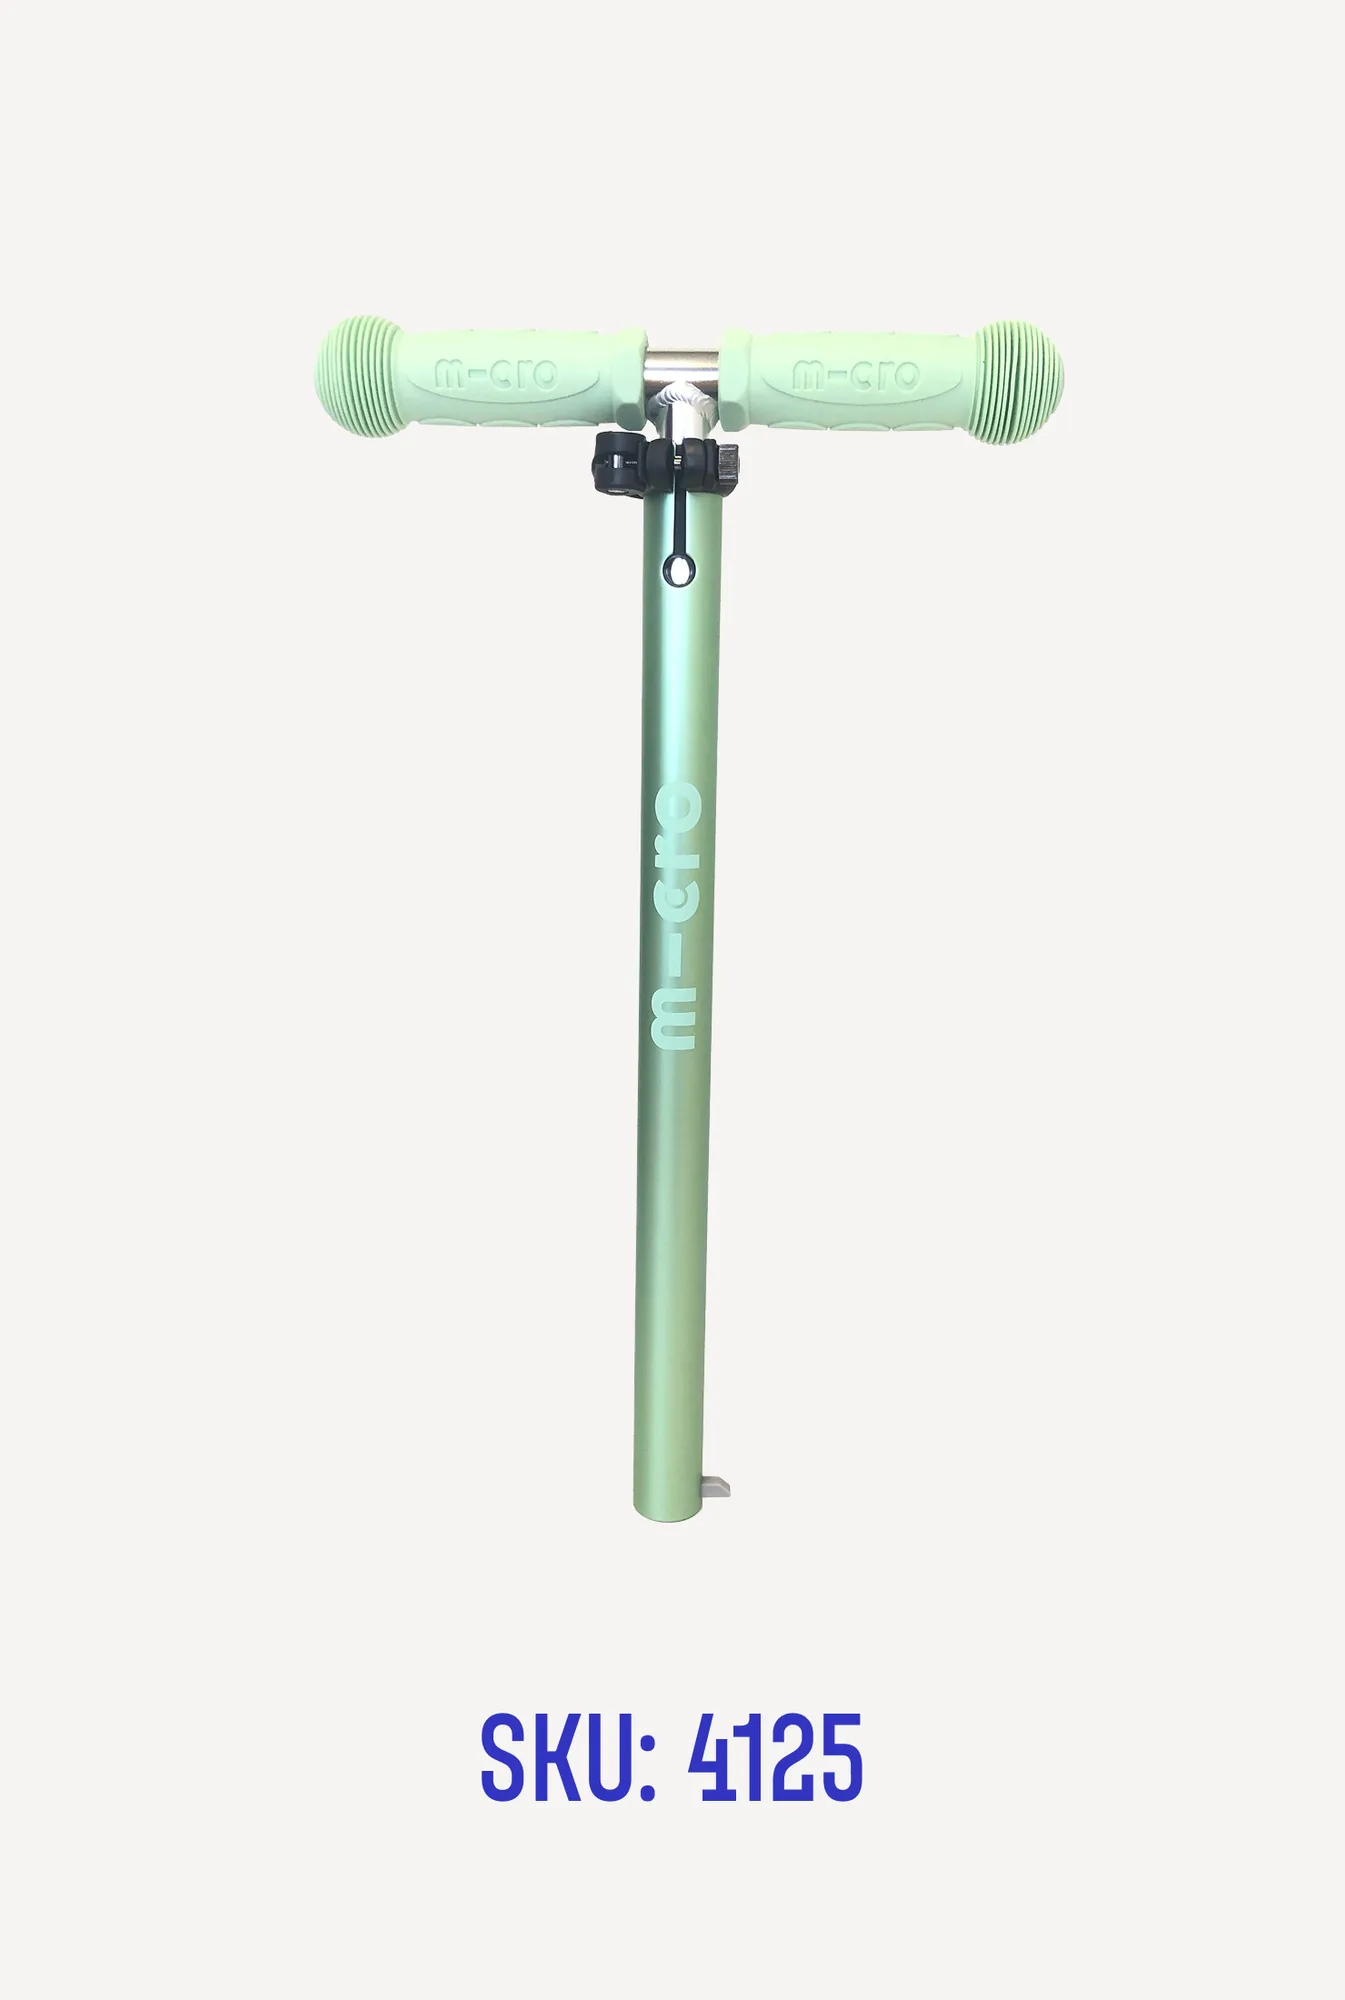
Parts: Mini2Grow T-bar