Quick Answer
To magnetize miniatures for storage, glue small rare-earth magnets into drilled holes in the base and a matching metal tray or sheet. This keeps models secure during transport and lets you swap weapons without regluing.
Why Magnetize Instead of Using Foam or Boxes
Foam trays can rub against painted surfaces and break fragile parts over time. Magnets hold models firmly in place so they don't shift or collide during travel. This is especially helpful for armies with many models or delicate components like spears and antennae.
Magnetizing also lets you swap weapons or arms between models without buying duplicates. You can change a loadout for a game or display in seconds, which saves money and storage space.
Choosing the Right Magnet Strength and Size
Not all magnets are equal. Strong rare-earth magnets (like neodymium) are essential because they provide a firm hold even through a layer of paint. Smaller magnets work for light plastic parts, while larger ones are better for heavy metal or resin models.
A common mistake is using magnets that are too weak, causing models to fall during transport. Always test the pull strength before gluing to ensure it can hold the model securely.
Step-by-Step Magnetizing Process
- Gather Your Tools: You'll need a pin vise or hand drill, a drill bit matching your magnet diameter, super glue or epoxy, and a metal sheet or magnetic tray for storage. Also have a marker to note polarity. Check that your drill bit is exactly the magnet size to avoid loose fits.
- Drill the Holes: Mark the center of the model's base and drill a shallow hole about 1-2 mm deep. Test-fit the magnet; it should sit flush or slightly recessed. For weapon swaps, drill matching holes in the arm and body. Drill slowly and keep the bit perpendicular to avoid splitting plastic.
- Glue the Magnets: Apply a small drop of super glue into the hole, then press the magnet in with the correct polarity facing outward. Use a marker to label the exposed side (e.g., 'N' or 'S') so you keep polarity consistent across all models. Test the magnet's pull against the metal sheet before the glue dries to confirm orientation.
- Attach to Storage Tray: Place the model on a metal sheet or magnetic tray. Ensure the magnet makes full contact with the metal. If the model wobbles, the magnet might be too small or the hole too deep—adjust accordingly. For heavy models, use a larger magnet or add a second one for stability.
- Test and Adjust: Shake the tray gently to confirm models stay put. If any fall, increase magnet size or add more magnets. For weapon swaps, verify the arm fits snugly and doesn't rotate unexpectedly. Keep spare magnets on hand for future additions or replacements.
Recommended Product
-
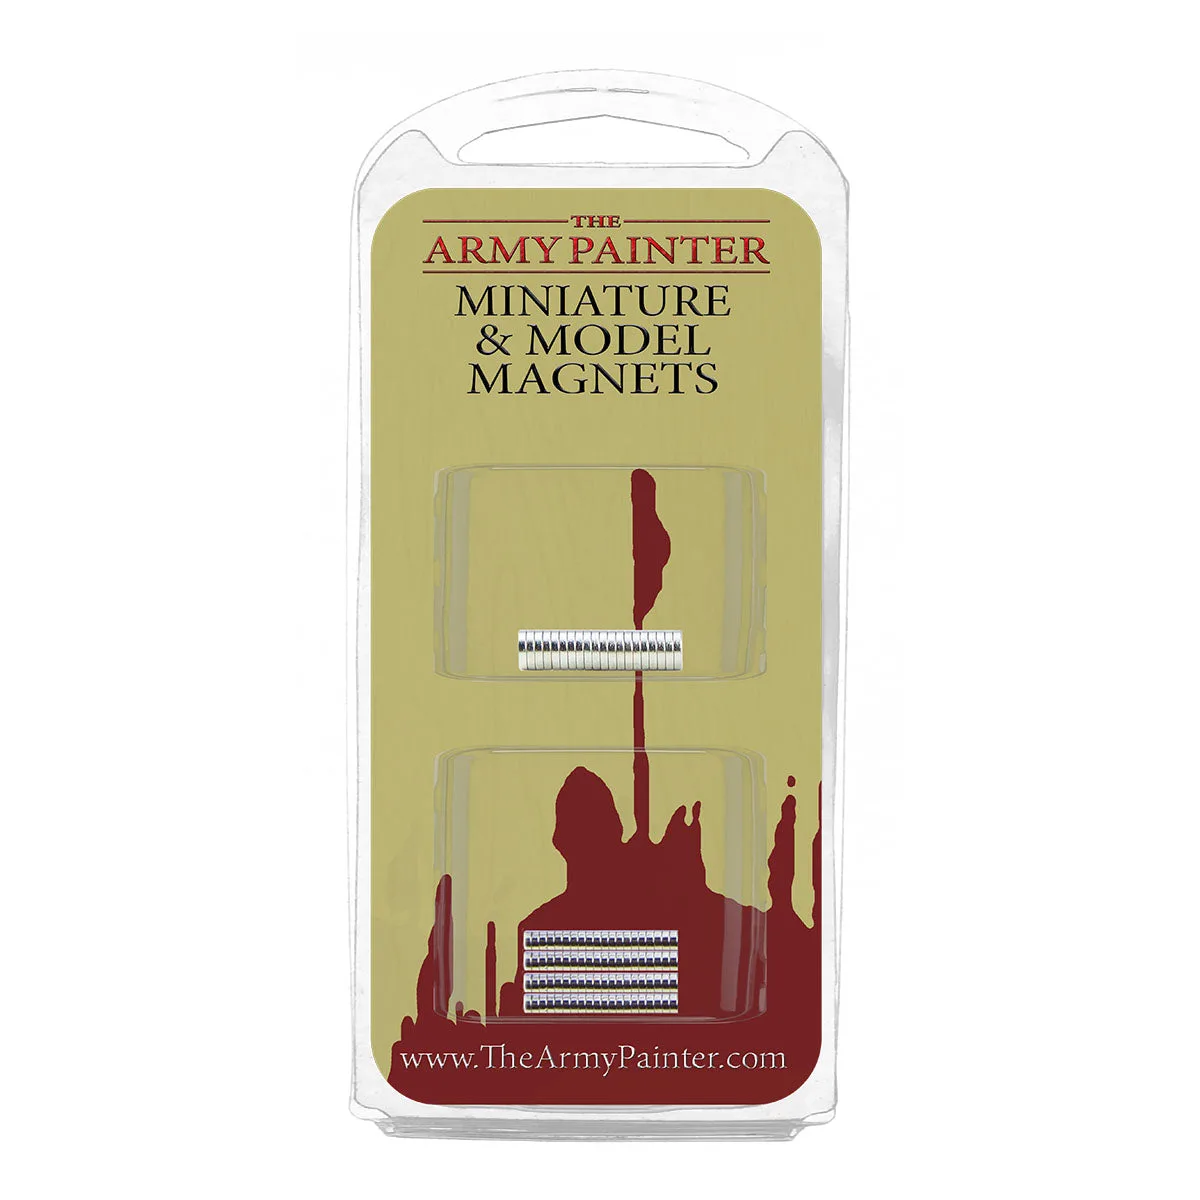
Miniature & Model Magnets: This set includes 100 rare-earth magnets in two sizes: 20 in 5x1 mm and 80 in 3x1 mm. The 5x1 mm magnets suit larger bases and heavy models, while the 3x1 mm size works for smaller parts and infantry, giving you flexibility in one pack.
Miniature & Model Magnets