Start with the job the sign has to do
A mirror welcome sign greets guests before they see anything else, so its wording should answer three quick questions: whose event is this, where are they, and what should they do next. Keep that job in mind and the text almost writes itself.
The Alicia is designed as a wedding mirror decor piece for the ceremony entrance, and the catalog notes it can be repurposed later as a wedding reception sign. That dual use is useful to plan for: write wording that works at the ceremony first, then decide whether you want a second message for the reception or a single sign that carries through both.
A simple wording workflow for a mirror sign
Work through these steps in order so the text fits the sign and the moment.
- Name the event and the couple: Lead with the couple's names or a short welcome line. For example, 'Welcome to the wedding of [Name] & [Name]' gives guests the context immediately.
- Add the location or direction: If the sign sits at the ceremony entrance, a line like 'Ceremony Garden' or 'Please find your seat' helps guests move. Keep it short enough to read from a few steps away.
- Choose one secondary line at most: A date, a hashtag, or a short thank-you can work, but stacking too many lines makes a mirror sign feel crowded. Pick the one detail guests actually need.
- Check the wording against the size you ordered: The Alicia comes in 24" x 36" and 20" x 42" sizes. Longer text needs more room, so read your draft aloud and cut any line that does not earn its space.
- Decide on drill holes before finalizing placement: The sign is available with or without drill holes. If you plan to hang it, choose the drill-hole option; if it will rest on an easel or stand, the no-drill version keeps the mirror edge clean. The catalog does not specify hanging hardware, so confirm your display plan before ordering.
Mirror welcome sign ideas that read well
These short formats suit the reflective surface and the entrance setting. Adapt the names and details to your event.
- Classic welcome: Welcome to the wedding of [Name] & [Name]. A date or venue name can sit underneath in smaller lettering.
- Directional: Ceremony ahead / Reception to follow. Use this when guests need a gentle cue about where to go.
- Warm and brief: So glad you're here. [Name] & [Name]. This works well if the sign is purely decorative and the ceremony details are elsewhere.
- Reception repurpose: Welcome to the reception of [Name] & [Name]. The catalog supports repurposing the sign from ceremony to reception, so a second line can be added or the sign can be moved with the same wording.
Lettering tips for a mirror surface
Mirror signs reflect light and surroundings, so contrast and spacing matter more than decorative flourishes. Choose a lettering style with clear thick-and-thin strokes and avoid very thin scripts that disappear against reflections.
Keep the most important line largest and centered. Leave generous margins at the edges, especially if you chose the drill-hole option, because holes sit near the border and can crowd text. The catalog does not specify a lettering method or provide a template, so test your layout on paper at the sign's actual dimensions before committing.
If you are ordering custom lettering from a vendor, send them the exact text and the size you selected. The Alicia is available in 24" x 36" and 20" x 42", and the proportions differ enough that a layout designed for one may not fit the other.
What The Alicia confirms
-
The Alicia | Mirror Wedding Sign: The Alicia is a mirror wedding sign designed to bring sophistication to the ceremony and can be repurposed later as a wedding reception sign. This dual purpose means your wording should work at the entrance and, if you reuse it, at the reception without a full rewrite.
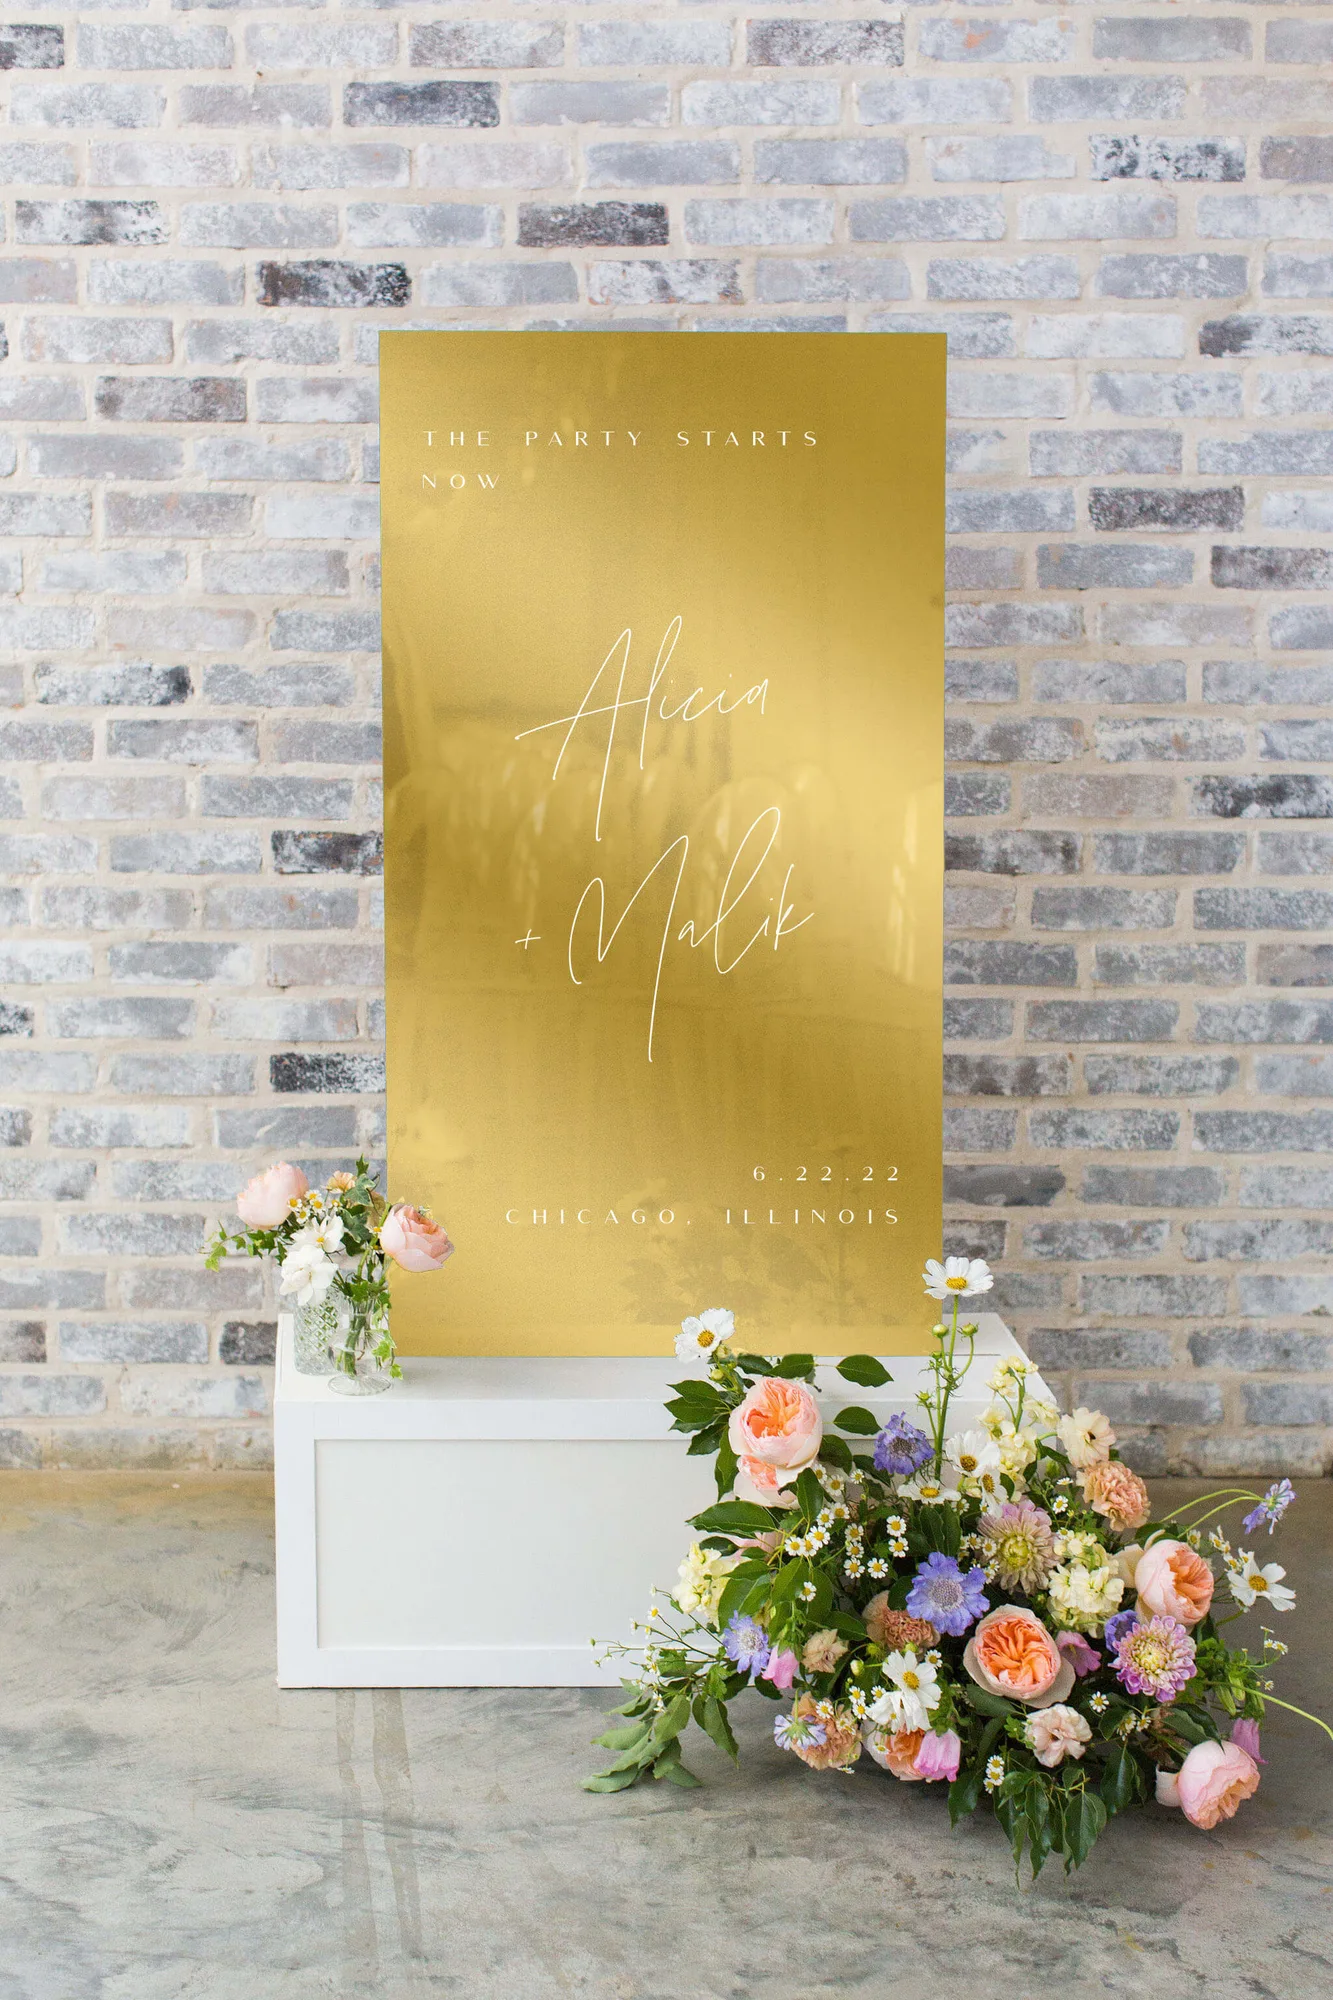
The Alicia | Mirror Wedding Sign
-
The Alicia | Mirror Wedding Sign: Available in 24" x 36" and 20" x 42" sizes, with or without drill holes. Size and drill-hole choice affect how much text fits and how the sign can be displayed, so settle both before finalizing wording.
What the catalog does not settle
The supplied product information does not include a lettering template, font recommendations, or a personalization process. It also does not confirm a lead time or specific customization options. Treat those as questions for the seller rather than assumptions.
That gap is not a problem for planning: it simply means you should confirm the lettering method and timeline directly before you order. The wording decisions above are yours to make, and they are the part that shapes how the sign feels on the day.