Quick answer
Start by sorting your items into task-based groups, then assign each group to a case size that fits without crowding. Label the lid, close the latches, and stack cases only when the lid design supports it.
Why task-based sorting beats sorting by item type
Sorting by item type (all screws together, all beads together) feels tidy, but it splits one project across several cases. Sorting by task keeps the tools and parts for a single job in one place, so you grab one case instead of three.
This approach also makes a portable tool case organizer more useful: the case holds what the job needs, not everything you own. Reserve a separate case for overflow or rarely used supplies.
When two sizes are enough and when they are not
The Modular Supply Case comes in Small (5.13" x 5.13" x 2") and Medium (5.13" x 8.5" x 2"). The Small size suits fasteners, beads, or tiny hardware; the Medium size fits longer items such as pencils, craft sticks, or small hand tools.
If a project mixes long and short items, use one Medium case for the long pieces and one Small case for the small parts. Avoid forcing long items into the Small case, because the lid will not close cleanly and the latches may not engage.
Five steps to set up a modular supply case
- Group items by the job, not the category: Empty one drawer or shelf at a time and place items into piles for each task: bike repair, bead stringing, model painting, or school supplies. Common mistake: sorting by item type first, which scatters one project across several piles. If a pile serves two different jobs, split it before choosing a case.
- Match each pile to a case size: Lay the pile beside a Small (5.13" x 5.13" x 2") and Medium (5.13" x 8.5" x 2") case. Choose the smallest case that holds the items with the lid flat. Checkpoint: the lid should close without pressing down on the contents. Leave about a finger-width of clearance so latches close without strain.
- Label the lid, not the side: Write the task name on a label and place it on the top of the lid where you will see it while the case is stacked. Common mistake: labeling the front edge, which is hidden when cases sit side by side on a shelf. Use short task names so labels stay readable at a glance.
- Close both latches before stacking: Press the lid down and snap each latch. Then stack cases only on a flat surface, with the largest or heaviest case at the bottom. Checkpoint: give the stack a gentle nudge; if it shifts, rearrange rather than adding more cases. Never stack a case with an open latch, even briefly.
- Review the setup after one week: After a week of use, note which cases you open most and which stay closed. Move the frequently used cases to the front of the shelf or the top of the stack. Common mistake: leaving the original layout in place even when it slows you down. Rearrange once, then leave the layout alone for at least a month.
Product facts
-
Modular Supply Case: Latches keep the lid attached and contents secure. You can carry a loaded case by the lid without the contents spilling, which matters for portable tool and hobby kits.
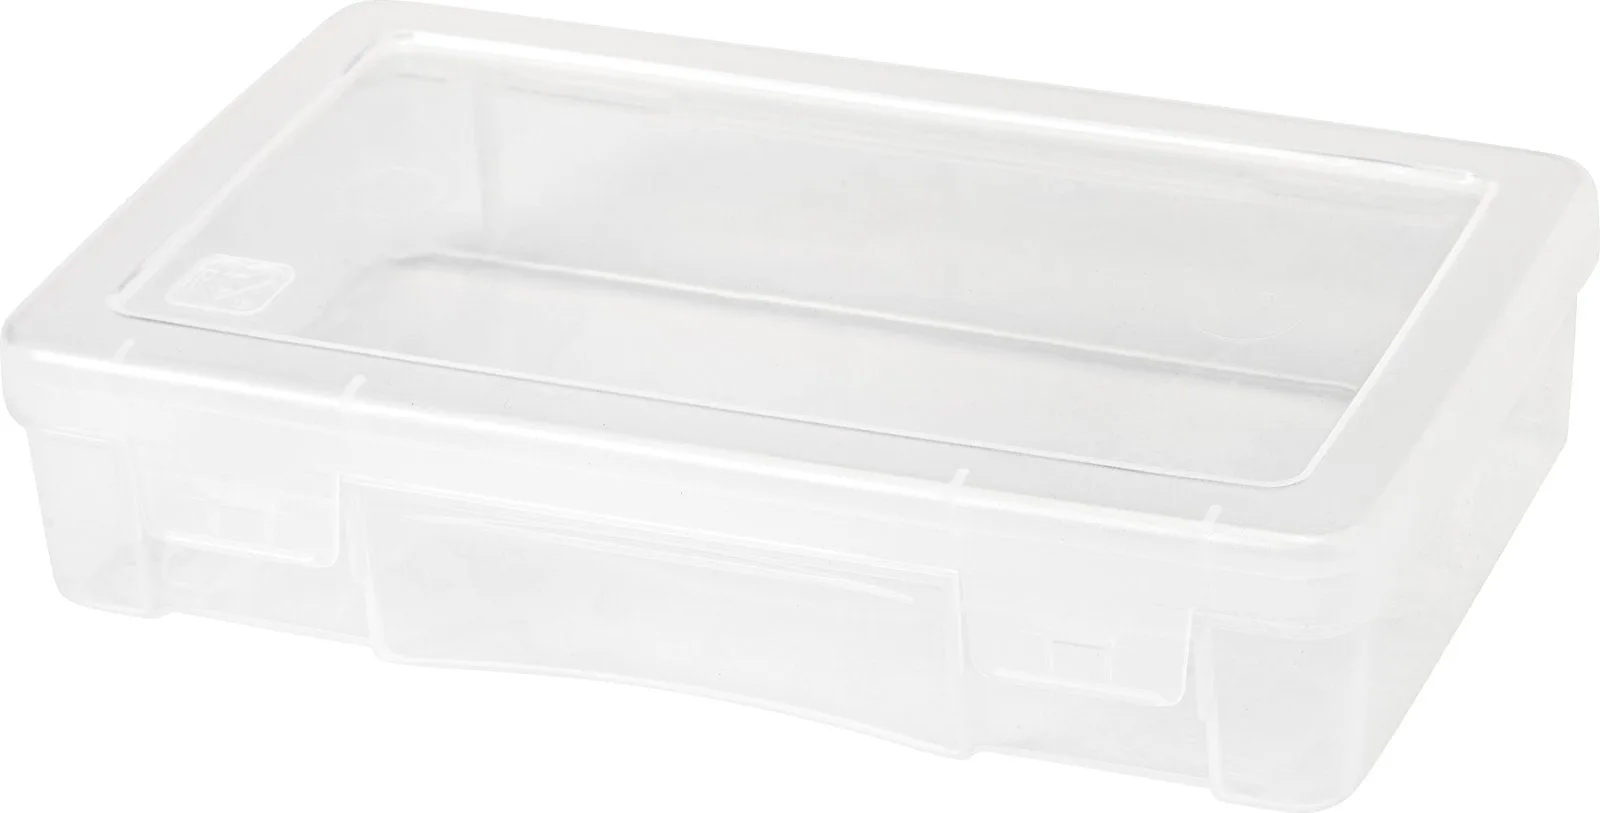
Modular Supply Case
-
Modular Supply Case: The lid design allows multiple cases to stack. Stacking keeps a shelf or desk clear, but only works when each case is closed and latched first.
-
Modular Supply Case: The case is BPA free, acid free, PVC free, lignin free, and recycle #5. These material notes matter for craft and photo storage, where acid-free contact helps protect sensitive supplies.