Quick answer
Use the Nail Care Power Suite Set in a fixed order: prep and shape, smooth ridges, add color or gloss, then finish with a fast-drying top coat and a recovery step when nails feel stressed. Treat each piece as a stage, not a swap-in, so the routine stays repeatable.
Why the order matters more than the number of products
A six-piece set can tempt you to use everything at once. The better approach is to match each piece to a job in the sequence: clean and shape first, then create a smooth base, then add the finish you want, and only then seal it. Skipping prep or jumping straight to gloss usually shows up as ridges, uneven shine, or shorter wear.
The set covers several moods, from a sheer clean-girl finish to a glossy top coat and a peel-off glitter night. That range is useful, but it also means you should decide the finish before you start. Choosing mid-routine often leads to over-layering and a thicker result than you intended.
Where at-home routines usually go wrong
The most common mistake is treating cuticle care as a quick swipe after color is already on. Cuticle work belongs in prep, before any base or gloss, so you are not pushing oil or remover around a fresh finish. Another frequent issue is using a ridge smoother and a peel-off base in the same manicure when you only need one; each adds a layer, and more layers do not automatically mean better wear.
If your nails feel weak or peel-prone, the recovery reset in the set is the piece to reach for on a rest day, not as an extra layer under polish. Give it its own slot in the week rather than stacking it into every manicure.
Your step-by-step manicure routine with the set
- 1. Clean, shape, and do cuticle care first: Start with bare nails: remove old polish, file in one direction, and gently push back cuticles before any product goes on. This is the cuticle care step, and it sets the surface for everything else. Checkpoint: if cuticles still look ragged, stop and tidy them now rather than after color.
- 2. Choose your base: ridge smoother or peel-off: For a smooth, sheer or glossy look, apply the ridge-smoothing base. For a glitter night you want to remove easily, use the peel-off base instead. Do not layer both unless you have a specific reason and are willing to accept a thicker result. Checkpoint: decide the finish before you open a bottle, not halfway through.
- 3. Add color or gloss in thin layers: Apply sheer color or high-shine gloss in thin, even coats, letting each layer set before the next. Thin layers dry more predictably and keep the ridge-smoothing base effective. Checkpoint: if the surface looks streaky, add a thin coat rather than a thick one.
- 4. Seal with the fast-drying glossy top coat: Finish with the fast-drying glossy top coat, wrapping the tip of each nail to seal the edge. This is the step that protects the layers underneath and gives the manicure its shine. Checkpoint: cap the free edge, or wear will start at the tip first.
- 5. Schedule the recovery reset separately: Use the recovery reset on a day when you are not polishing, especially if nails feel dry or stressed. Keep it out of the polish layering sequence so it can do its job on bare nails. Checkpoint: one recovery session per week is easier to keep up than adding it to every manicure.
Product facts
-
Nail Care Power Suite Set: The Nail Care Power Suite Set is a 6-piece bundle covering sheer color, high-shine gloss, ridge smoothing, peel-off glitter, and a recovery reset. You can build a full prep-to-finish routine from one set instead of buying separate base, gloss, and treatment products.
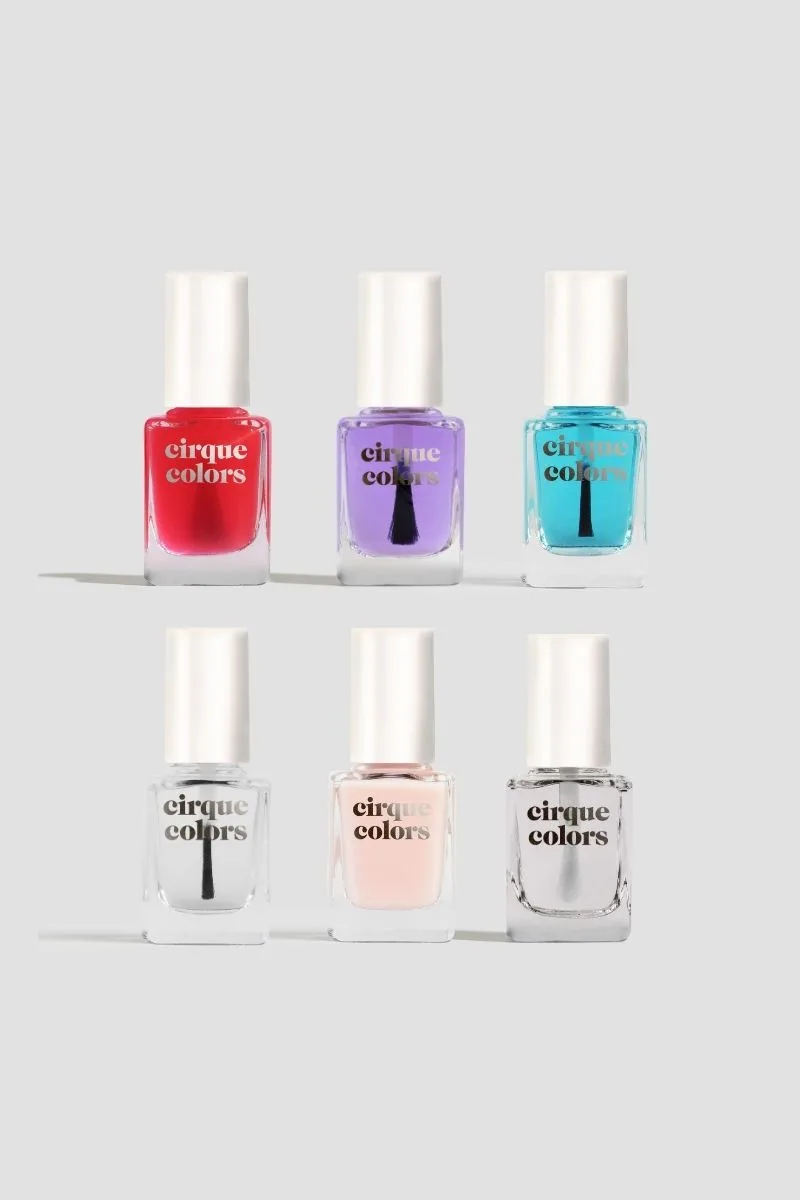
Nail Care Power Suite Set