Quick Answer
Most nail polish problems—streaks, bubbles, chips, and uneven color—come from a few fixable habits. Adjust your prep, application technique, and drying routine to get a smooth, long-lasting manicure. If a polish consistently fails despite proper technique, the formula itself may be the issue, and switching shades or brands is a reasonable next step.
Prep Your Nails Properly
Before you open a bottle, make sure your nails are clean, dry, and free of oils. Wipe each nail with a little nail polish remover to remove any residue, then wash your hands with soap and water and dry thoroughly. This gives the polish a clean surface to grip, which helps prevent chipping and peeling.
Skip any rich hand cream or cuticle oil right before polishing—the oils can prevent the polish from adhering and cause it to lift. If you do moisturize, wait at least 30 minutes before applying polish. This simple step is often the difference between a manicure that lasts a week and one that chips in a day.
Master the Right Application Technique
Thin coats are the secret to a smooth, even finish. Instead of loading the brush with a thick blob, wipe one side of the brush on the bottle rim, then apply a thin layer from the base to the tip. Let each coat dry completely before adding the next—usually about two minutes. This prevents dragging, streaks, and the dreaded 'shrinkage' that happens when you apply a new coat too soon.
Also, avoid shaking the bottle right before use. Shaking introduces air bubbles that end up on your nails. Instead, roll the bottle between your palms to mix it gently. This is one of the easiest nail polish bubbles fixes—just change how you mix.
Fix Streaks and Uneven Color
Streaks usually mean you applied too much polish in one stroke or the brush was overloaded. If you see streaks, wait for the coat to dry completely, then apply a thin, even second coat. This usually evens out the color. For very sheer shades, you might need a third thin coat—but always let each one dry.
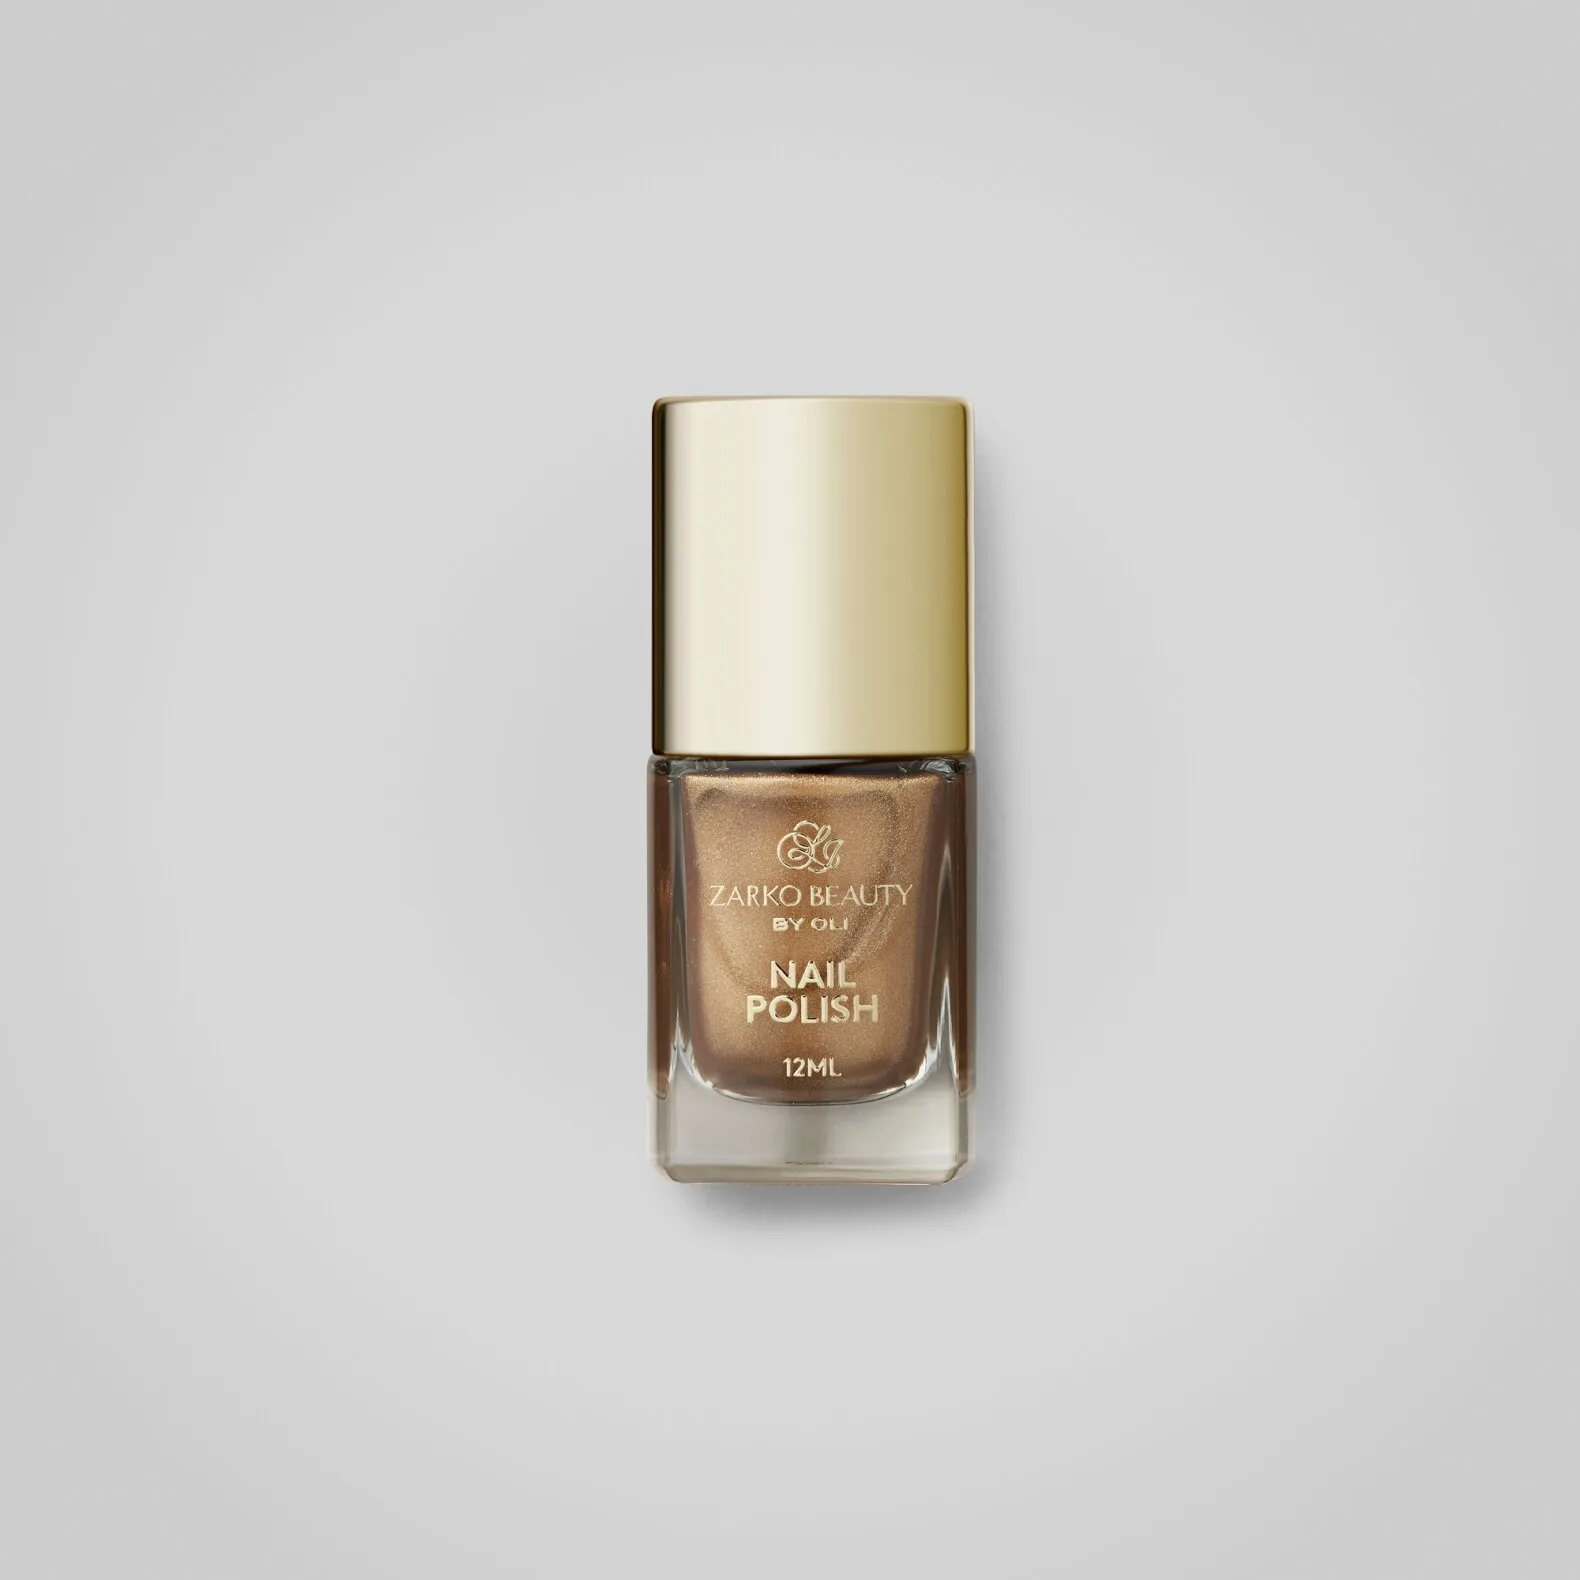
If you're working with a metallic or shimmer shade, streaks can be more noticeable because the particles align differently. Apply in long, even strokes and avoid going back over the same spot once the polish starts to set. This is especially important with finishes like a liquid gold metallic, where brush marks are more visible.
Deal with Bubbles
Bubbles happen when air gets trapped in the polish. The most common causes are shaking the bottle, applying too thick a coat, or fanning your nails to speed up drying. Instead of blowing on your nails, which introduces moisture and air, let them dry naturally in a still, warm room. If bubbles appear, the best fix is to remove the polish and start over—bubbles are nearly impossible to smooth out once they've dried.
To prevent bubbles in the future, roll the bottle to mix, apply thin coats, and avoid using a hairdryer or your breath to dry. These small changes can make a big difference, especially with glossy or metallic formulas.
Prevent Chipping and Peeling
Chipping often starts at the tips. To protect the edge, 'cap' the free edge of each nail by running the brush lightly along the tip after you've painted the nail. This seals the polish and prevents it from lifting. Also, wait at least two hours before doing anything that stresses your nails, like washing dishes or typing aggressively.
A good top coat is your best friend—it adds a protective layer and extends the life of your manicure. Reapply a top coat every couple of days to refresh the shine and seal any tiny cracks before they become chips. This is a simple habit that keeps your manicure looking fresh for longer.
Quick Diagnosis: What Went Wrong?
- Symptom: Streaks: You see visible lines or uneven color after the polish dries. Cause: Thick coats or overworking the brush. Fix: Apply thin, even coats and let each dry fully. If streaks persist, try a different shade formula.
- Symptom: Bubbles: Tiny air pockets appear on the nail surface as the polish dries. Cause: Shaking the bottle, thick coats, or blowing on nails. Fix: Roll the bottle to mix, apply thin layers, and dry naturally. If bubbles appear, remove and reapply.
- Symptom: Chipping or peeling: The polish lifts at the tips or edges within a day or two. Cause: Oily nail beds, skipping base/top coat, or missing the free edge. Fix: Prep with remover, cap the tips, and use a top coat. If chipping continues, consider a different formula.
Zarko Beauty Nail Polish: How the Right Shade Can Help
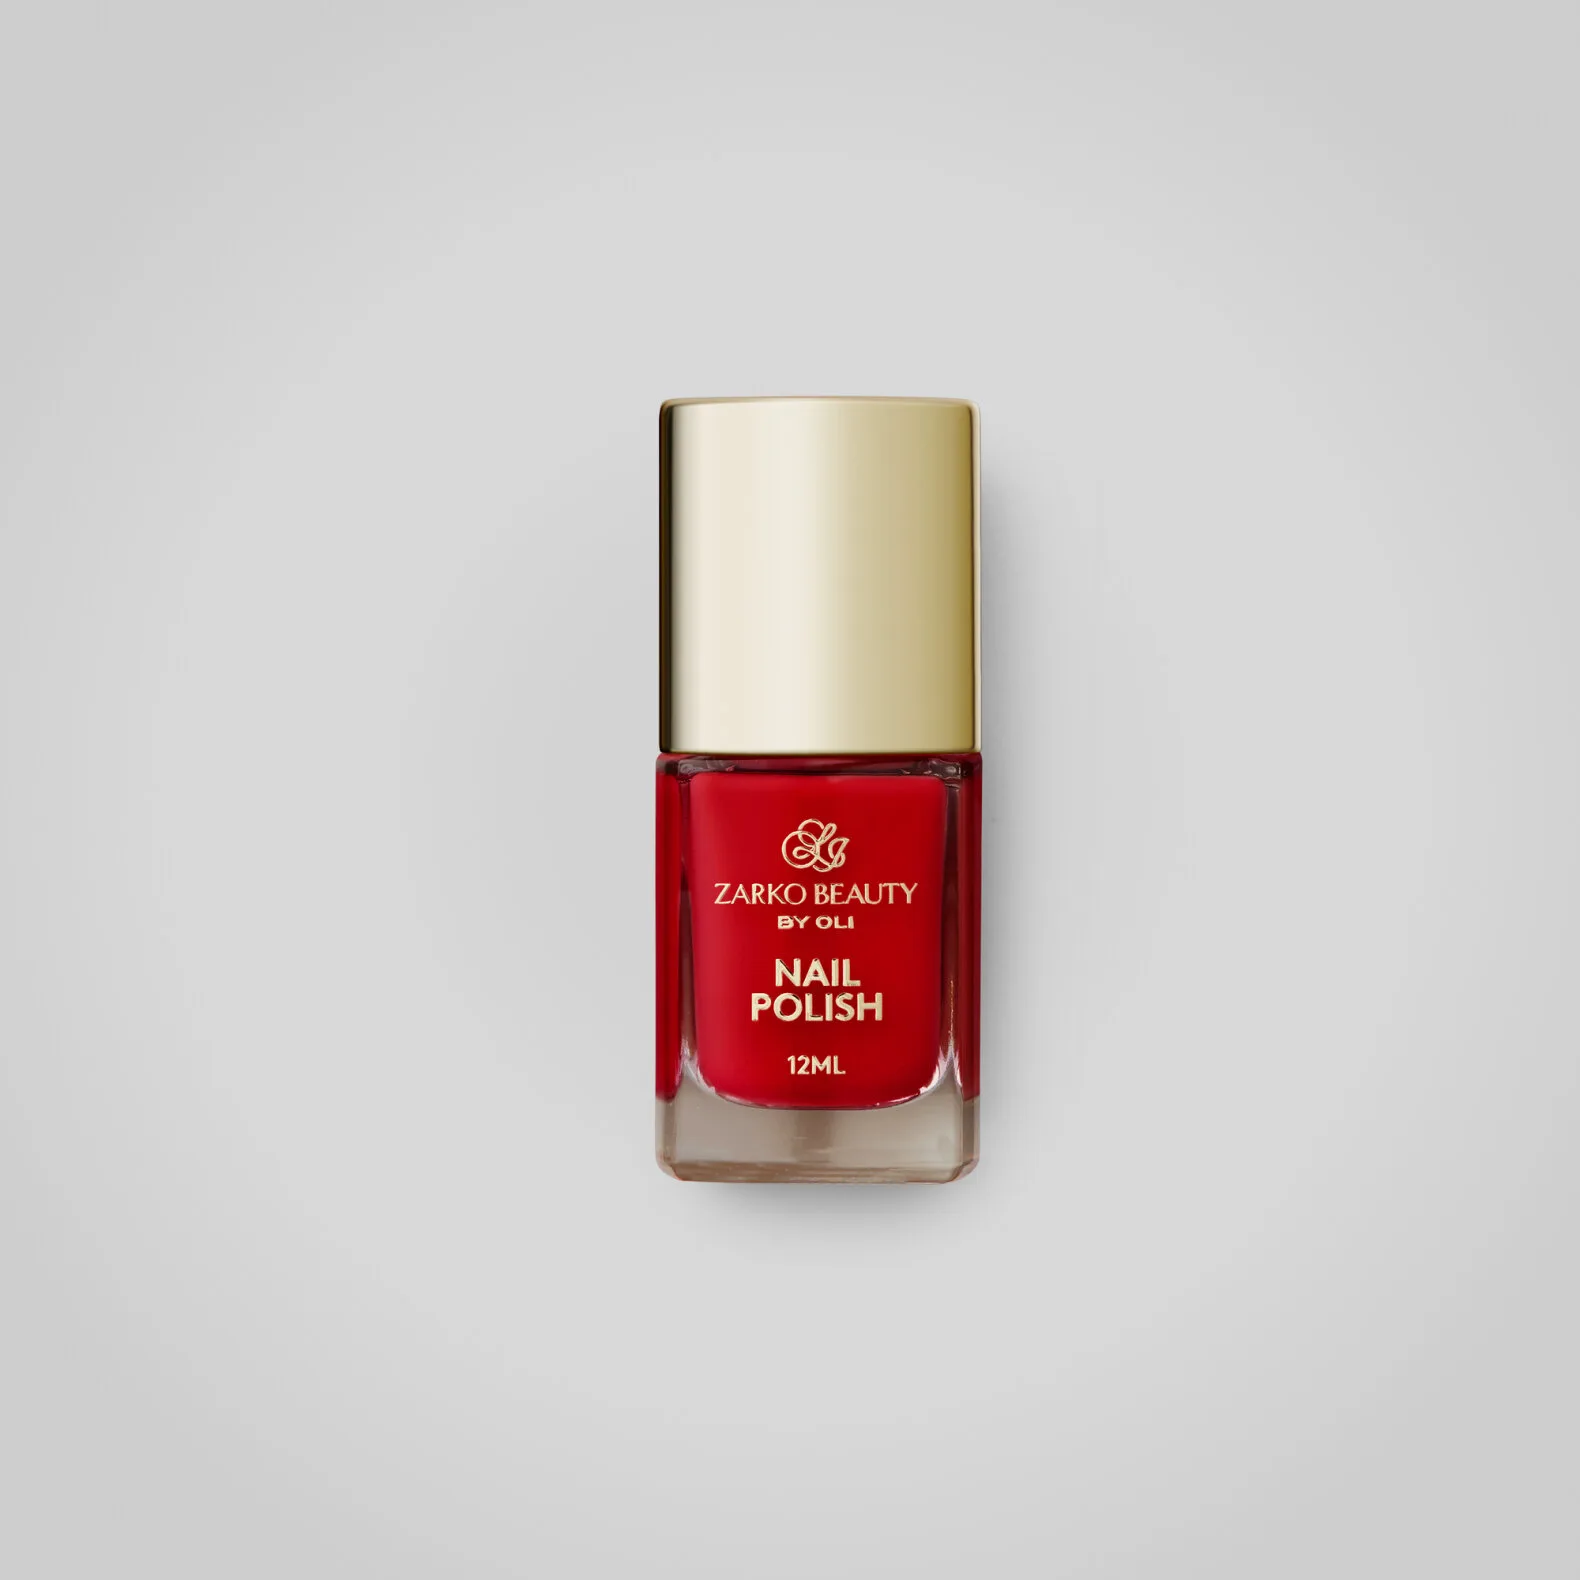
- Nail Polish - Zarko Beauty By Oli - Nail Polish - Rouge — Official webshop for ZARKOPERFUME: The Zarko Beauty By Oli Nail Polish in Rouge is a classic red hue that adds a bold and sophisticated look. A classic red like Rouge is forgiving of minor application errors because the color is opaque and even in two coats. It's a great choice if you're still perfecting your technique.
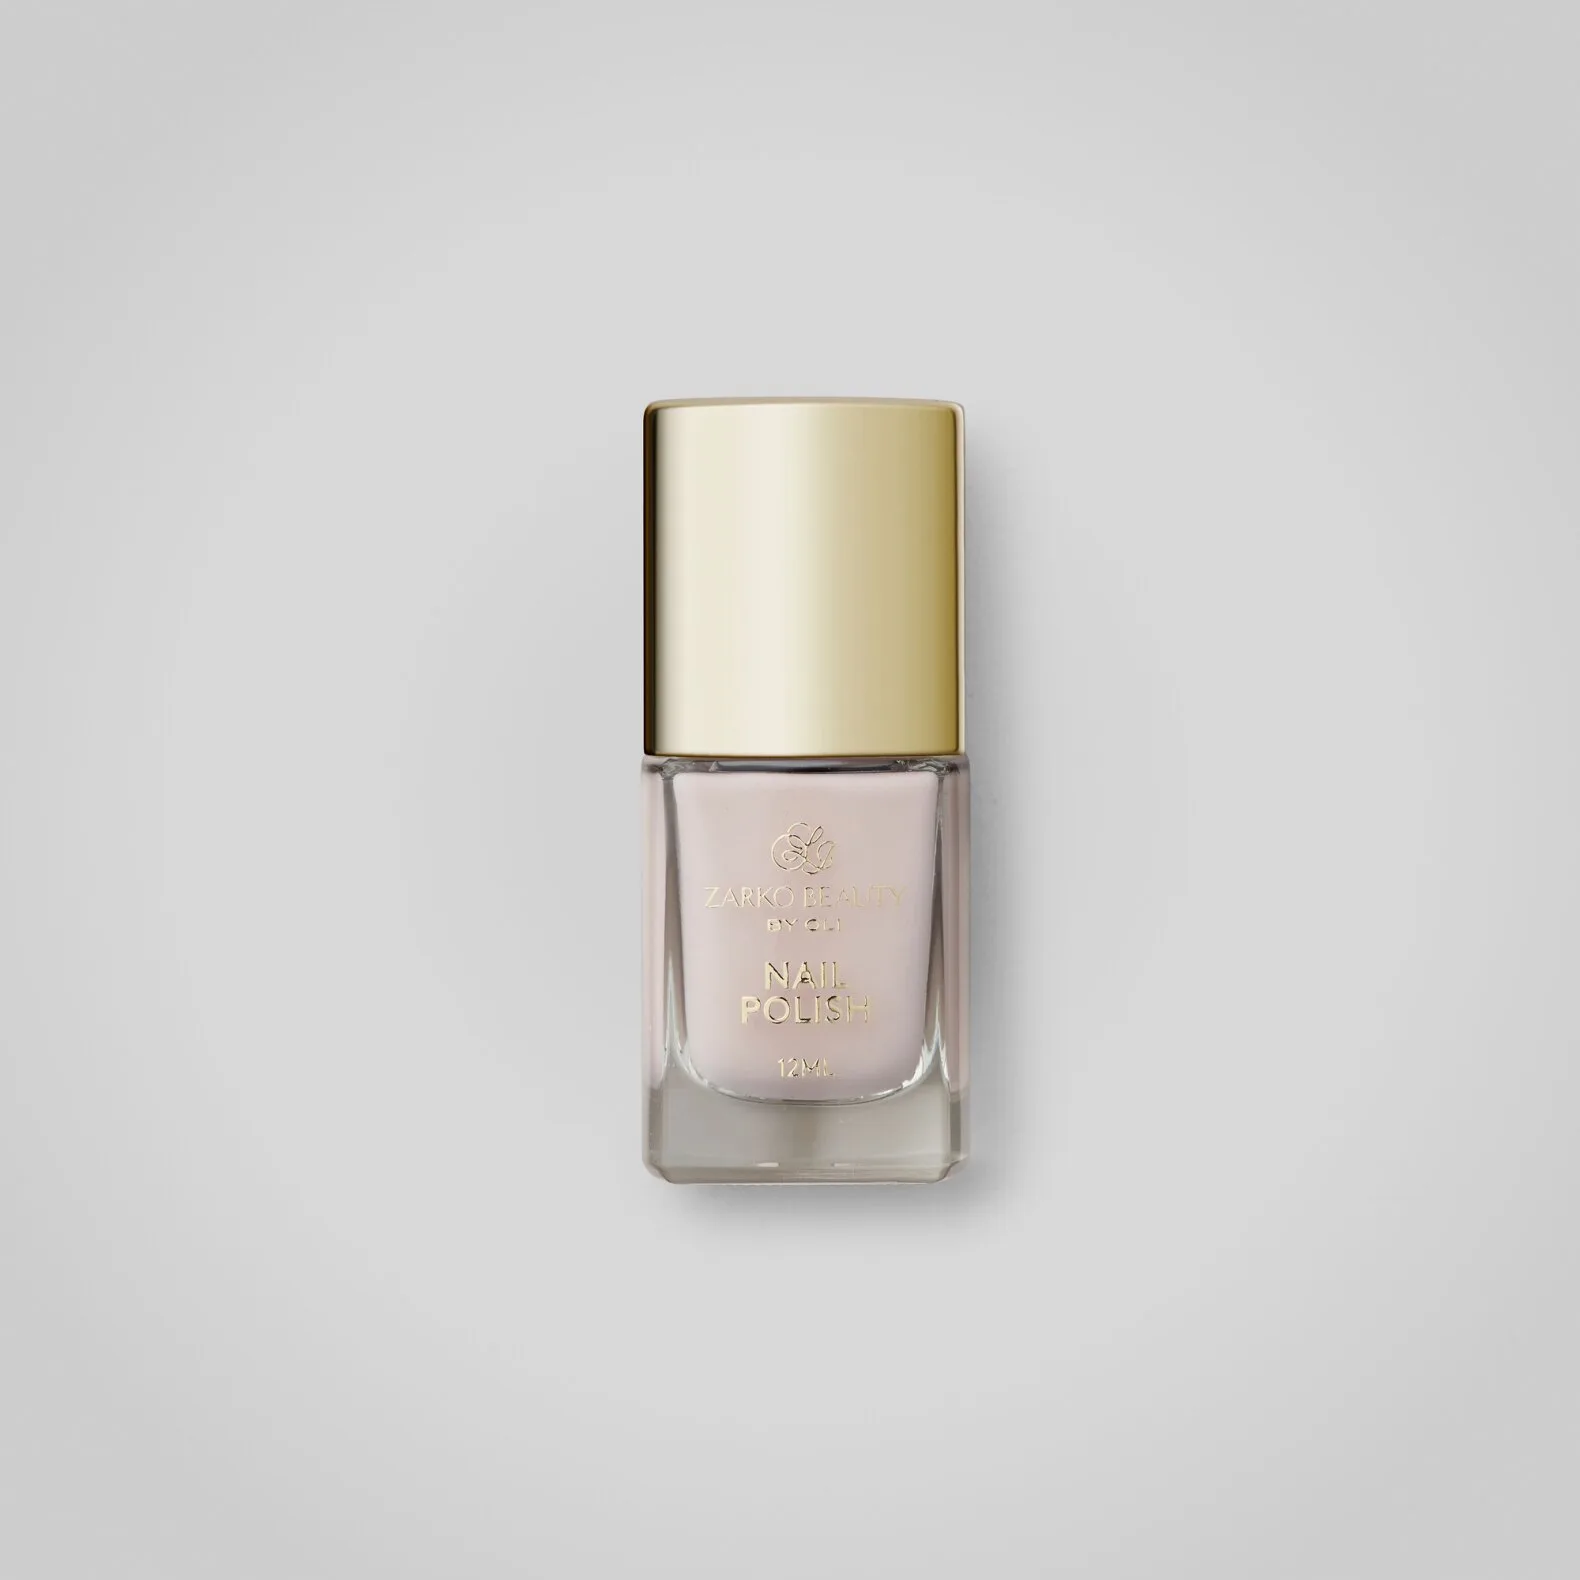
- Nail Polish - Zarko Beauty By Oli - Nail Polish Rosie — Official webshop for ZARKOPERFUME: The Nail Polish Rosie from Zarko Beauty by Oli features a beautiful Rosie color that complements a variety of styles. Rosie is a versatile, everyday shade that works well with thin coats. Its soft tone is less likely to show streaks than a high-shimmer finish, making it a good option for beginners.
- Nail Polish - Zarko Beauty By Oli - Nail Polish Liquid Gold — Official webshop for ZARKOPERFUME: The Nail Polish Liquid Gold from Zarko Beauty By Oli offers a striking metallic finish that adds a luxurious shimmer to your nails. Metallic finishes like Liquid Gold can emphasize brush strokes, so they require a steadier hand and thin, even layers. If you're prone to streaks, practice with a creme shade first before trying this bold metallic.