Quick answer
Choose a strip that is slightly narrower than your nail, press it from the cuticle outward, then fold the excess over the tip and file it off downward. On short nails, the biggest risk is wrapping too much strip under the free edge, which lifts within a day. Keep the fold shallow, seal the tip, and avoid stretching the strip to make it fit.
Short nails are actually one of the easiest canvases for nail wraps. There is less length to cover, less chance of a crease, and the strip rarely needs to be trimmed down the sides. The problem is that most application advice assumes longer nails, so short-nail wearers end up folding too much material under the tip or picking a strip that is too wide.
This guide walks through a short-nail-specific process, from prep to final seal. It also covers how to choose designs that still look intentional when the nail bed is small, using real options from Shine On Nail Wraps like RYANNE and CHAMPAGNE AT SUNSET.
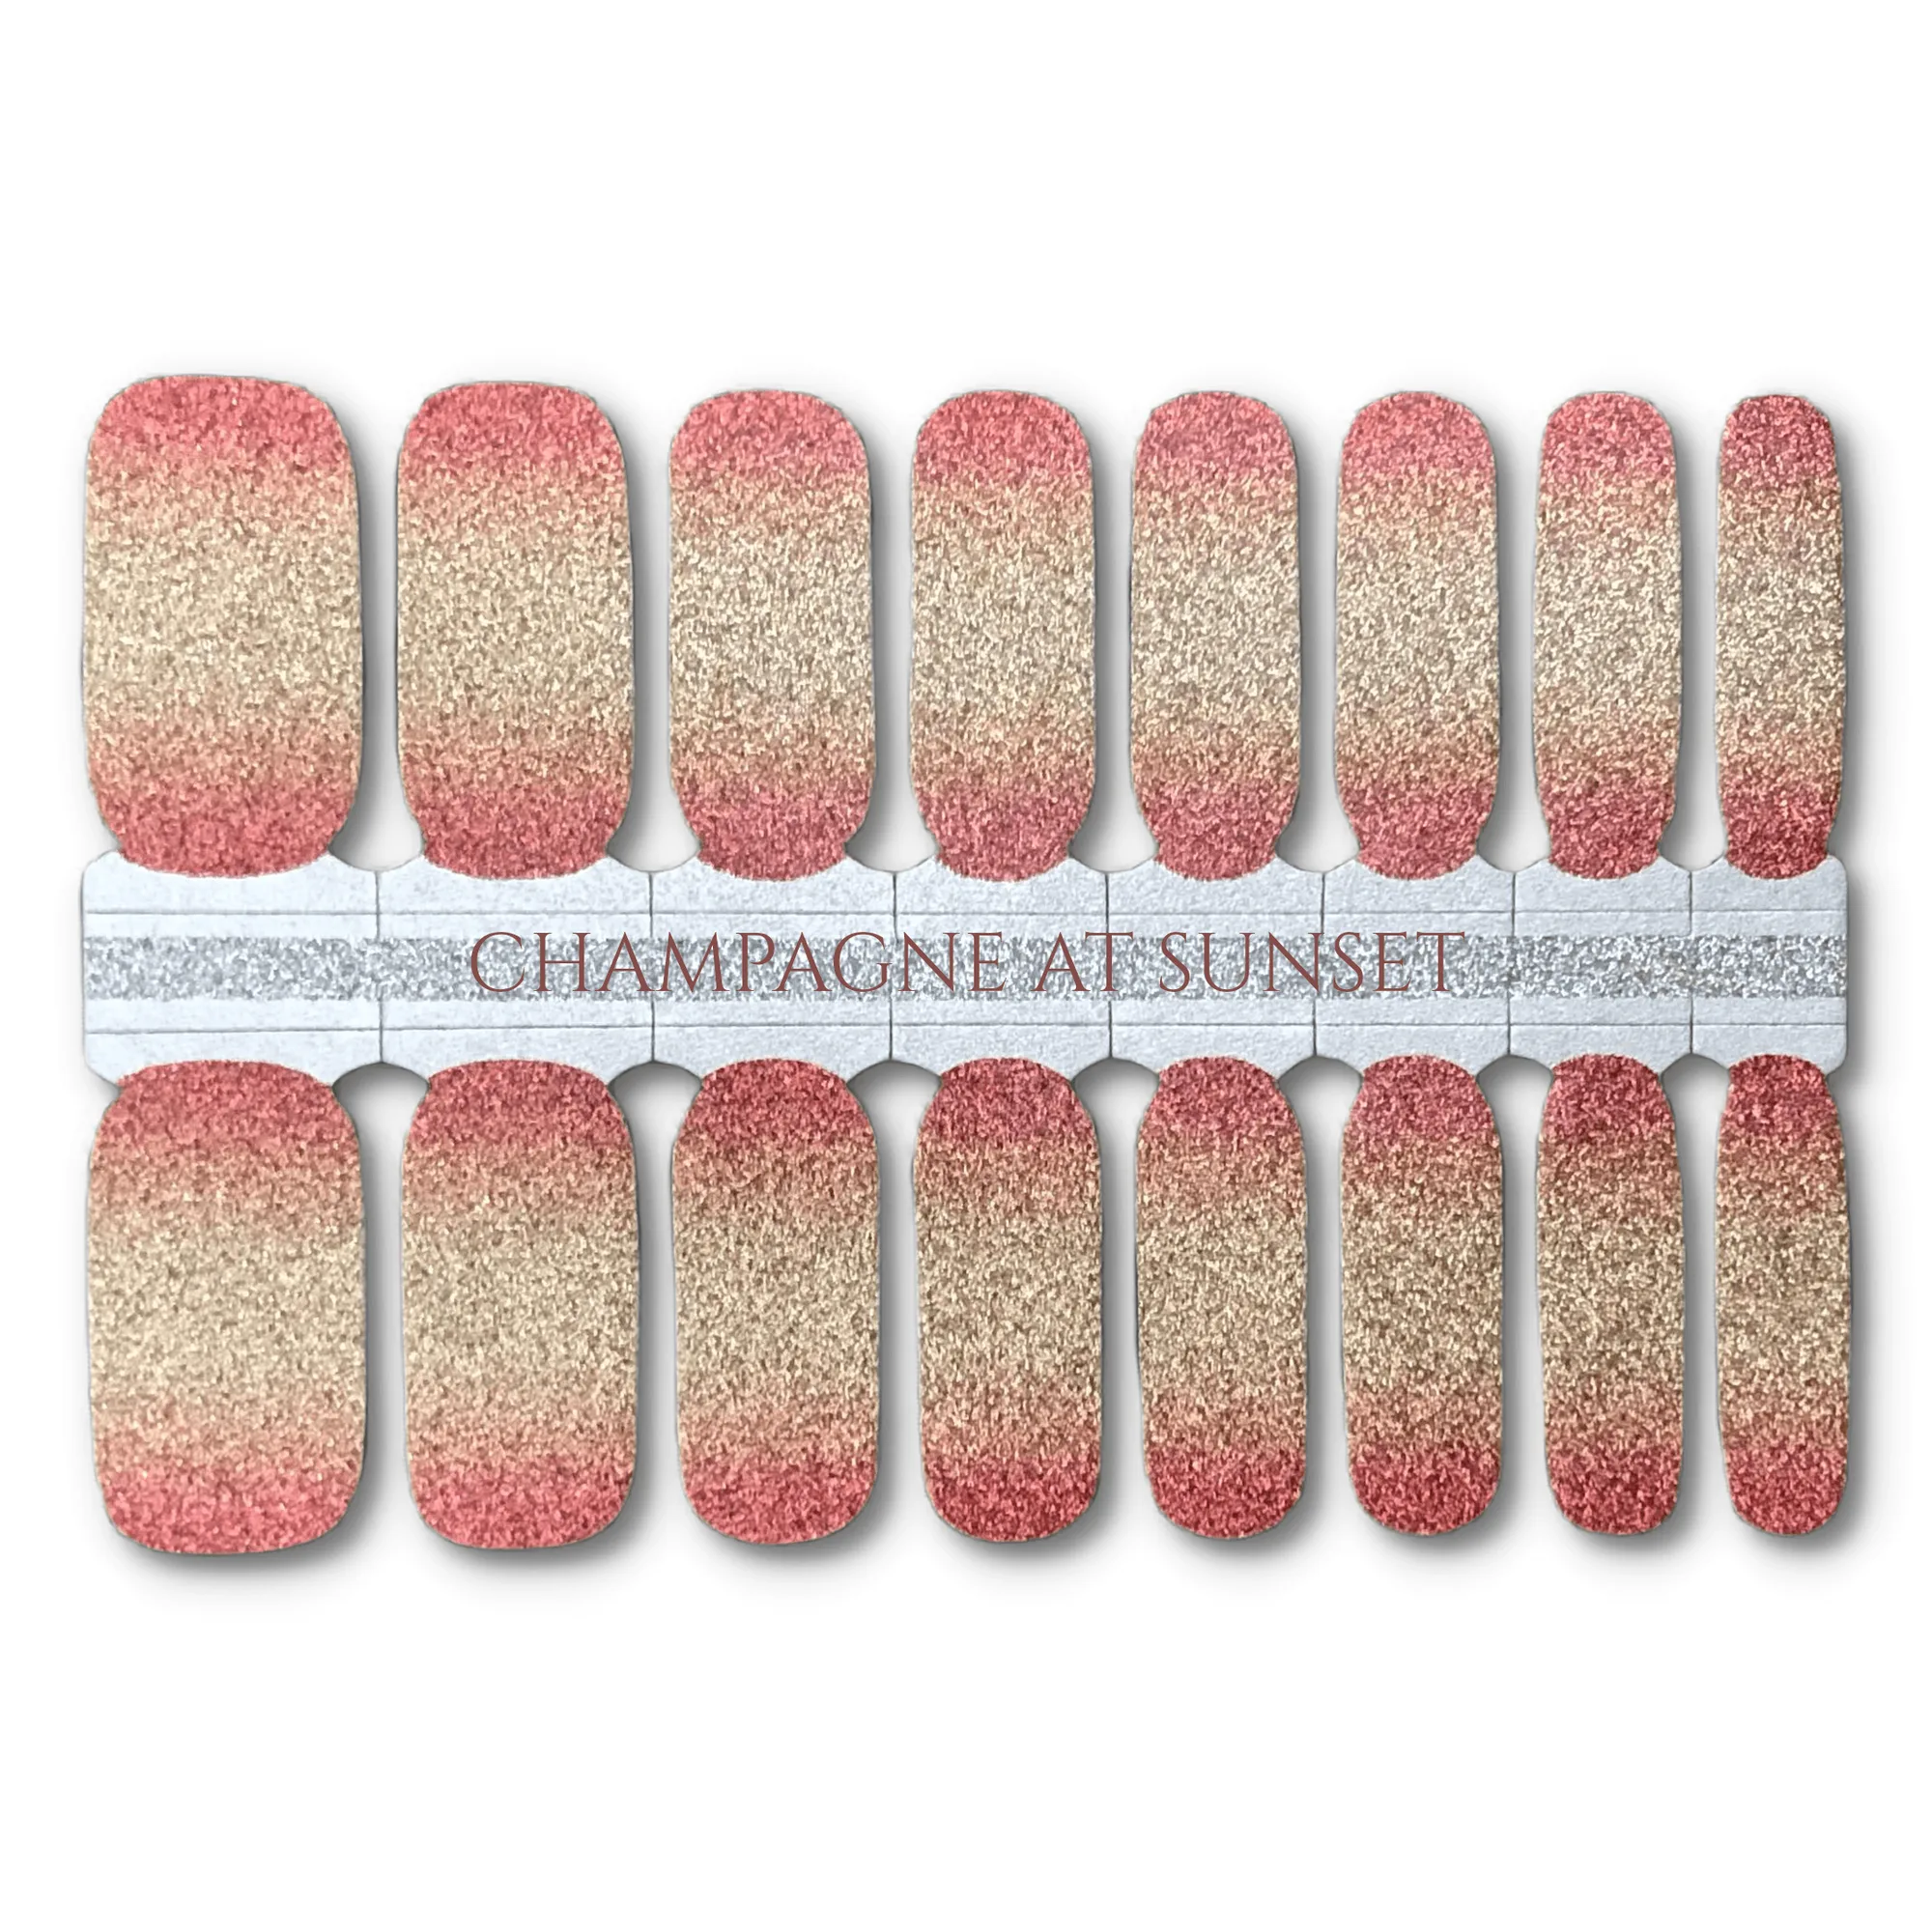
CHAMPAGNE AT SUNSET
Why short nails need a different approach
On a long nail, the strip has room to grip the sidewalls and the free edge has enough surface to fold under. On a short nail, the free edge is narrow, so even a small amount of excess material creates a bulky fold that catches on everything. The strip also has less surface area to adhere to, which means prep and sealing matter more than they do on longer nails.
The fix is not to use less pressure or a different product. It is to adjust sizing and trimming so the strip sits flush with the natural nail instead of wrapping around a tiny tip. Once you change those two steps, short nail wraps application becomes faster than a standard manicure.
- Work one nail at a time so the adhesive does not start curing before you press it down.
- Keep your natural nails clean and oil-free; short nails collect more lotion and cuticle oil at the edges.
Pick a design that works with a small nail bed
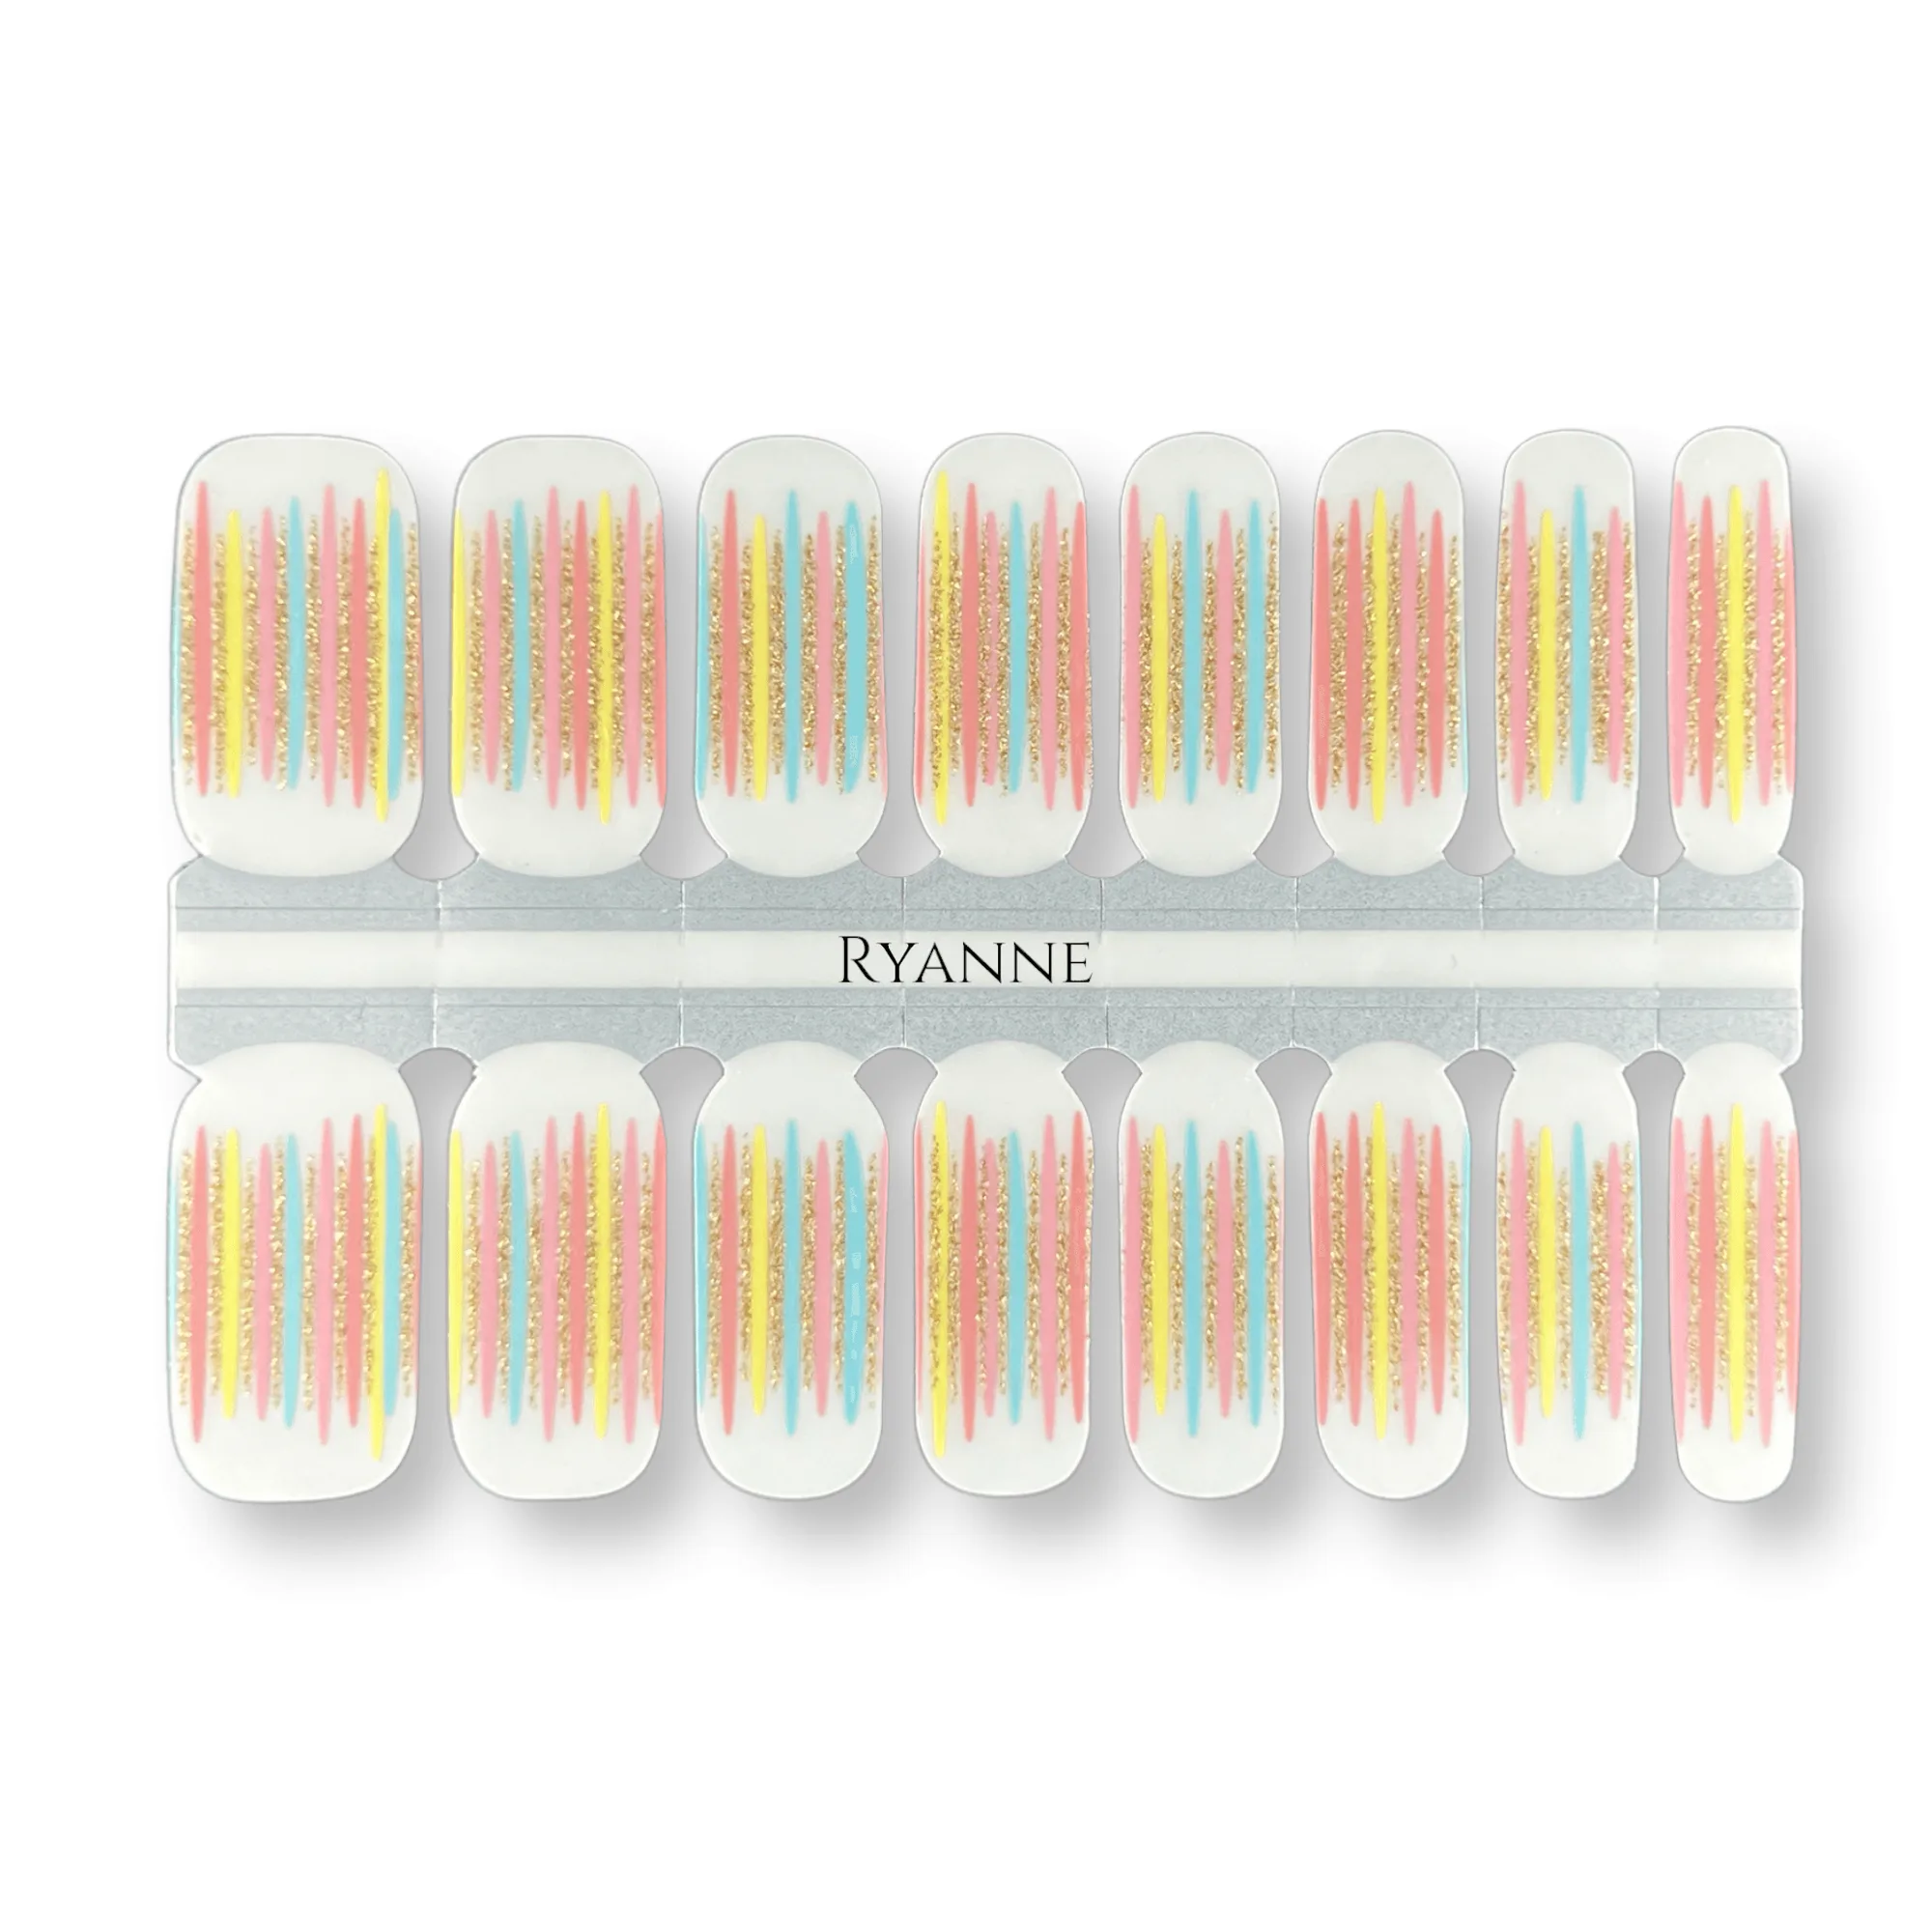
Design placement matters more on short nails because there is less room for a pattern to repeat. Tip-focused designs can look like a thin accent rather than a full motif, which is often a good thing. RYANNE uses a multi-coloured streaks design placed at the tips with negative space, so the colour sits where your free edge is and the bare nail keeps the look clean.
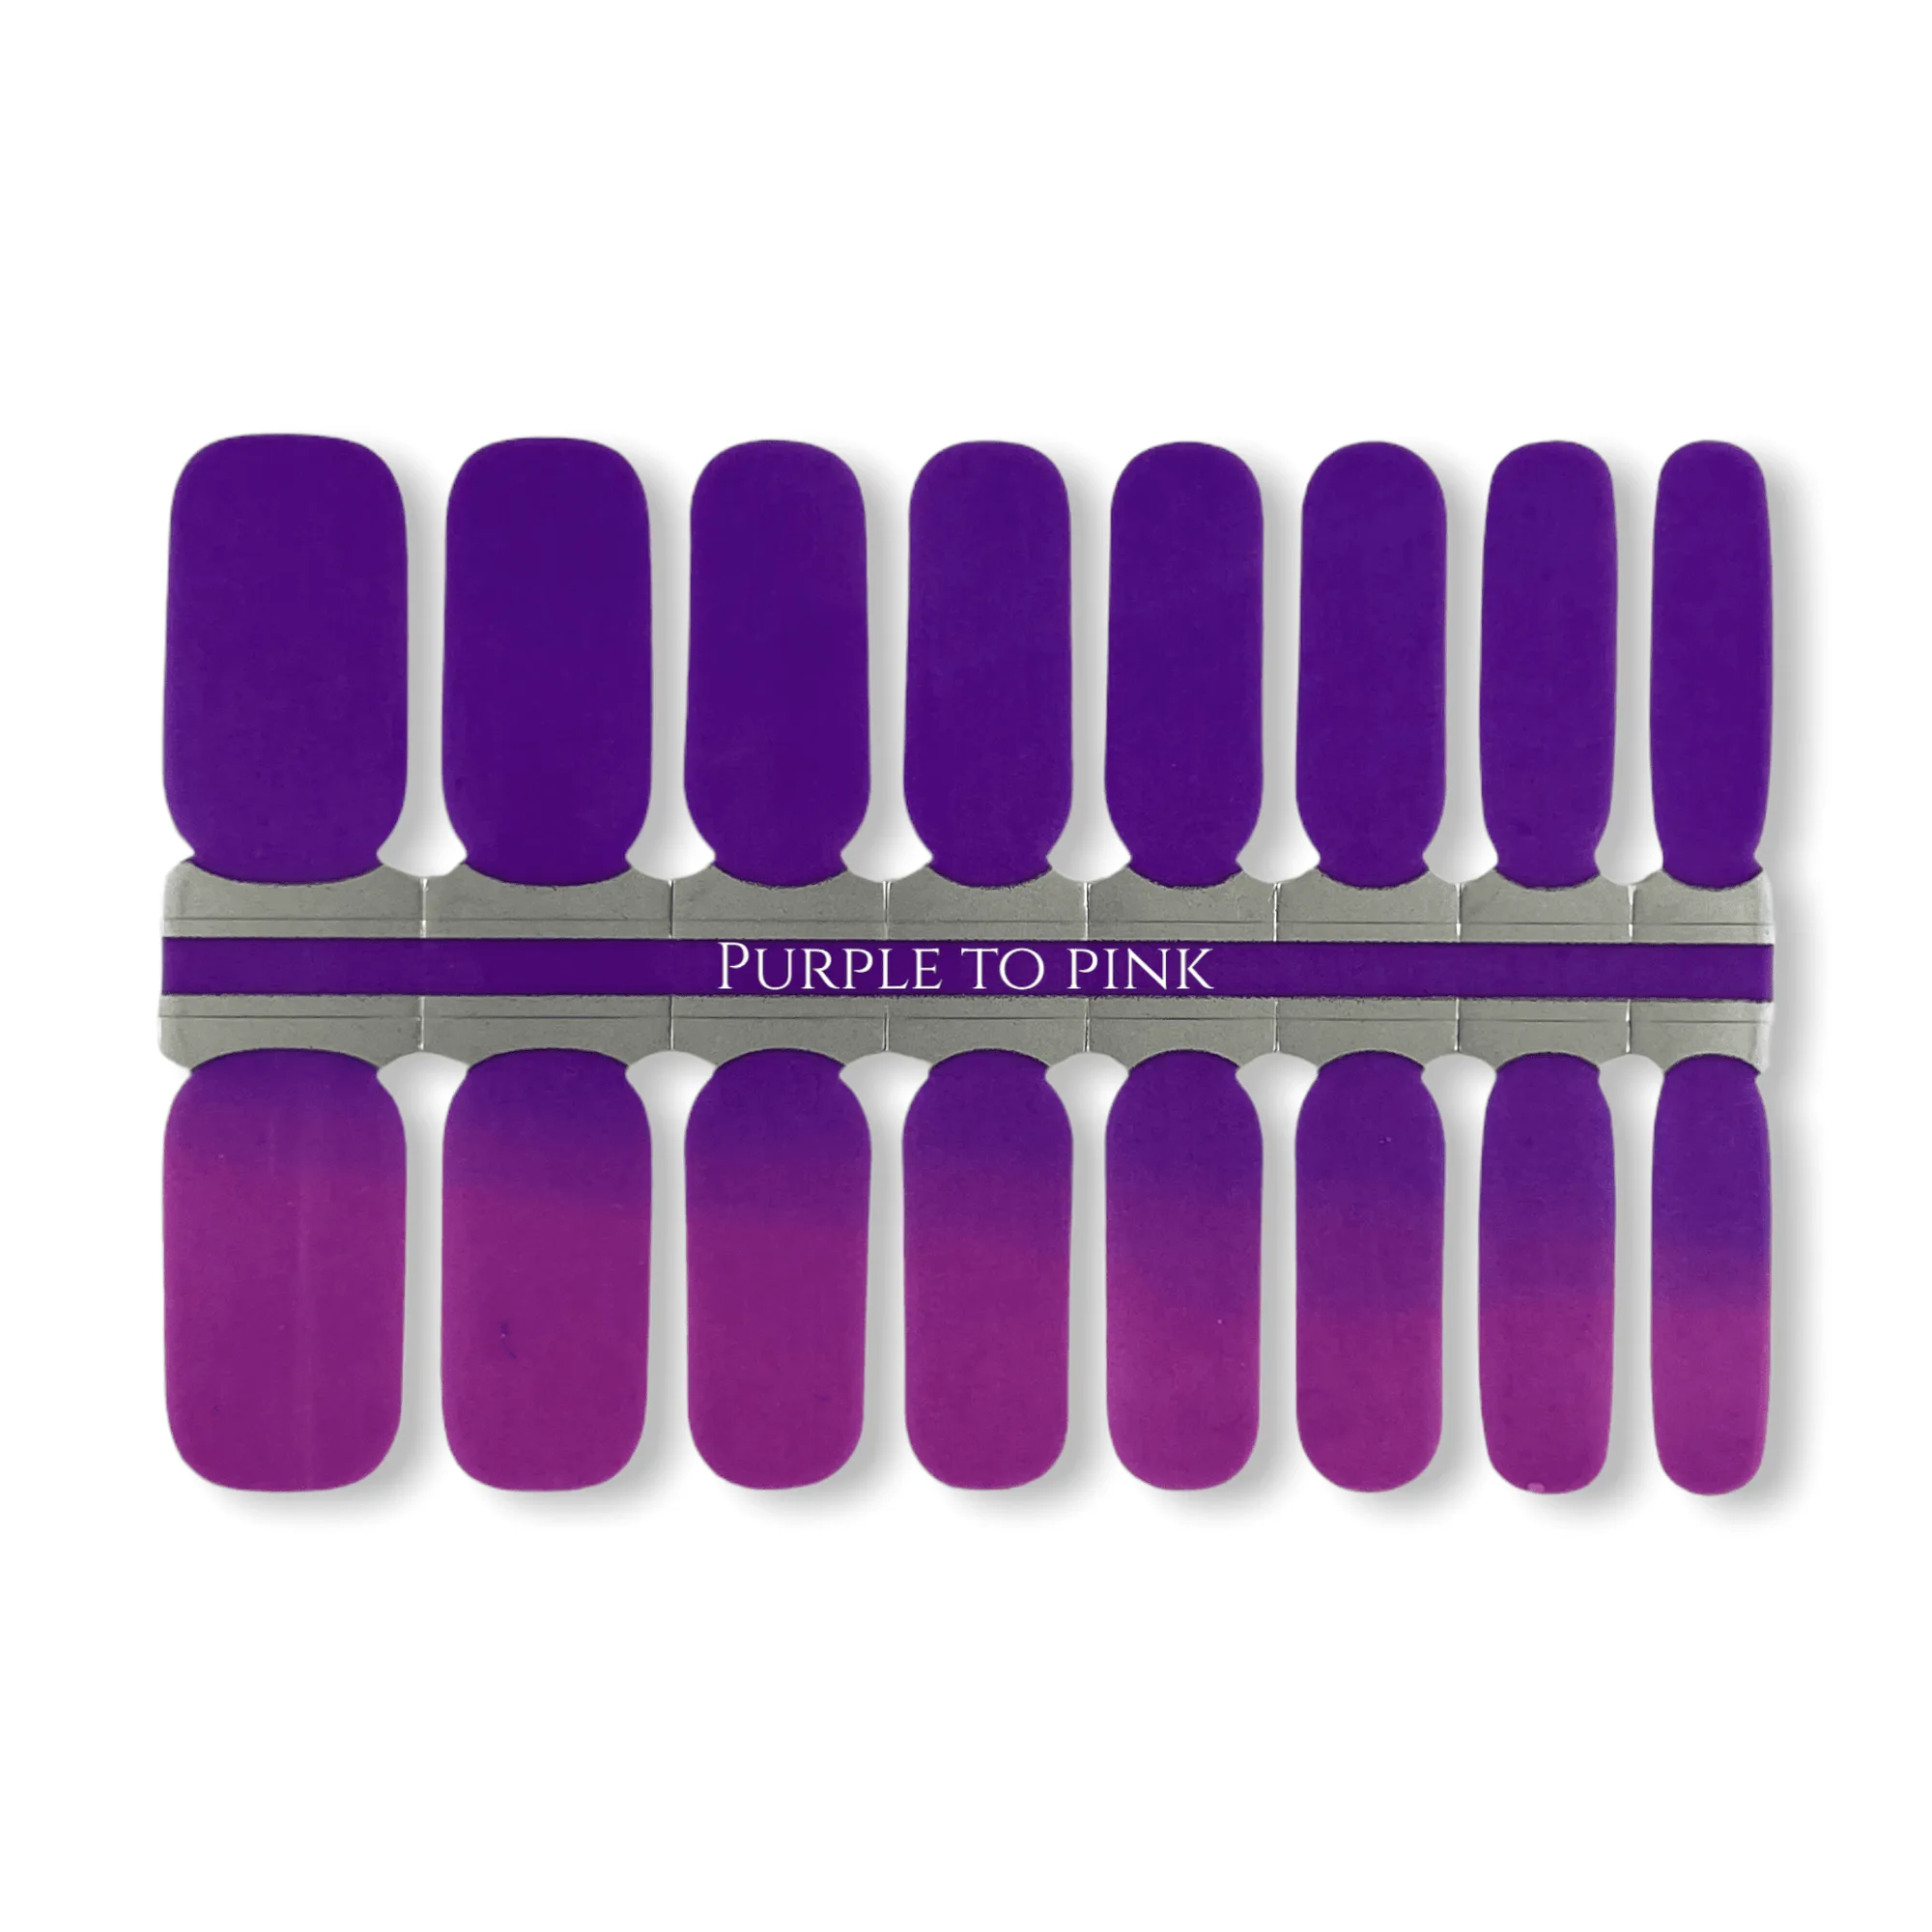
If you want the design to read clearly, choose a finish with contrast rather than a subtle gradient. CHAMPAGNE AT SUNSET has a maroon to champagne ombre glitter finish, and the glitter gives the eye something to catch even when the nail is short. A sheer thermal shade like PURPLE TO PINK shifts between purple in cool temperatures and pink in warm temperatures, so the colour change is visible without needing length.
- Tip-placed designs and glitter finishes tend to photograph better on short nails than fine, repeating patterns.
- If a design has a clear directional flow, align it the same way on every nail so the set looks deliberate.
Prep that prevents lifting on short nails
Short nails have more cuticle skin close to the strip edge, so any oil or moisturiser left behind will shorten wear time. Push back cuticles, wipe each nail with a lint-free pad, and let the nail dry completely before opening the strip pack. Do not buff the nail surface aggressively; a light pass is enough to remove shine, and over-buffing thins the nail and makes edges harder to seal.
Size the strip before you commit. Hold it over the nail without peeling the backing and check that it does not touch the sidewalls or the skin at the cuticle. A strip that is slightly too narrow is better than one that overlaps, because overlapping edges trap moisture and lift first.
- If you are between two sizes, size down for short nails and let the natural nail show at the sides.
- Avoid applying right after a shower or hand wash; nails expand slightly when wet and the strip can wrinkle as they dry.
Short nail wrap application, step by step
- Prep and dehydrate: Push back cuticles, wipe each nail with a lint-free pad, and let the nail dry fully. Do not buff heavily or leave cuticle oil on the nail plate. Checkpoint: the nail should look matte and feel dry before you open the strip pack.
- Size slightly narrow: Hold the strip over the nail without peeling the backing. Choose a strip that leaves a hair of natural nail visible at each sidewall rather than one that touches skin. Common mistake: sizing to the widest part of the nail, which causes the strip to wrinkle at the edges.
- Press from cuticle to tip: Peel the backing, place the rounded edge at the cuticle, and press outward with your thumb. Work from the centre of the nail to the sides to push out air bubbles. Checkpoint: no lifted edges at the cuticle before you move on.
- Fold a shallow tip: Fold the excess over the free edge using a fingernail, keeping the fold as shallow as the short tip allows. Do not stretch the strip to reach around the tip. Common mistake: folding a deep flap that catches on hair and fabric and lifts within a day.
- File downward, not back and forth: Hold the file at a downward angle and file in one direction to remove the excess. Sawing back and forth can tear the strip away from the tip. Checkpoint: the tip edge should feel smooth against your fingertip, with no overhang.
- Seal and set: Press the tip edge firmly once more, then apply a thin top coat over the whole nail if you want extra wear time. Let it dry completely before washing your hands. Next step: wait at least 30 minutes before dishes, cleaning, or swimming.
Shine On sets that suit short nails
- RYANNE: 16 real nail polish strips per set with a multi-coloured streaks design placed at the tips and a negative space style. The design sits where a short free edge is, so you get colour without needing length for the pattern to repeat.
- CHAMPAGNE AT SUNSET: 16 real nail polish strips with a maroon to champagne ombre glitter finish. Glitter and ombre create visible contrast on a small nail bed, where a flat shade can look unfinished.
- PURPLE TO PINK: 16 real nail polish strips in a sheer thermal shade that shifts between purple in cool temperatures and pink in warm temperatures. The colour change adds interest on short nails without relying on a large design area.
Short nails do not need a different product, just a tighter process. Size down, keep the tip fold shallow, and file in one direction, and a 16-strip set like RYANNE or CHAMPAGNE AT SUNSET will sit flat and stay put. If a strip ever feels bulky at the tip, remove it and restart rather than pressing harder; the second attempt is usually the one that lasts.