Which Neato Models Use This 6800mAh Battery?
The CELLONIC 6800mAh replacement battery is listed for several Neato Botvac models: Botvac D7 Connected, Botvac D703 Connected, Botvac D5 Plus, Botvac Connected D3, and Botvac Connected. If you own one of these, this guide covers the replacement process. The same battery pack fits all these models, so you can order with confidence if your model is on the list.
What the CELLONIC 6800mAh Battery Specifies
-
Battery for Neato Botvac D703 Connected, Botvac D7 Connected, Botvac D5 Plus, Botvac Connected D3, Botvac Connected 6800mAh from CELLONIC: 6800mAh capacity replacement battery for Neato Botvac Connected, Botvac D7 Connected, Botvac D3 Vacuum Cleaners. The 6800mAh capacity is higher than the original battery in some models, potentially offering longer runtime between charges.
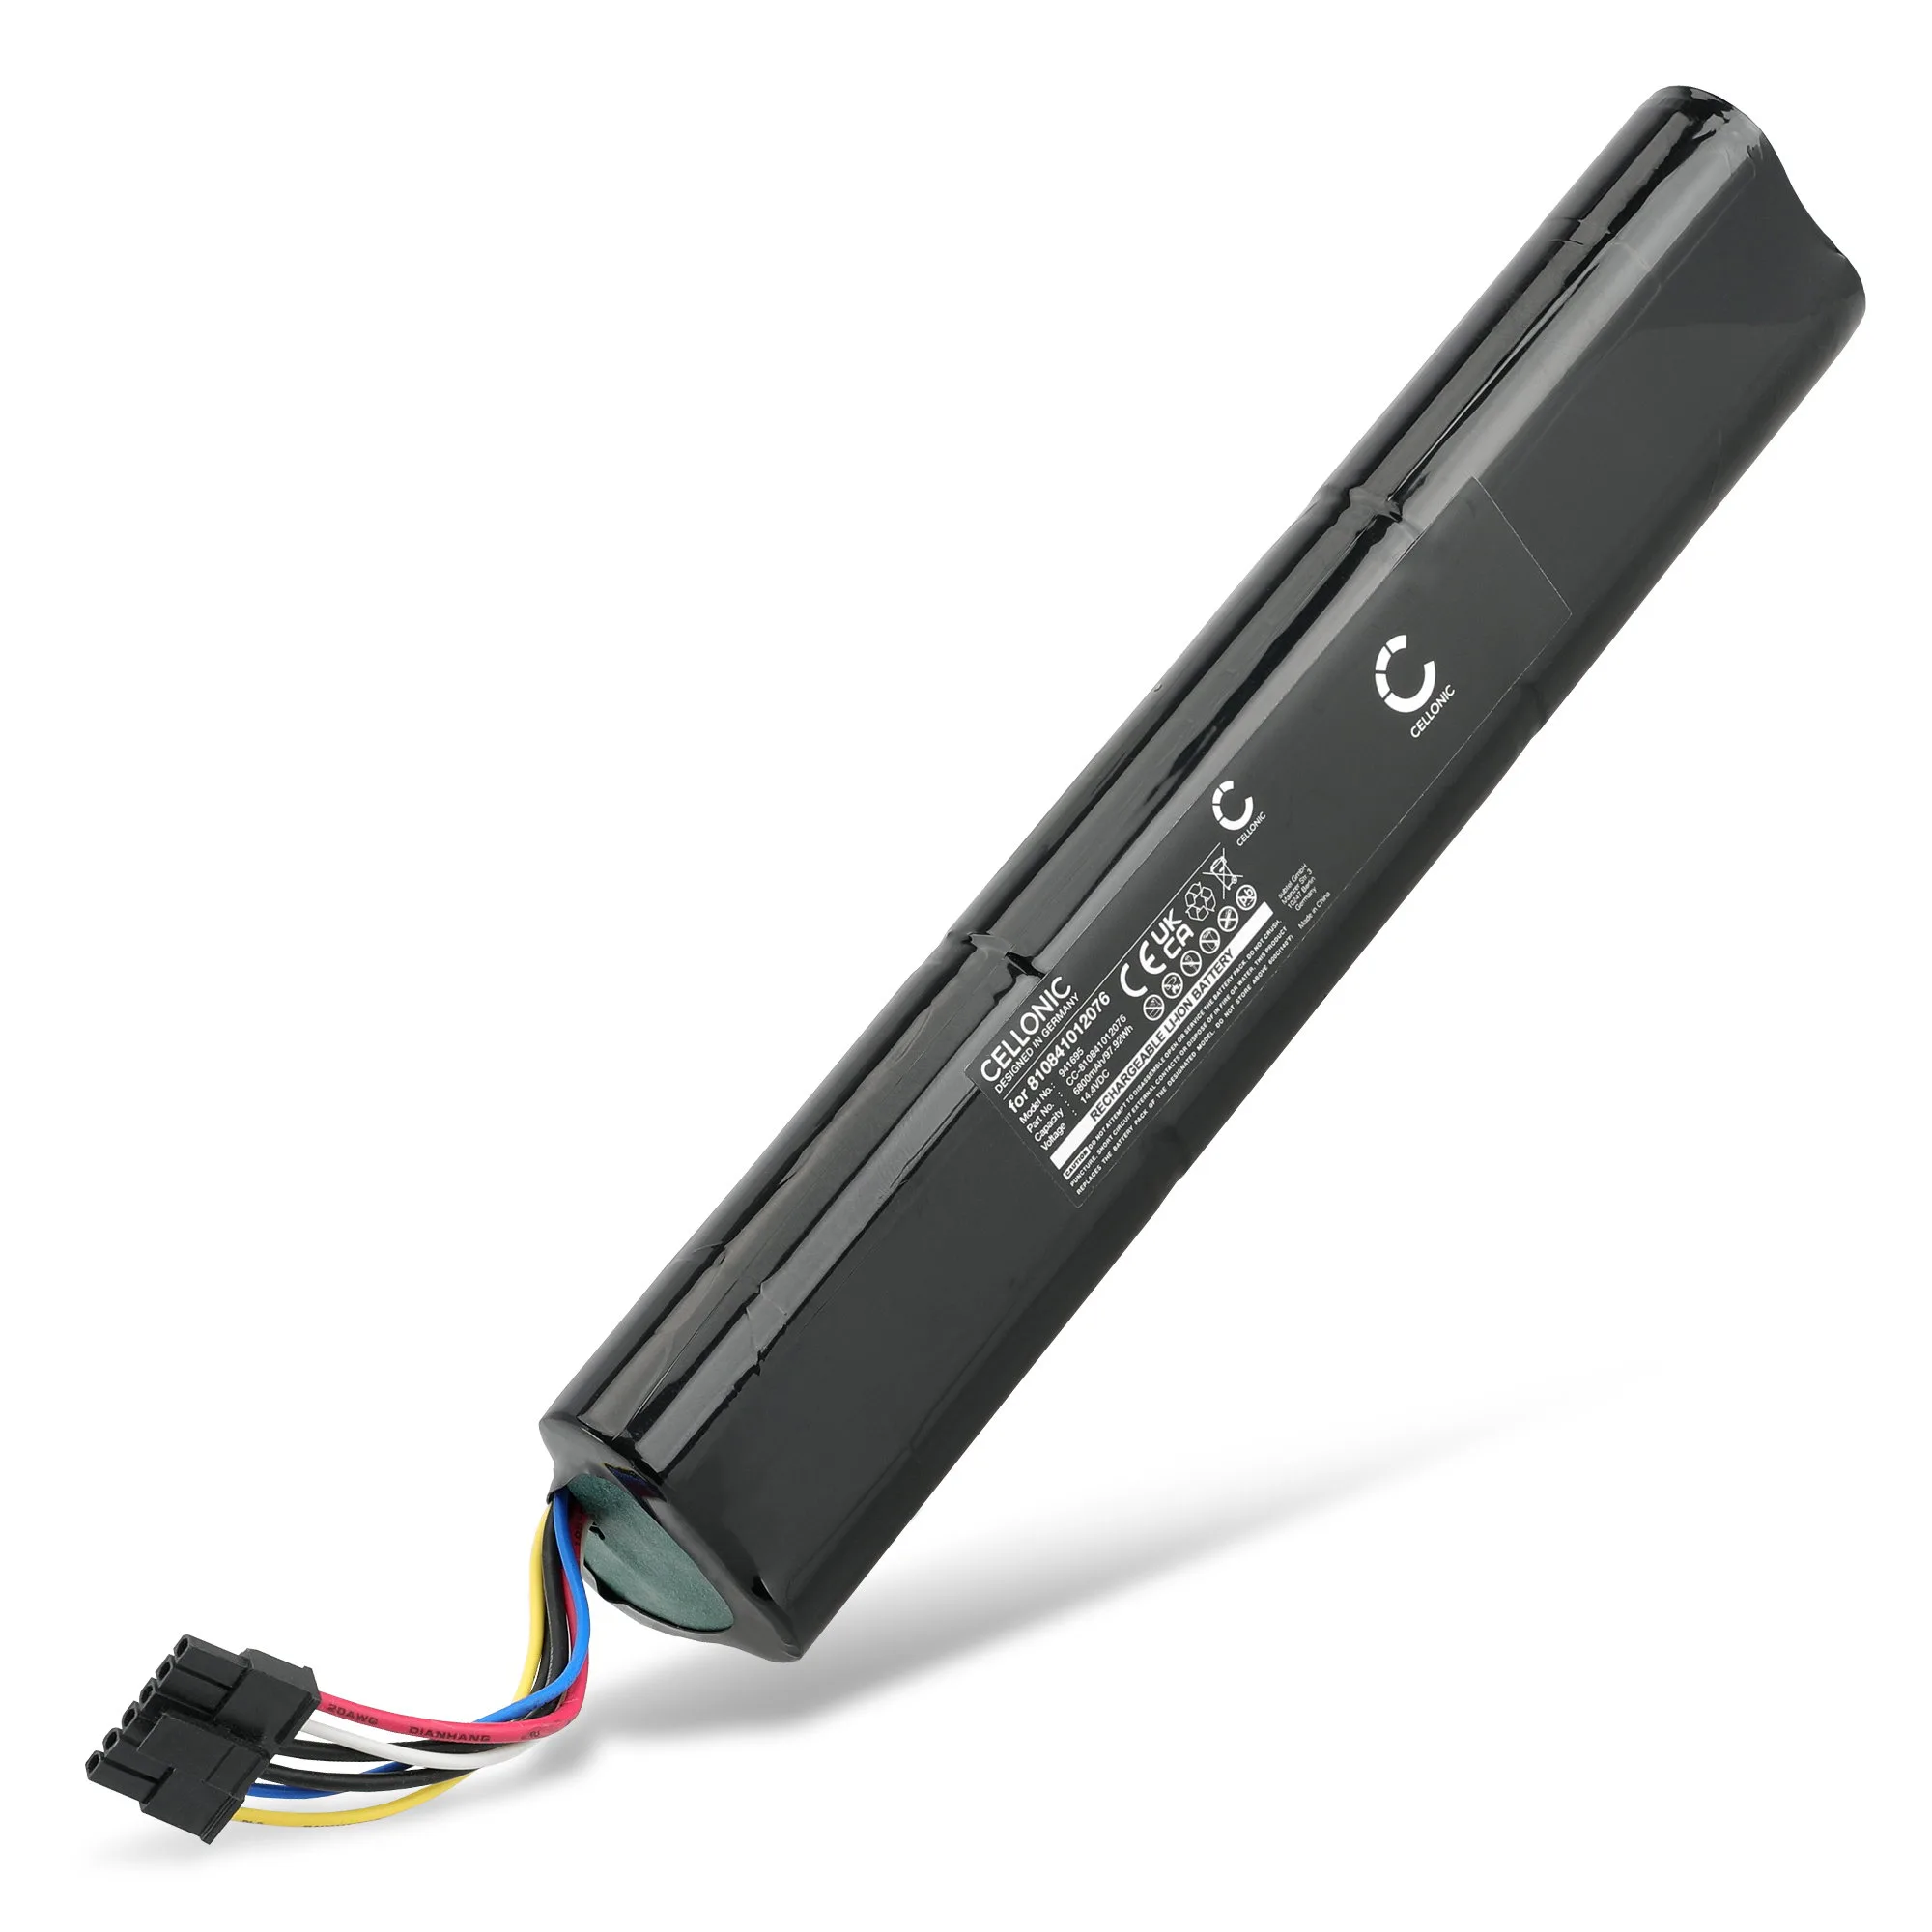
Battery for Neato Botvac D703 Connected, Botvac D7 Connected, Botvac D5 Plus, Botvac Connected D3, Botvac Connected 6800mAh from CELLONIC
Step-by-Step Battery Replacement
Before starting, ensure your Neato is turned off and unplugged from the charger. Work on a flat, clean surface.
- Remove the battery cover: Turn the robot over so the bottom faces up. Locate the battery compartment cover—usually a rectangular panel secured by a screw or a latch. Use a Phillips-head screwdriver to remove the screw, then slide or lift off the cover.
- Disconnect the old battery: Gently pull the connector on the battery wire away from the robot's connector. Do not yank the wires. If the connector is tight, use a small flathead screwdriver to gently pry it apart.
- Remove the old battery: Lift the old battery out of the compartment. Note the orientation of the battery—some compartments have a notch or label indicating which side faces up.
- Insert the new CELLONIC battery: Place the new 6800mAh battery into the compartment in the same orientation as the old one. Ensure it sits flat and the wires are not pinched.
- Reconnect the battery connector: Press the battery connector firmly into the robot's connector until it clicks or seats fully. Double-check that it is secure.
- Replace the battery cover: Put the cover back on and tighten the screw. Ensure the cover is flush with the robot's bottom.
- Charge and test: Place the Neato on its charging dock and allow it to charge fully—this may take several hours. After charging, run a cleaning cycle to verify the battery is working correctly.
What the Listing Does Not Confirm
The CELLONIC listing does not include detailed installation instructions or safety warnings. While the steps above are standard for Neato Botvac models, always follow any additional guidance that may come with the battery. If you are unsure about handling lithium-ion batteries, consult a professional.