Quick answer
Use Oasis del Desierto as the cool accent in a warm neutral base: paint two thin coats over a cured nude or sand-toned gel, then add a single oasis-blue accent nail or a fine line of polish. Cure each layer fully and keep the teal thin so the design stays balanced.
Why this shade works for desert-inspired art
Oasis del Desierto is a deep teal with a self-leveling, highly pigmented formula that gives a glassy finish. In desert-themed nail art, that cool blue-green reads as water against warm sand, clay, and cactus tones. The contrast is what makes the design look intentional rather than random. Because the shade is bold, you do not need much of it: one accent nail or a thin line is often enough to carry the theme.
HEMA-free and TPO-free considerations for nail art
If you choose HEMA-free and TPO-free gel polish for nail art, treat the label as one part of your routine, not a guarantee. Keep uncured gel off the skin, cure every layer according to your lamp's instructions, and avoid overloading the brush. For users with known acrylate sensitivities, patch testing and professional guidance are still the safer path. The Oasis del Desierto formula is described as HEMA-free and TPO-free, which makes it a reasonable option for art where you want to limit those specific ingredients.
Desert oasis nail art steps
- 1. Prep and base: Shape the nails, push back cuticles, and buff the surface lightly. Apply a gel base coat and cure it fully. Checkpoint: if the base coat pools near the cuticle, wipe the brush and recoat thinner before curing. A thin, fully cured base prevents lifting later.
- 2. Paint the warm neutral base: Apply two thin coats of a nude, sand, or soft terracotta gel polish, curing each coat. Keep the color opaque but not bulky. Checkpoint: do not apply the second coat over wet first coat; cure first or the color will drag. Warm neutral coats should look even before you add the teal.
- 3. Add the oasis accent: Choose one or two accent nails. Apply a thin coat of Oasis del Desierto and cure. For a line design, use a fine liner brush and draw a single curved line from cuticle to tip. Checkpoint: if the teal looks streaky, add a second thin coat rather than pressing harder with the brush. Keep the teal thin; a second thin coat is better than one thick coat.
- 4. Build the desert details: Use a dotting tool or liner brush to add small cactus, sun, or dune shapes in warm neutral or white gel. Cure each detail before moving on. Checkpoint: avoid placing details too close to the cuticle, where gel can flood and lift. Cure small details separately so they do not smear.
- 5. Seal and cure: Apply a gel top coat, cap the free edge, and cure according to your lamp's instructions. Checkpoint: if the top coat pulls color, your art was not fully cured underneath; cure longer next time. Cap the tip and cure fully to protect the design.
Product facts
-
Oasis del Desierto ~ Desert Oasis gel polish~HEMA-Free and TPO Free Gel polish: Oasis del Desierto is a deep teal gel polish described as HEMA-free and TPO-free, with a smooth, highly pigmented, self-leveling formula. The self-leveling texture helps thin art lines stay smooth, while the HEMA-free and TPO-free description gives ingredient-conscious users a clear starting point.
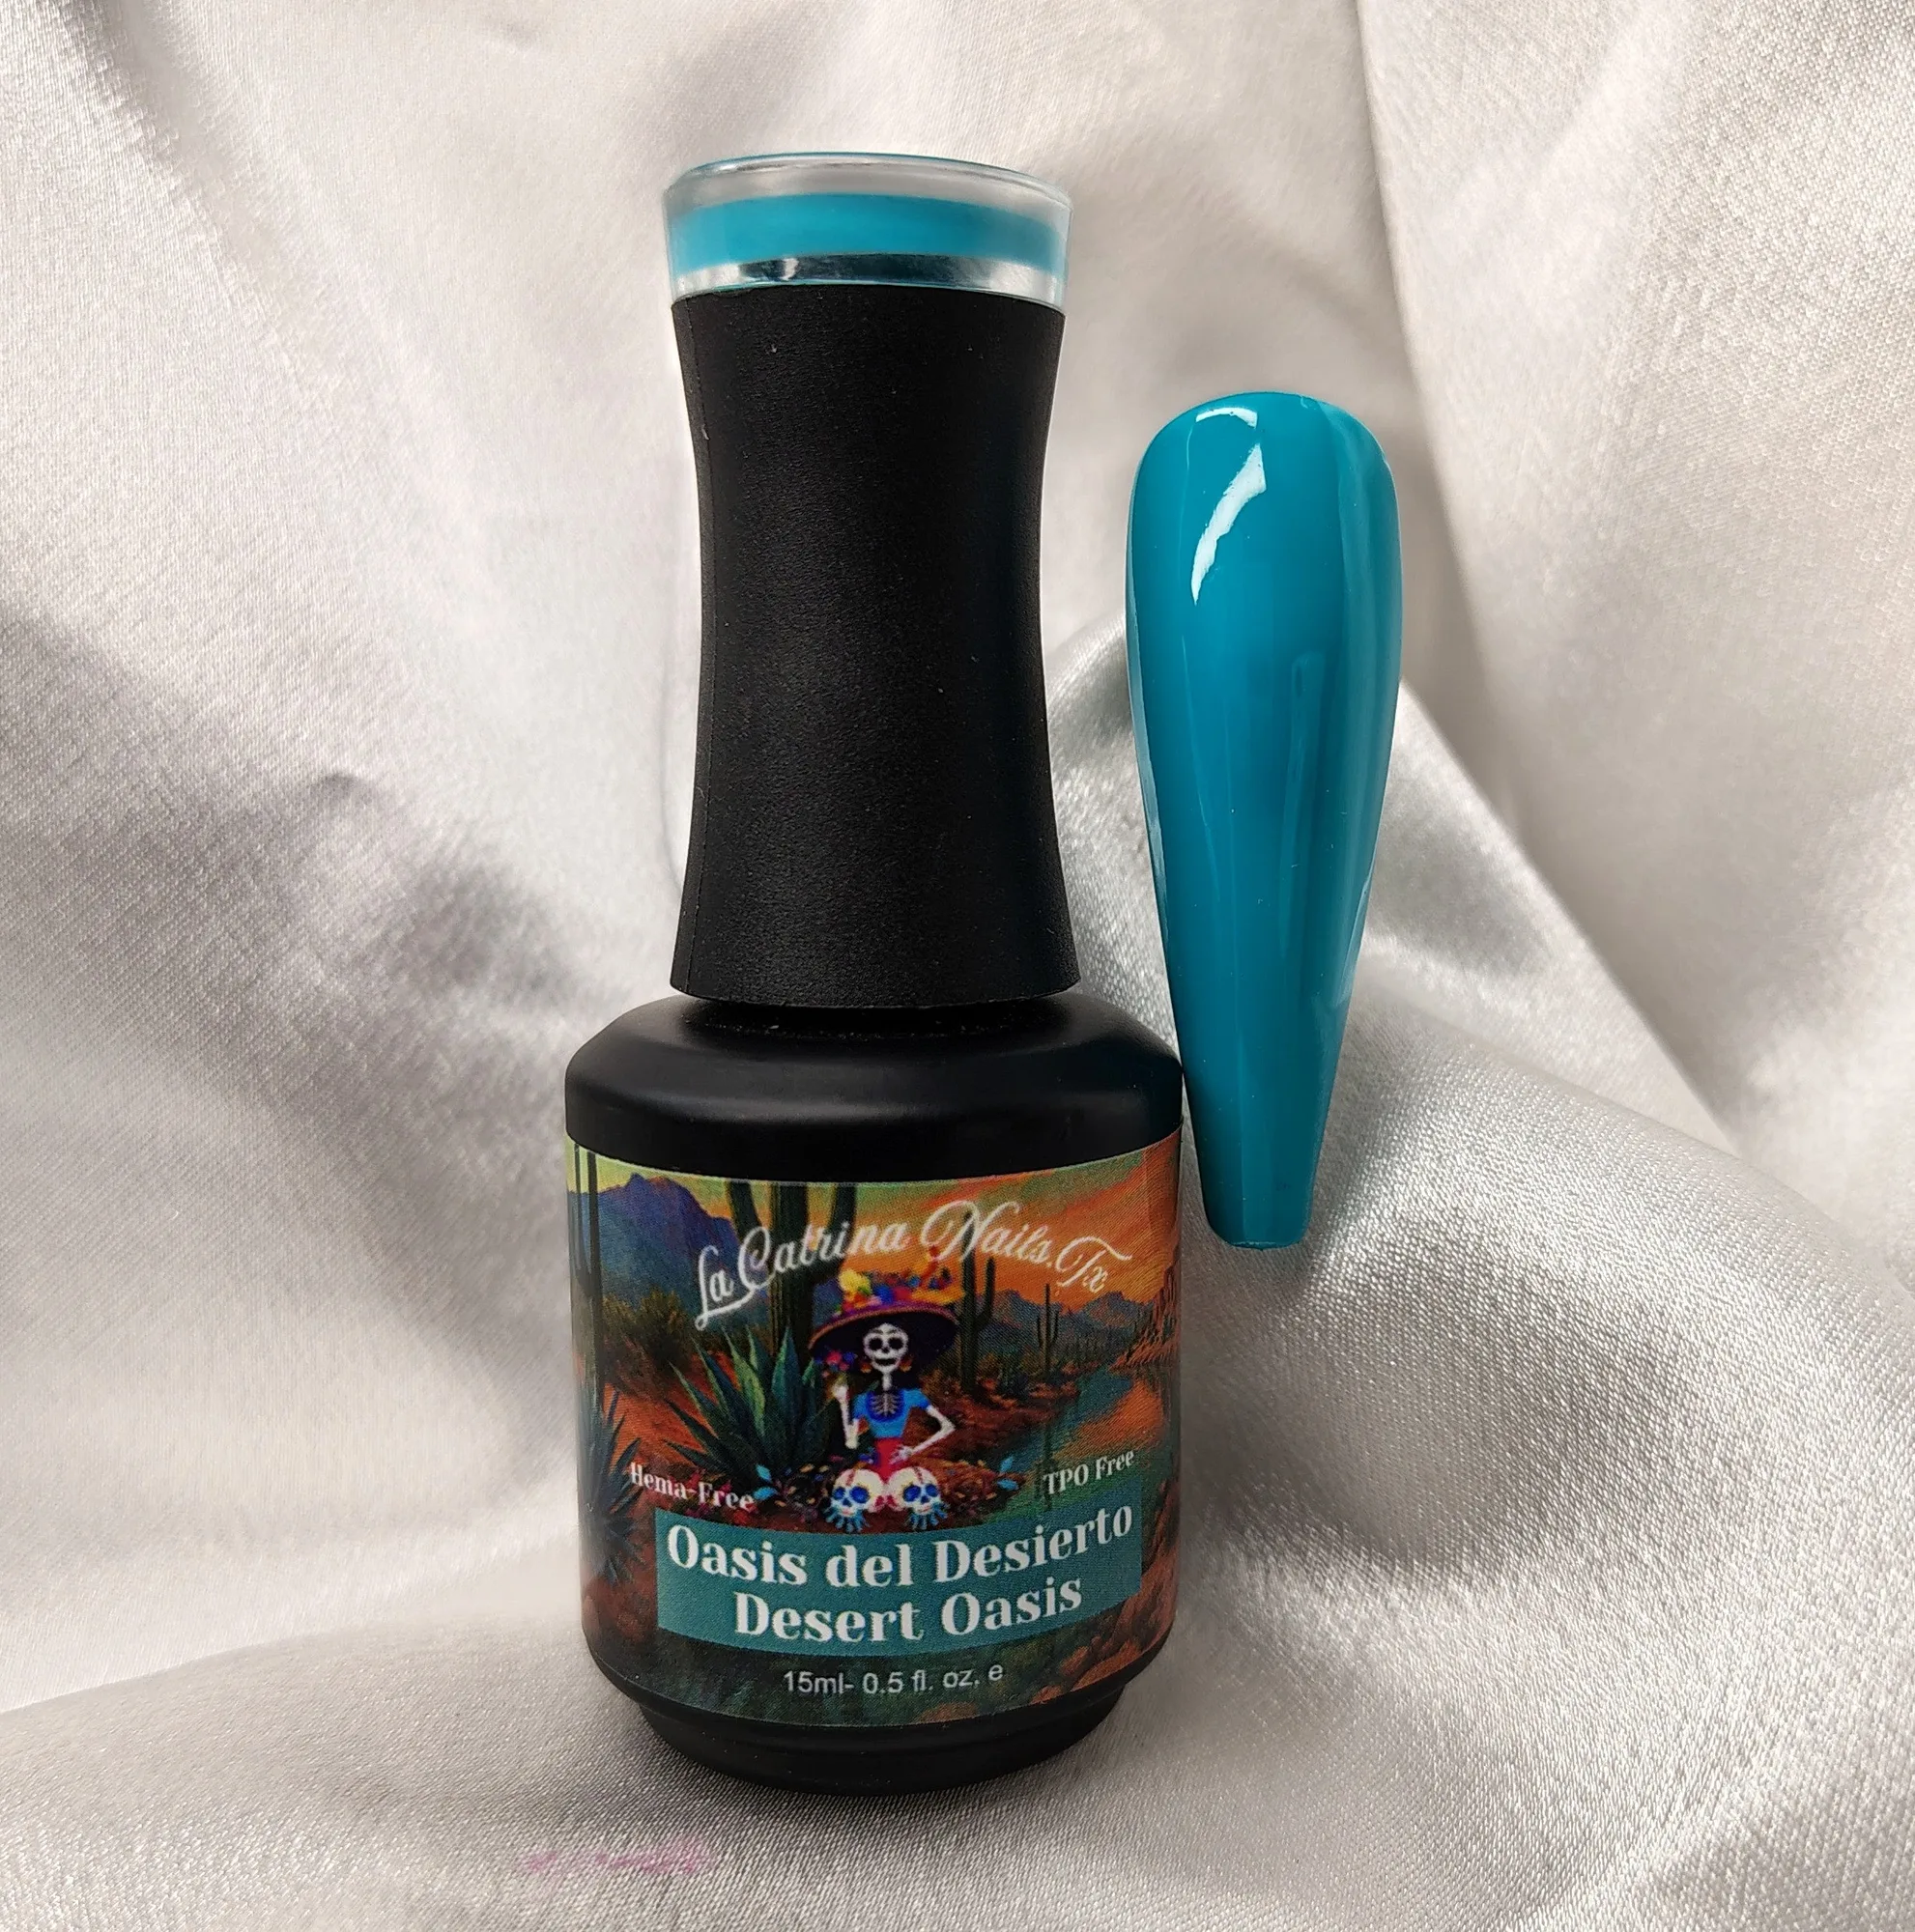
Oasis del Desierto ~ Desert Oasis gel polish~HEMA-Free and TPO Free Gel polish