Quick answer
Fit the Oblique Toilet Roll Holder Swing by fixing its wall bracket to a solid fixing point at a comfortable reach, then slide the holder onto the bracket and tighten the grub screw. Clean it with a soft damp cloth and mild soap, then dry immediately to preserve the mirror-polished finish.
Why the fixing point matters more than the holder
The Oblique holder is made from 18/10 stainless steel, which resists rust and corrosion in the bathroom, but no fitting stays firm if it is screwed into hollow plasterboard alone. The supplied screw fittings need a solid substrate: a timber stud, a masonry wall with appropriate plugs, or a dedicated bathroom fixing board. If you cannot find a stud, use proper hollow-wall anchors rated for the load rather than the plain screws in the box.
Position the holder so the roll sits about 20–25 cm above the floor when the swing arm is at rest, or roughly 15–20 cm to the side of the toilet. This keeps the roll within easy reach without the paper brushing the floor or the cistern. Check the swing arc before drilling: the arm needs clear space to rotate, so avoid placing it directly under a shelf or towel rail.
When the supplied fittings are not enough
The Oblique holder comes with screw fittings, but these are intended for solid walls. If your bathroom has dot-and-dab plasterboard or a tiled stud wall, the supplied screws may not hold securely. In that case, buy anchors suited to your wall type before you start. Also check that the grub screw that locks the holder onto the bracket is present; if it is missing, contact the retailer rather than relying on friction alone.
Step-by-step: fit and care for the Oblique holder
- Choose the fixing height and position: Hold the holder against the wall at the chosen spot and mark the bracket holes with a pencil. Common mistake: marking through the holder while the swing arm is extended, which puts the bracket in the wrong place. Check the arm swings freely before drilling. Test the swing arc with the roll fitted before you commit to the position.
- Identify your wall type and select fixings: Knock on the wall or use a stud finder. For solid masonry, use the supplied screws with wall plugs. For plasterboard, use hollow-wall anchors rated for the load. Common mistake: using the supplied screws in plasterboard without anchors, which lets the holder pull loose. If in doubt, use a anchor rated for at least twice the holder's weight.
- Drill and fix the bracket: Drill holes to the diameter of your plugs, insert the plugs, and screw the bracket firmly to the wall. Common mistake: over-tightening one screw before the others are in, which skews the bracket. Tighten all screws evenly and check the bracket sits flush. The bracket should not rock or flex when you press it.
- Slide the holder onto the bracket and secure the grub screw: Slide the holder body over the bracket and tighten the grub screw underneath with the supplied Allen key. Common mistake: forgetting the grub screw, so the holder lifts off when you pull the paper. Tighten until snug, not forced. Give the holder a gentle pull to confirm it is locked on.
- Load the roll and check the swing: Fit the toilet roll onto the arm and swing it through its full arc. Common mistake: overloading with a jumbo roll that catches on the wall. Use a standard roll and check clearance. The arm should swing smoothly without touching the wall or cistern.
- Clean and dry weekly: Wipe with a soft damp cloth and mild soap, then dry immediately with a microfibre cloth. Common mistake: leaving water spots or using abrasive cleaners, which dull the mirror polish. Avoid bleach and scouring pads. Dry the holder after cleaning to prevent water marks.
Product facts
-
Oblique Toilet Roll Holder Swing: Made from mirror-polished 18/10 stainless steel, which does not rust or corrode in the bathroom environment. You can fit it in a humid bathroom without worrying about rust, but the polished surface still needs gentle cleaning to stay bright.
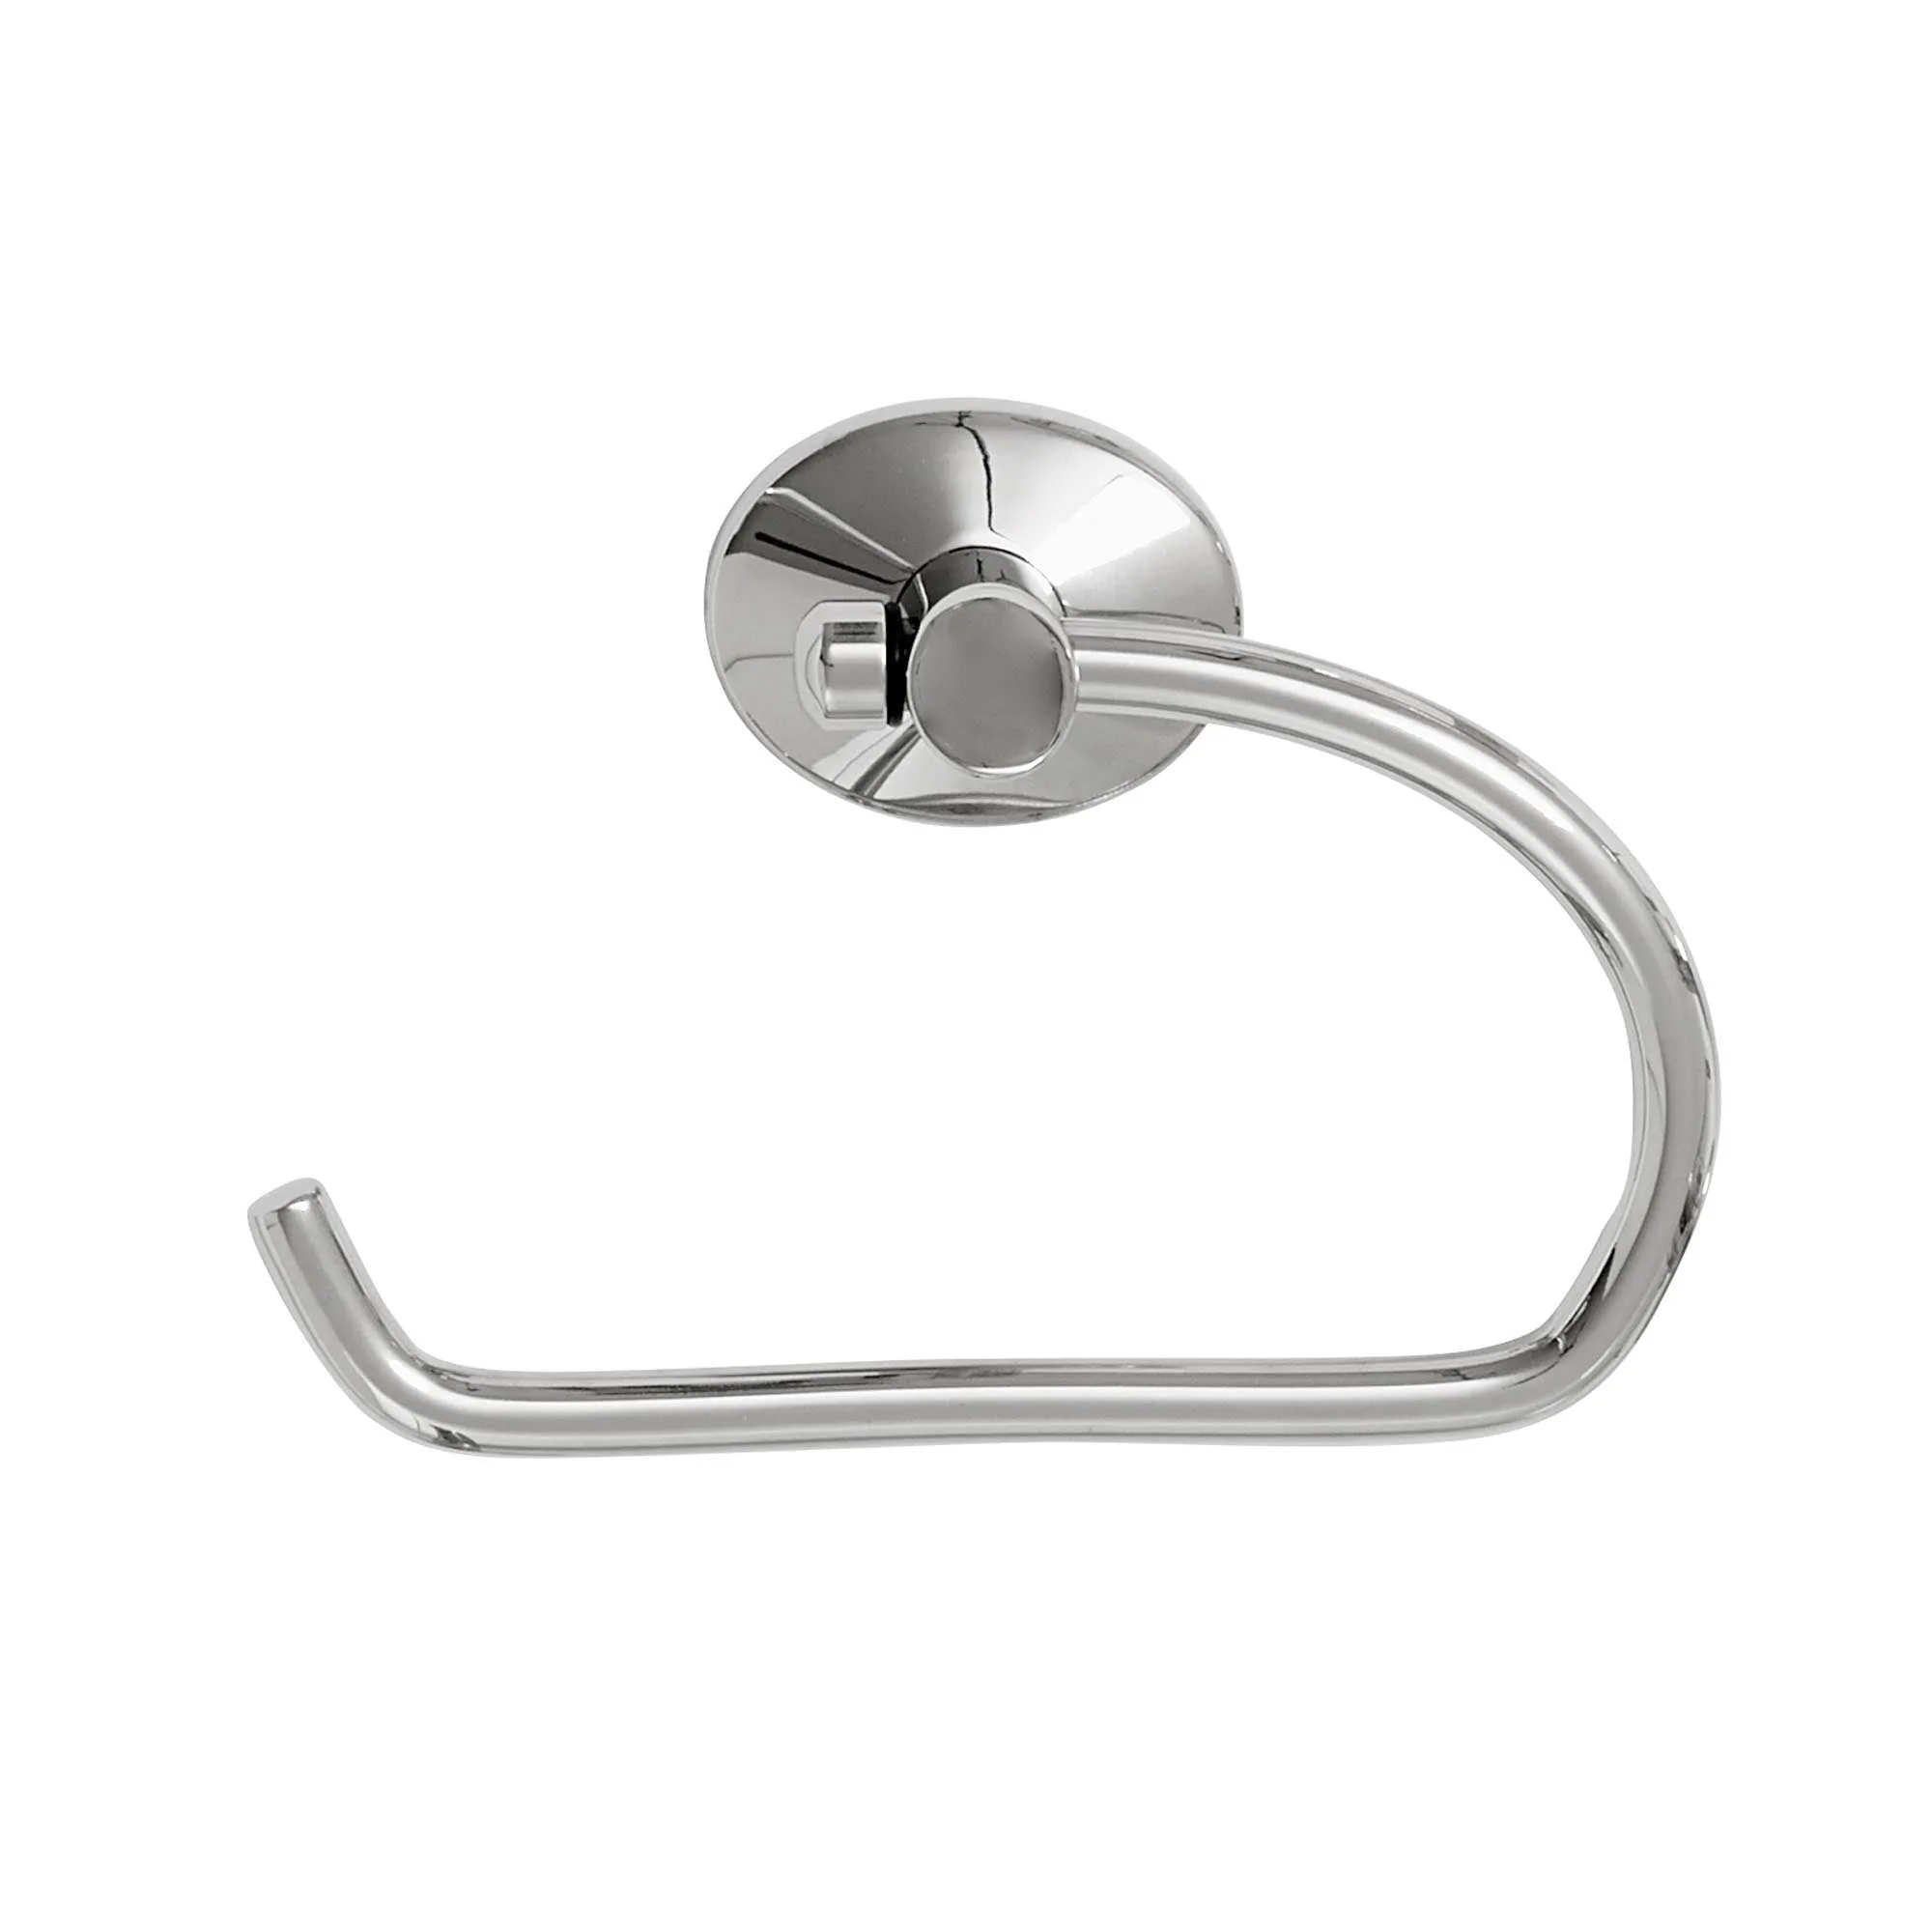
Oblique Toilet Roll Holder Swing
-
Oblique Toilet Roll Holder Swing: Comes gift boxed with all screw fittings supplied. You have the basic fixings ready, but check your wall type before drilling because the supplied screws suit solid walls.