Quick Answer
Start by sketching a rough layout on your chosen surface, then place the matte Onigiri Artist Stickers one by one, pressing firmly. Finish with a clear seal if the surface will see heavy use.
A sticker collage lets you turn everyday items into a canvas for personal expression. Using the Onigiri Artist Sticker collection, you can create a cohesive, themed sticker layout that feels like a miniature piece of creative sticker art.
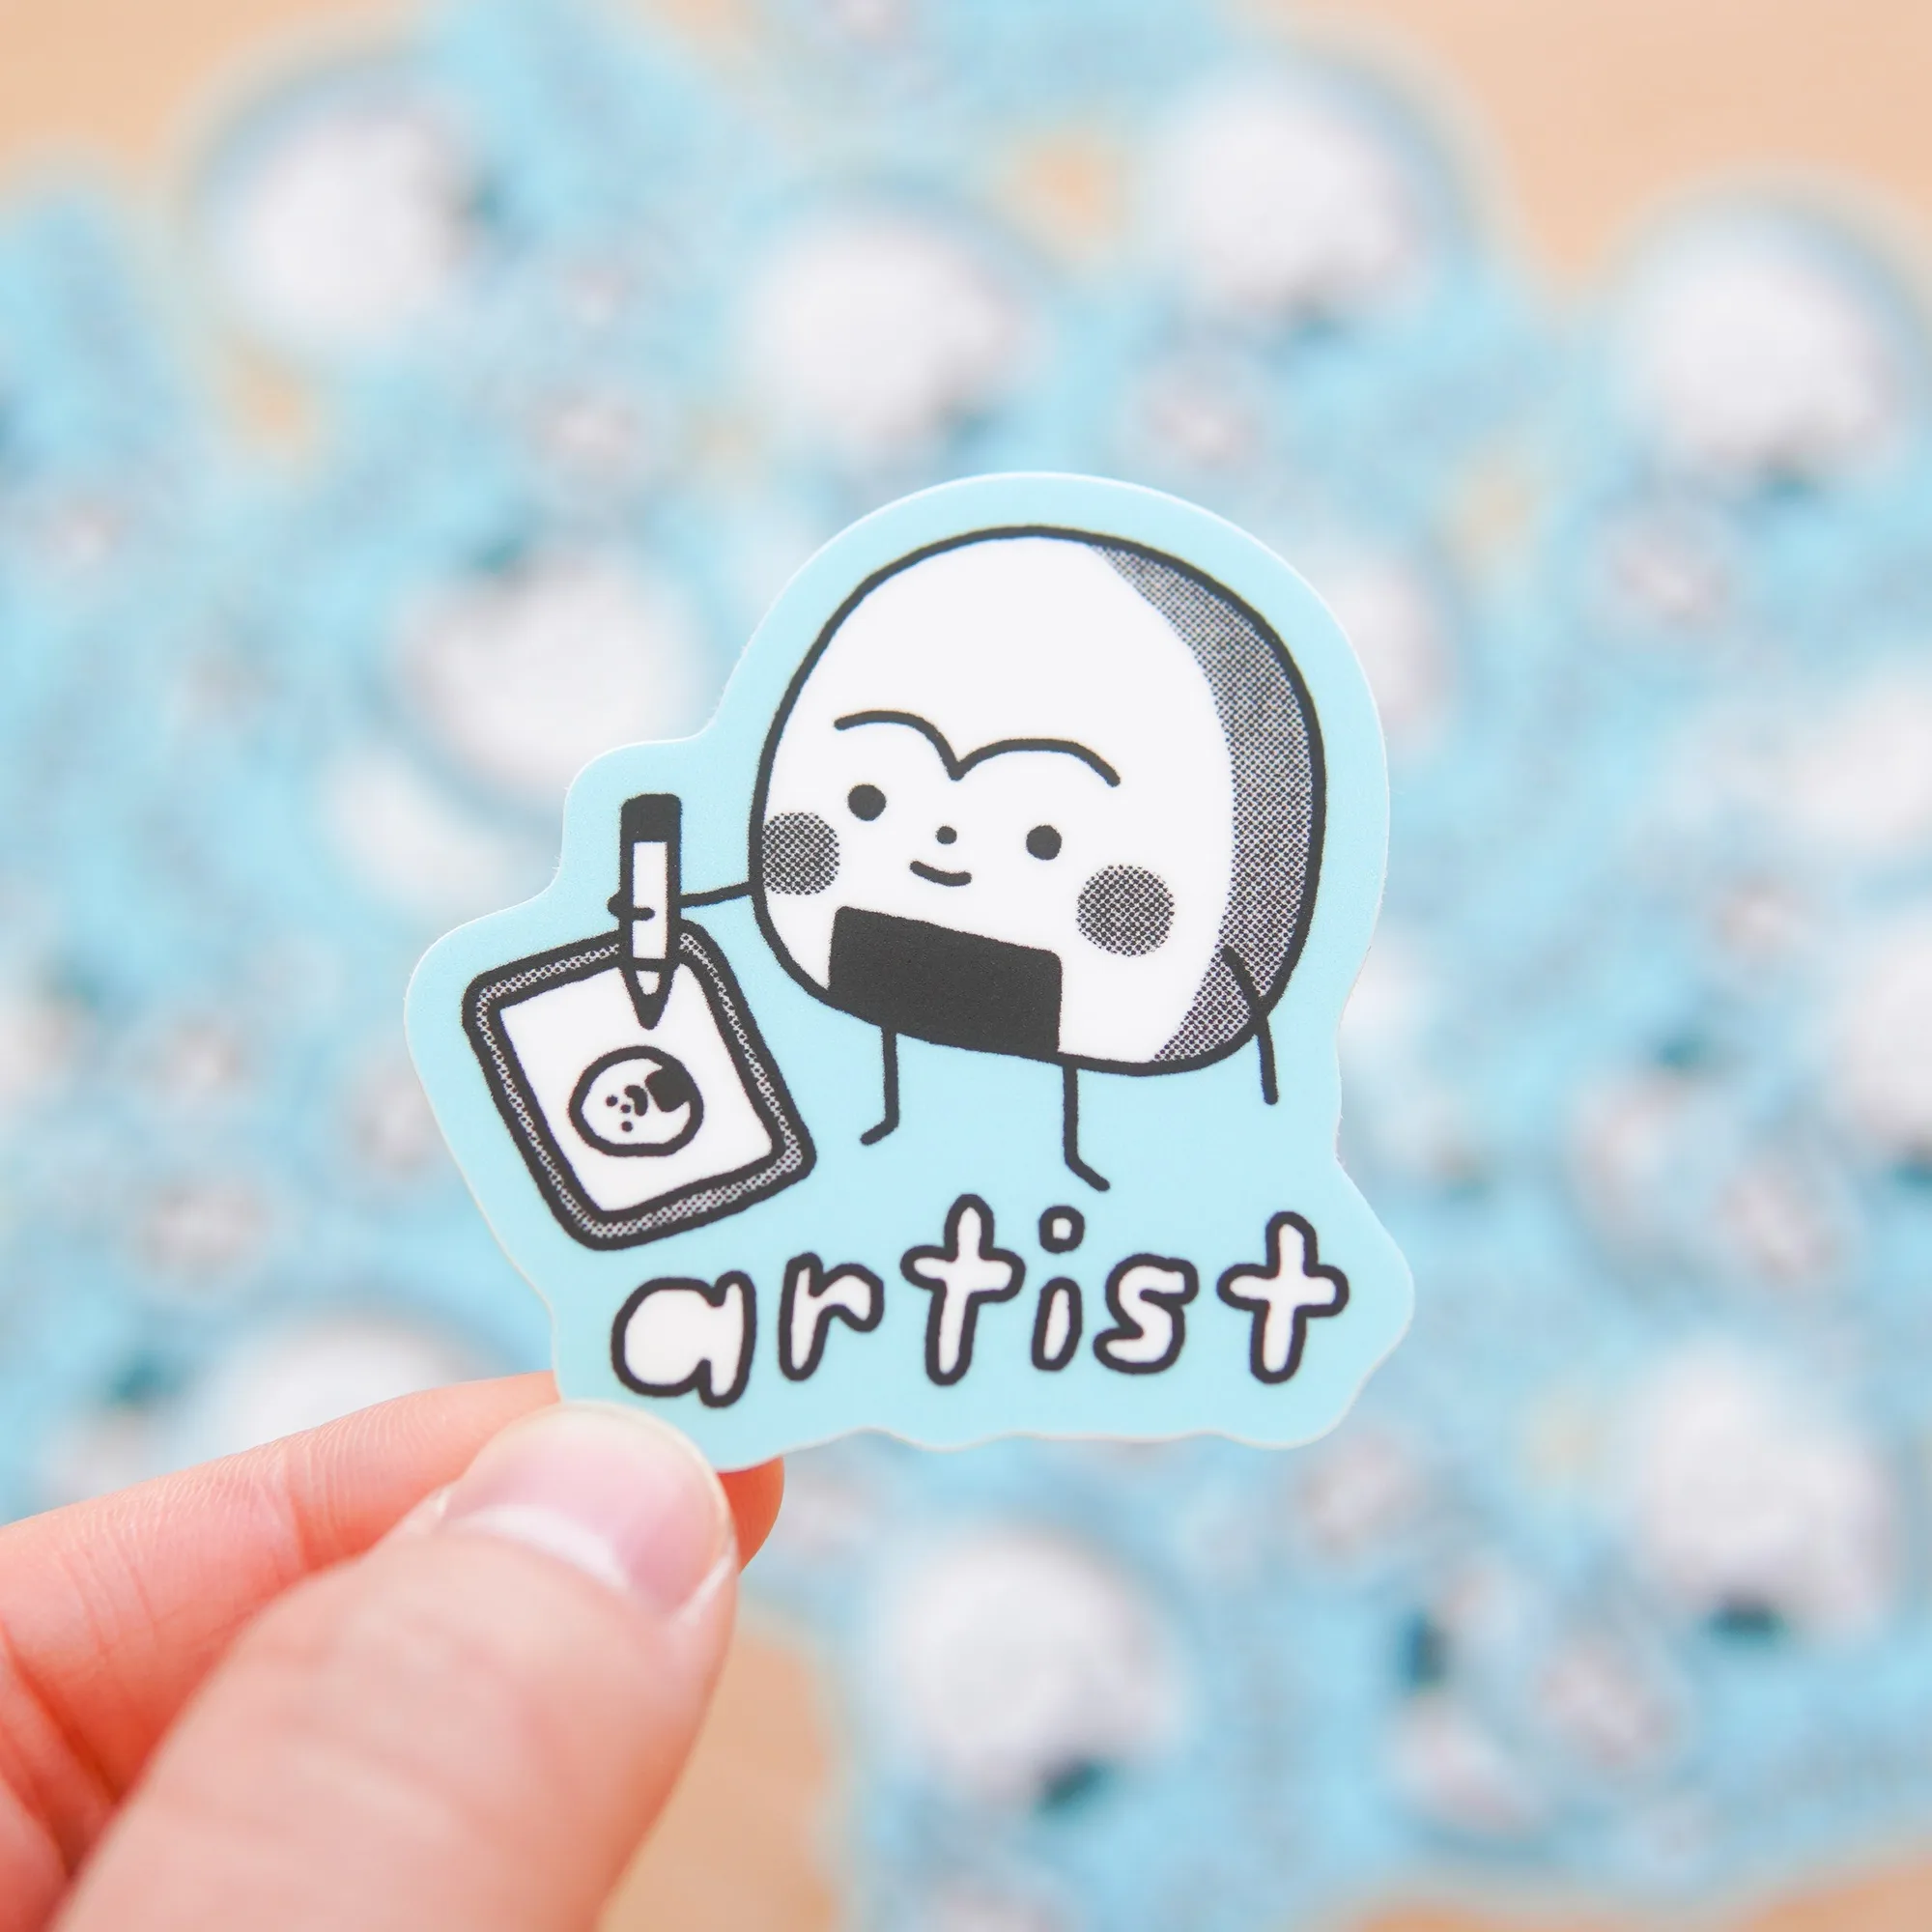
Onigiri Artist Sticker
Before you begin, gather a clean, smooth surface—like a laptop lid or notebook cover—and make sure you have the right tools: the stickers, a soft cloth, and optionally a clear matte sealant for durability.
Design the Themed Sticker Layout
Lay out your stickers without removing the backing to see how the colors and shapes interact. Because the Onigiri Artist Sticker has a matte vinyl finish, it blends subtly with other designs, making it ideal for layered compositions. Arrange them in clusters or a flowing line, depending on the story you want to tell, and step back frequently to judge balance and spacing.
When you’re satisfied with the visual balance, lightly trace the outer edges of each sticker with a pencil or a fine tip marker. This temporary guide helps you keep placement consistent and prevents accidental overlap, a common mistake that can make the collage look crowded.
- Leave at least a 2‑mm gap between stickers to maintain visual breathing room.
Step‑by‑Step Checklist
- Gather Materials: Collect the Onigiri Artist Stickers, a clean surface, a soft cloth, and optional sealant. Ensure the surface is dust‑free before starting. Checkpoint: wipe the surface with a lint‑free cloth; common mistake is skipping this step and ending up with bubbles.
- Sketch Layout: Using a pencil, lightly outline the desired positions of each sticker. Test‑place the stickers without removing backing to confirm spacing. Checkpoint: verify that no area feels overcrowded; a typical error is placing stickers too tightly, which reduces visual impact.
- Apply & Seal: Peel each sticker, align with your pencil guide, and press down firmly, smoothing out any bubbles. Once all stickers are set, apply a clear matte sealant if the item will be handled frequently. Checkpoint: press evenly and let the sealant dry completely; a frequent mistake is rushing the drying time, leading to premature wear.
Products to Use
- Onigiri Artist Sticker: Add a touch of playful art to your belongings with the Onigiri Artist Sticker. This matte vinyl sticker measures 2 × 2 inches and provides a smooth, non‑glossy finish. The compact 2 × 2 inch size fits many surfaces, and the matte finish reduces glare, keeping the collage looking clean and professional.
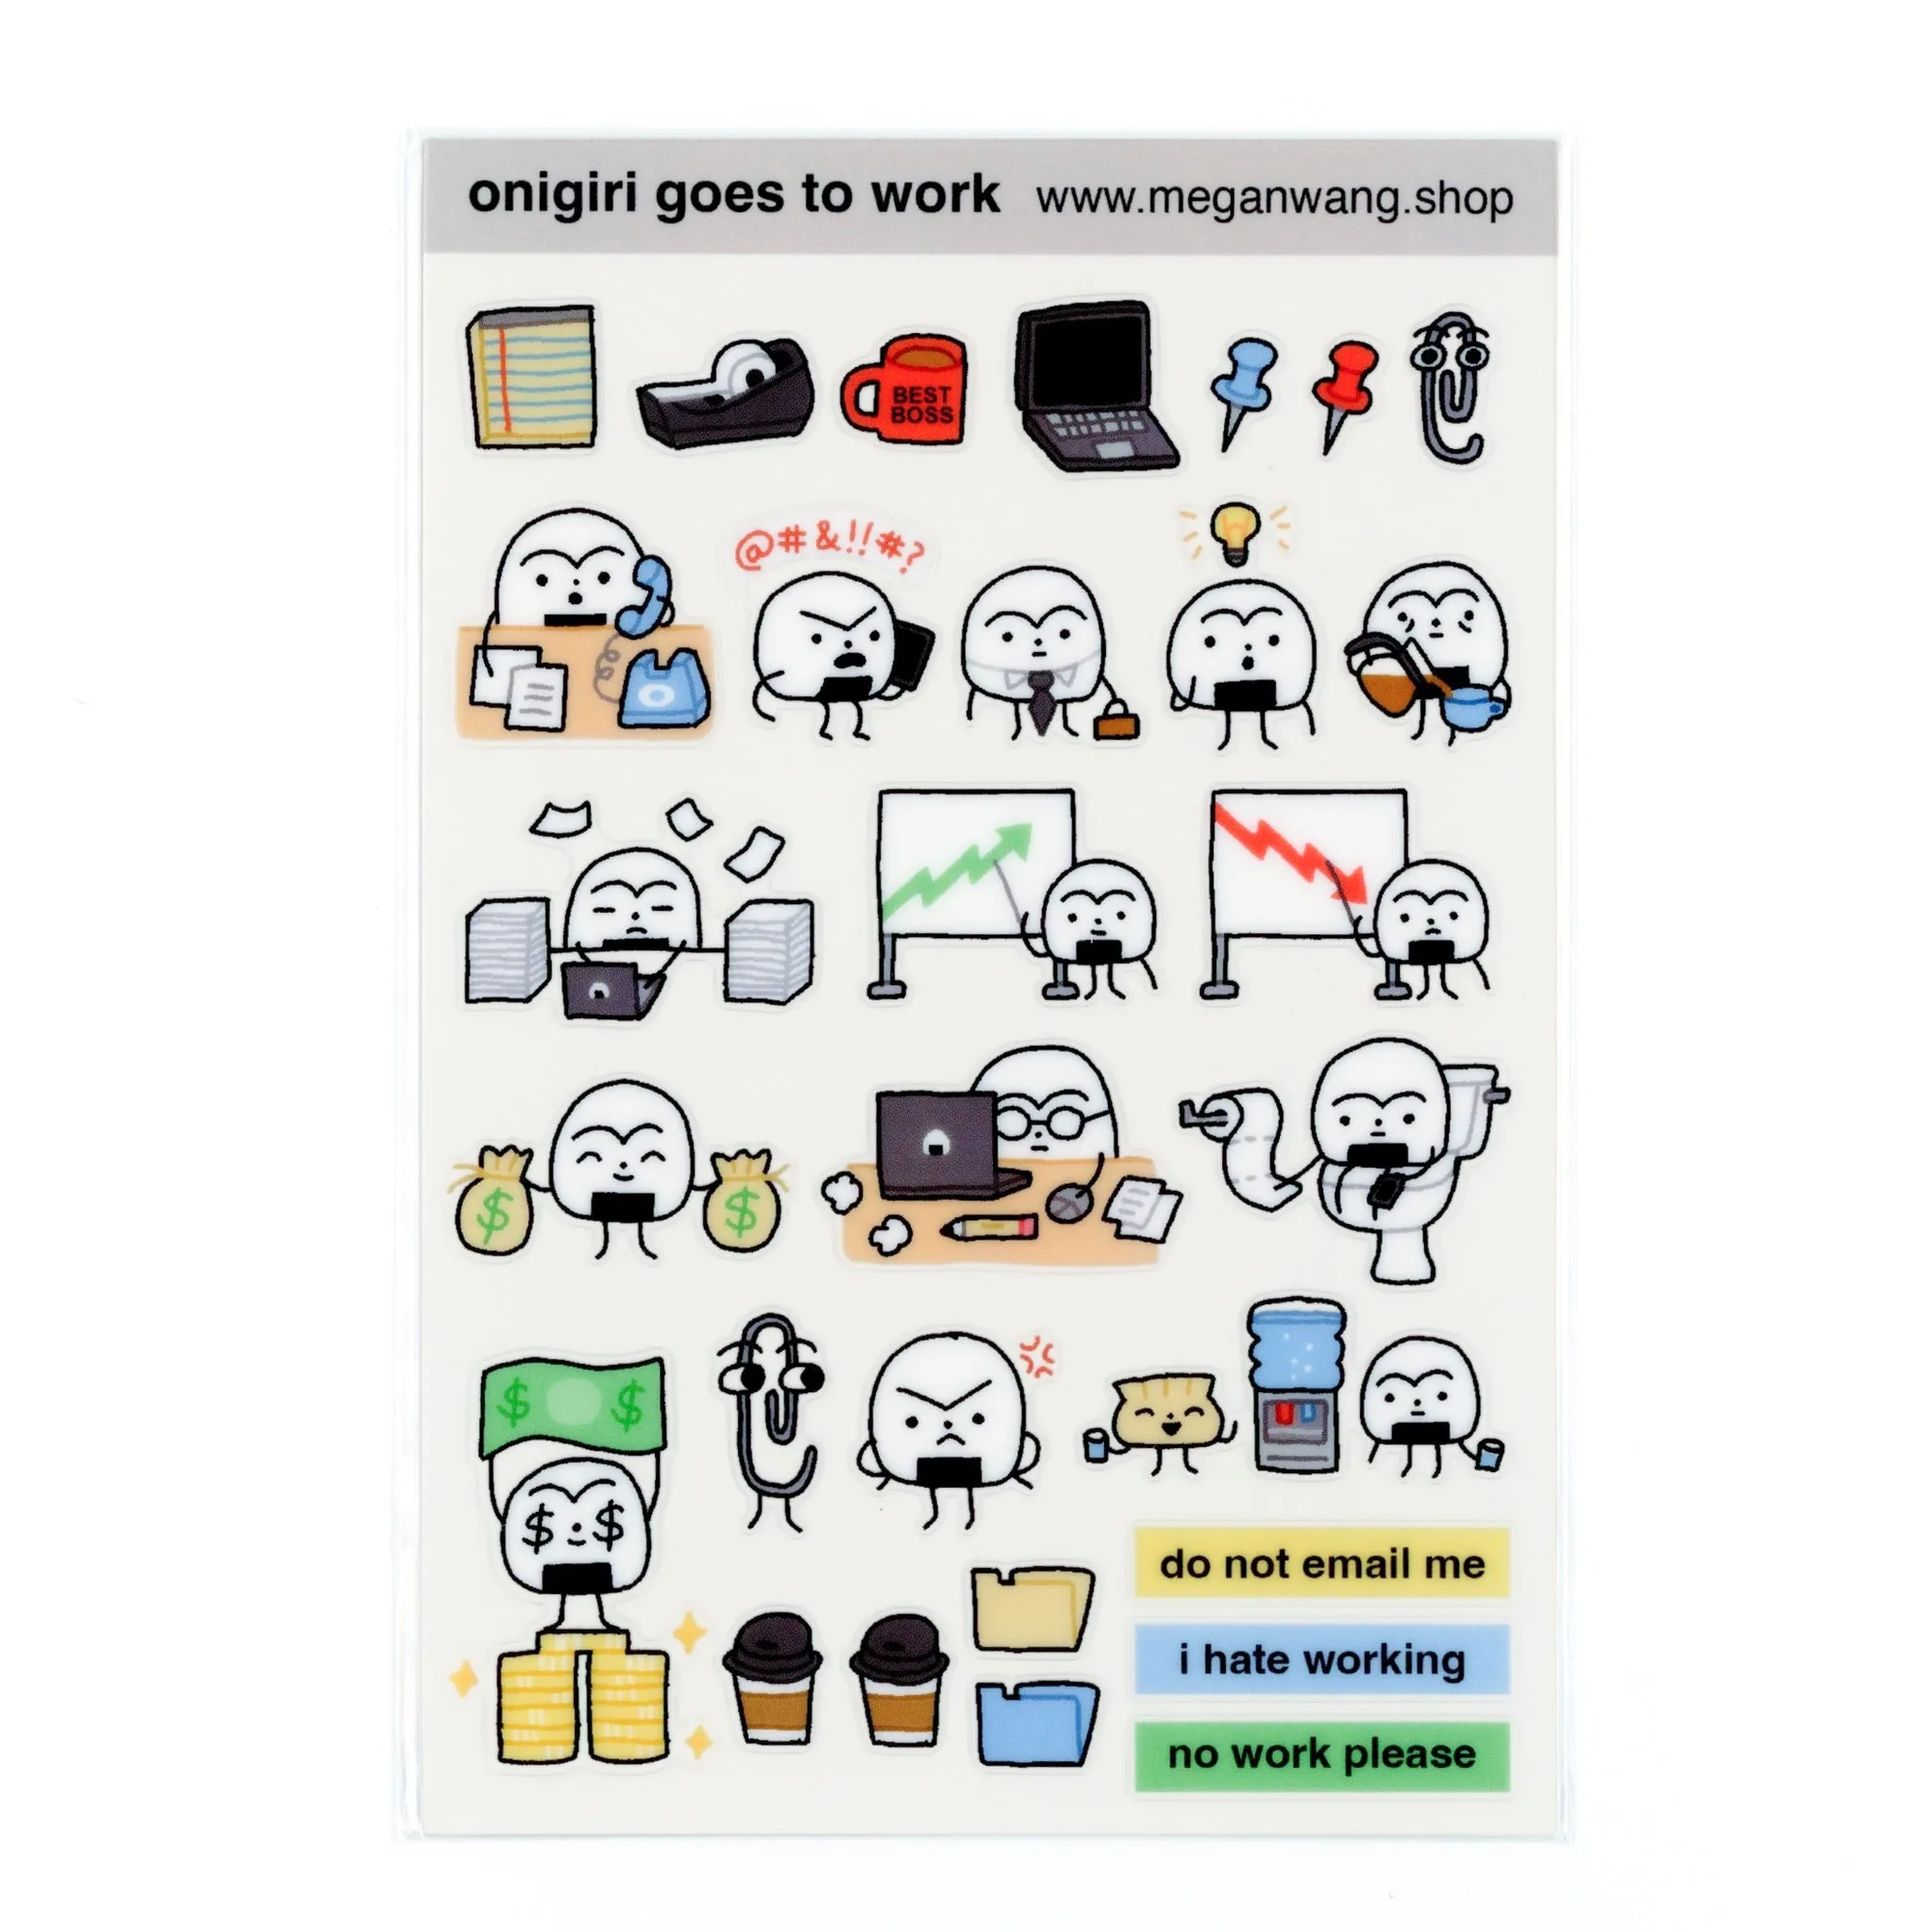
- Onigiri Work Sticker Sheet: ♣ 4x6 inch CLEAR sticker sheet printed onto a clear vinyl that is thinner and meant for use in planners, journals, and other paper goods. The clear background lets you layer the Onigiri Artist Stickers without adding extra color, perfect for creating depth in a themed layout.
With a little planning and the right tools, your Onigiri Artist Sticker collage will become a standout piece of personal art. Follow the steps, watch out for common pitfalls, and enjoy the creative process.