Quick answer
Measure your dog's length and height, then add at least 12 inches to each dimension to pick a kennel size. Level the ground, assemble the panels on a flat surface, and anchor the frame before attaching the roof.
Why size matters before you buy
An outdoor dog kennel with roof needs enough room for your dog to stand, turn around, and lie down comfortably. A cramped kennel stresses your dog and defeats the purpose of outdoor time. A kennel that is too large for a small dog can also feel unsafe, so match the size to your dog's build, not just the yard space.
Welded wire vs. other materials
Welded wire dog kennels offer better ventilation and visibility than solid-panel runs, which helps your dog stay calm. The welded grid also resists bending and rust better than chain-link for long-term outdoor use. The trade-off is less privacy and wind protection, so position the kennel near a fence or wall if your dog needs a quieter spot.
How to size and set up your outdoor dog kennel with roof
- 1. Measure your dog for the right kennel size: Measure your dog from nose to tail base (length) and from floor to top of head (height). Add at least 12 inches to each measurement. Compare that to the kennel's interior dimensions. For example, a 4 x 6 kennel offers 16.1 sq. ft, while a 6 x 6 gives 35.5 sq. ft. A common mistake is buying a kennel that fits the yard but not the dog. Always measure your dog first.
- 2. Choose a level, well-drained location: Pick a spot that is flat, away from low areas where water pools. Avoid placing the kennel directly under trees to prevent falling branches and sap. If the ground is uneven, use a shovel or tamper to level a 6-inch-deep gravel base before assembly. A sloped site can cause the frame to twist and the roof to collect water. Leveling prevents structural stress.
- 3. Assemble the panels on a flat surface: Lay out all welded wire panels on the ground in the correct order. Connect them using the included hardware (usually bolts or clips). Hand-tighten all fasteners first, then go back and fully tighten with a wrench. Do not skip the corner brackets—they add rigidity. Tightening one corner fully before the others can warp the frame. Keep all fasteners loose until the frame is square.
- 4. Anchor the kennel to the ground: Use ground stakes (often included or sold separately) at each corner and along long sides. Drive stakes at a slight outward angle for better hold. On concrete or decking, use masonry anchors or screw-in tie-downs. A kennel that is not anchored can shift in wind or when your dog leans on the panels. Skipping anchors is the most common setup failure. A loose kennel becomes a tipping hazard.
- 5. Attach the roof cover securely: Drape the waterproof, UV-resistant PE-coated cover over the frame. Fasten it with the provided ties or bungees at every attachment point. Pull the cover taut so water runs off rather than pooling. Check that no sharp wire edges poke through the cover. A loose cover can flap in wind and tear. Re-tension the cover after the first rain to ensure a good fit.
Product facts
-
Outdoor Dog Kennel with Roof, 4 X 6' Heavy Duty Welded Wire Dog: This outdoor dog kennel with roof provides a 16.1 sq. ft activity area. That is suitable for small to medium breeds up to about 30 lbs; for larger dogs, consider the 6 x 6 option.
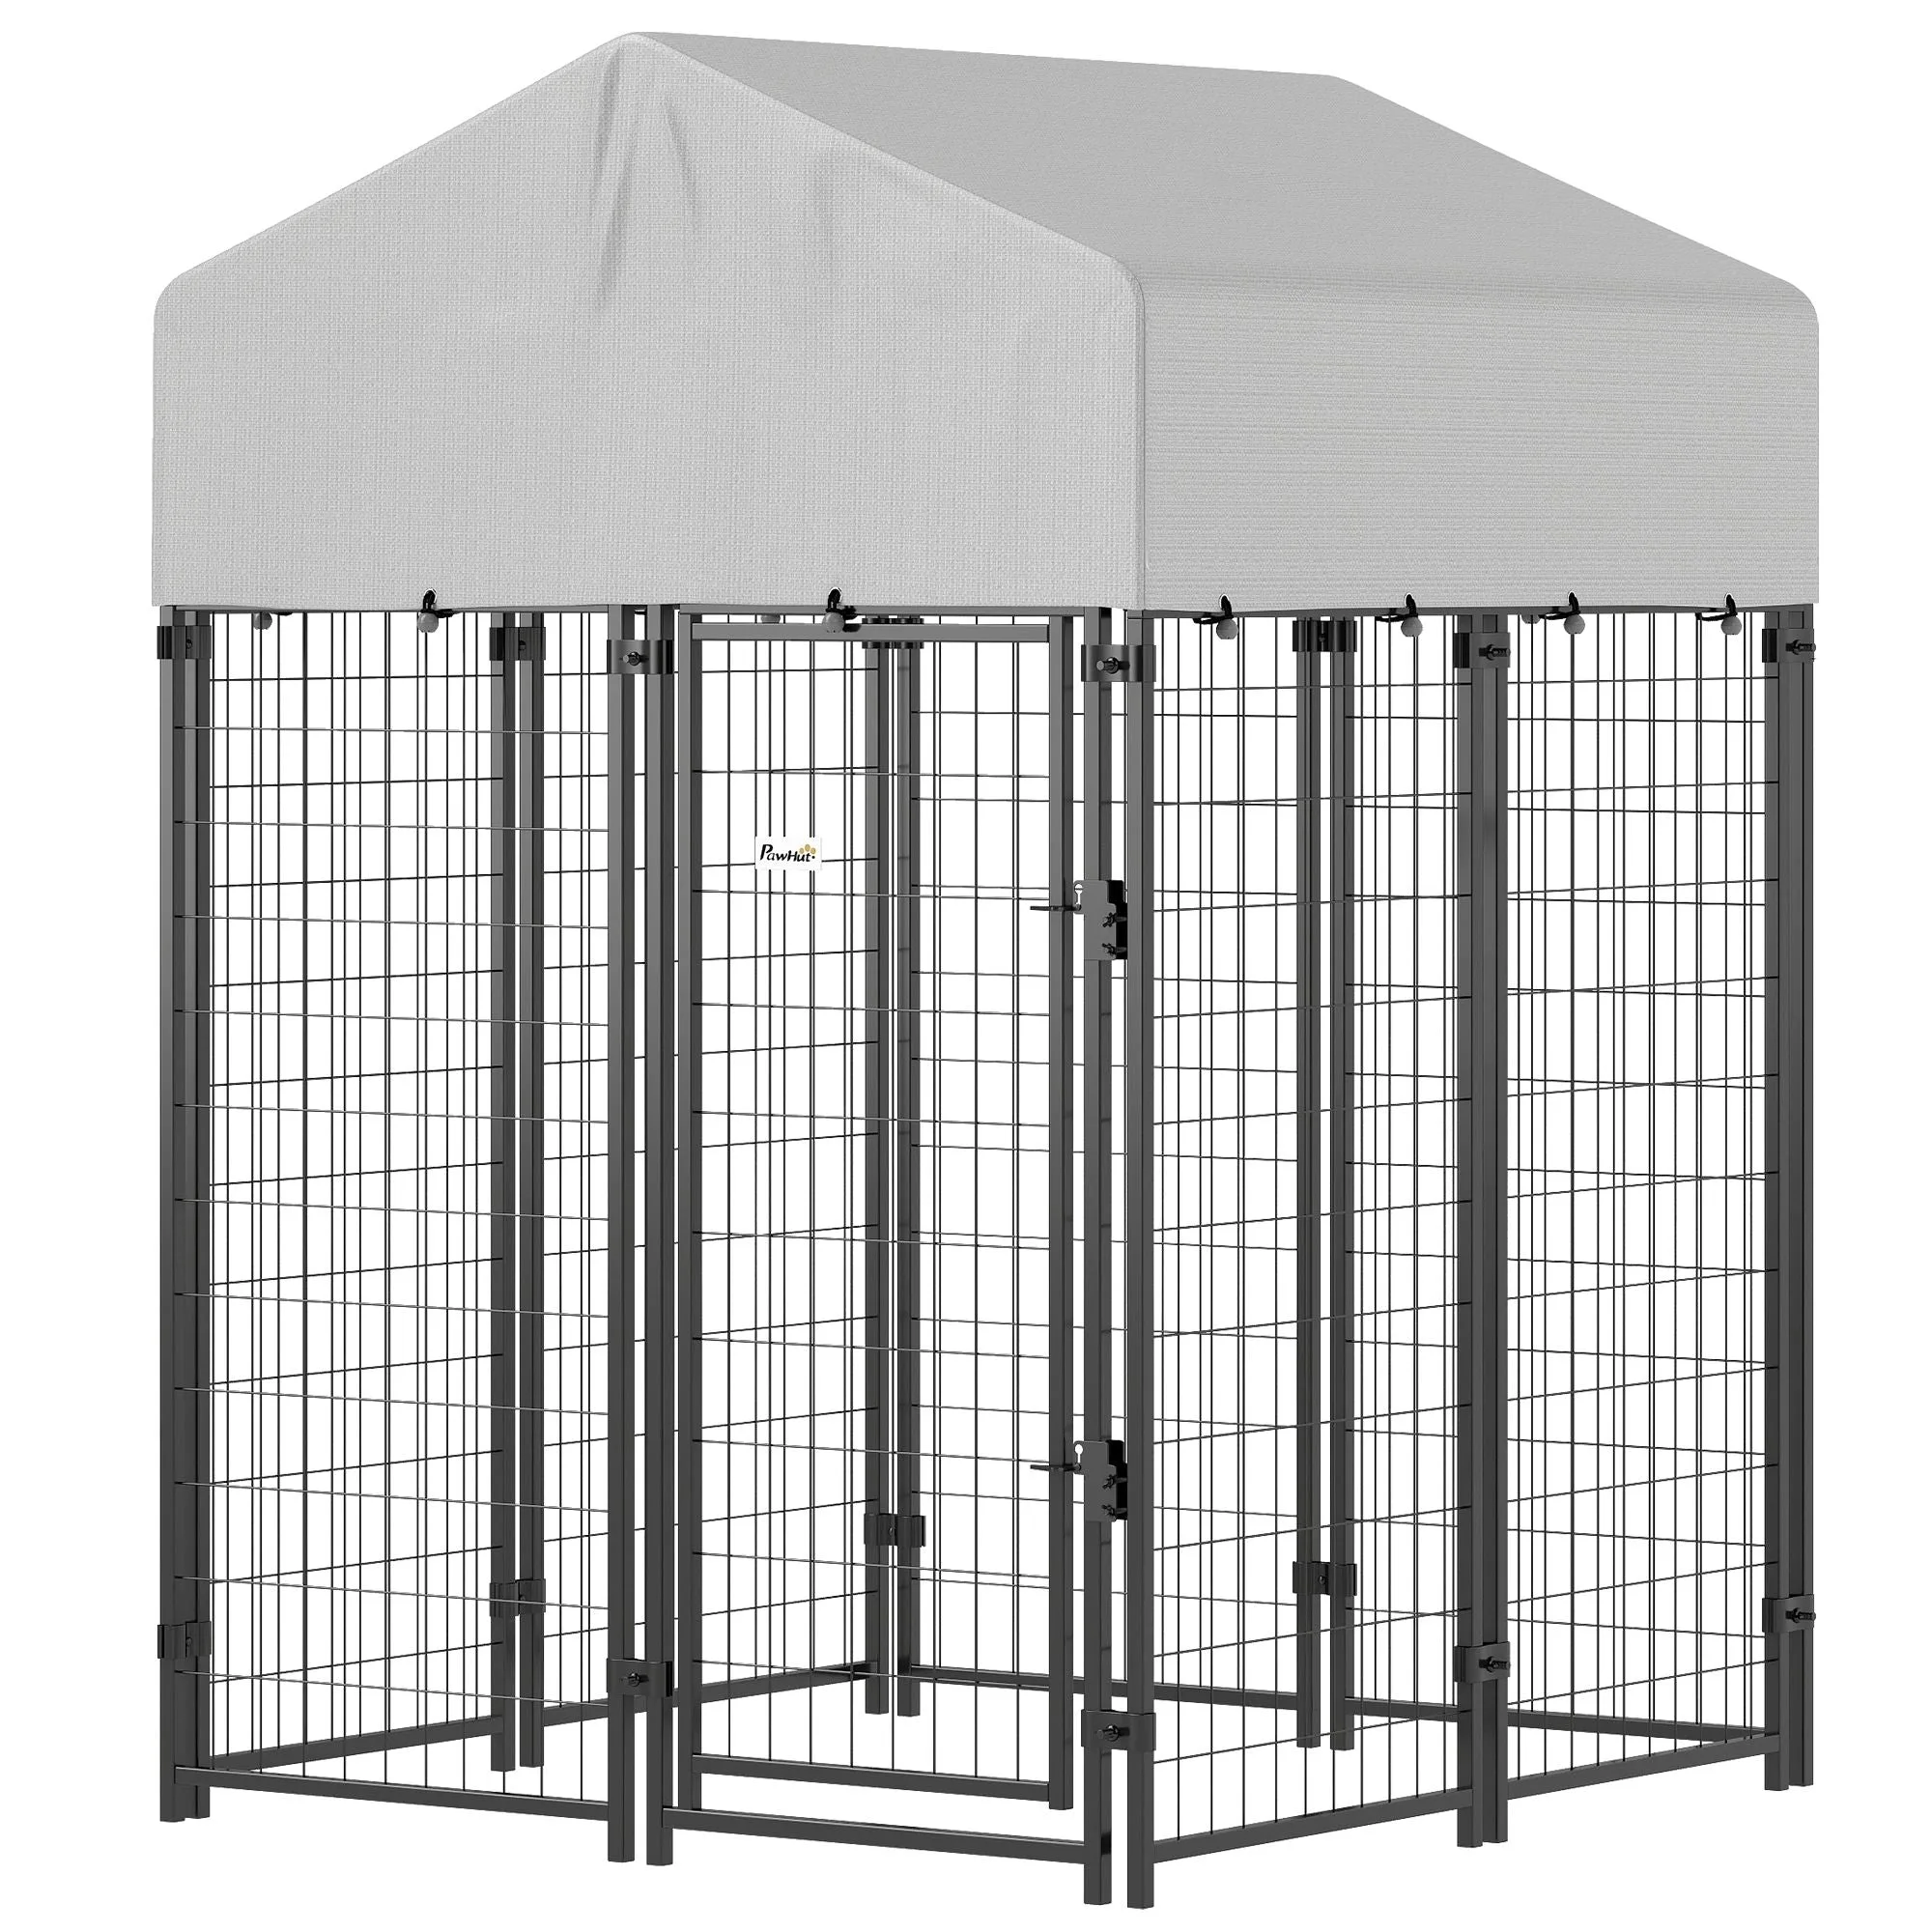
Outdoor Dog Kennel with Roof, 4 X 6' Heavy Duty Welded Wire Dog
-
Outdoor Dog Kennel with Roof, 6 X 6' Heavy Duty Welded Wire Dog, Style CLGG: This outside dog kennel with roof provides a 35.5 sq. ft activity area. The larger floor space comfortably accommodates medium to large breeds and gives them room to move during outdoor breaks.
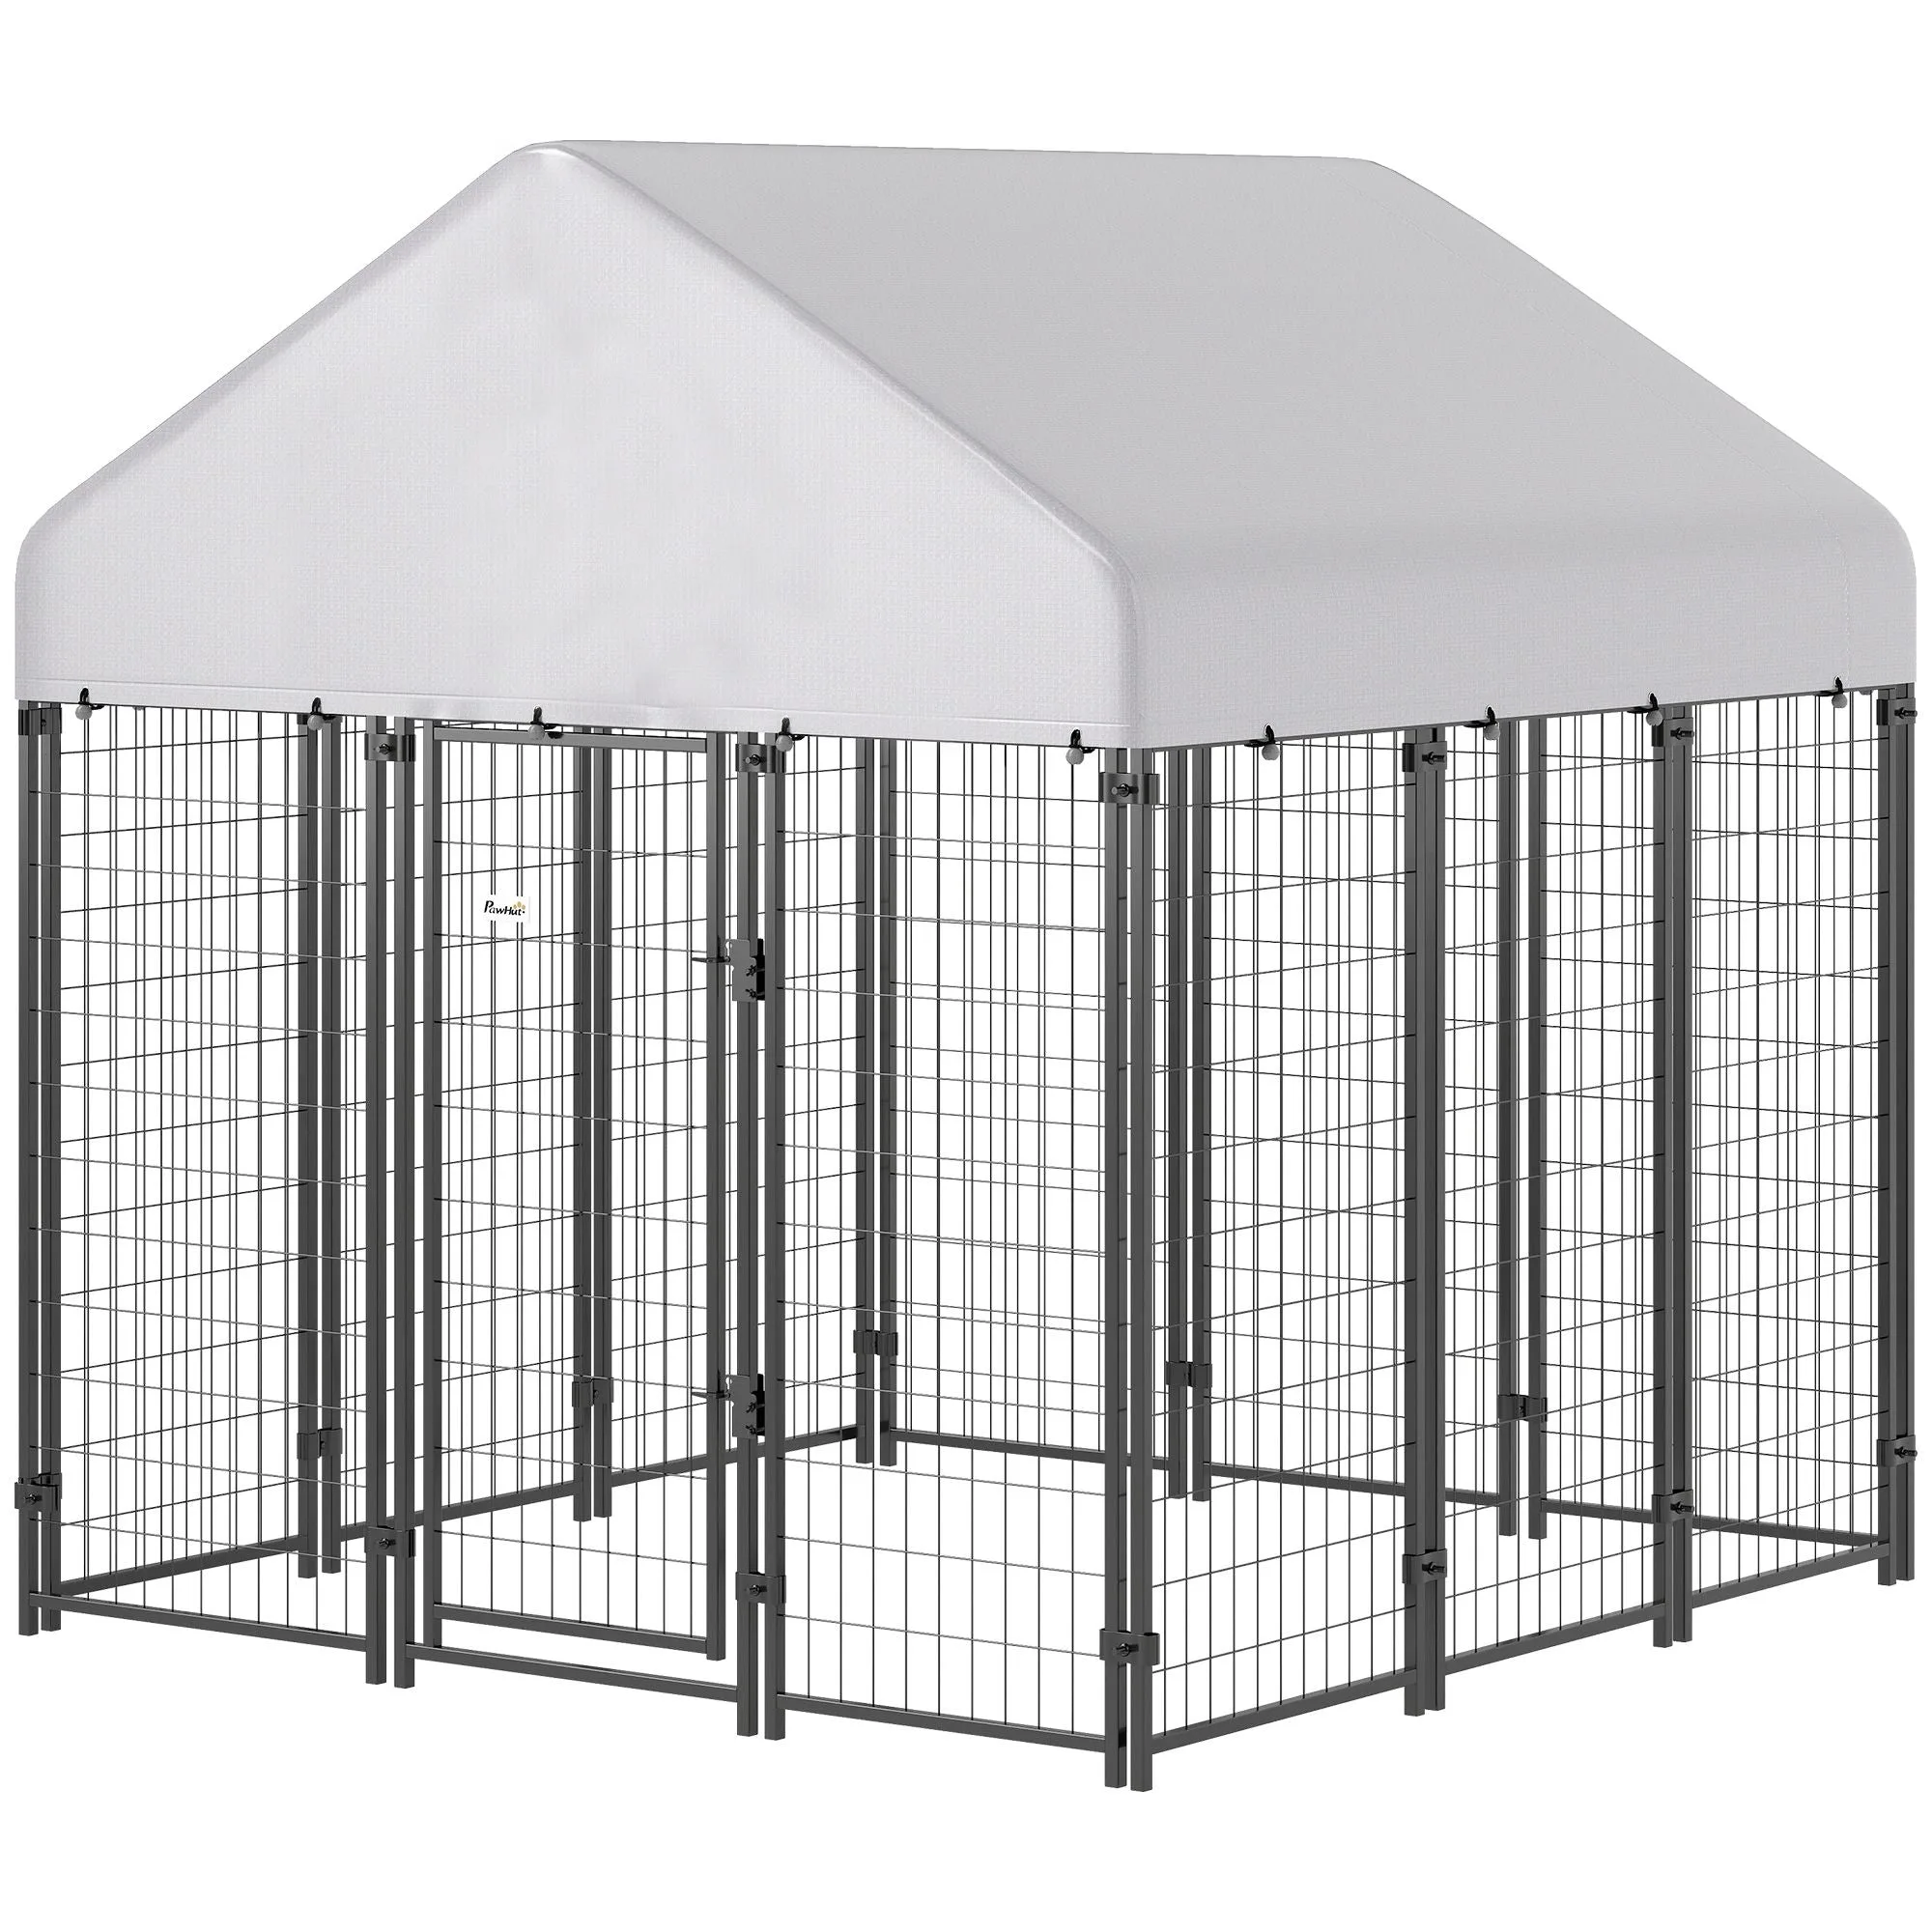
Outdoor Dog Kennel with Roof, 6 X 6' Heavy Duty Welded Wire Dog, Style CLGG