Quick answer
Most oxygen sensor bungs use an M18 x 1.5 thread, so an m18x1.5 bung plug is the correct size for standard O2 sensors. If you have an unused bung, plug it to prevent exhaust leaks and check engine lights. Use a new crush washer or high-temp sealant, and torque to about 18-22 ft-lbs.
Identify your bung thread size
Before buying a plug, confirm the thread size. The vast majority of oxygen sensor bungs are M18 x 1.5 (18mm diameter, 1.5mm pitch). Some older or specialized vehicles may use M12 x 1.25 or 1/2-20 UNF, but these are rare. If you're unsure, check your vehicle's service manual or measure the bung's inside diameter with calipers. A thread pitch gauge can also help. When in doubt, M18 x 1.5 is the safe bet for most cars and trucks.
Choose the right plug material and features
Oxygen sensor bung plugs are typically made from mild steel or stainless steel. Stainless steel resists corrosion better, especially in areas exposed to road salt or moisture. Some plugs come with a copper crush washer for sealing, while others rely on a tapered seat or require high-temp sealant. For a leak-free fix, a plug with a crush washer is easiest. Avoid using a standard bolt; it may not seal properly and can seize over time.
Install the plug correctly
Start by cleaning the bung threads with a wire brush to remove carbon and rust. Apply a small amount of high-temp anti-seize to the plug threads to prevent galling, but avoid getting it on the sensor tip area. Thread the plug in by hand to avoid cross-threading, then tighten with a wrench. If using a crush washer, tighten until the washer compresses. For tapered seats, snug it down firmly. Finally, start the engine and check for leaks around the plug.
Fix a leaky O2 bung
If you already have a plug and it leaks, first check if it's tight. If it's tight and still leaks, the threads may be damaged or the plug may be the wrong size. Remove the plug, inspect the threads, and if they're stripped, you may need to re-tap the bung or weld in a new one. For minor leaks, a high-temp silicone sealant designed for exhaust can help, but it's a temporary fix. For a permanent repair, replace the bung or use an oversized plug if available.
Step-by-step: How to plug an unused O2 bung
- Clean the bung threads: Use a wire brush or thread chaser to remove carbon, rust, and old sealant. A clean thread ensures a proper seal and prevents cross-threading. Checkpoint: Threads should look shiny and free of debris.
- Apply anti-seize to the plug: Put a small amount of high-temp anti-seize on the plug's threads. This prevents seizing and makes future removal easier. Avoid getting anti-seize on the tip if the plug has a sensor-like tip. Checkpoint: A light coating is enough; excess can contaminate the exhaust.
- Thread the plug in by hand: Start threading the plug by hand to avoid cross-threading. It should turn smoothly. If it binds, back it out and clean the threads again. Checkpoint: The plug should go in at least a few turns by hand.
- Tighten with a wrench: Once hand-tight, use a wrench to snug it down. If using a crush washer, tighten until the washer compresses (about 18-22 ft-lbs). For tapered seats, tighten firmly but don't overtighten. Checkpoint: Do not exceed 25 ft-lbs to avoid stripping.
- Start the engine and check for leaks: Run the engine for a minute and listen for hissing or popping around the plug. Feel for escaping exhaust gas (carefully). If you detect a leak, tighten slightly more or replace the washer. Next step: If leak persists, remove and inspect threads; consider a new plug or bung repair.
Product facts
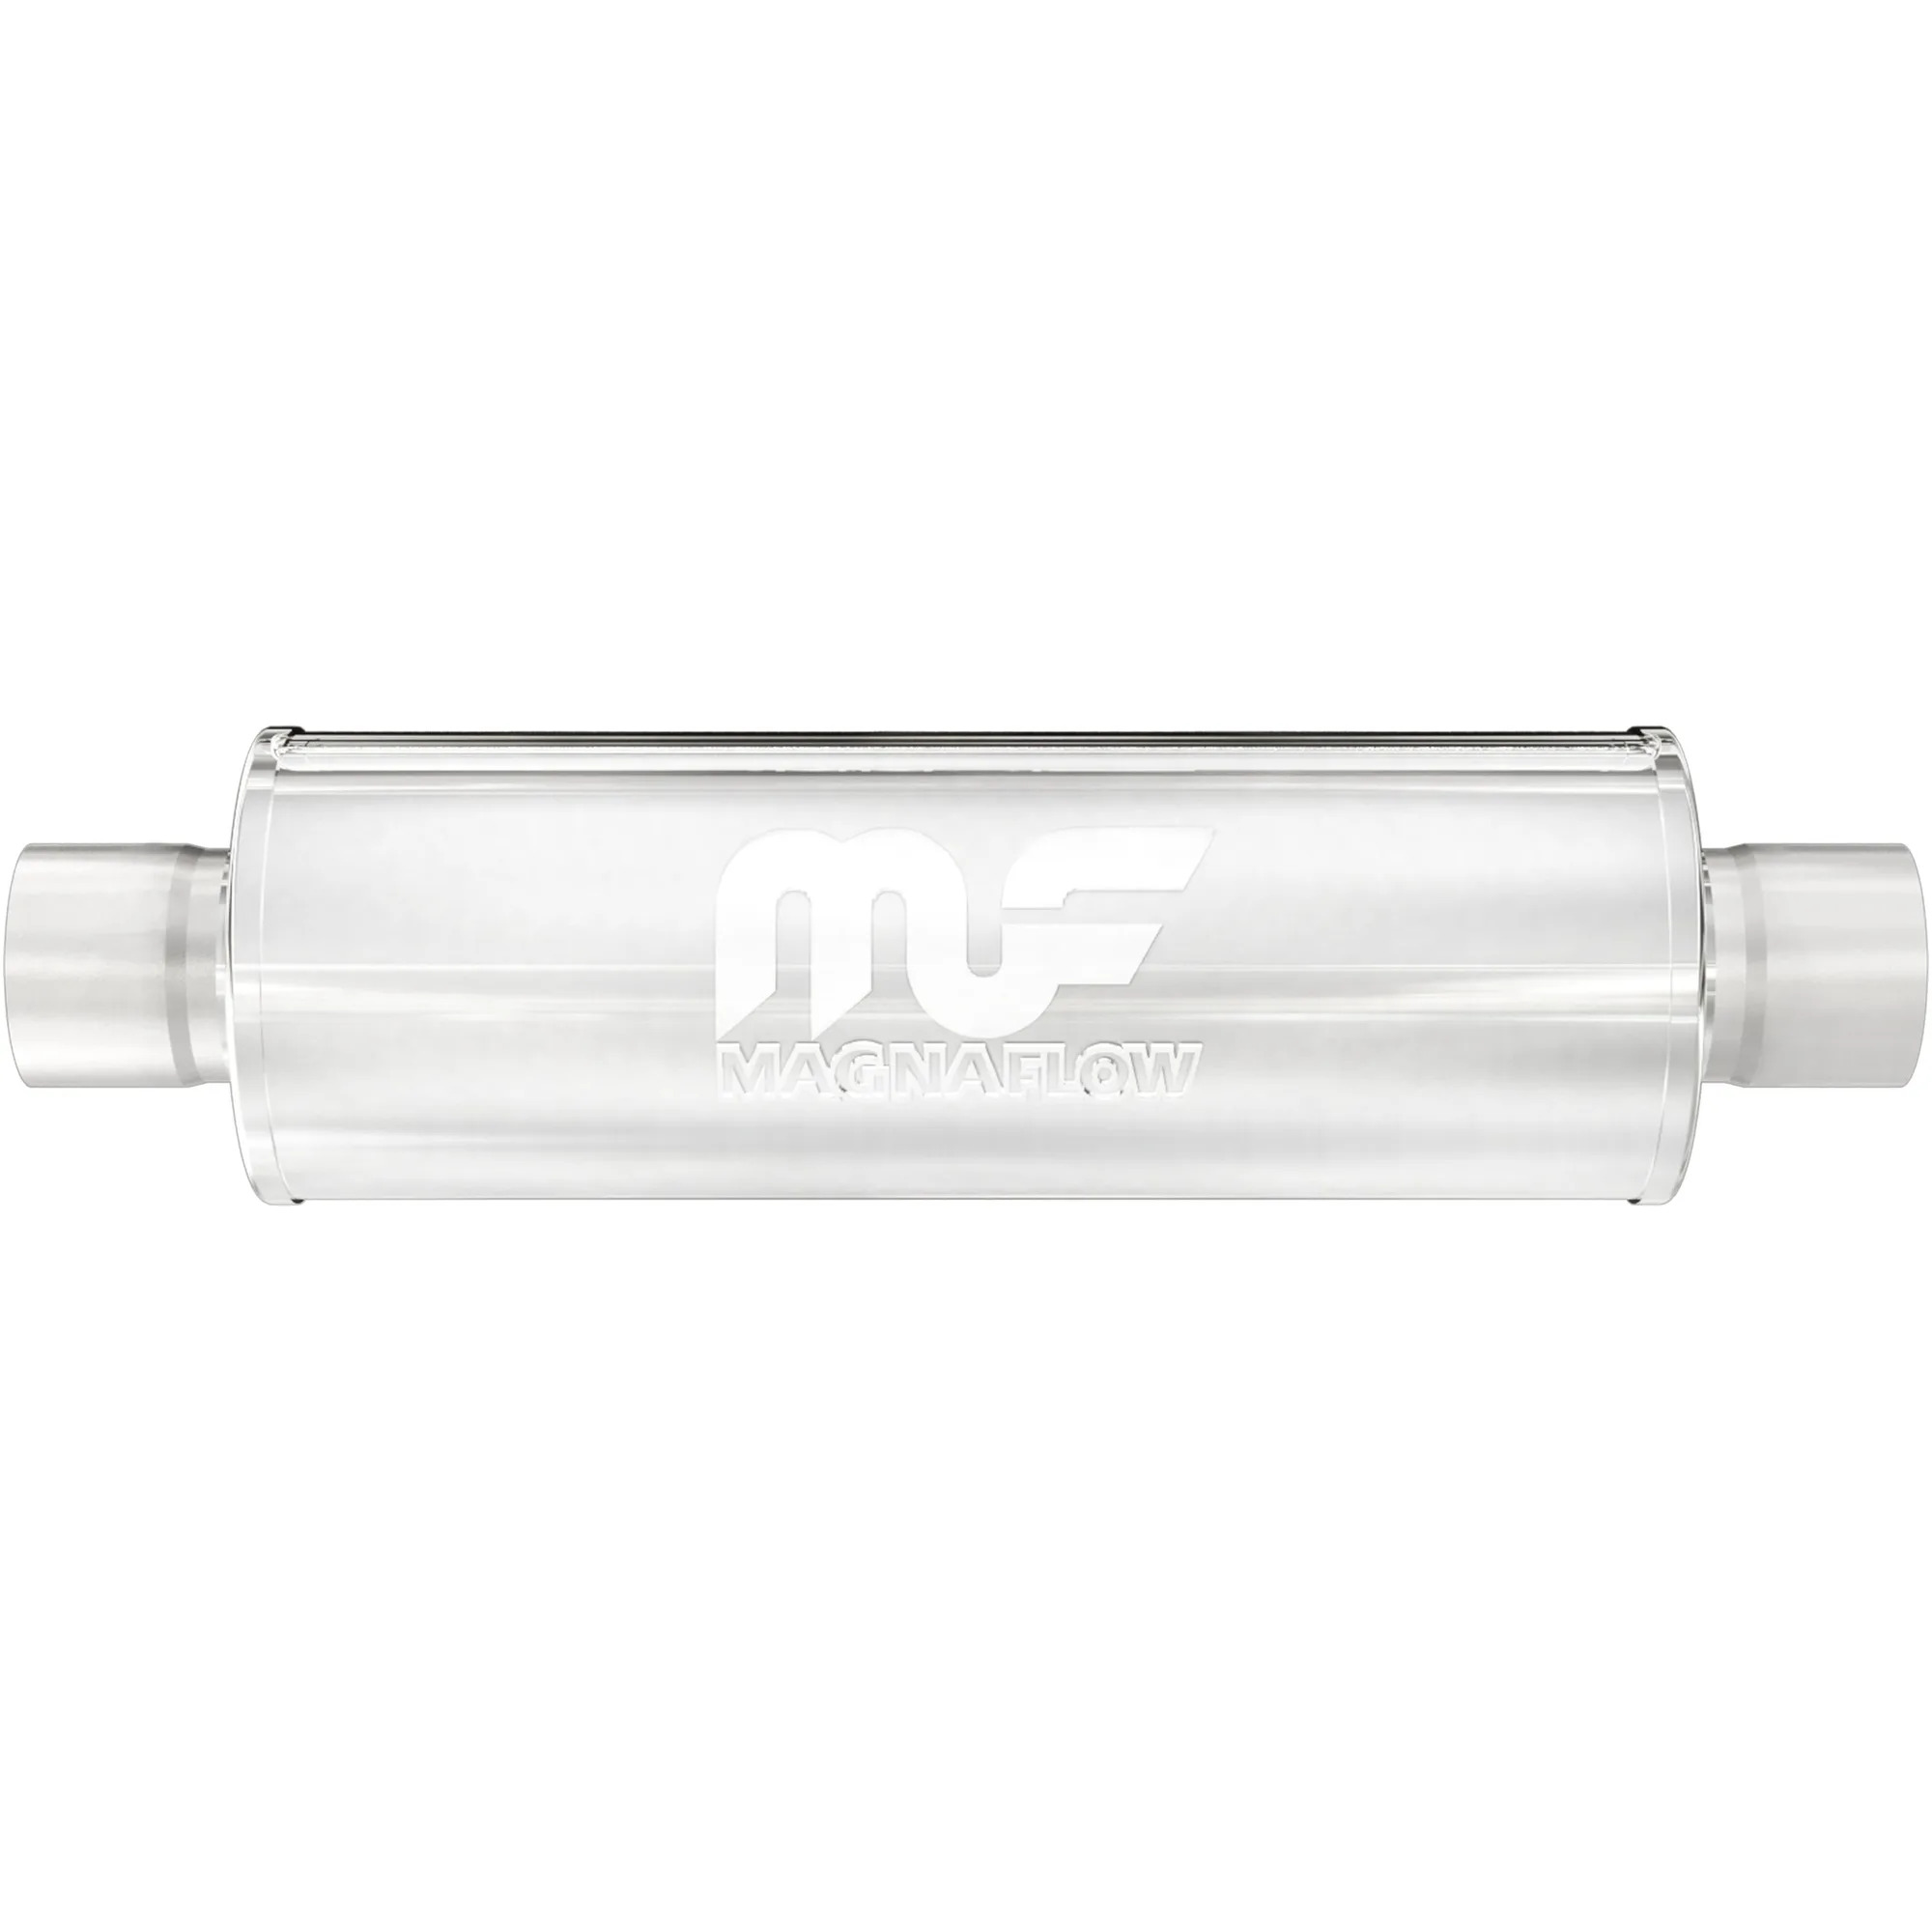
- MagnaFlow 4 in. x 14 in. Round Straight-Through Performance Exhaust Muffler 10419: MagnaFlow 4 in. x 14 in. Round Straight-Through Performance Exhaust Muffler 10419 has a reversible, universal 3/3in. diameter inlet/outlet layout and a premium satin finish. If you're upgrading your exhaust and need to plug an unused bung, this muffler's universal design gives you flexibility in custom setups.