For WWII reenactors, few pieces of equipment are as iconic—or as frequently mishandled—as the German MP40 magazine pouch. These field gray pouches, designed to carry three 32-round magazines each, are essential for any authentic German assault pack or infantry loadout. Yet many reenactors struggle with proper packing, positioning, and integration with other gear like the M1923 Cartridge Belt or the German Ammunition Can Bags. This guide will walk you through everything you need to know to wear your MP40 pouches correctly, from the correct number of magazines to the right way to attach them to your belt.
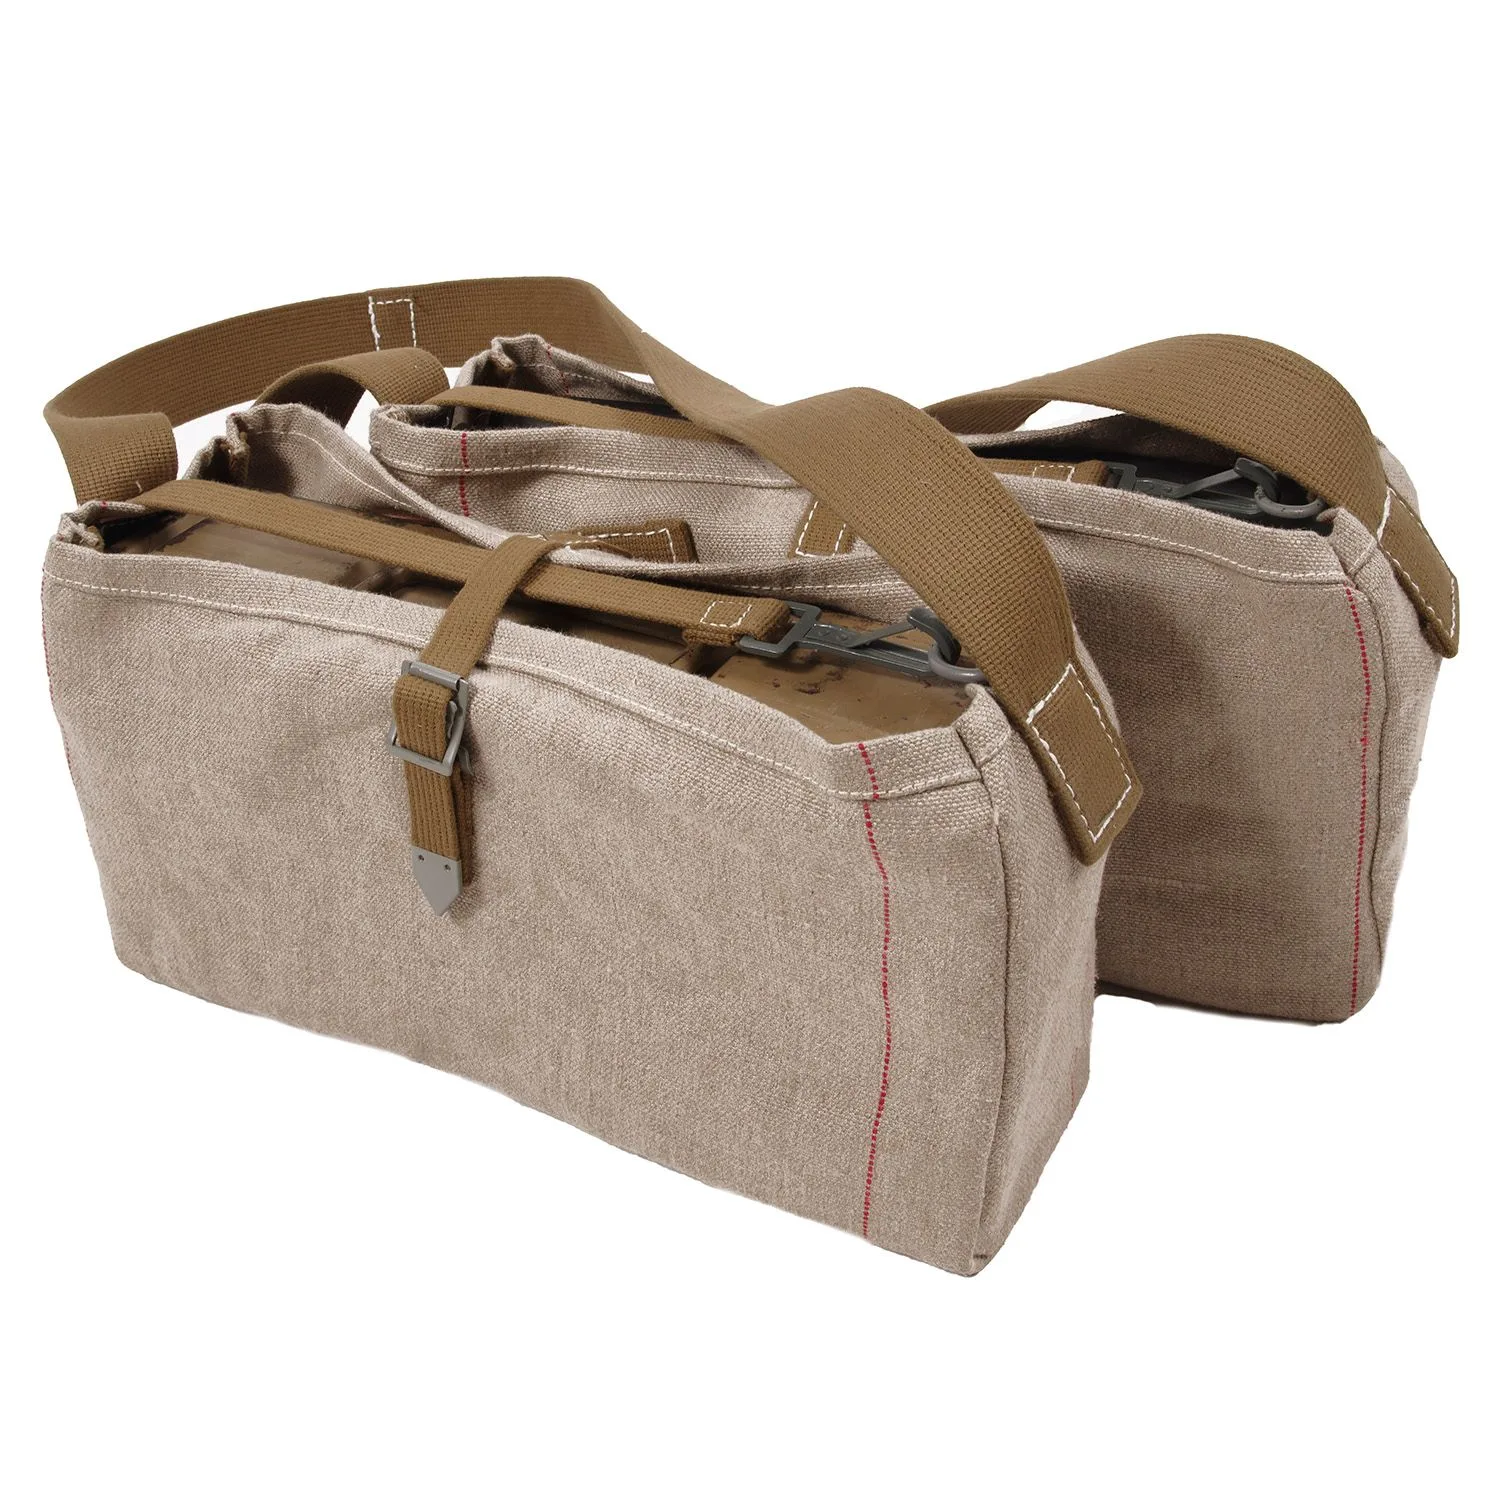
German Ammunition Can Bags
Whether you are portraying a late-war Volksgrenadier or a classic Fallschirmjäger, getting the details right on your MP40 pouches can elevate your impression from amateur to museum-quality. We will cover historical context, step-by-step packing instructions, belt placement, and common mistakes to avoid. By the end, you will have the confidence to assemble a loadout that is both functional and historically accurate.
Understanding the MP40 Magazine Pouch Design
The standard German MP40 magazine pouch (often called the 'MP40 Tasche') was issued in pairs, one on each side of the belt buckle. Each pouch is constructed from durable canvas or leather, dyed in field gray, and features a flap secured by a leather tab or metal button. Inside, the pouch is divided into three compartments, each designed to hold one 32-round MP40 magazine. The pouches also include a small pocket on the front flap for a magazine loading tool or cleaning kit, though this detail is often overlooked by reenactors.
Historically, these pouches were worn on the front of the belt, positioned so that the magazines were accessible to both hands. The left-hand pouch held magazines with the bullets facing forward, while the right-hand pouch held them with bullets facing rearward—a detail that many reenactors miss. This orientation ensured smooth, rapid reloading without fumbling. For a truly authentic look, pay attention to these small but important nuances.
- Always use field gray pouches for a standard Heer or Waffen-SS impression; black leather was rare and usually for specific units.
- Check that your pouches have the correct number of compartments (three) and a front tool pocket.
Step-by-Step: How to Pack Your MP40 Pouches
Proper packing is crucial for both functionality and historical accuracy. Start by ensuring your magazines are clean and free of debris. Insert each magazine into its compartment with the bullet tips oriented correctly: for the left pouch, bullets face forward (toward your front), and for the right pouch, bullets face rearward (toward your back). This orientation allows you to grab the magazine by the base and insert it into the MP40 without rotating it. Some reenactors also add a small piece of foam or cloth at the bottom of each compartment to prevent rattling, but this is a modern convenience not found on original gear.
Once the magazines are inserted, close the flap and secure it with the leather tab or button. The flap should fit snugly without excessive force. If your pouches are reproduction, you may need to break in the leather or canvas by lightly conditioning them with a product like Griffin Shoe Polish, Brown, which can also help achieve the correct aged field gray appearance. Avoid overstuffing the pouches—three magazines per pouch is the standard, and carrying more can damage the stitching or make the flap impossible to close.
Griffin Shoe Polish, Brown
- Use only genuine or high-quality reproduction MP40 magazines; avoid using dummy rounds unless they are period-correct.
- Consider adding a small leather strap to secure the flap further if your reproduction pouch lacks a tight fit.
Wearing the Pouches: Belt Placement and Integration
The MP40 pouches are worn on the front of your belt, typically positioned between the belt buckle and your hip bones. The left pouch sits to the left of the buckle, the right pouch to the right. They should be attached using the belt loops on the back of the pouches, which slide onto your belt. For a standard German Y-strap setup, the pouches sit just under the straps, allowing easy access. If you are using a broader belt like the Trouser Belt w/ buckle, White (often used for parade or dress uniforms), ensure the pouches are compatible with the belt width.
Integration with other gear is key. Many reenactors pair their MP40 pouches with a M1923 Cartridge Belt for extra ammunition storage or with German Ammunition Can Bags for carrying additional magazines or grenades. However, avoid overcrowding the front of your belt—leave enough space to kneel, crawl, and move naturally. The pouches should sit at waist level, not riding up toward your ribs. Adjust your belt tension so the pouches stay in place without sagging.
- Test your loadout by performing basic infantry movements (kneeling, prone, running) to ensure the pouches don't shift or hinder your motion.
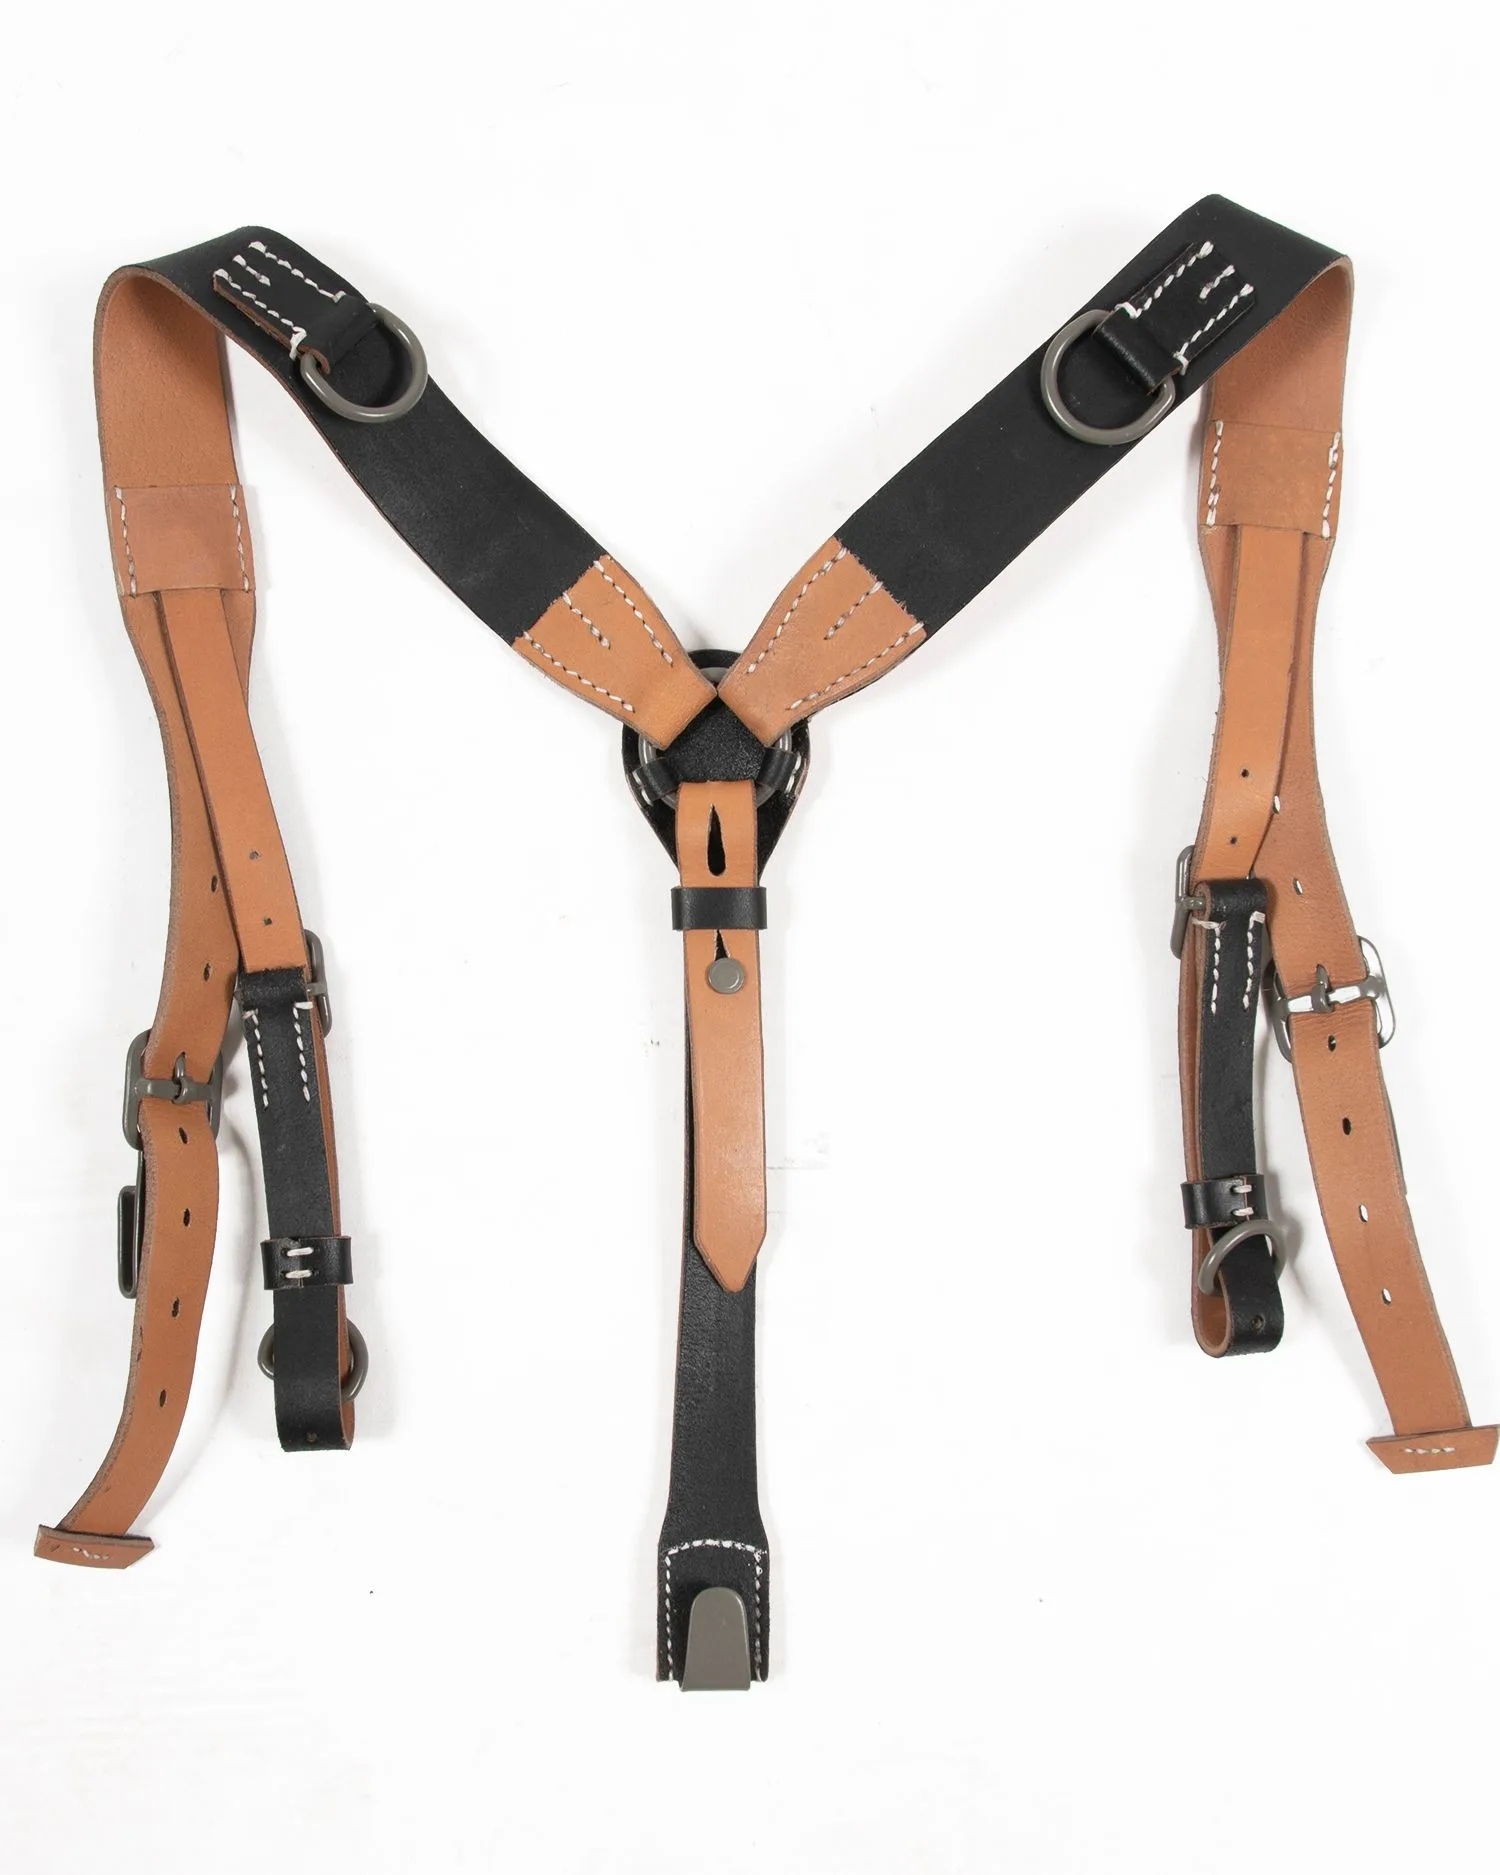
- If using a Y-strap, attach the pouches after the straps are in place to avoid twisting.
Common Mistakes and How to Avoid Them
One of the most frequent errors is wearing the pouches too far to the sides, which makes them difficult to access and looks sloppy. Another is mixing pouch types—for example, using a leather pouch on one side and canvas on the other, which was rarely done in the field. Also, avoid using modern tactical pouches or non-period-correct materials; stick to field gray canvas or leather reproductions. Finally, some reenactors forget to include the front tool pocket, which is a small but noticeable detail that adds authenticity.
Another common mistake is incorrect magazine orientation. If you place all magazines with bullets facing the same direction, you will have to rotate the magazine during reloading, slowing you down. Practice drawing from both pouches to get a feel for the correct orientation. Lastly, ensure your pouches are not too loose or too tight on your belt—they should slide slightly but not flop around. If needed, add a small piece of leather or rubber behind the belt loops to create a snug fit.
- Always check reference photos of the specific unit and time period you are portraying—pouch variations existed between early and late war.
- Avoid using pouches with incorrect hardware (e.g., plastic buttons on a reproduction intended to look like original metal).
Caring for Your MP40 Pouches to Ensure Longevity
Like all reproduction gear, your MP40 pouches will last longer with proper care. Canvas pouches can be gently brushed to remove dirt and dust, and spot-cleaned with a damp cloth. Leather pouches benefit from occasional conditioning with a neutral or brown leather conditioner—avoid heavy oils that can darken the leather unevenly. If you need to restore the field gray color, a light application of Griffin Shoe Polish, Brown can help blend wear and tear. Store your pouches in a cool, dry place away from direct sunlight to prevent fading and cracking.
For canvas pouches, avoid machine washing or soaking, as this can shrink the material and distort the shape. Instead, use a soft brush and mild soap if necessary. Always air dry completely before storing. If your pouches develop loose stitching, repair them promptly with a heavy-duty needle and thread to prevent further damage. Proper care will keep your pouches looking authentic for years of reenactments.
- Check the metal hardware (buttons, rivets) for rust and clean with a dry cloth or fine steel wool.
- Store pouches with a magazine inside to help maintain their shape, but remove the magazine for long-term storage to avoid stress on the seams.
Mastering the packing and wearing of your German MP40 pouches is a small but significant step toward a more authentic reenactment impression. By paying attention to magazine orientation, belt placement, and integration with other gear like the Trouser Belt w/ buckle, White, you can ensure your loadout looks and functions like the real thing. For a complete and historically accurate setup, explore our selection of field gray pouches and other essential reenactment gear to bring your impression to life.