Quick answer
Touch up wall paint with the same product, sheen, and batch if possible. Clean the area, feather the edges, and apply thin coats with a small roller rather than a brush. If the patch still looks different, the issue is usually sheen, lighting, or batch variation—not your technique.
Why touch-up paint looks different (and what you can control)
A touch-up can look different for four reasons: sheen mismatch, batch variation, application method, and lighting angle. Sheen is the most common culprit. A flat or matte paint touches up more invisibly than an eggshell or satin, because lower sheen scatters less light and hides brush marks. If your wall is eggshell, expect a slight halo unless you blend the edges.
Batch variation is real. Paint manufactured at different times can vary slightly in color, even with the same formula. If you have leftover paint from the original job, use it. If not, a fresh can may be a close but not perfect match. This is a limitation you cannot fix with technique alone.
Application method matters because a brush leaves a different texture than a roller. A small foam roller or a mini roller with the same nap as the original application will match the stipple better. For tiny chips, a artist's brush can work, but blend the edges with a dry brush or your finger to avoid a hard line.
Finally, lighting changes everything. A patch that looks invisible under daytime sun may show under a lamp at night. Always check the repair from multiple angles and at different times of day before deciding it failed.
Step-by-step: How to touch up wall paint so it blends
Start by cleaning the area with a damp cloth and mild soap. Let it dry completely. If the chip has raised edges, sand them lightly with 220-grit sandpaper, then wipe away dust. For scuffs that are not chips, try a magic eraser first—sometimes the paint is intact and only the mark needs removal.
Next, match the finish. If you do not know your wall's sheen, test a small area in a closet or behind furniture. Clare's Greenish comes in multiple finishes, so check your original order or test a swatch. Once you have the right paint, stir it thoroughly—do not shake, which introduces bubbles.
Apply the paint in thin layers. Dip a small roller or brush lightly, then offload excess onto a paper plate. For a chip, dab the paint into the center and feather outward. For a scuff, roll lightly over the area, extending a few inches beyond the damage to blend. Let each coat dry completely before adding another. Two thin coats usually beat one thick coat.
If the touch-up still flashes, you can sometimes blend by rolling a slightly larger area with a dry roller to texture the edges. If that fails, the next step is repainting the entire wall or using a decorative solution like a picture or furniture to cover it.
When to stop and choose another option
Stop touching up when the patch looks worse than the original damage, or when you have applied more than three thin coats without improvement. More paint will not fix a sheen or batch mismatch; it will only create a raised texture.
If your wall is in a high-traffic area with many scuffs, spot-touching every mark can lead to a blotchy wall. In that case, repaint the entire wall for a uniform finish. If the wall is in a low-light hallway, a slightly visible touch-up may be acceptable—prioritize your time and budget.
For large chips or damaged drywall, touch-up paint alone will not hide the repair. You need to fill, sand, and prime before painting. Drop Cloth can protect your floors during that process, but it will not fix the wall.
Diagnose your touch-up problem
- Symptom: The touch-up looks lighter or darker than the wall: Likely cause: Sheen mismatch or batch variation. Corrective action: Check your original paint's sheen and batch. If you have leftover paint, use it. If not, try a test patch in a hidden area. If it still mismatches, repaint the wall. If the mismatch is subtle and in a low-light area, you may choose to live with it.
- Symptom: The touch-up has a visible outline or halo: Likely cause: Hard edges from brushing or rolling only the damaged spot. Corrective action: Feather the edges by rolling a slightly larger area with a dry roller or blending with a dry brush. Apply thin coats. If the halo persists after two attempts, stop and consider repainting the wall.
- Symptom: The touch-up looks fine in daylight but shows at night: Likely cause: Lighting angle reveals sheen differences. Corrective action: Check the repair under the lighting you use most. If it bothers you, repaint or move furniture to cover it. Accept that some touch-ups are only invisible under certain lighting.
Products that help with touch-ups
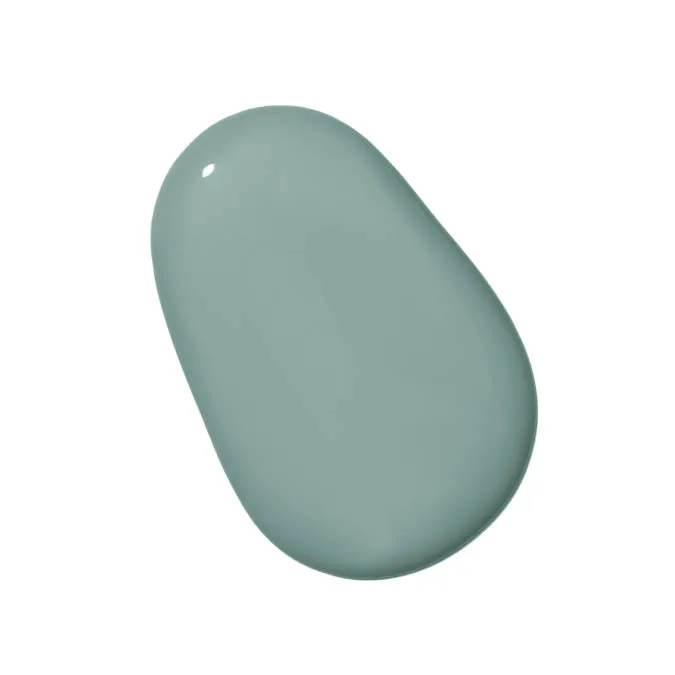
- Make Waves: A serene greenish blue that shifts with natural light, bringing different undertones to the surface. If your wall is this color, a touch-up may look different depending on the time of day, so test the repair under multiple lighting conditions before judging it.
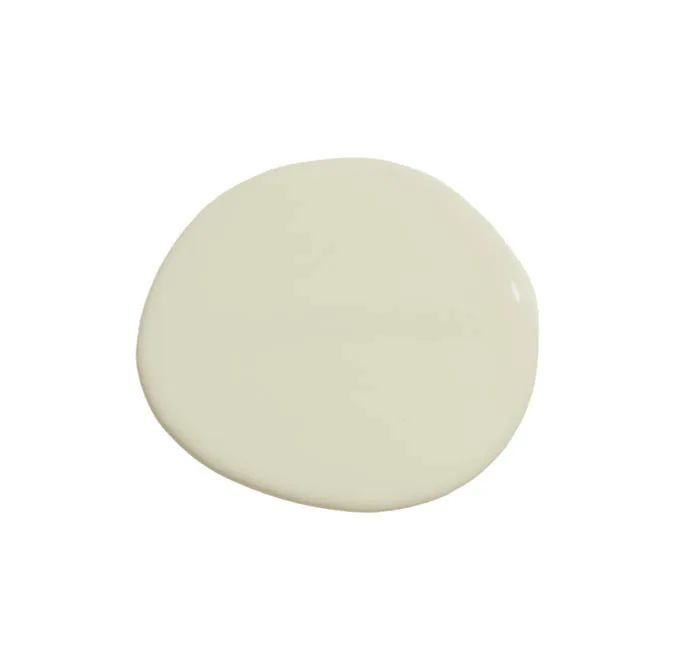
- Greenish: A barely-there green that acts as a neutral with a subtle twist, available in eggshell finish for a low-sheen, washable surface. Eggshell is easier to clean but slightly more likely to show touch-up halos than flat. If you have this finish, blend edges carefully and expect a small difference.
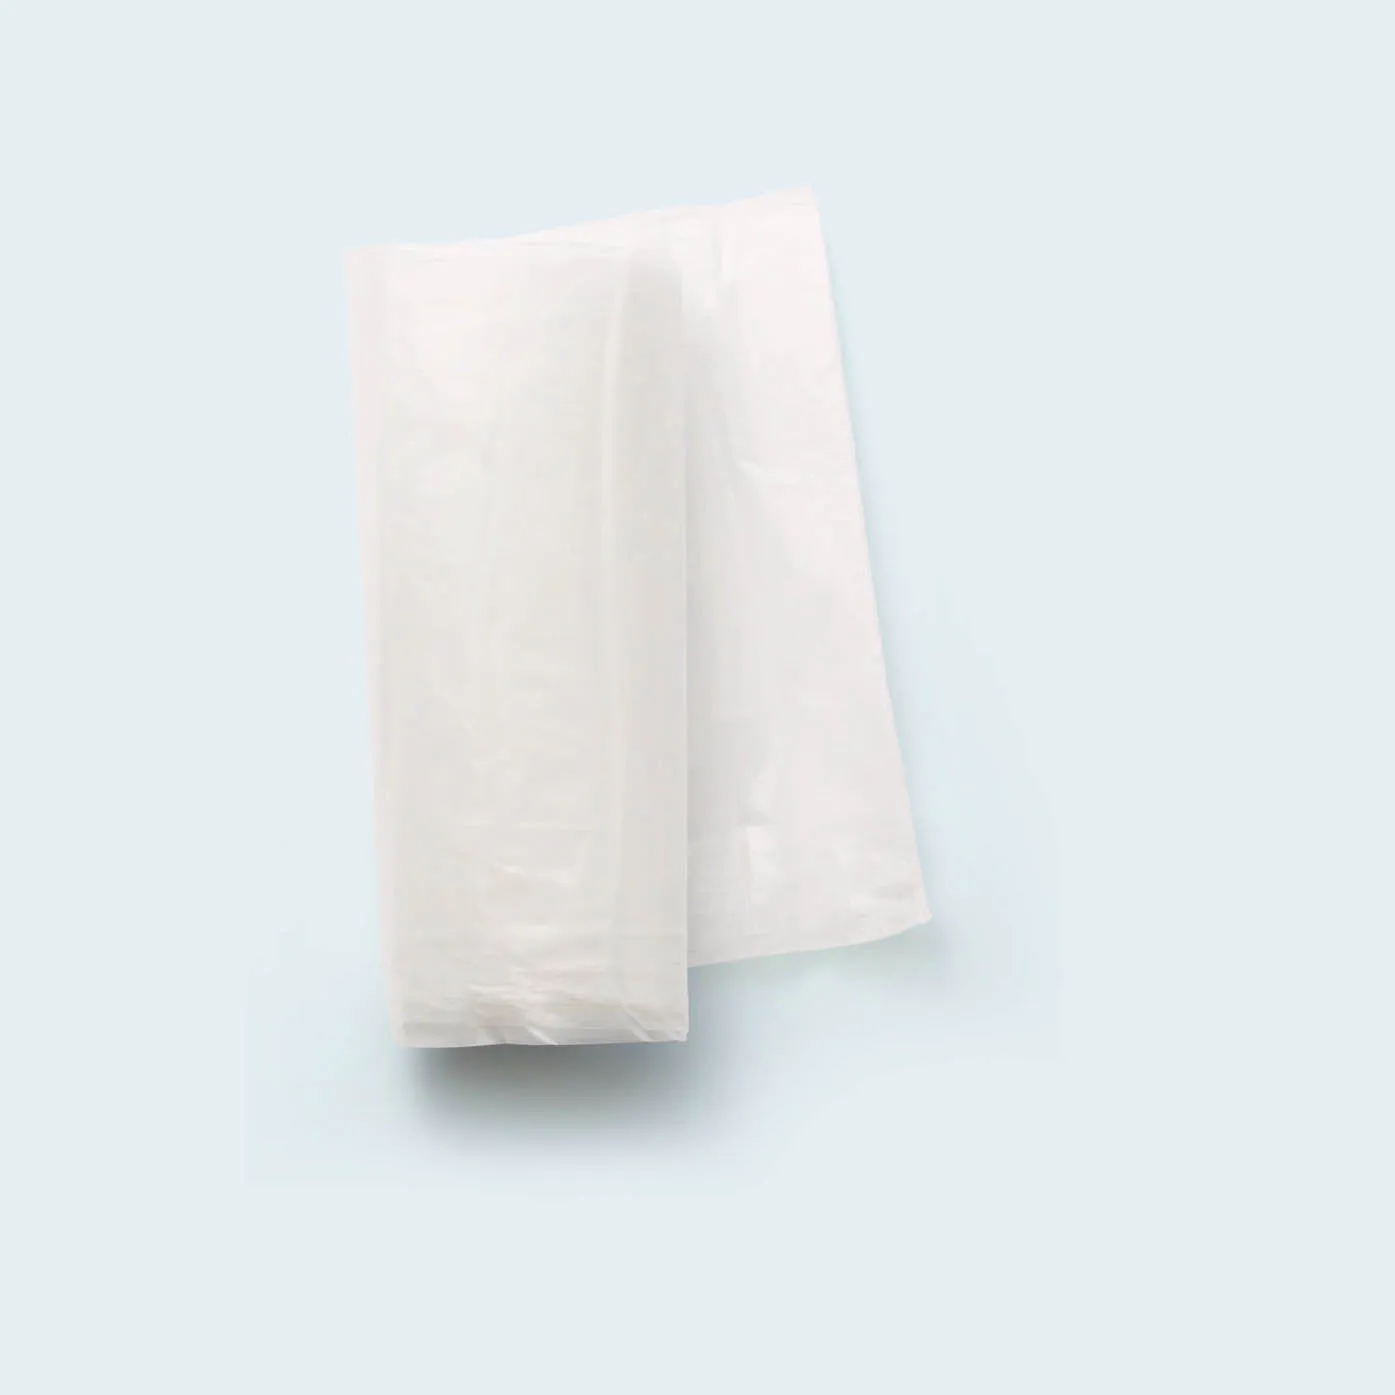
- Drop Cloth: Made of durable, leak-proof plastic, this painter's drop cloth protects floors and furniture from paint spills and drips. Use it under your work area to catch drips during touch-ups, especially when working on ceilings or high walls.