Quick answer
Paint stone scenery first with Temple Stone as a highlight drybrush over a darker base, then pin-wash mud areas and bases with Battlefield Mud Wash. Keep the wash off vertical stone faces so the drybrush stays readable.
Why the order matters on mixed stone-and-mud terrain
Most wargame terrain pieces combine hard stone and soft ground: ruins, temple steps, rubble piles, and bases. If you wash mud over the whole piece before the stone is finished, the wash darkens the stone and you lose the crisp highlight that makes masonry read at arm's length.
Work from the hardest surface to the softest. Finish the stone with Temple Stone, then apply Battlefield Mud Wash only to the mud, soil, and base areas. This keeps the two finishes distinct and saves you from repainting stone you have already highlighted.
When a single wash is not enough
Battlefield Mud Wash is a wash, not a texture paste. On flat ground it adds tone and shadow, but it will not build height or clumps. If you want deep mud ruts or thick basing texture, build that with a separate texture material first, let it cure, then wash it. Temple Stone is a highlight paint, so it is best used lightly over a midtone; applying it as a base coat on large flat areas can look chalky and will not hide mould lines or gaps.
Step-by-step terrain painting order
- Prime and base the stone: Prime the whole piece, then base-coat stone areas with a midtone grey or brown. Let it dry fully before moving on. Common mistake: spraying a second coat while the first is tacky, which can obscure fine masonry detail. Check that mould lines and gaps are filled before you base-coat; paint will not hide them.
- Drybrush Temple Stone on stone edges: Load a drybrush lightly with Temple Stone and wipe most of it off on a paper towel. Brush across raised edges, corners, and step nosings, building up in two thin passes. Checkpoint: stop while the highlight is still subtle; you can add more, but you cannot easily take it back. Keep Temple Stone off mud and soil areas so the wash later stays clean.
- Seal the stone before washing mud: Apply a thin varnish or a matching acrylic medium over the finished stone and let it cure. This protects the drybrush from the wash step. Common mistake: skipping this on porous or textured stone, where wash can soak in and stain the highlight. If you plan heavy mud splatter near stone, seal first; it makes cleanup easier.
- Pin-wash mud and basing with Battlefield Mud Wash: Use a small brush to flow Battlefield Mud Wash into mud recesses, base edges, and around stone feet. Do not flood the whole piece. Checkpoint: keep the wash below the top third of vertical stone faces so the Temple Stone highlight remains visible. Apply a second thin wash only after the first is fully dry, or you may lift the previous layer.
- Tidy and finish: Once dry, re-touch any stone highlights that caught wash with a light Temple Stone drybrush. Let everything cure before handling or packing terrain. Common mistake: handling wet wash areas, which leaves fingerprints in the mud tone. Store terrain pieces separately until fully cured to avoid transfer onto other scenery.
Product facts
-
Temple Stone - Two Thin Coats: Temple Stone is listed as a highlight in the Two Thin Coats range and comes in a 15ml pot. Its highlight role means a light drybrush over a darker stone base gives controlled edge definition without flooding detail.
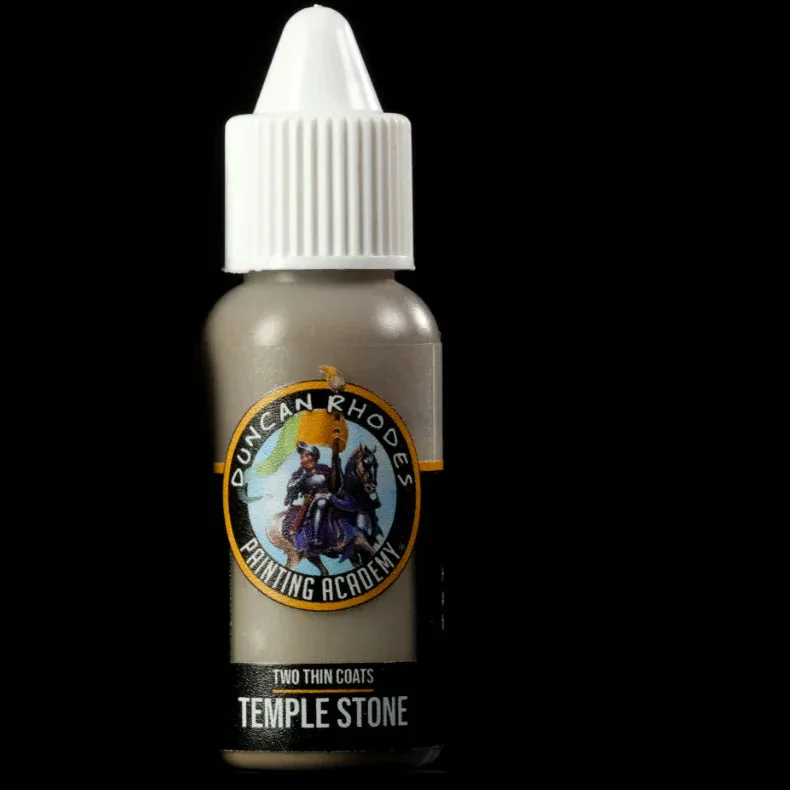
Temple Stone - Two Thin Coats
-
Battlefield Mud Wash - Two Thin Coats: Battlefield Mud Wash is a wash in the Two Thin Coats range, supplied in a 15ml pot. A wash flows into recesses, so it is suited to pin-washing mud and basing rather than building physical texture.
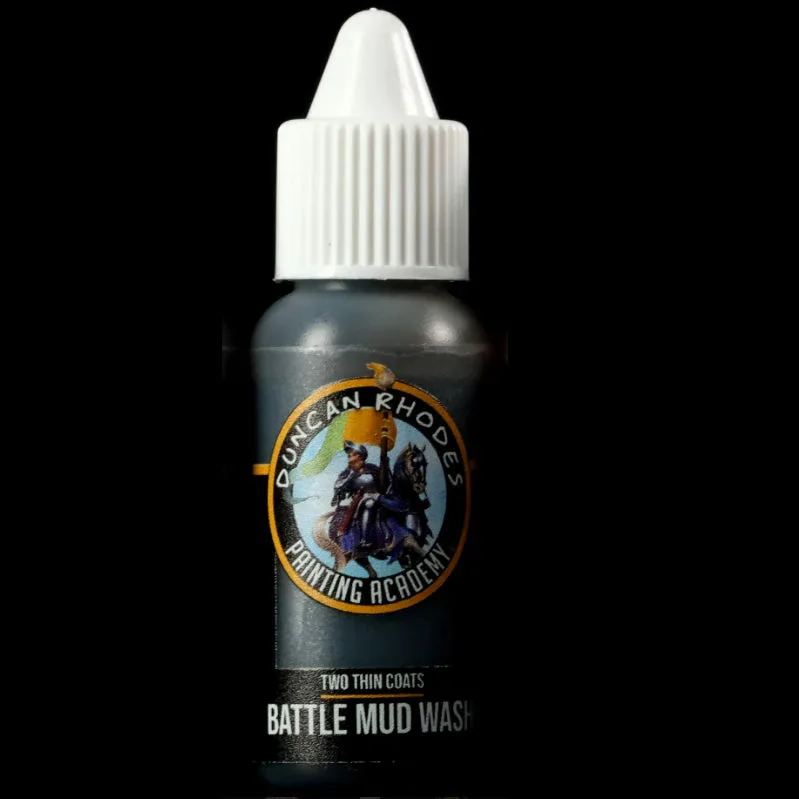
Battlefield Mud Wash - Two Thin Coats