What You Are Building
The Hands Craft Hydroplane is a paint kit puzzle that combines the satisfaction of assembling a wooden model with the creative fun of painting. The kit includes all the laser-cut wooden pieces, non-toxic paints, and a paintbrush, so you have everything you need to create a customized miniature hydroplane. Whether you stick with classic racing colors or invent your own scheme, the result is a unique display piece.
Kit Details at a Glance
-
Hands Craft | Hydroplane: This exciting kit lets you build your very own miniature hydroplane, combining the thrill of puzzle assembly with the fun of painting. It tells you upfront that this is a two-stage project: assembly first, then painting.
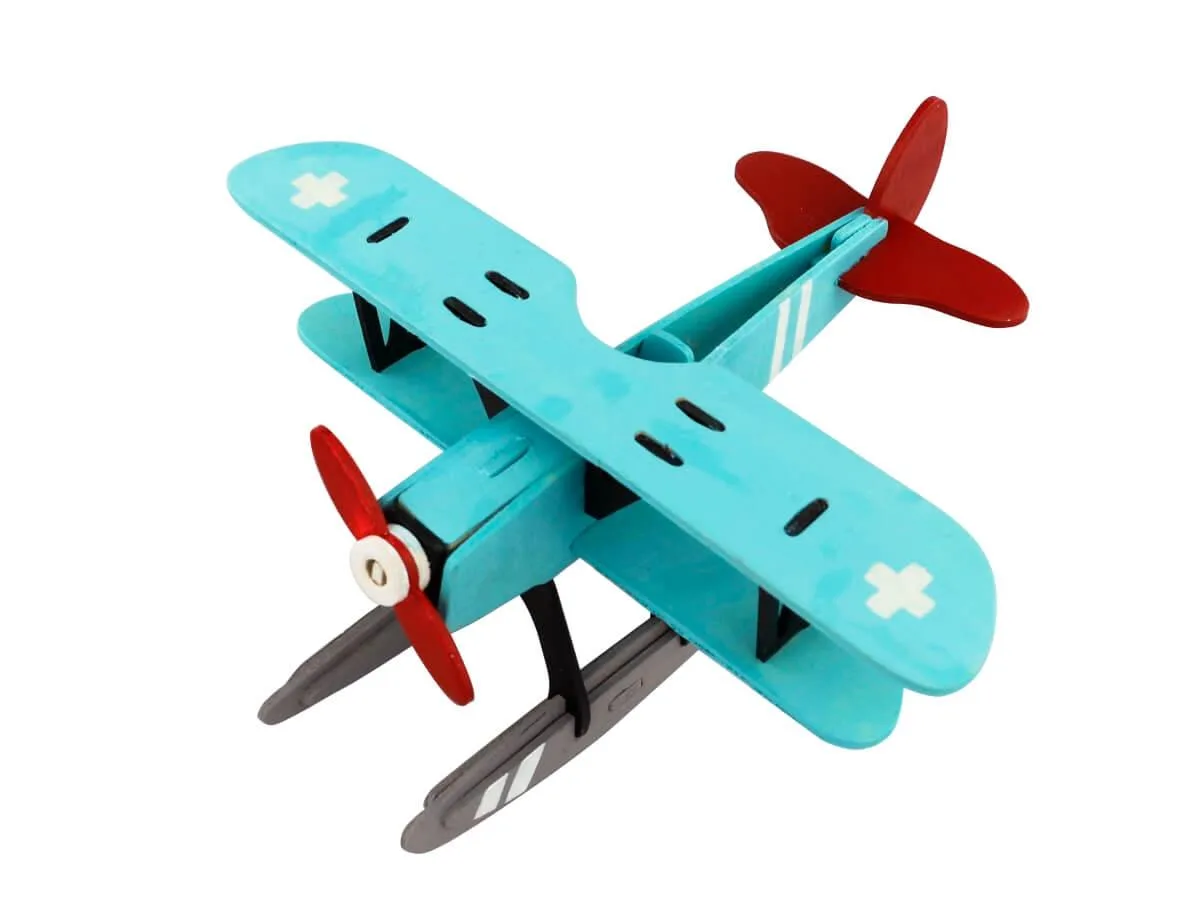
Hands Craft | Hydroplane
-
Hands Craft | Hydroplane: The kit comes with all the laser-cut wooden pieces, paints, and a paintbrush, giving you everything you need to create a customized work of art. No additional supplies are required — the paints and brush are included, so you can start right out of the box.
-
Hands Craft | Hydroplane: Once your hydroplane is assembled, bring it to life by painting it with the vibrant, non-toxic colors included in the kit. The paints are non-toxic, making the kit safe for hobbyists of all ages. You can paint freely without special ventilation.
A Sensible Build Order
The catalog does not include a numbered instruction sheet in the evidence, but the process naturally follows two phases. Here is a logical sequence based on the kit's design.
- 1. Organize the wooden pieces: Lay out all laser-cut pieces on a clean, flat surface. Group similar shapes together. This makes it easier to find each piece during assembly.
- 2. Assemble the hydroplane frame: Fit the pieces together according to the puzzle layout. The wooden parts are precision-cut, so pieces should join snugly. Work from the base upward.
- 3. Paint your hydroplane: Once the model is fully assembled, apply the included non-toxic paints. Use the brush to add color to the body, wings, and details. Let each coat dry before applying the next.
- 4. Display your creation: After the paint dries completely, your hydroplane is ready to show off. Place it on a shelf, desk, or in a display case.
Build Tips for a Smooth Assembly
Work in a well-lit area and have a small container for loose pieces. If a joint feels too tight, lightly sand the edges with fine-grit sandpaper — but this is rarely needed with laser-cut parts. For painting, use thin coats to avoid drips, and clean the brush between colors if you switch. Since the catalog notes that 'no two builds are exactly alike,' embrace small variations in fit or paint coverage as part of the handmade charm.
Display and Care
The finished hydroplane is a lightweight wooden model. Keep it away from direct sunlight and moisture to preserve the paint. Dust it gently with a soft brush or microfiber cloth. The catalog does not specify any special care beyond normal handling, so treat it like any other decorative wooden item.